Jeep Wrangler JK: How to Replace Rear Axle Seals
Replacing the rear axle seal on your Jeep Wrangler is not an easy job, but hopefully this guide can make it a little easier on you.
This article applies to the Jeep Wrangler JK (2007-Present).
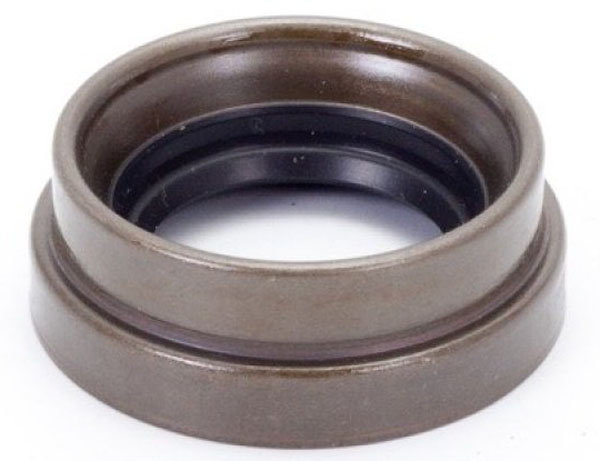
A rear axle seal holds the axle fluid inside the rear axle of your Jeep Wrangler. Overtime, the seal could get worn and stop sealing properly. This job can be done at home; however, you must expect a little bit of work, as you have to remove many components to get to it. The symptom of a bad seal is oil leaks, so look around your axle and under your Jeep for any signs of fluid. You can also place a sheet of paper under the axle over night and check it in the morning to see if there was any leakage. Read on to learn how you can replace the rear axle seal on your Jeep Wrangler.

Materials Needed
- 5/16 wrench
- 18mm socket
- Cut-off wheel
Step 1 – Raise car
Loosen the lug nuts on the wheel you'll be working on, raise the car, then secure it with jack stands. Remove the lug nuts and remove the wheel.

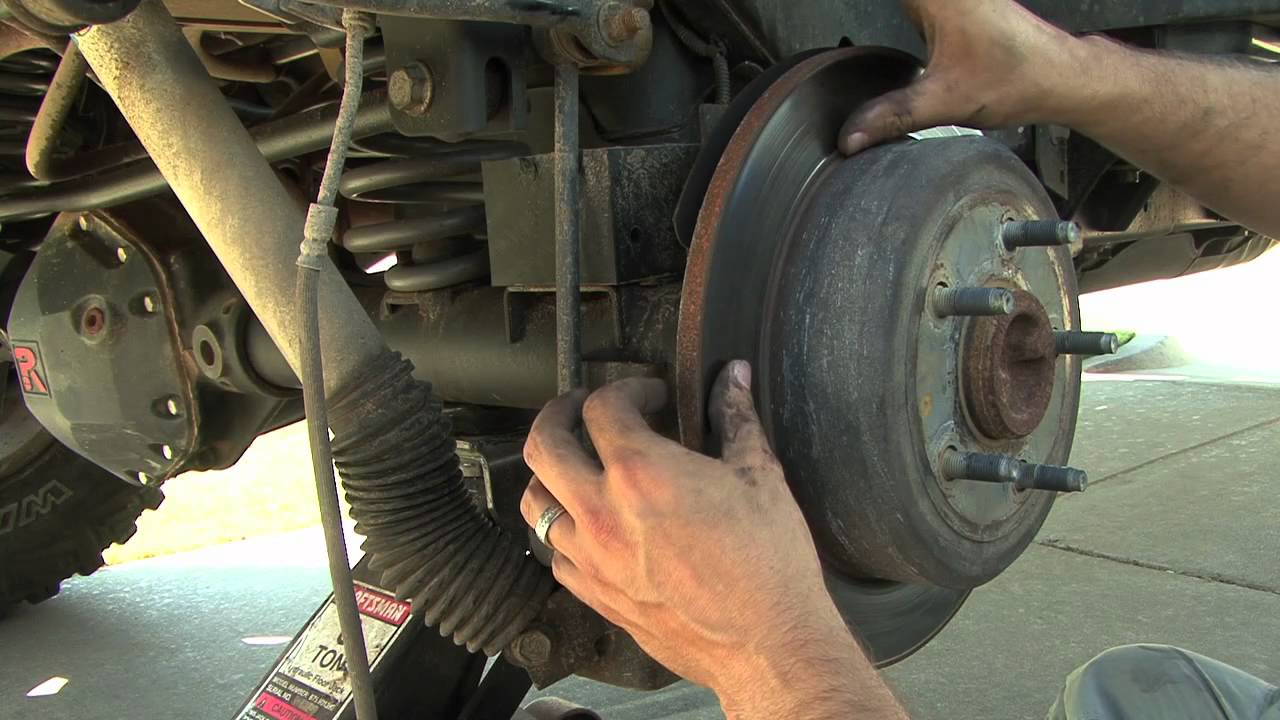
Step 2 – Remove caliper and rotor
Remove the four retainers holding the rotor to the axle. Then, remove the caliper by removing the two bolts holding it in place; you can use your 18mm socket for those. Secure the caliper in a safe place, but do not let it hang from its brake line. Remove the rotor by pulling straight out.
Step 3 – Remove anti-lock brake sensor and e-brake cable
Remove the anti-lock brake sensor by pulling its red tab and disconnecting it. Then remove the emergency brake cable from the back by simply pulling it out.

Figure 4. Remove anti-lock sensor. 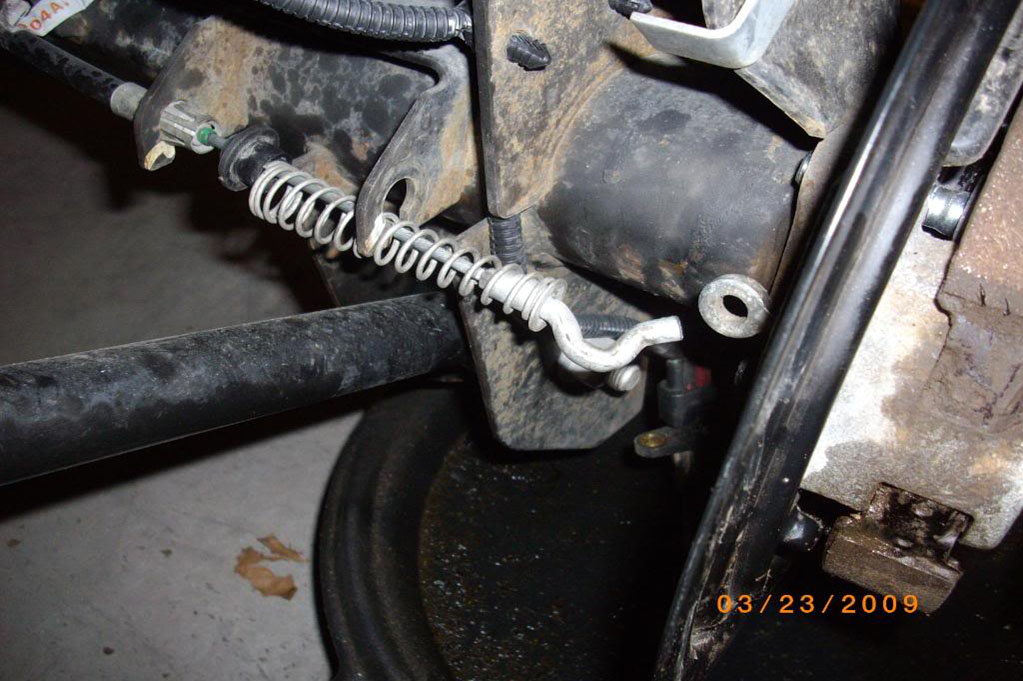
Figure 5. Disconnect emergency brake cable.
Step 4 – Remove axle
The axle retainer is held in place with four nuts. Remove the four nuts using your 18mm wrench, then pull the axle straight out. To remove the seal, you will have to remove the ring and bearing. To do that, use your cut-off wheel to cut through the ring, but don't cut too much where you hurt the axle shaft. Then cut off the bearing the same way. As soon as the bearing breaks, pry it off and be careful not to touch the axle shaft. Once the ring and bearing is removed, the seal can slide off.

Step 5 – Install seal on axle shaft
Before you install the new seal on, clean the axle shaft thoroughly. Install the retainer and axle seal the same way you removed it. Install the axle seat all the way down, then install the bearing down the axle shaft. Finally, install the ring down the axle shaft.

Step 6 – Re-install components
Installation is the reverse of removal. Install axle back in place, install the emergency brake cable, the anti-lock sensor, and finally the brakes in place. Tighten the caliper on top of the rotor, then install the wheel, lower the car, and finally tighten the lug nuts.
Related Discussions
- Replacing Rear Axle Seal - JK-Forum.com
- Leaking Rear Axle - JK-Forum.com


