Jeep Wrangler JK: How to Modify Air Conditioning
Replacing or otherwise modifying your Jeep Wrangler’s A/C system might seem like an arduous task, but it doesn’t have to be. In fact, many Wrangler owners have taken it upon themselves to modify this particular system, and have reported back the ease with which they were able to complete this project. To learn some of the basic step-by-steps to accessing this system in your Wrangler, read on.
This article applies to the Jeep Wrangler JK (2007-Present).
There are plenty of reasons why you might need to work on the A/C system in your Jeep Wrangler—maybe it’s without one. Maybe it stopped working. Maybe you just simply want to upgrade it to something that’s unique to your vehicle. Whatever the case may be, it’s important to understand how best to go about accessing the system, so that the modification project you take on doesn’t wind up messing with other parts, components, and systems in your prized vehicle.
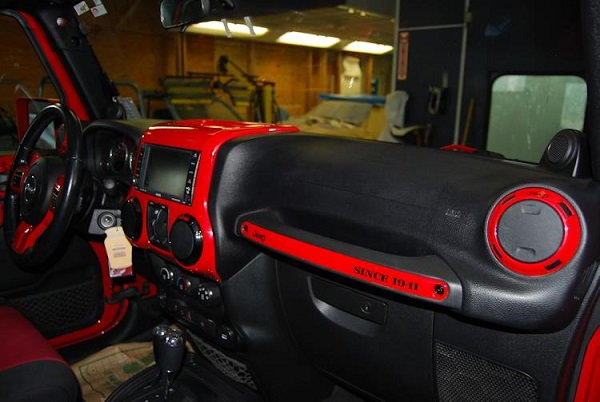
Here are some of the basic steps to modifying the A/C system in your Jeep Wrangler, so that the air coming out of it is colder.

Materials Needed
- Thermistor
- Solder
- Mini heat torch
- Electrical tape
- Screwdriver
Step 1 – Locate wires going into A/C plenum
Under the dash of the driver's side you’ll note there are two wires that travel into the A/C plenum, which is located in the Wrangler’s center stack.
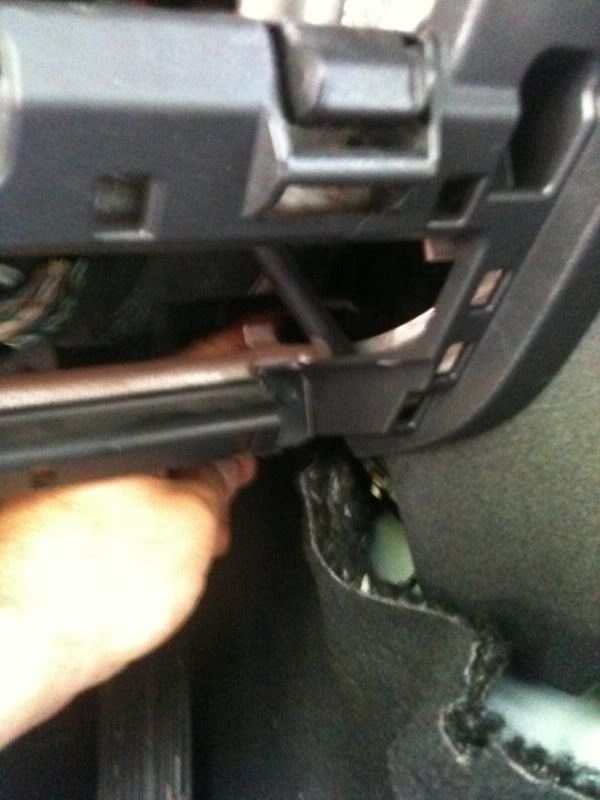
Figure 2. These wires go to a connector that can easily be dislodged from its mount. 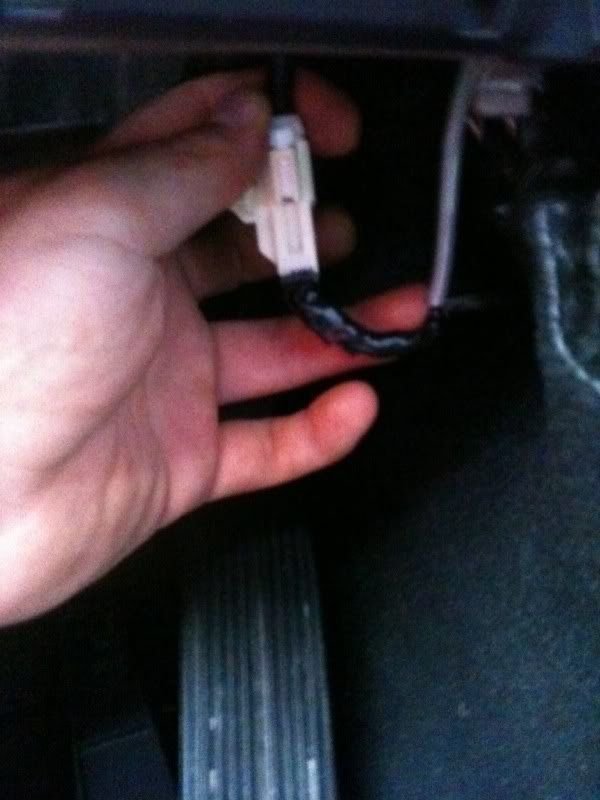
Figure 3. Connector exposed.
Step 2 – Add resistor to wires
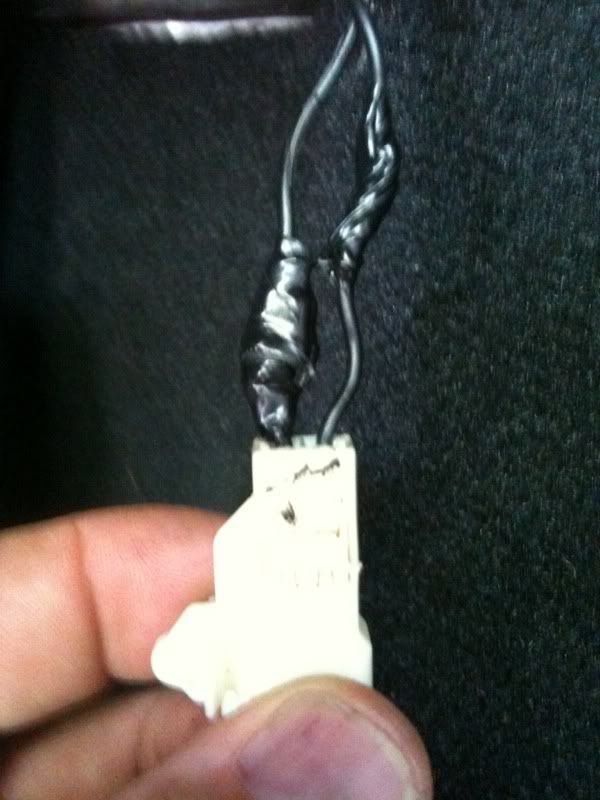
Pop the plug loose using a flat head screwdriver and back-probe a resistor into the connector, but position it across the two wires. Doing this will trick the Wrangler’s computer into thinking the coil temperature is warmer than it actually is, which, in turn, will keep the A/C’s compressor on a bit longer.
In order to do this, strip back some of the insulation on the two wires, solder the resistor in, heat shrink, and wrap in electrical tape.
A resistor that’s a bit too large (higher number) won’t make much of a difference; one that’s too small, which stays on too long, will cause the system to ice up, and impact overall air flow into the vehicle.
Step 3 – Adjust as needed
There are a million thermistors on the market, but most vary between 18K Ohm and 25k Ohm. You’ll be best served by starting with one that’s 22k Ohm and work from there with a digital thermometer in the vent with the fan set at middle speed in terms of air flow. Drive the Wrangler at about 40MPH and monitor the vent temperature.
A good rule of thumb is to go about eight to 10 degrees colder than the air at the vents. If it drops below 40 degrees, you run the risk of freezing the coil.
If you need to go with a different thermistor, the good news is that this particular component is cheap, so there’s no real loss if your first one is too large or too small. The goal is to find one that makes your Wrangler most comfortable to drive in.
Obviously, you’ll want to solder and heat shrink the resistor each time, so a good way to test the resistors out before committing to one is to bend the resistor leads into a tight u-shape around the resistor, then force them into the backside of the plug and wrap with electrical tape.
Related Discussions
- Air Conditioning - JK-Forum.com
- Upgrade Climate Controls Auto/AC/Heat - JK-Forum.com
- Air Conditioning Condenser Replacement - JK-Forum.com

