Jeep Wrangler JK: How to Make Your Own Jerry Can Mount
When you're off-roading in your Jeep, the last thing you want to do is stop. Having a Jerry can on hand will lengthen your mileage and prolong your fun.
This article applies to the Jeep Wrangler JK (2007-present).
For you off-road junkies wanting a simple, do-it-yourself project that can add both functionality and a cooler look to your Wrangler JK, installing a Jerry or gas can would be the perfect touch. Jerry cans are inexpensive, and you can find them anywhere online or at a scrap yard. Mounted to the spare tire carrier on the rear bumper of your Jeep, an extra 20 liters of gas could add to your time and fun on the open road. Continue reading for the quick and easy steps to making and installing your own Jerry can mount.

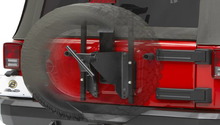
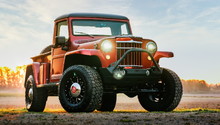
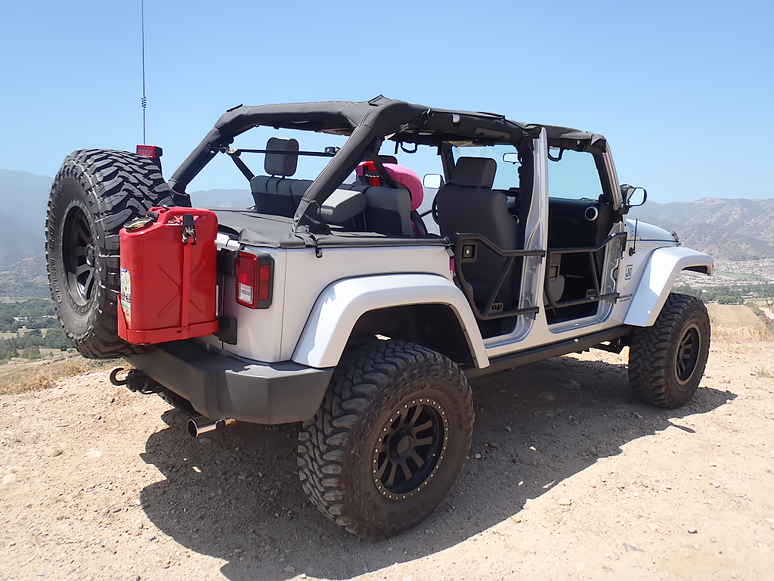
Figure 1. Homemade Jerry can mount.

Materials Needed
- Jerry can (20 liter)
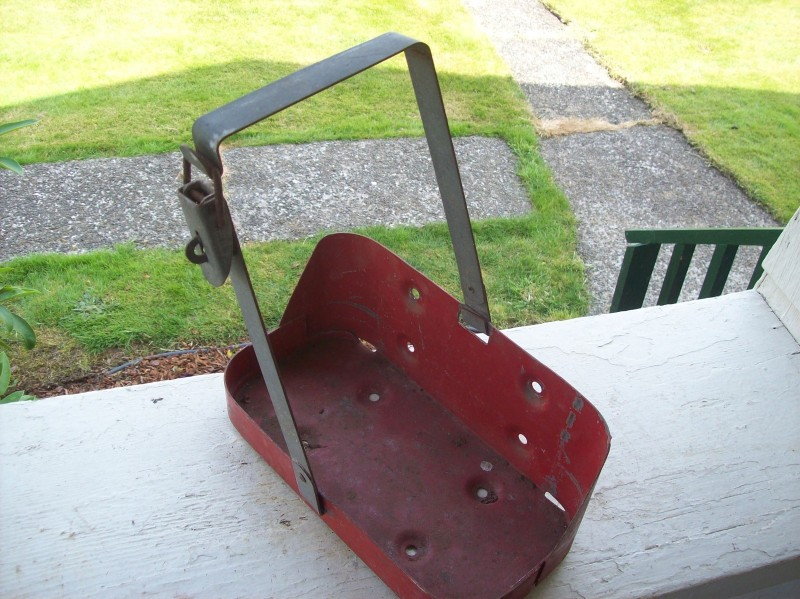
- Jerry can carrier or holder
- Scrap metal or mounting bracket
- Nylon ratchet strap
- Rotary and drill tool set
- U-bolts
Step 1 – Measure the mounting bracket
- Lay a piece of scrap metal over the spare tire carrier mount, near the hinge. This piece of scrap metal will be the Jerry can's mounting bracket.
- If there are holes in the scrap metal that line up with the sides of the tire mount, insert a pair of U-bolts and test if they tightly secure the metal to the mount.
- If there are no holes in the scrap metal, measure and mark four holes on it to snuggly fit the U-bolts.
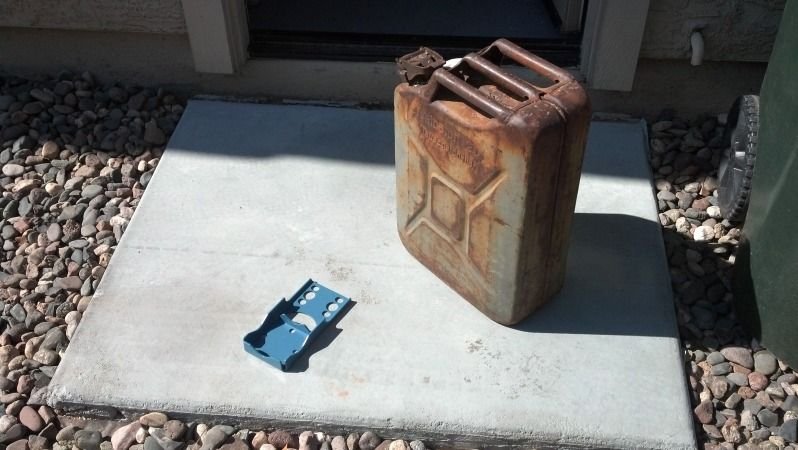
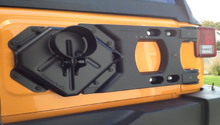
Figure 2. Jerry can and piece of scrap metal for mounting bracket. 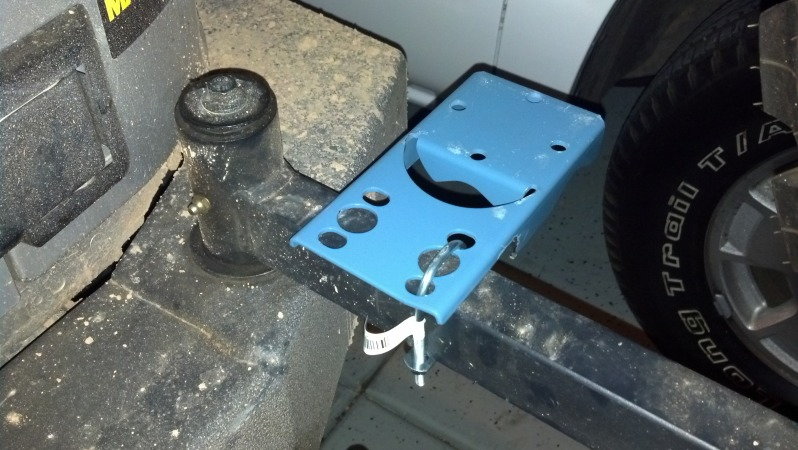
Figure 3. Measure and test the Jerry can mounting bracket.
- Do the same with the Jerry can carrier. If there are no holes, measure and mark four holes to fit the U-bolts.
Step 2 – Prep the mounting bracket
- If necessary, drill through the holes you marked on the piece of scrap metal and the Jerry can carrier.
- Use a rotary tool to smoothly sand down the edges of the mounting bracket.
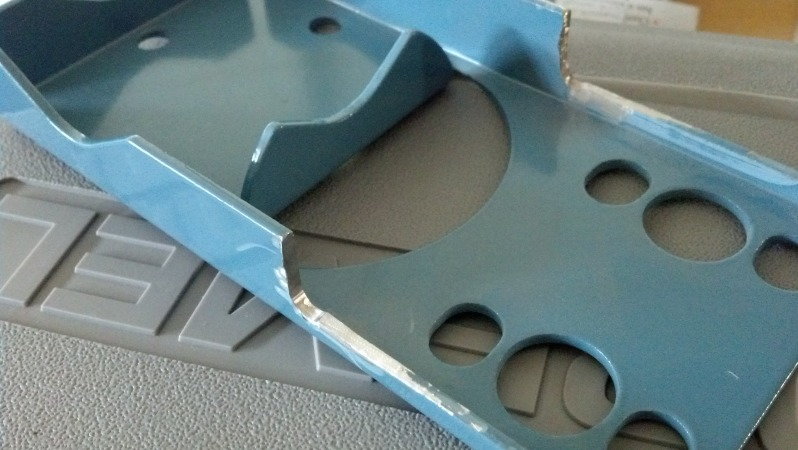
Figure 5. Sand down edges of the Jerry can mounting bracket. 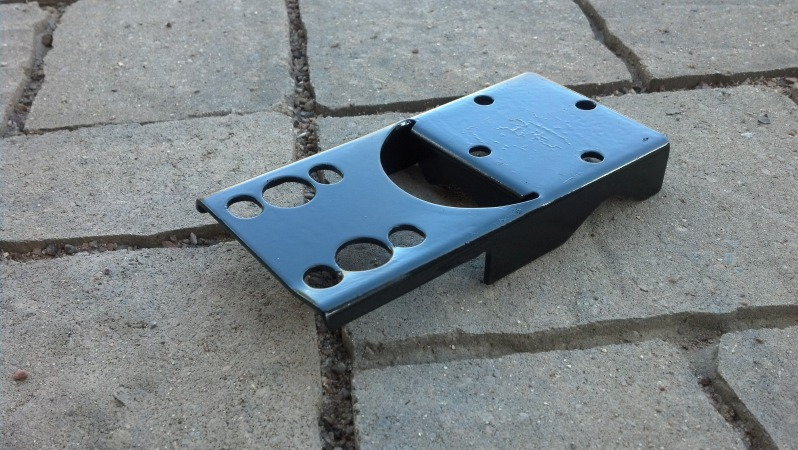
Figure 6. Fabricated and painted Jerry can mounting bracket.
Pro Tip
If you plan on painting the Jerry can, carrier, or mounting bracket, make sure to sand down the entire surface of each piece before painting.
Step 3 – Install the Jerry can mount
- Place the Jerry can mounting bracket on the spare tire carrier, and place the Jerry can carrier over the bracket. Make sure the holes line up properly.
- Install the U-bolts and make sure the mounting bracket, carrier, and spare tire mount are tightly secure.
- Simply place the Jerry can into the carrier to hold it in place.
- Then wrap the nylon ratchet straps through the handle of the Jerry can and around the carrier.
- Tighten the straps and make sure it is secure before your next off-road adventure.
Related Discussion
- Homemade Jerry Can Mount - JK-Forum.com