Jeep Wrangler JK: How to Install Third Row Seats
If you decide you want to load up your Jeep Wrangler with more people than luggage, then read this guide to learn how you can install a third row seat.
This article applies to the Jeep Wrangler JK (2007-present).
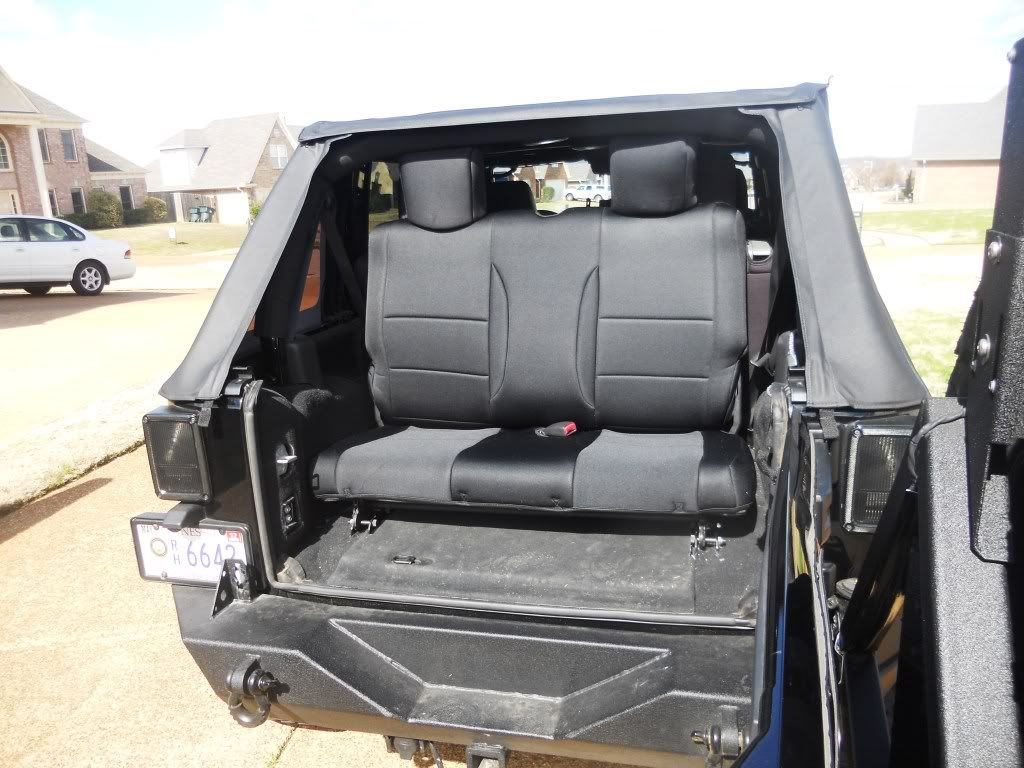
The Jeep Wrangler is a monster of a car, and even though it can drive through the toughest terrains, sometimes that's not as fun without all your friends. If you feel like you need to have more passengers with you to enjoy the fun, then installing third row seats might be for you. You can purchase third row seating that is designed specifically for your Wrangler JK. The seat will come with the brackets needed to finish the installation safely. The process isn't hard if you are comfortable drilling in your Jeep's trunk. If you are still encouraged to add the third row seat, then read on to learn how to do it yourself.

Materials Needed
- Third row seat (with brackets and bolts)
- Drill and drill bits
- Socket (size of bolts that came with third row)
- Razor blade
- Rustoleum
Step 1 – Remove liner and mark holes
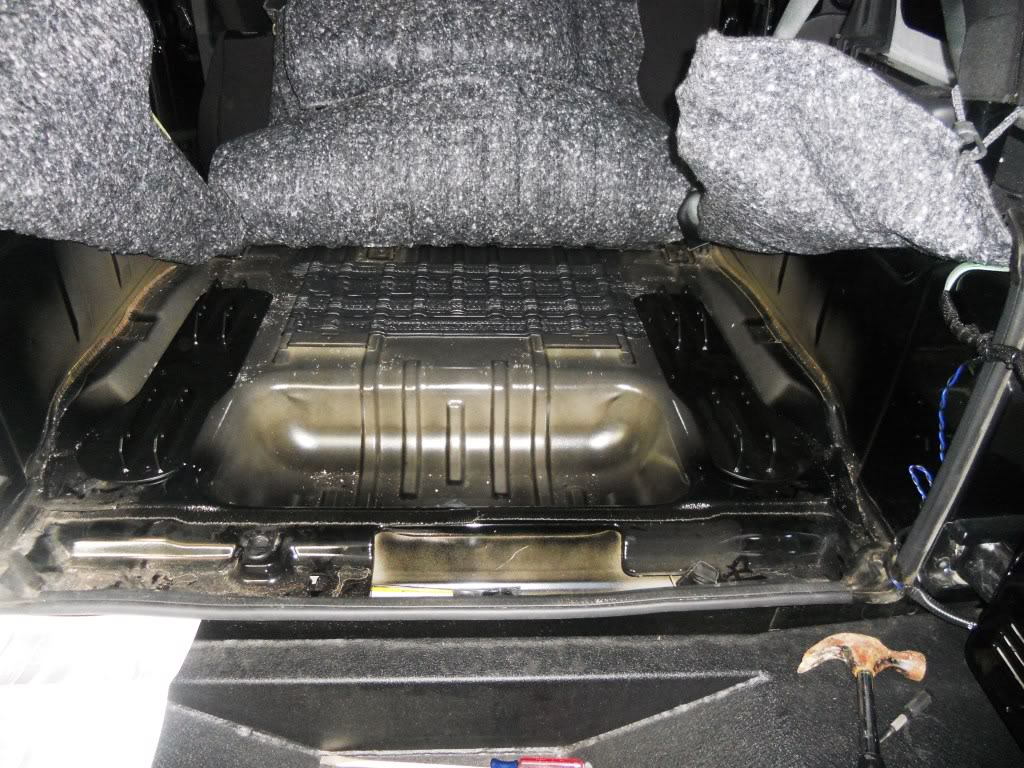
The first thing you have to do is remove the trunk's liner. You can easily just pull it out and put it somewhere for now. Use the measurements provided with the third row seat you've purchased. The measurements could vary slightly depending on the seat you bought. The measurements will tell you how far the brackets should be from one another, so put the brackets in place and mark their holes where you will be drilling.
Step 2 – Drill holes
Now that you've marked the brackets' holes it's time to drill. Be patient and careful when drilling and be sure to pick the right drill bit size, depending on the size bolts provided by the third row seat you've purchased. Drill the holes straight down; don't push the drill too hard, just let it do most of the work.
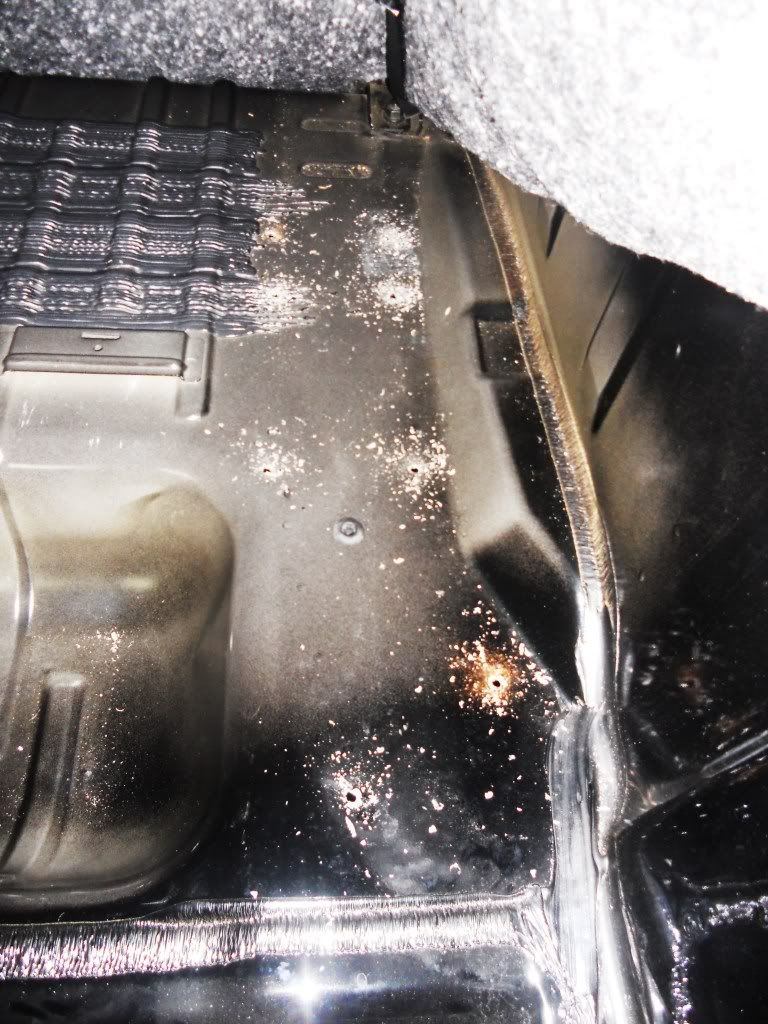
Step 3 – Spray holes with Rustoleum
Drilling could allow the holes to start rusting, which will eventually spread. Rustoleum works great for that. You don't have to spray the whole trunk; Instead, clean around the holes well, then spray the holes. This will protect them from rusting.

Step 4 – Install the brackets
Most third row seats will come with three brackets. Install the brackets in their proper locations. This will require the help of a friend. Install the bolts and washers, and ask a friend to go under the car to install and hold the nuts from the bottom while you tighten the bolts on top. Tighten all the bolts provided with your kit.

Step 5 – Install carpet
Before installing the seat, put the carpet back on and use your razor blade to cut around the part of the bracket that will connect to the seat. Don't cut to show the whole bracket, just the four pieces that stick out, which will connect to your third row seat.

Step 6 – Install third row seat
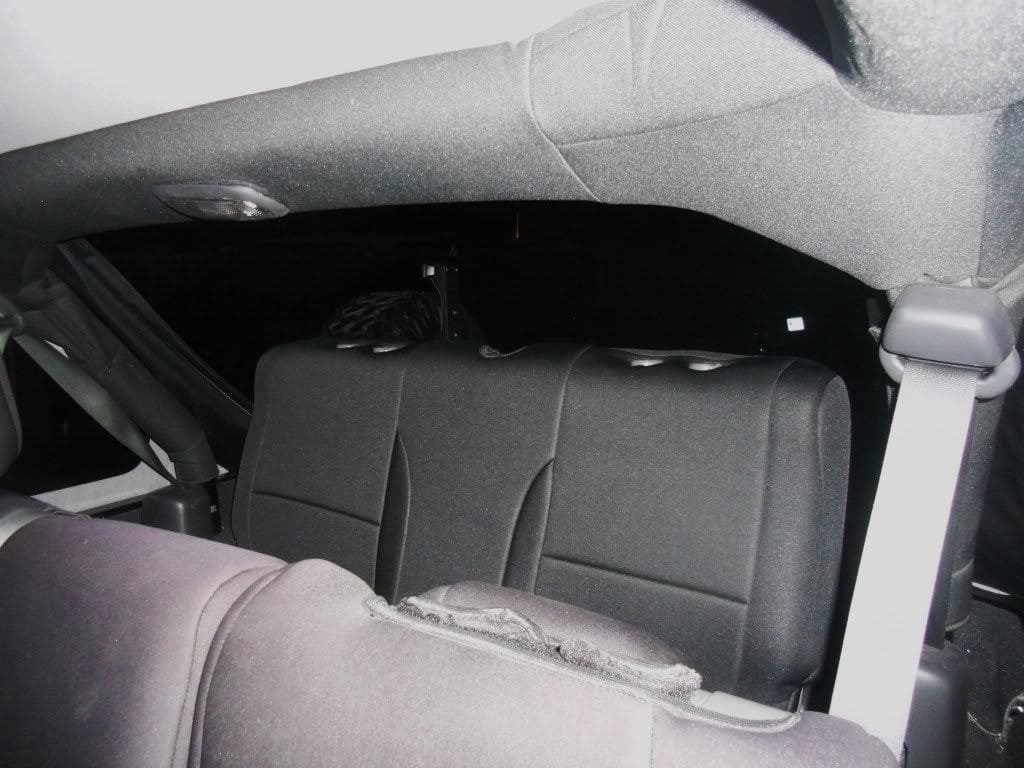
The third row seat goes on top of the bracket and bolts to the bracket with six bolts. Install the seat and align it first, then tighten the six bolts.
Related Discussions
- Third Row Seat Writeup - Jk-Forum.com
- Third Row Seating - Jk-Forum.com
- Third Row Seat Install - Jk-Forum.com


