Jeep Wrangler JK: How to Install Rigid Dually Using Fog Light Bracket
To cut through the fog in your Jeep, you need the bright clear light that only an LED can deliver. Learn how to replace your factory fog lights with a pair of Rigid Dually LEDs.
This article applies to the Jeep Wrangler JK (2007-Present).
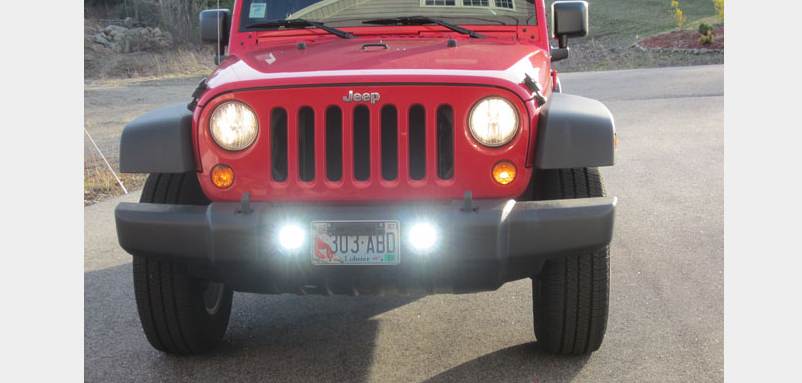
There are plenty of mods for a Jeep Wrangler JK on the market, but few give you a better bang for your buck than replacing your factory fog lights with LEDs. The Rigid Dually fog lights consume less power and product a much brighter light than the factory fog lights. With the Jeep mounting kit, you can install them into the same fog light holes in the bumper with the included brackets. So what are you waiting for? Let's get started.

Materials Needed
- Small flat head screwdriver
- Phillips head screwdriver
- Wire cutters/strippers
- Shrink tubing
Step 1 – Remove the grille
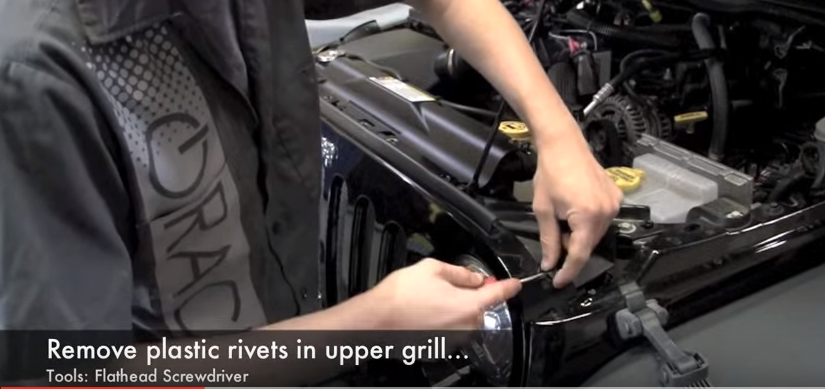
Use a small flat head screwdriver to pry off the five black plastic retaining clips along the top of the grille as shown in Figure 1. Carefully pull off the grille, paying close attention to the signal light connections on the bottom on both sides. Remove the connectors by turning and removing the lights to free the grille.
Step 2 – Remove the factory fog lights
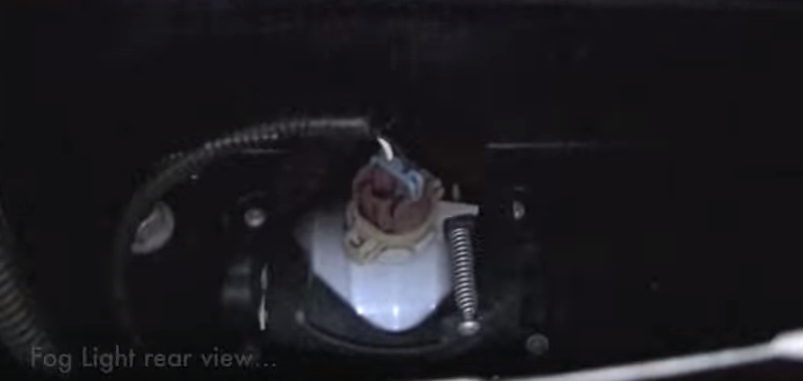
First, remove the fog light bulbs from the fixtures and set them aside. Then remove the four screws holding each fog light in place and remove them from the bumper. Set the screws aside as you will need them to mount the Dually LEDs shortly. The rear view of the factory fog lights is shown in Figure 2.
Step 3 – Attach the BDF bracket to the Dually fog lights
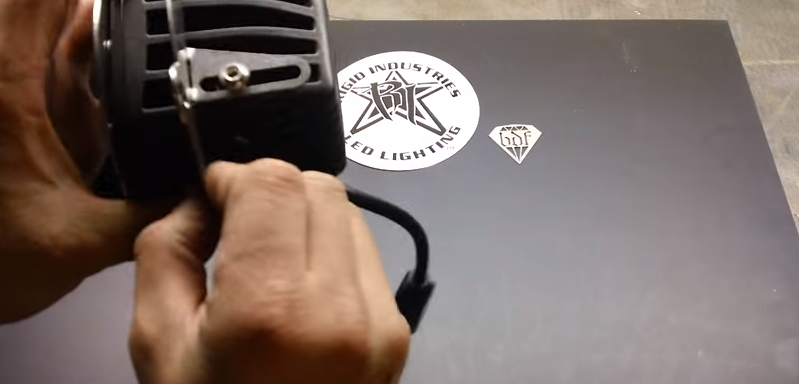
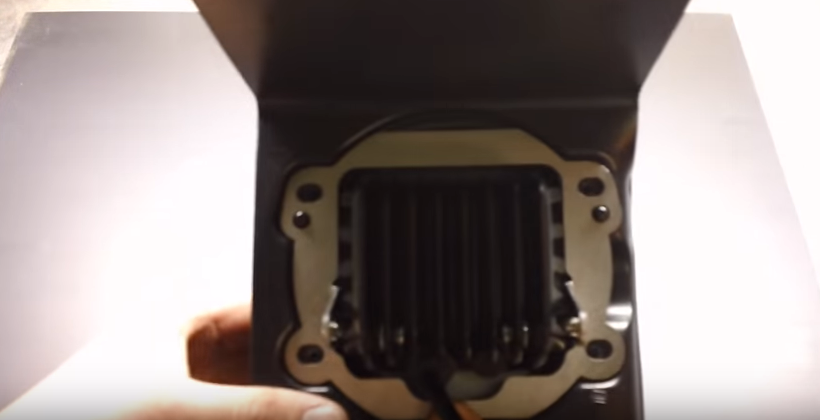
Install the new fog lights into the BDF (Black Diamond Fabrication) bracket with the slots facing toward the back of the LEDs (see Figure 3).
Step 4 – Install the new fog lights
Mount each fog light with the brackets in the hole where the factory lights were removed (shown in Figure 4). Remember to use the same factory screws that you removed in Step 2.
Step 5 – Wire the lights
The Dually lights do not have the same factory connectors as the originals, so you will need to do some splicing.
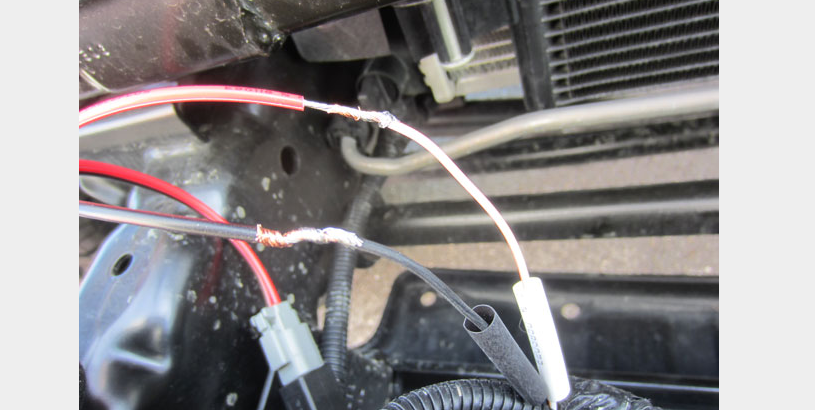
Carefully cut off the factory connector clip and strip about half an inch of wire off the end of the two harness wires: one is black and one is white with a stripe.
Next, cut off the connector on the Dually light and strip the ends of the black and red wires. Slide your shrink tubing over each one of the wires so that you can slide them over and seal the connections you are about to make (see Figure 5).
Next, twist tie the black wires from the Dually and the factory harness. Then do the same for the red Dually wire and the white striped factory wire. Now would be a good time to fire up the lights and make sure that all the connections are working properly.
Once everything is working properly, it would be a good idea to add a drop of solder to get a good solid electrical connection. Finally, slide the shrink tubing over the bare wire connections and heat them up to finish the job.
Step 6 – Reinstall the grille
Reconnect the signal lights along the bottom of the grille and fasten all of the top connectors to secure the grille back in place.
