Jeep Wrangler JK: How to Install Garage Pro Roof Rack
A roof rack is a great tool that adds a whole new outlet for storage in the Jeep Wrangler. Read on to learn how you can install the Garage Pro roof rack.
This article applies to the Jeep Wrangler JK (2007-Present).
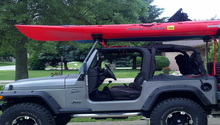
The Garage Pro offers a great roof rack for the Jeep Wrangler. This roof rack offers a great finish, sturdy steel rack, and a 350 lbs weight capacity. So if you want to take your Jeep off-roading, you don't need to pack up the interior. Instead, you use this rack to pack all of your equipment, whether it's a tent, extra off-road wheel, or whatever it is you want; if you can tie it down, you can carry it on the roof. Besides the storage benefits this roof rack adds, it makes the Wrangler look absolutely vicious. So whether you are looking for extra storage or you simply want to change the look of your Wrangler, this roof rack will do either. Read on to learn how you can install it yourself.

Materials Needed
- Socket set
- Allen key
Step 1 – Remove rear bumper
- Remove the two bolts on each side that hook the bumper to the frame rail.
- Remove the two bolts connected to the bumper located near the muffler.
- Ask a friend for assistance and remove the bumper.
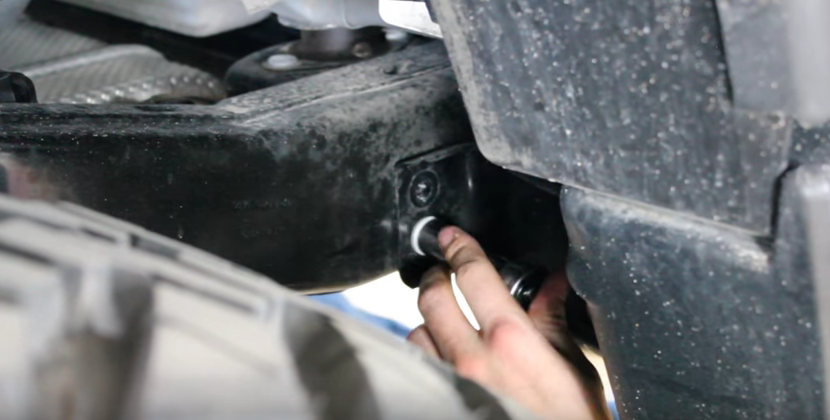
Figure 2. Remove two bolts on each side. 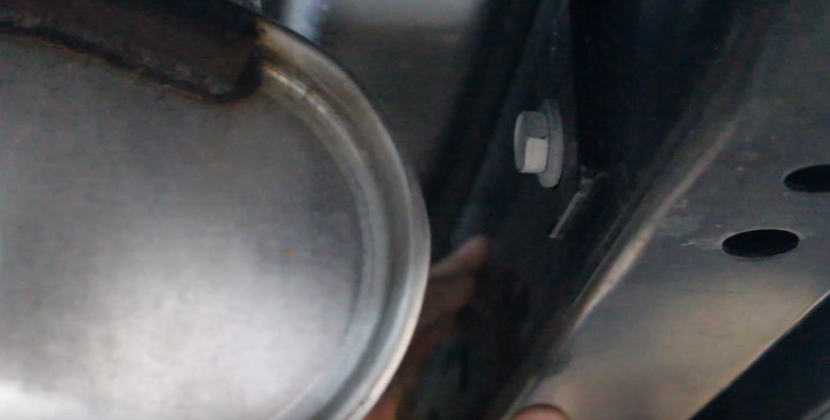
Figure 3. Remove one bolt on each side by muffler. 
Figure 4. Remove bumper.
Step 2 – Replace bumper bracket
Remove the bumper bracket on each side by removing the two bolts holding it to the frame, and install the bracket that came with your new kit. Install the old bracket over the new bracket, and then re-install the bumper the same way you removed it.
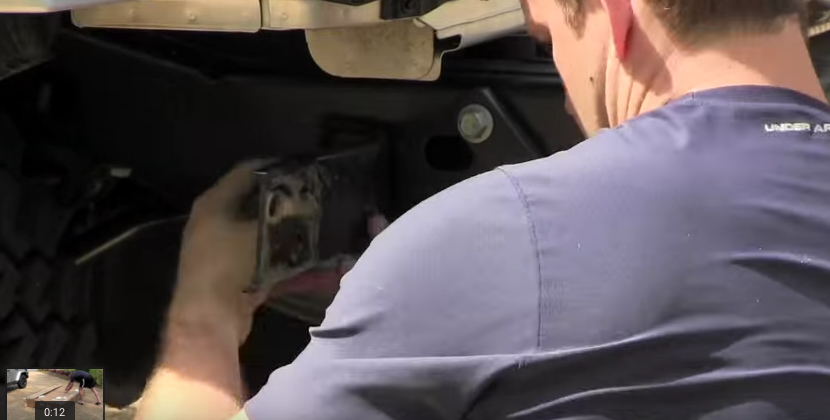
Figure 5. Remove bracket. 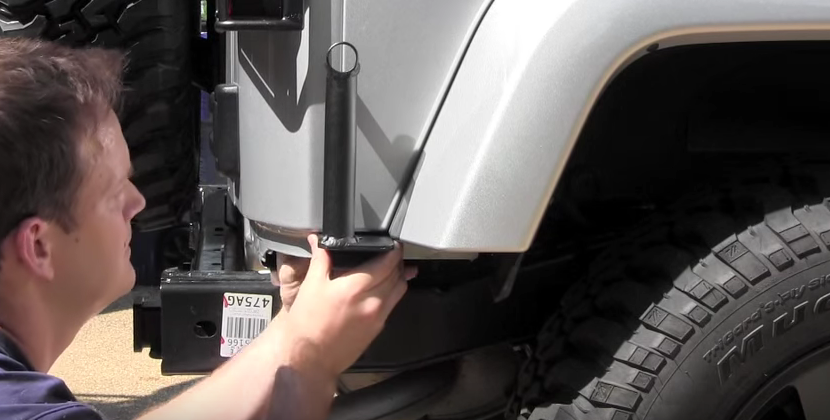
Figure 6. Install new bracket.
Step 3 – Remove windshield bolts
Remove the four bolts holding the windshield on both sides of the Jeep. There will be two on the sides and two on the front. It's highly recommended you ask a friend to help you align your roof rack in place; however, if you decide to do it alone, use towels to rest it on so you don't scratch the paint. Align the rack's holes with the windshield holes and tighten the bolts using your Allen wrench.
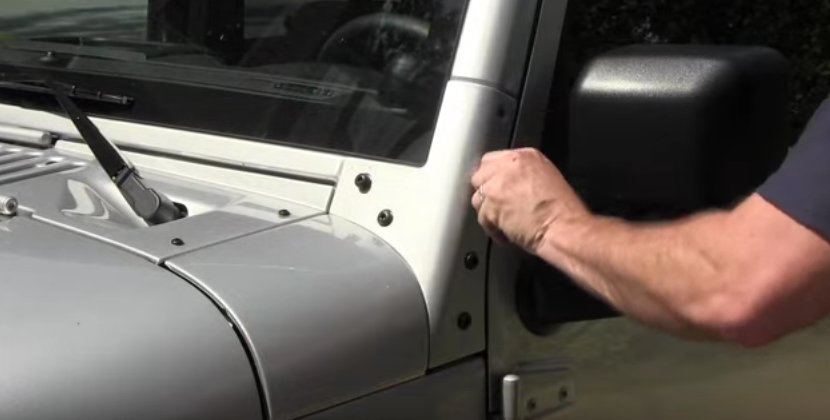
Figure 7. Remove four bolts on both sides. 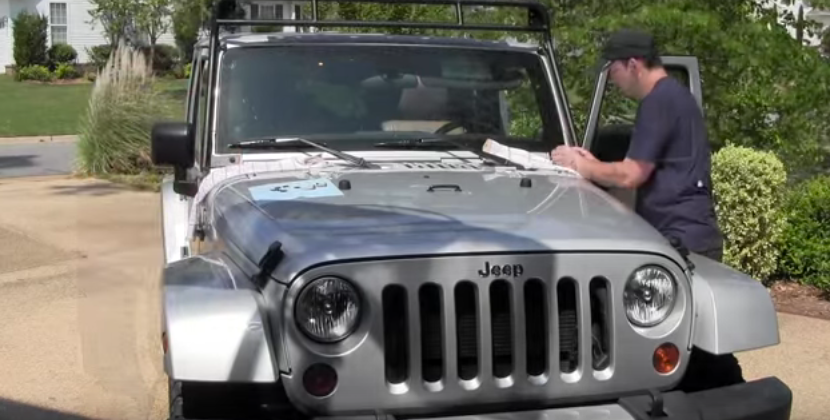
Figure 8. Align roof rack. 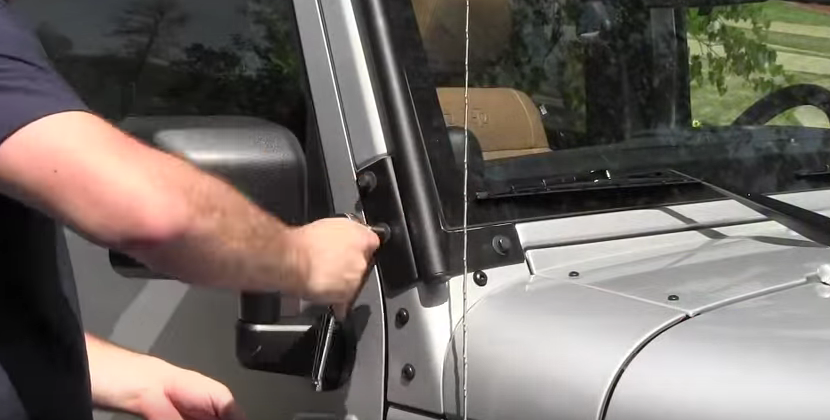
Figure 9. Tighten the bolts.
Step 4 – Attach the rear part of the roof rack
Use a table or a friend to keep the rear side of the roof rack in place. Then tighten the two bolts, one on each side to the rear bracket that you installed first.

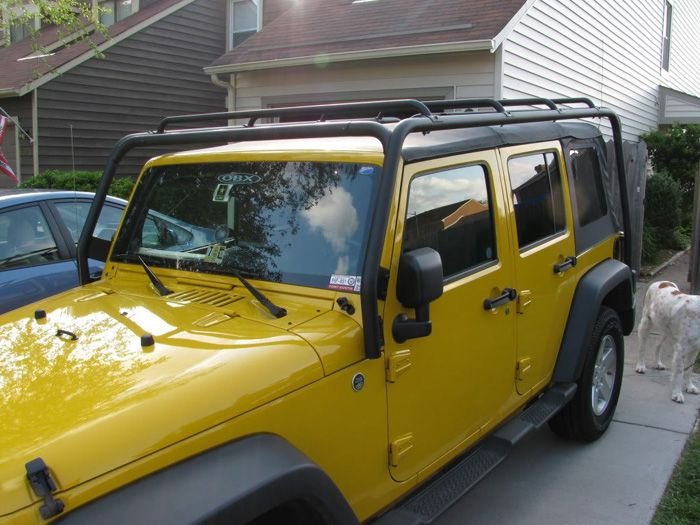
Step 5 – Install roof rack
Install the middle section, which is the actual roof rack. Again, it's highly recommended you ask a friend for help; however, if you're a loner, use a table or any support system to hold the roof rack. Then pull the rear section you've installed the step before back, and tighten them together. Your manual will tell you exactly which bolts go where.
After you've attached the rear section to the middle section that is the roof rack, hold it and walk to the front of the vehicle; be extremely careful not to drop it. When you reach the front of the vehicle, place it on a towel as you attach the bolts from the roof rack to the front bracket.
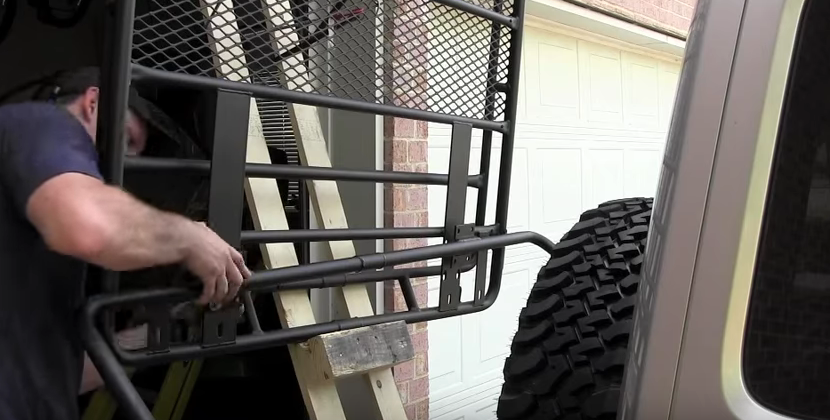
Figure 11. Connect rear bracket to roof rack. 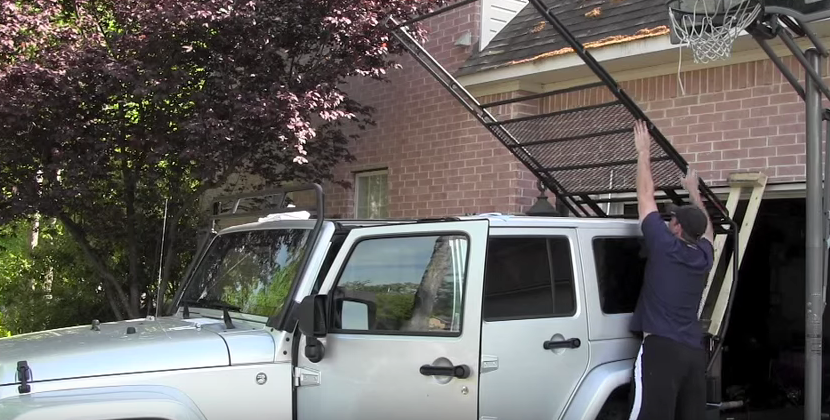
Figure 12. Walk roof rack to the front. 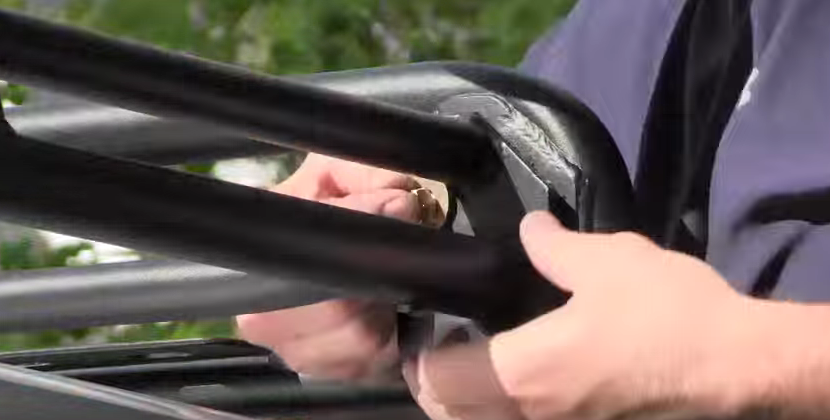
Figure 13. Connect roof rack to front bracket.
Featured Video: Roof Rack Install
Related Discussions
- Roof Rack Write-Up - JK-Forum.com
- Did a Thule Roofrack on 2 Door - JK-Forum.com
- What Do You Think About This Roof Rack - JK-Forum.com
- Best Roof Rack - JK-Forum.com