Jeep Wrangler JK: How to Install Dual Battery Kit
Adding a dual battery setup will virtually guarantee that you have power when you need it the most.
This article applies to the Jeep Wrangler JK (2007-Present).
The beauty of owning a Jeep Wrangler is having the ability to nearly endlessly modify it to your liking. Many modifications are of the electrical type and while this may be perfectly fine as-is with a new battery, once that battery starts to age, all these modifications will start sucking the life out of it real fast. This can quickly turn that outdoor adventure into a lifeless Jeep and a long walk to find a jump or a replacement battery. Get a dual battery setup and install it into your rig before you learn the hard way that this is a must-have modification for any serious adventuring Jeep owner. The dual battery mod is a pretty straightforward job that nearly any DIYer can do. Don't feel like you need to take it to a professional with a strong knowledge of electrical circuitry and spend a small fortune when you can do it yourself on your own time in your own garage.

Materials Needed
- Flat head screwdriver
- Ratchet with extension and 10mm socket
- 10mm box wrench
- Hacksaw or Dremel type tool with cutting wheel
While there are many kits on the market significantly cheaper than the Genesis kit, these instructions follow the Genesis model because it is by far the most popular dual battery setup used by Wrangler owners. This kit is specifically made for the Wrangler and uses very high quality Optima batteries. Because of this design, the fitment is perfect and is the easiest install with no additional necessary modifications to make them work in your Wrangler.
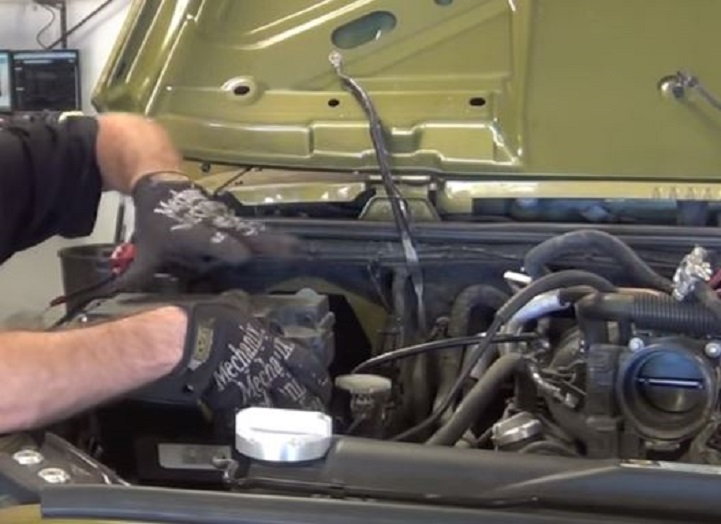
Step 1 – Remove air box or cold air intake system
- Pop the hood latch, raise it, and secure your hood.
- Use a flat head screwdriver to loosen the clamps on your main air hose at the intake. Keep it attached to the air box.
- Disconnect the wiring harness from the main air hose and just move it out of the way.
- Remove the bolts that mount the air box to the frame.
- Pull off the air box and the main hose as one unit.
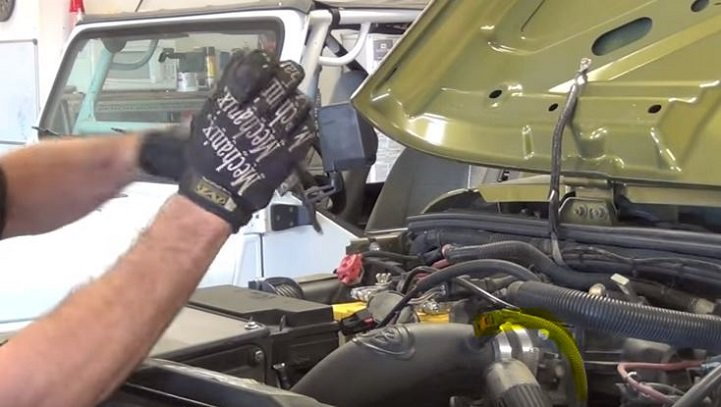
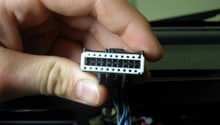
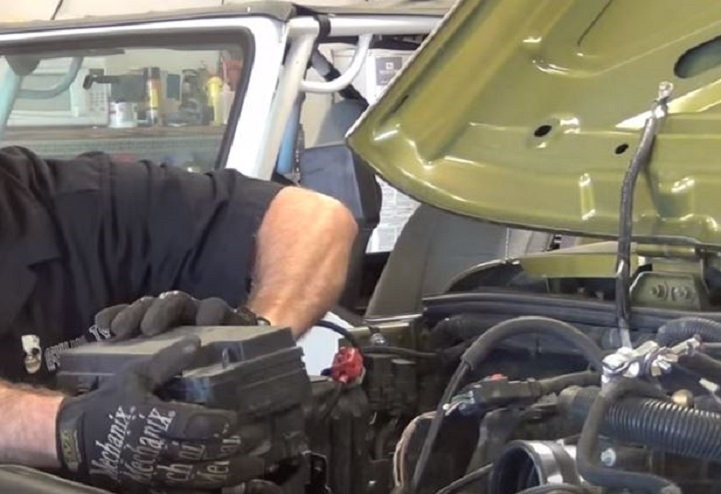
Figure 1. Disconnect this wiring harness quick release clip by pressing in on the sides and it will pop right off the intake hose. 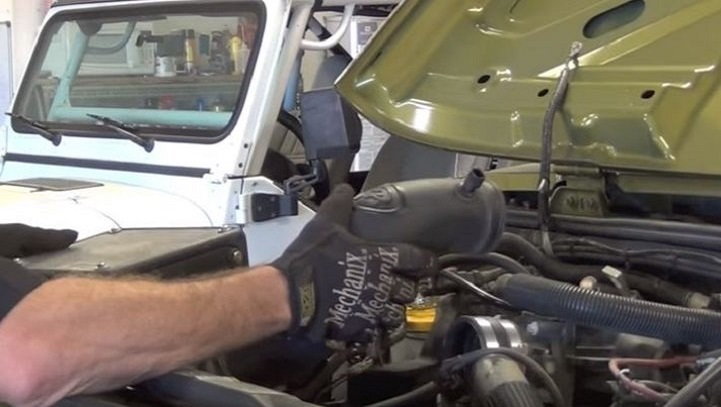
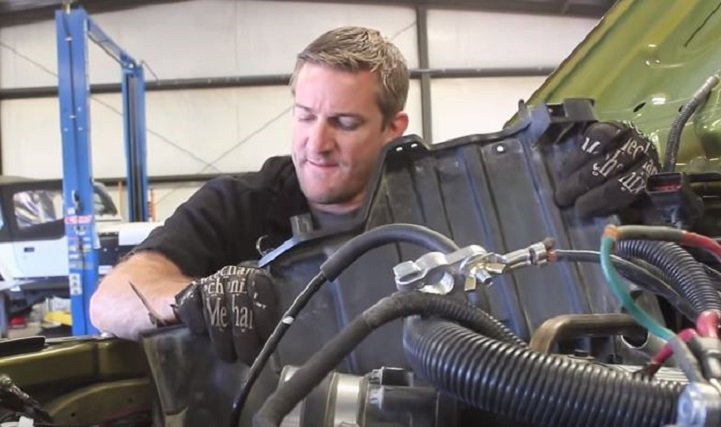
Figure 2. Remove the air box and large hose as one complete unit and set aside.
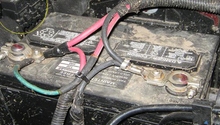
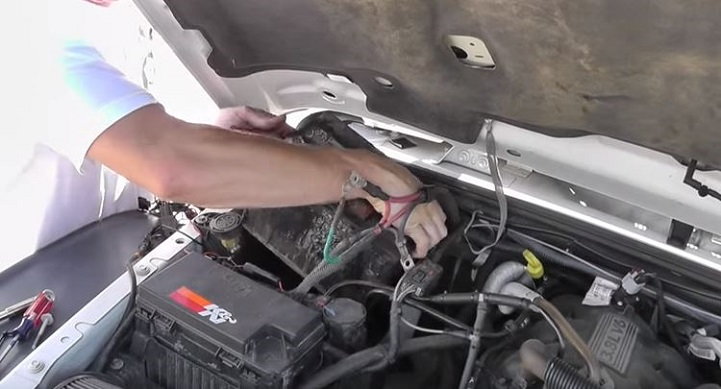
Step 2 – Disconnect and remove your old battery
- Locate your existing battery on the passenger side close to the firewall.
- Use a ratchet with extension and 10mm socket (a box wrench will work on the posts, but the ratchet and extension is needed for the mounting bolt on the battery tray).
- Remove the accessory wires from the battery posts, then remove the main battery terminal cables from the posts.
- Remove the mounting bolt from the battery tray and remove the retention block, as well.
- Lift the battery straight up and out of the engine compartment, then set aside.
Pro Tip
Your old battery is very heavy. Be sure to have a firm grip and avoid dropping it.
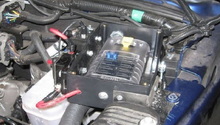
Step 3 – Remove fuse box
There is one screw inside the fuse box that mounts the battery cable in place. Be careful when removing this screw and disconnecting all the wiring. It should lift right out rather easily. All the disconnects wires will be in one large clump. Carefully move them aside; you can drape them over the frame to help hold them out of the way.
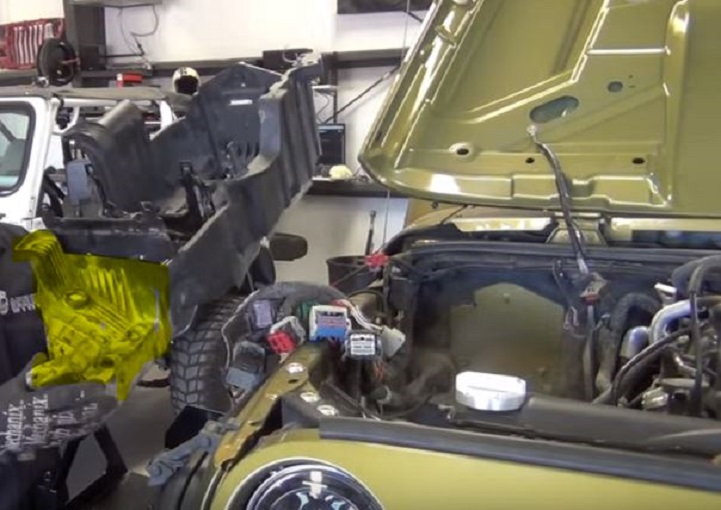
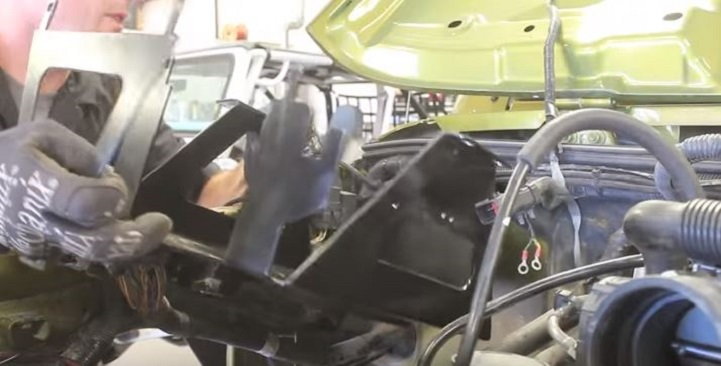
Step 4 – Remove the old battery tray
With the air and fuse boxes as well as the old battery removed, the battery tray can be lifted out. Remove any mounting screws in order to lift out the tray. You will likely have to contort the tray a little to get it out of the engine compartment. Be careful that you don't damage any of the wires trying to pull this large part out. The air box tray is attached to the battery tray as one unit. It will need to be cut out.
Step 5 – Cut out the air box tray from the battery tray
Once the tray is completely out, the front end of it will need to be cut away from the rest of the battery tray.
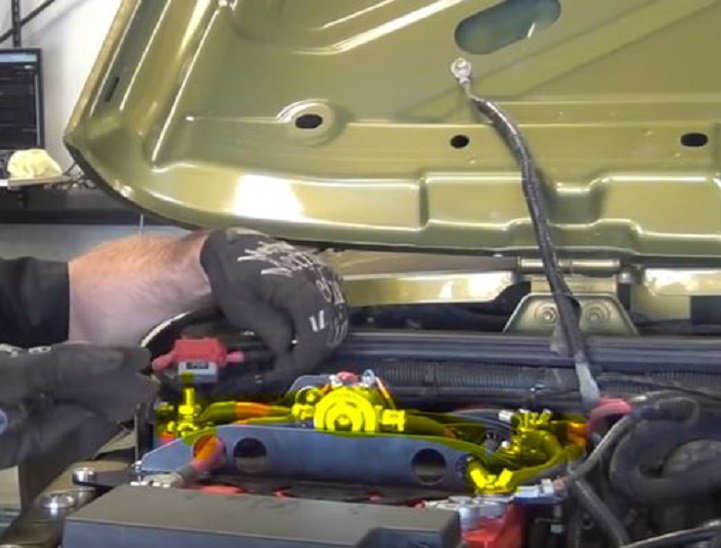
Step 6 – Install dual battery tray
The dual battery tray will have a perfect fitment for your existing mounting hardware for the Wrangler. Slide the new battery tray into place, line up the mounting holes and reinstall the bolts.
Step 7 – Reinstall fuse box
The most difficult part of this process is putting the wires back onto the fuse box correctly and getting them back into place. Once they are reconnected, the fuse box will fit back into place; press down until you hear it click.
Step 8 – Seat the new dual batteries onto the tray
The Optima batteries installed with this kit fit perfectly in place on to the new dual tray. Put one battery in and slide it all the way back to the edge, and then place the second battery right up against the first. They should go in with no trouble at all.

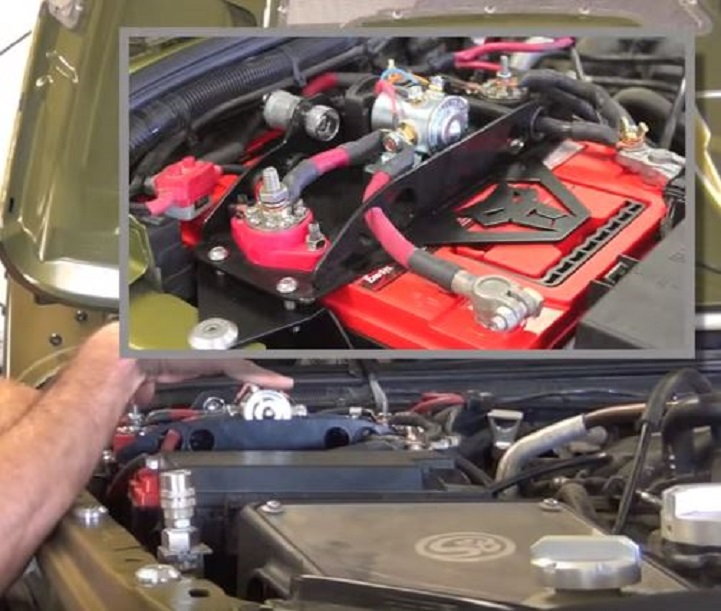
Step 9 – Reconnect battery cables
This particular kit comes with a buss bar system, which avoids all the screws and bolts holding the wires in place. The accessory cables simply plugs right into its own port on the buss bar. The bar sits on top of the batteries in between the posts and all the accessory cables are neatly arranged as well as plugged into it. Feed the battery terminal cables through the frame holes on the buss bar and make the connections to the battery terminal posts. This setup allows the accessories to be wired separately from the cranking wires via the smart isolator that is mounted in between the buss bars on top of the battery. This system isolates the accessories to one battery while the engine is not running, leaving the other battery fully charged for enough power to start the engine. Once the engine is running, the alternator then only needs to recharge one battery at a time, thus preventing the need for an upgraded alternator.
Step 10 – Reinstall the air box
This step is the only step that requires any modification at all. You will need to use the section of the old battery tray that you cut out in Step 5 above. This is the tray used for the air box mount. Once you have it cut out, it will slip right in and the bolt holes will line right back up. Insert this tray back in place and replace the three mounting bolts. Once that is in place, the air box assembly will fit back in and click into place. Be sure to reconnect your air hose, tighten the clamps back nice and snug; don't forget to reconnect the quick release wiring harness. Once you have the air box reinstalled, start your Jeep, watch for any warning lights or codes and take her for a test run. You are ready for that great outdoor adventure and won't have to worry about a drained battery and getting stranded out in the middle of nowhere.
Featured Video: How to Install Dual Battery Kit in Jeep Wrangler
Related Discussions
- Genesis Dual Battery Setup - JK-Forum.com
- How to Connect Multiple Accessories to Battery - JK-Forum.com
- Genesis Offroad JK Dual Battery Install - JK-Forum.com