Jeep Wrangler JK: How to Install Cruise Control
Cruise control is one of those utilities you don't think you need until you have to drive for hours on end. This article will show you how to install cruise control to your Jeep Wrangler.
This article applies to the Jeep Wrangler JK (2007-Present).
Not every Jeep Wrangler comes with cruise control. That's understandable because not every Jeep driver needs cruise control. But if you're driving on a straight highway for a long time, you'll quickly start to miss it. Thankfully, Jeep made it really easy to install cruise control. It's simple enough that anyone can install it. Follow the instructions below and you'll have working cruise control in no time.

Materials Needed
- Mopar cruise control kit part #82210216
- Flat head screwdriver (S-shaped preferred)
- Ratchet with 13mm socket and extension
- T20 Torx screwdriver
- Phillips screwdriver
- Needle nose pliers
- 10mm socket or wrench
Warning
Before beginning this tutorial, use a 10mm socket or wrench to disconnect the battery. Wait a few minutes for any stored charge to leave the car's electrical system. This how-to involves working with the SRS system and airbags, which can be lethal when mishandled.
Step 1 – Remove the airbag
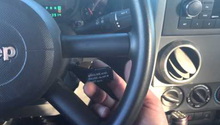
Tilt the steering wheel down as far as you can. On the back of the steering wheel you'll see three holes. Insert a flat head screwdriver in each hole and push in the locking tabs. Because of the awkward angle, it's better use a screwdriver with a curved end. Pushing in the tabs will result in the airbag assembly coming loose. Carefully push in the clips on the two yellow airbag connectors, then disconnect the airbag and set it aside.
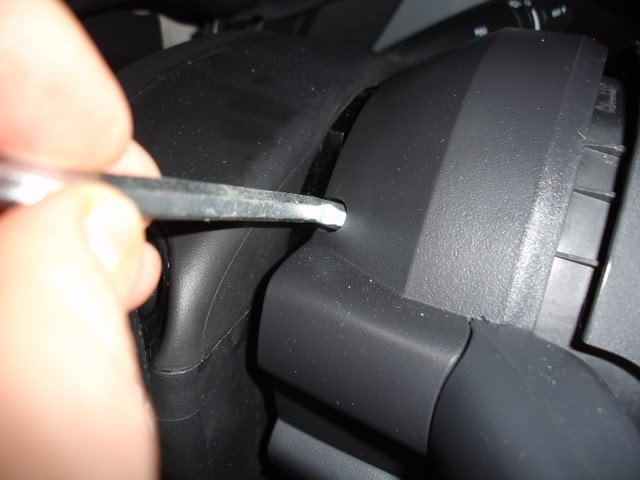
Figure 1. Push in the tabs on the back of the steering wheel. 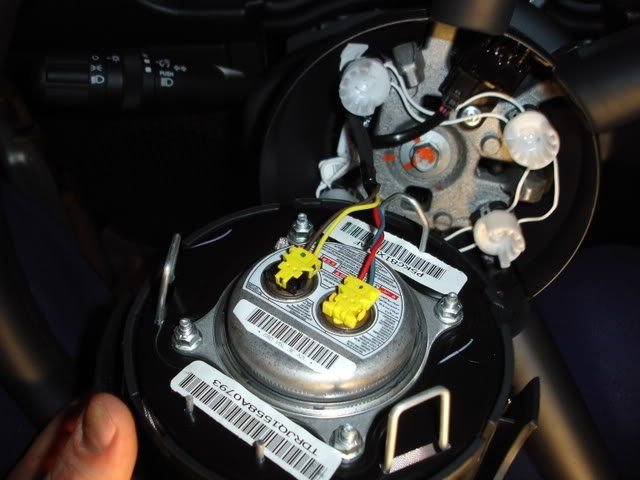
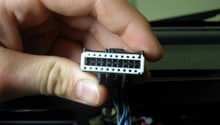
Figure 2. Disconnect the yellow airbag connectors.
Pro Tip
It's vitally important to make sure that the battery is disconnected and the airbag drained of power. Accidentally setting off the airbag could result in self-injury.
Step 2 – Remove the steering wheel
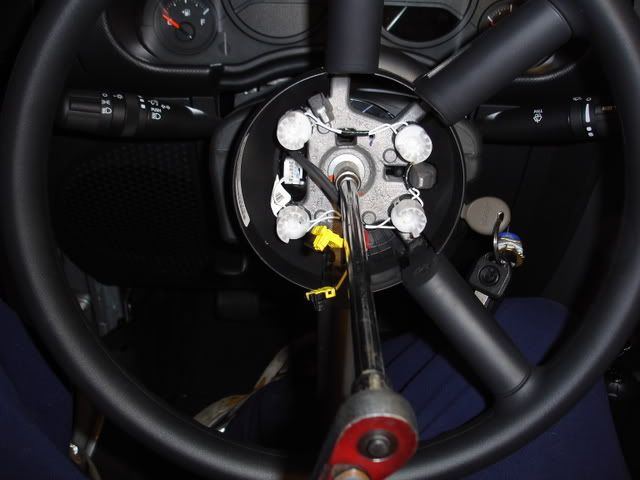
Unplug the small white horn connector and the larger white accessories connector. With a 13mm socket and extension start loosening the center bolt holding the steering wheel to the steering column shaft, but don't remove it entirely. Squeeze the sides of the steering wheel and start rocking it towards you. When it pops out, it should be caught by the center bolt. After that just remove the bolt and slide the steering wheel off the shaft.
Pro Tip
Once again, there is a possibility of self-injury if you're not careful removing the steering wheel.
Step 3 – Replace the horn button harness
On the back of the steering wheel there are four Torx screws. Remove these and the back plastic panel should come off. This will reveal the back of the horn buttons. Use a pair of pliers to squeeze the ends of the horn buttons and push them in. Do this for all the horn buttons until the entire harness comes loose. Your kit should come with a new horn button harness. Push in the horn buttons until they click into the steering wheel, moving clockwise around the steering wheel starting with the last horn button on the new harness.
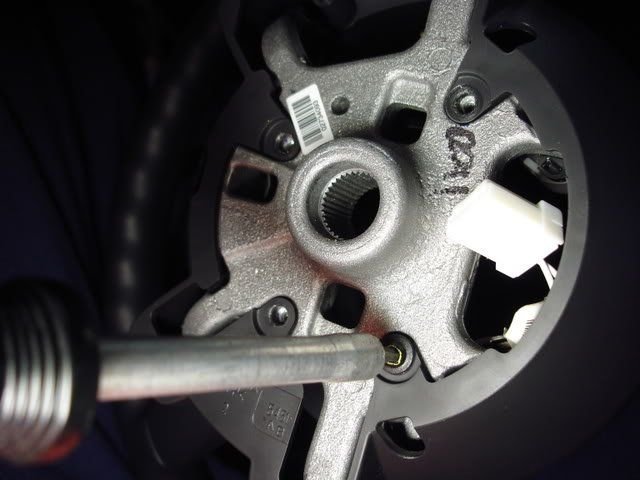
Figure 4. Remove the Torx screws on the back of the steering wheel. 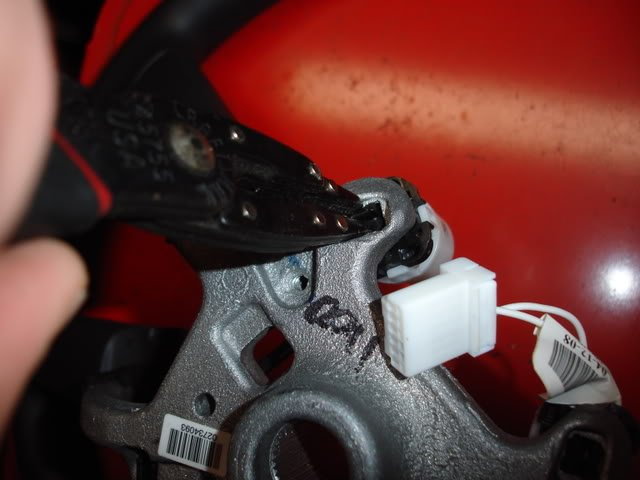
Figure 5. Push in the clips on the back of the horn buttons. 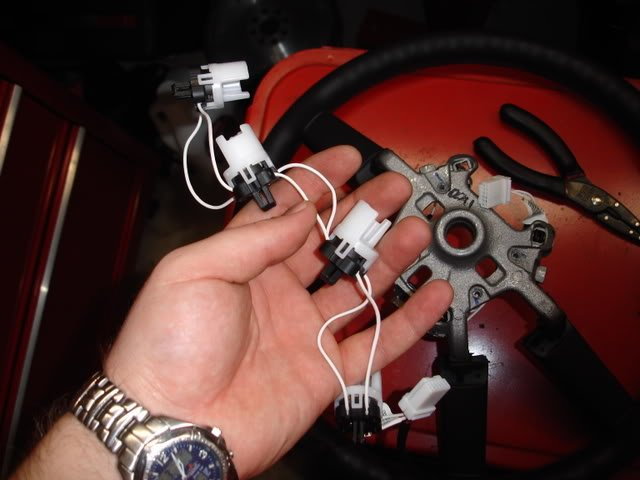
Figure 6. Remove the horn button harness. 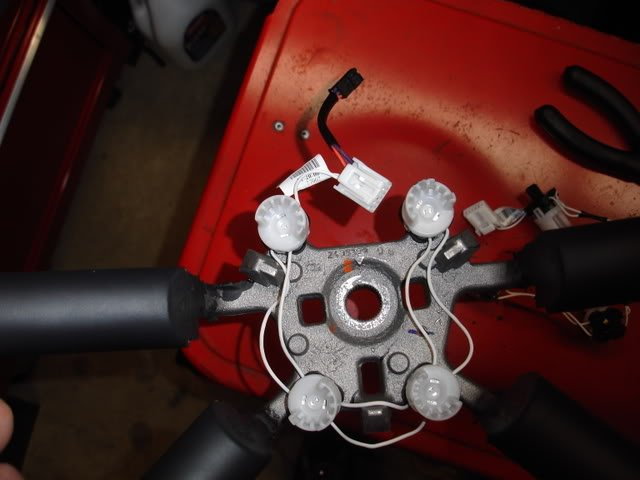
Figure 7. Install new horn button harness.
Step 4 – Install cruise control lever
There should be a new back panel for the steering wheel in your kit. Install it to the steering wheel and tighten down the four Torx screws. The new back panel leaves an opening where you can install the cruise control lever. Secure the cruise control lever to the steering wheel by tightening down three Phillips screws: two on the back and one on the front. Plug in your new wiring harness to the cruise control lever. After that you need to plug in the horn button connector and the accessories connector. Align the steering wheel with the steering column and slide it back onto the shaft. Tighten down the center bolt. Reconnect the airbag connectors. Then return the airbag assembly to the steering wheel. Reconnect the battery, and then take your jeep out to a highway to try out the cruise control.
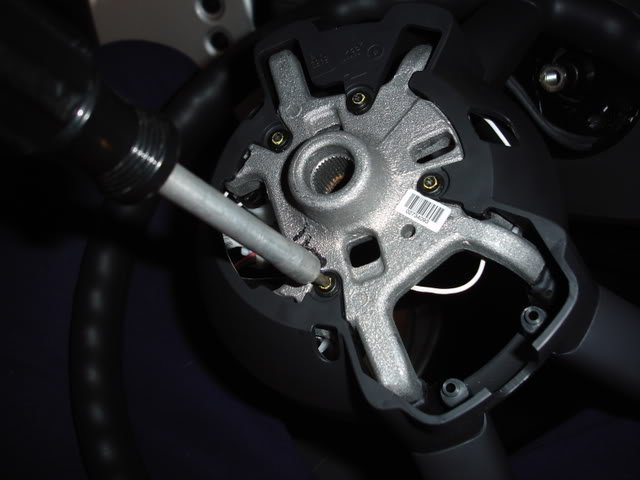
Figure 8. Install new back panel. 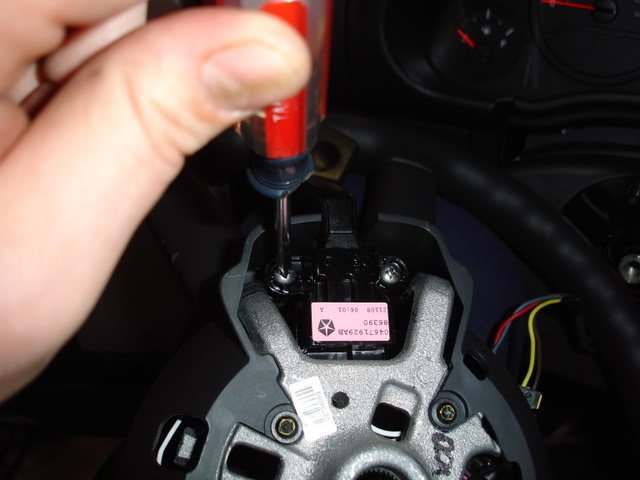
Figure 9. Install cruise control lever. 
Figure 10. Install cruise control lever. 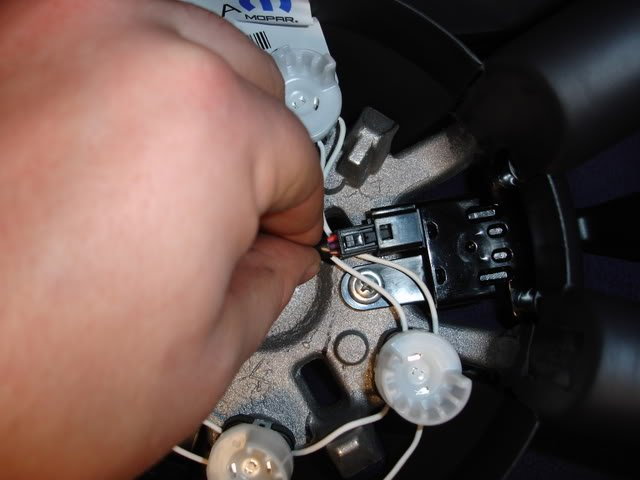
Figure 11. Plug in the harness.
Related Discussion
- Installing Cruise Control - JK-Forum.com

