Jeep Wrangler JK: How to Change RER to RHR for MyGIG Head Unit
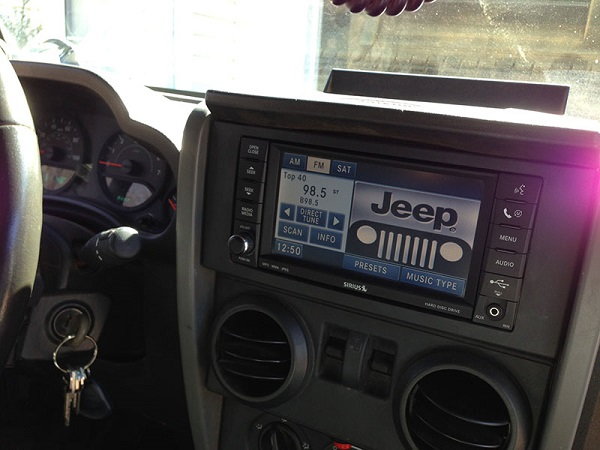
The MyGIG is a solid infotainment system for the Jeep Wrangler JK. The RER is a bit of a dated version—if you find yourself frustrated by this system in your car and want to upgrade to an RHR or other option, read on to learn how.
This article applies to the Jeep Wrangler JK (2007-Present).
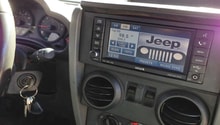
The MyGIG is a solid unit, and a nice add-on by Chrysler to its Jeep Wrangler vehicles. Between navigation and satellite radio, there are plenty of options for keeping you informed and entertained on the road.
But if you’re finding yourself a bit frustrated by an older unit that’s simply dated and in need of an upgrade, here’s how you can do it yourself at home.

Materials Needed
- Flat head screwdriver
- Phillips head screwdriver
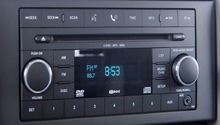
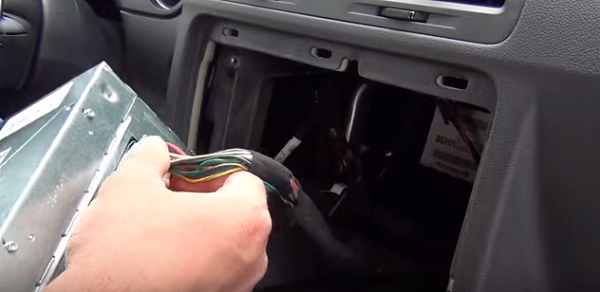
Step 1 – Remove radio
Using a flat head screwdriver, pop the dash off the face of the radio. Remove the panel gently by pulling forward. There are four 7mm screws–remove them and pull the radio out. Unplug all wires without damaging them.

Step 2 – Run jumper kit
Open glove compartment, pull down drawer, un-hinge door to drop it to floor—this will give you access to the Uconnect module.
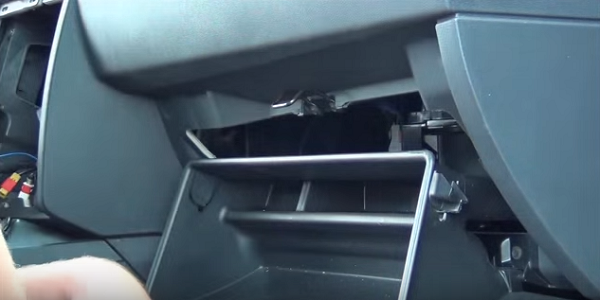
Disconnect the two cables going into the Uconnect module and plug them into your new radio’s jumper kit.
Close the glove compartment.
Step 3 – Install RHR radio
Plug in the existing radio harness; if you are using the aforementioned jumper kit, this is where you connect the new wires (do not connect the existing Uconnect harness—it’s now useless if you upgraded to the jumper kit).
Plug all wires into their appropriate connectors (marked accordingly on the rear of the RHR radio)—this includes AM/FM connector, GPS, and USB connector.
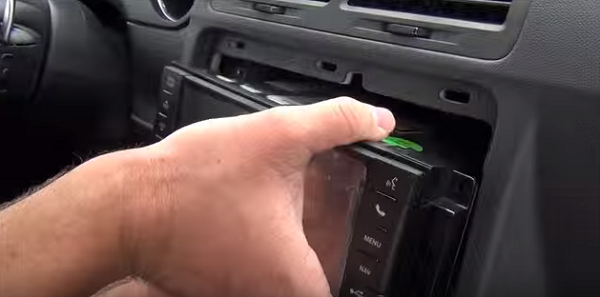
Slide the radio into its hosting slot, re-install four screws, and snap face plate back into place.
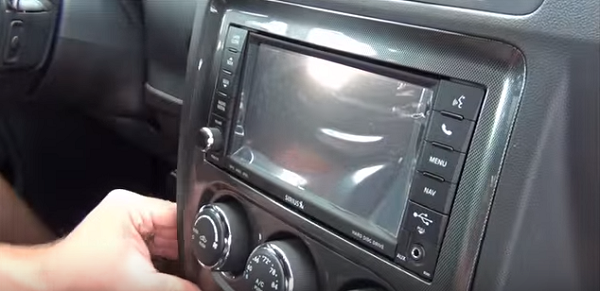
Now run through the menu and adjust the settings, so that your navigation is set up in the appropriate state, radio settings are saved accordingly, etc.
Related Discussions
- Write-up MyGig RHR 730n Install 2007-2010 JK - JK-Forum.com
- OEM Nav Unit: What Should I Look for When Replacing RES - JK-Forum.com
- Factory RES, RHR, RER Use Same Mic - JK-Forum.com
- Radio Swap - JK-Forum.com