Jeep Wrangler JK: How to Change Programming Features
Control the features on your Jeep Wrangler using these easy-to-follow programming sequences.
This article applies to the Jeep Wrangler JK (2007-present).
By following a few key sequences you can safely and effectively enable or disable programming features in your Jeep Wrangler. While there are a number of programming features for which this is true, we will go over the top three here. Don't worry, though. We've included a fuller list of instructions at the bottom of this guide for your convenience. Let's get started with the first programming sequences!

Materials Needed
- Valet key
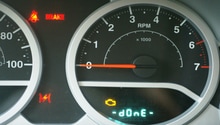
Step 1 – Disengage the seat belt reminder chime
- Start with the ignition switch in the "OFF" position and your seat belt buckled.
- Switch the ignition switch to the "ON/RUN" position, but be careful not to start the engine. The seat belt reminder light will disappear from the dashboard at this time.
- You will have 60 seconds to perform the following steps, so move swiftly and correctly: Start your vehicle, and then buckle and unbuckle your seat belt three times within a 10-second period. Your seat belt should be fastened by the third pass.
- The seat belt reminder chime is now disengaged.

Pro Tip
According to your owner's manual, it's recommended that you do not keep your seat belt reminder chime disengaged for a long period of time, as forgetting to wear your seat belt is highly dangerous and illegal.
Step 2 – Control the automatic door lock feature
This feature is an important one because it automatically locks your doors as soon as your jeep begins traveling at least 15 miles per hour. Here's how to enable or disable the feature:
- With the driver and all passenger doors closed, place your key in the ignition.
- Turn the ignition switch for four passes, cycling between the "LOCK" and "ON" positions.
- The final pass should end with the ignition switch in the "LOCK" position.
- Lock your vehicle doors using the power door switch, which is part of your driver-side front door controls.
- Listen for a chime.
- When you hear the chime, programming is complete.
- Repeat the above steps to enable the feature again the future.
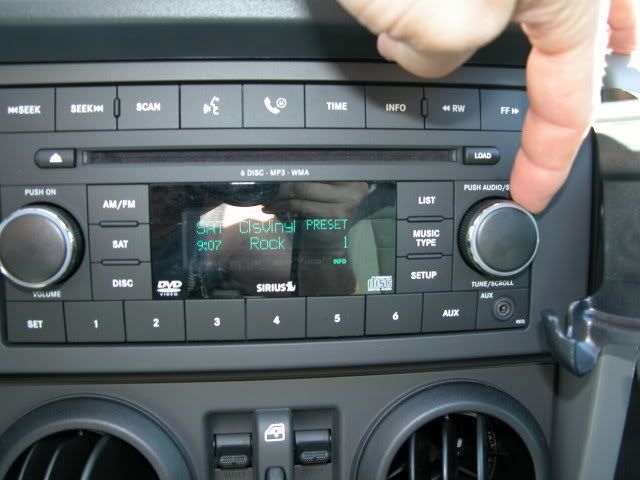
Step 3 – Set your clock
- Locate the "TIME" button, then press and hold it.
- Continue to do so until the hours begin blinking on the display.
- Using the right-side "TUNE/SCROLL" knob, set the current hour.
- Press the knob once more to set the minutes, and begin making adjustments as needed.
- Once the minutes and hours are set and saved, which is done by pressing the knob for a final time after each entry is made.
- Wait five seconds for programming to end.
- Alternately, press the "SETUP" button, and then select "SELECT HOME CLOCK."
- Set the hour, and then minutes for the current time, and save the entry by pressing the "TUNE/SCROLL" knob after each pass.
Step 4 – Seek professional assistance
If you continue to experience with one or more features you wish to either engage or disengage, it's highly recommended that you visit a trusted mechanic or local Jeep dealer for further assistance. Avoid continuing to engage your vehicle, as there could be a larger mechanical problem that you are not trained to diagnose.

Step 5 – Check the Related Discussions section below
For more programming sequences, check the Related Discussion link located at the bottom of this guide. It contains 11 additional programming sequences that you are sure to enjoy, including how to program your key and how to turn off flashing turn lights.
Related Discussion
- Additional Programming Features - Jk-forum.com