Safari Strap Cargo Net Tutorial.
#1
___________________STOP PEAKING AND OPEN THE DARN THREAD_____________________________
__________________________________________________ __________________________________________________ __________________
Safari Strap Style Custom Cargo Net Tutorial
__________________________________________________ __________________________________________________ __________________
Safari Straps are a company who make High Quality Cargo nets for jeep and cost from $200 to $500 I have a picture of it below. For alot less money and some know how with a sewing machine you can make custom cargo netting. I had recently sent the company an email about straps for my tube doors (They have made them for another member in the past). They told me they where far to busy to do custom request. Since then I have done a ton of research and found out how easy it is to sew this webbing material as well as how cheap the supplies are.. For under $100 you can make any of there Cargo Nets they sell or make custom designs like me. So here is my tutorial so anyone can make there own.
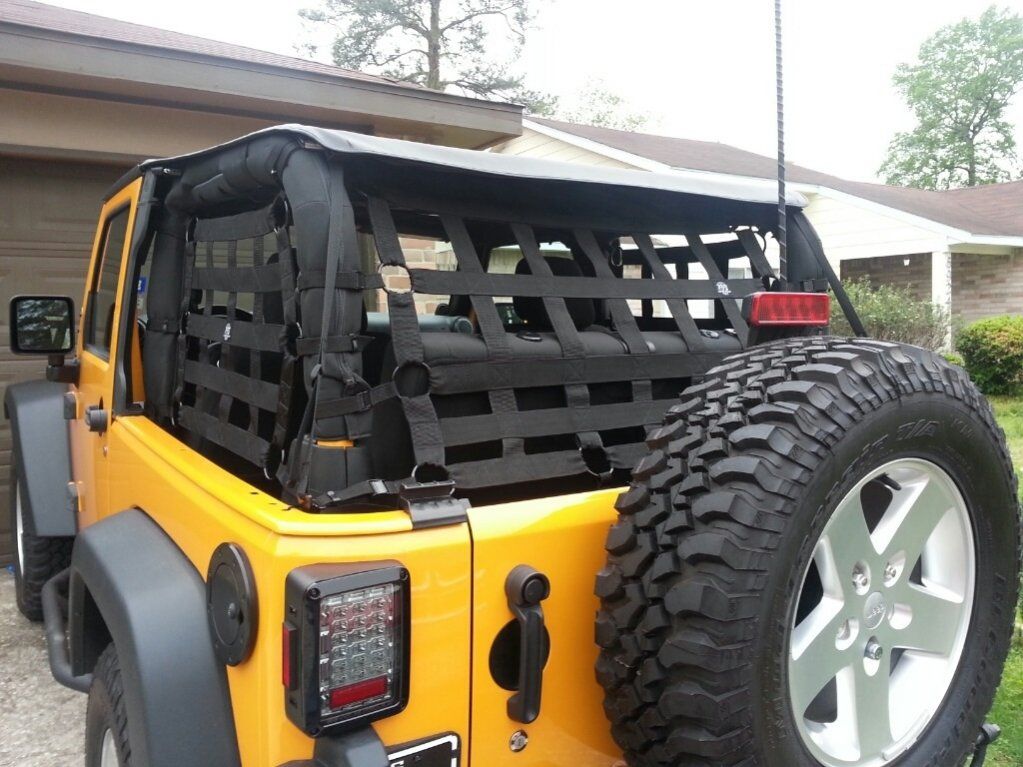
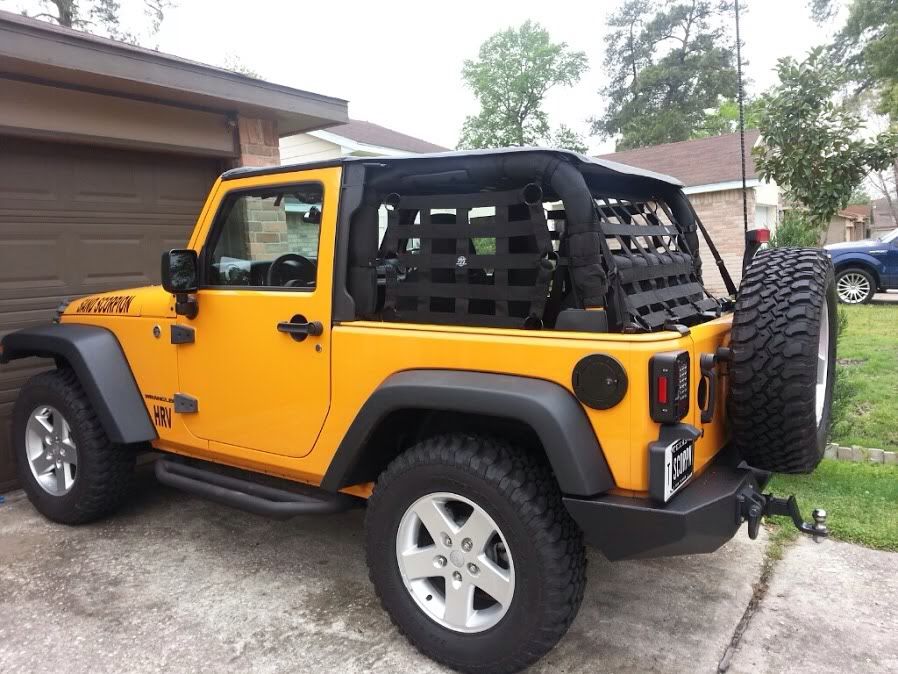
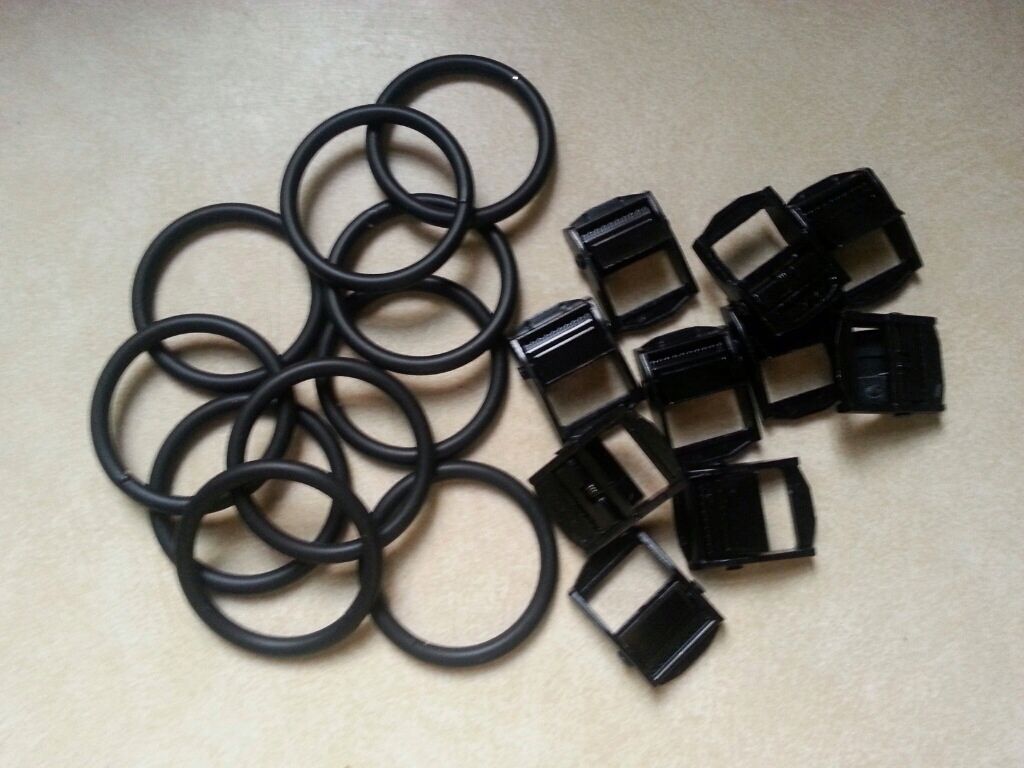
I have found the same exact material they use online I was able to get 75 feet of the 2 inch straps for $13 and 150 feet of the 1 inch straps for $12. All the metal hardware 10 2 inch rings and 10 strap buckles like the ones safari straps uses was $28 total.
__________________________________________________ __________________________________________________ __________________
Where to Buy The Materials
__________________________________________________ __________________________________________________ __________________
The webbing and O-rings can be purchased in any color.

Amazon Webbing
2 inch webbing 25 yards $13.99
1 inch webbing 50 yards $12.99
STRAP WORKS COUPON CODE "AR15" 10% OFF
Metal O Rings $.28 - $2.06 each
Black metal cam buckles $1.62 each
2 Inch Webbing in all colors $0.27 per foot
1 Inch Webbing in all colors $0.18 per foot
US CARGO COUPON CODE 5% off "CARLA5"
These Cam Buckles are cheaper but only come in nickle color!!!
Metal Cam Buckle $.99 each
__________________________________________________ __________________________________________________ __________________
Making The Anchors
__________________________________________________ __________________________________________________ __________________
Anchors are used to wrap around tubing and keep the webbing tout.
Ratchet cam buckles are used to hold the straps in place around the roll cage my first batch came in they have a nickle fininsh. I have some coming in powder coated black I will post pictures of those when I get them.
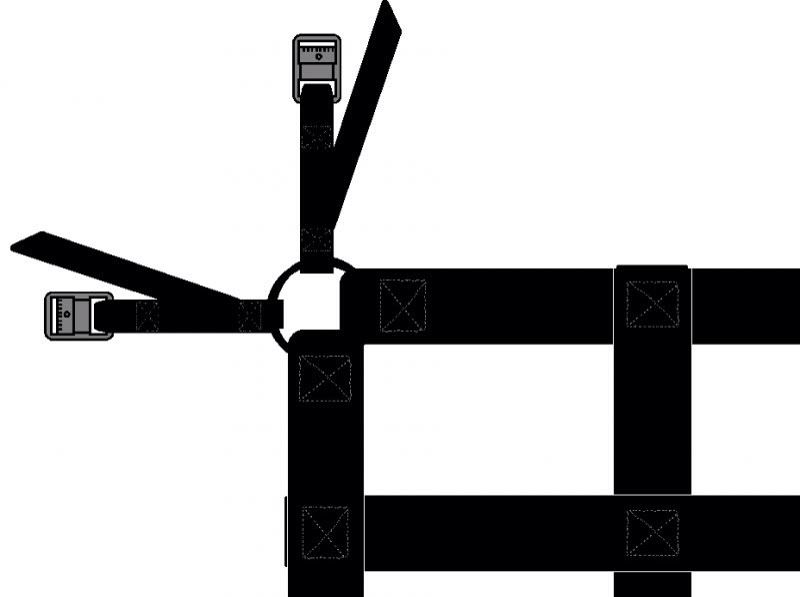
For the anchor straps they will be made like this.
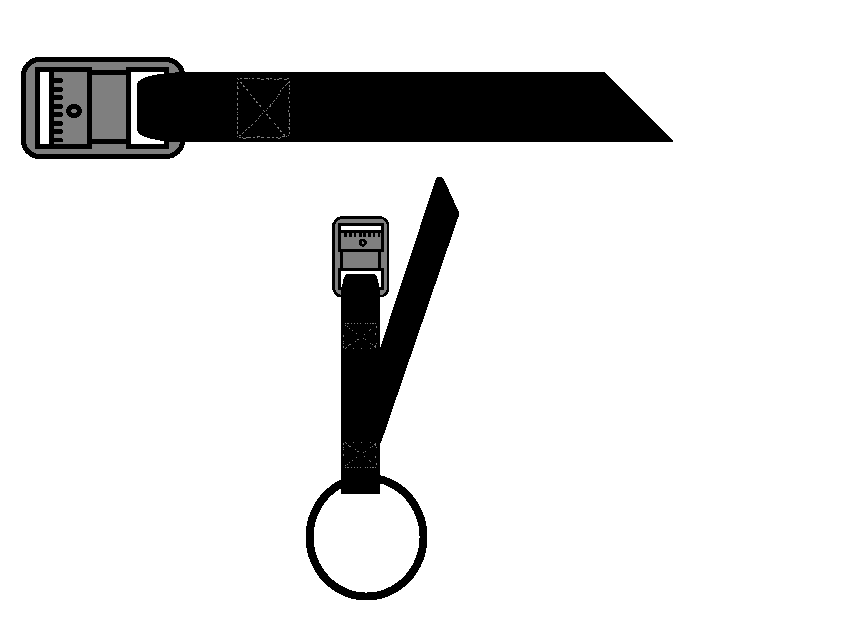
here is how the corner anchor points will look.
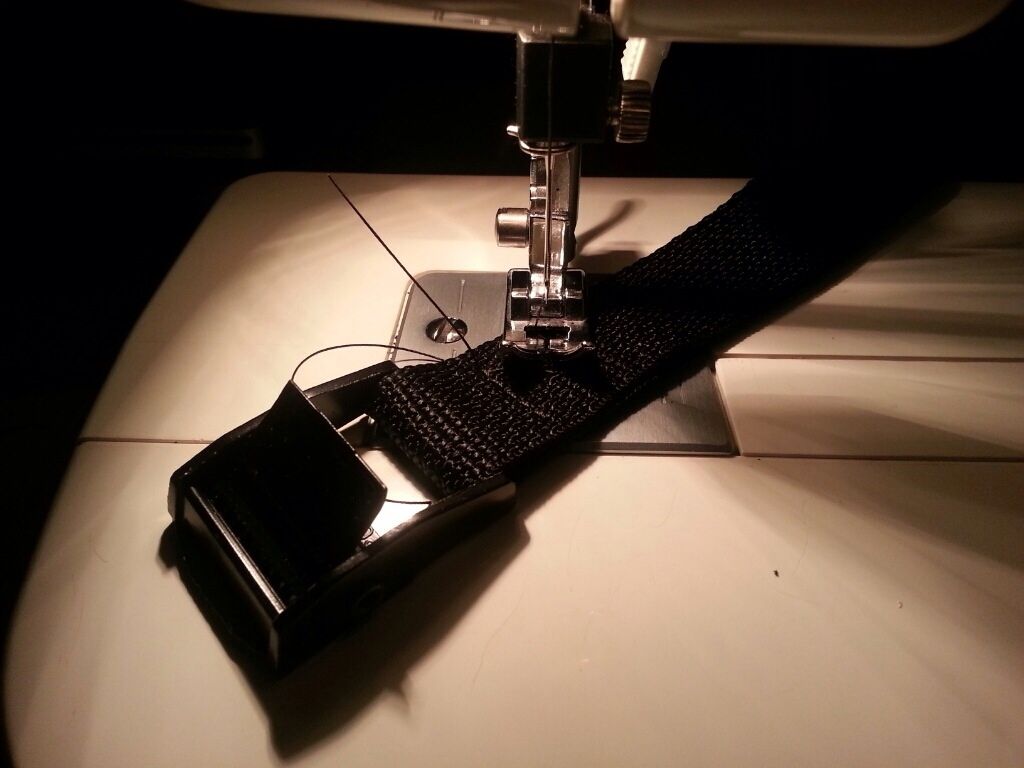
First you will need to sew one end to the buckle make sure you fold the unfinished end to the back of the buckle
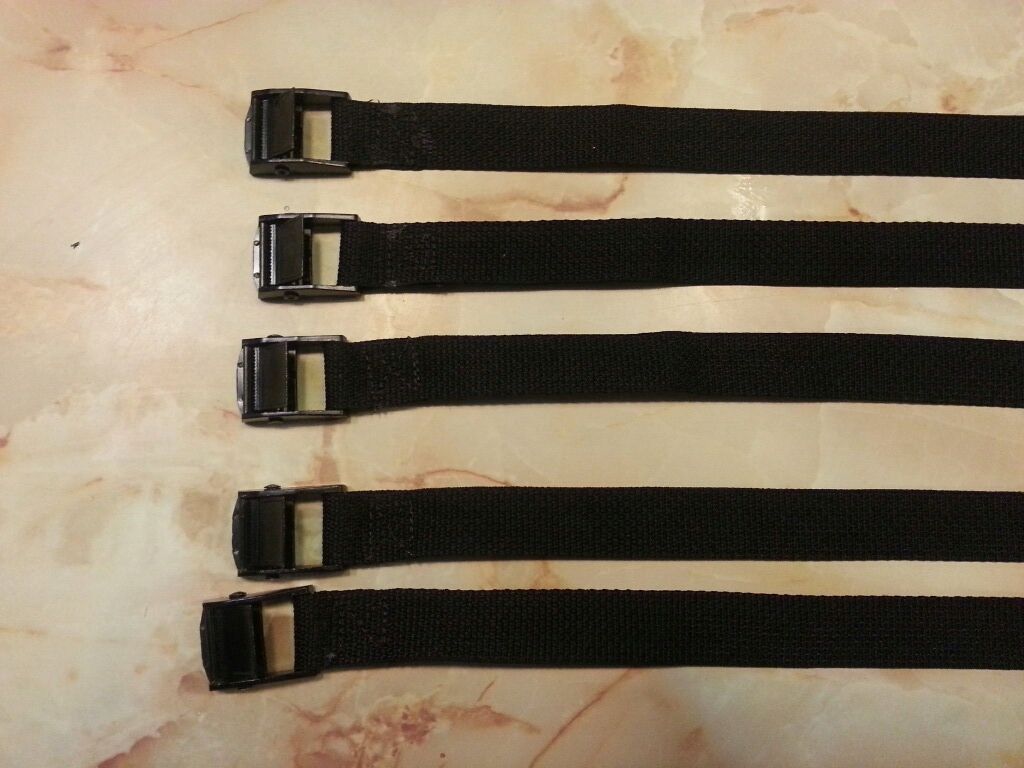
Here are my finished buckles.
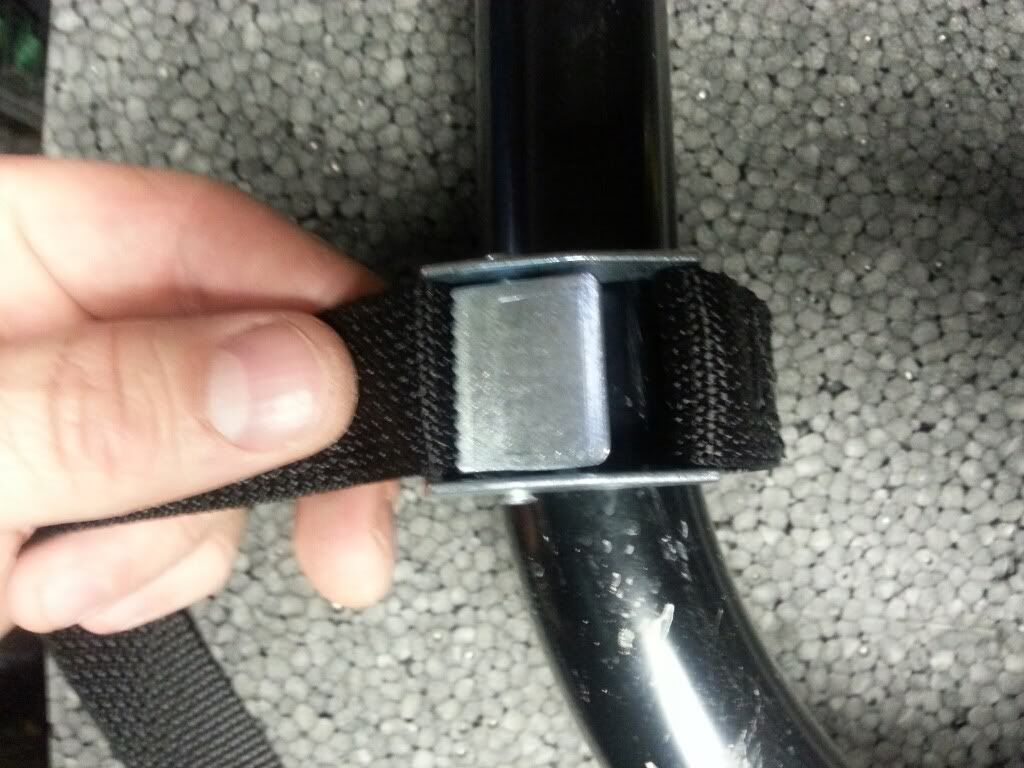
With the ratchet mechanism it will be able to grab tightly to the tubing.
__________________________________________________ __________________________________________________ __________________
Making the Cargo Net
__________________________________________________ __________________________________________________ __________________
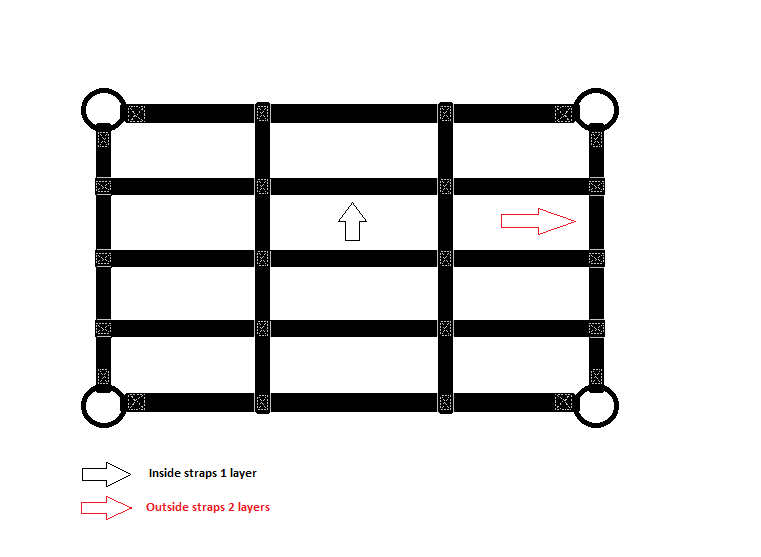
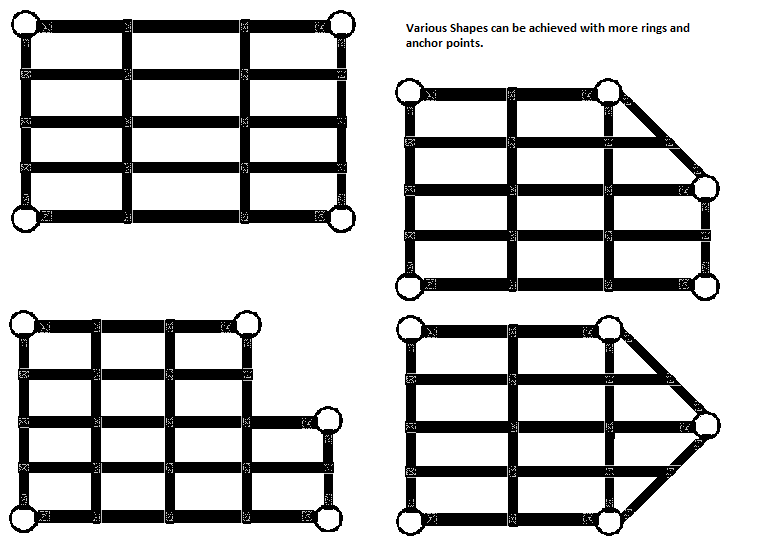
Making the actual netting is fairly simple you want to create finished edges so you dont see cut ends you do this by folding strapping between two layers and stiching them together see ilistration. Note the inside strapping is only 1 layer thick unless it is connected to a ring. All straps that are connected to a ring are 2 layes thick.
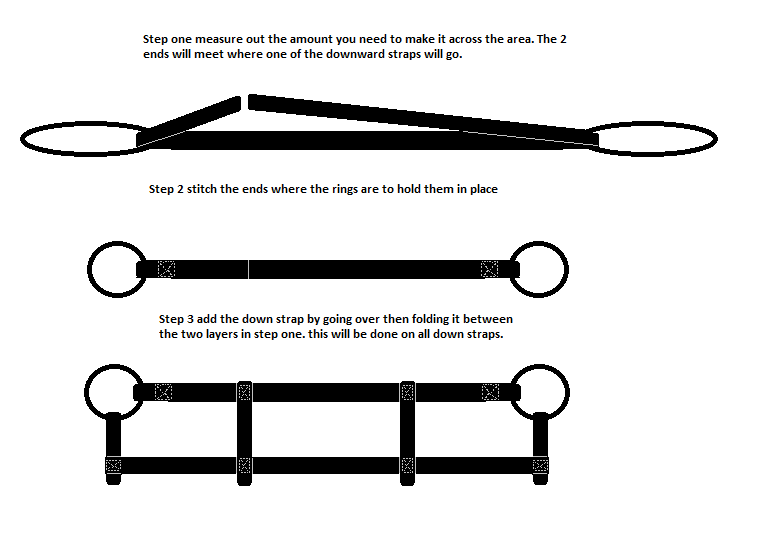
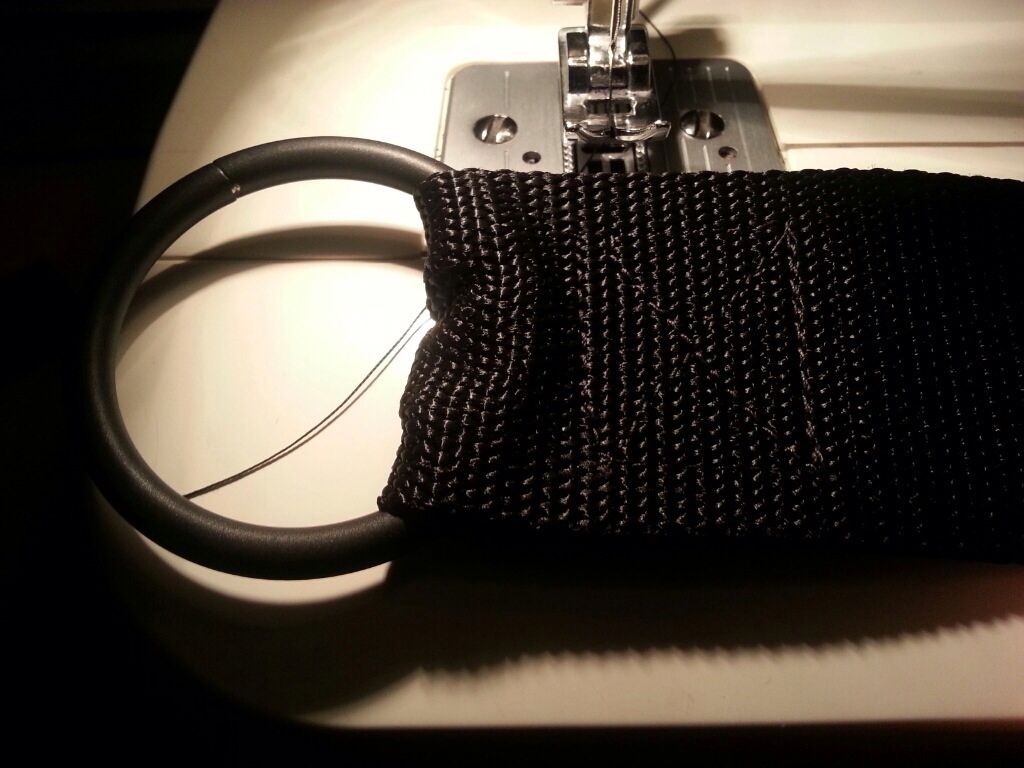
Sewing the rings make sure you stitch as close as possible to the ring so there is not to much play in it.
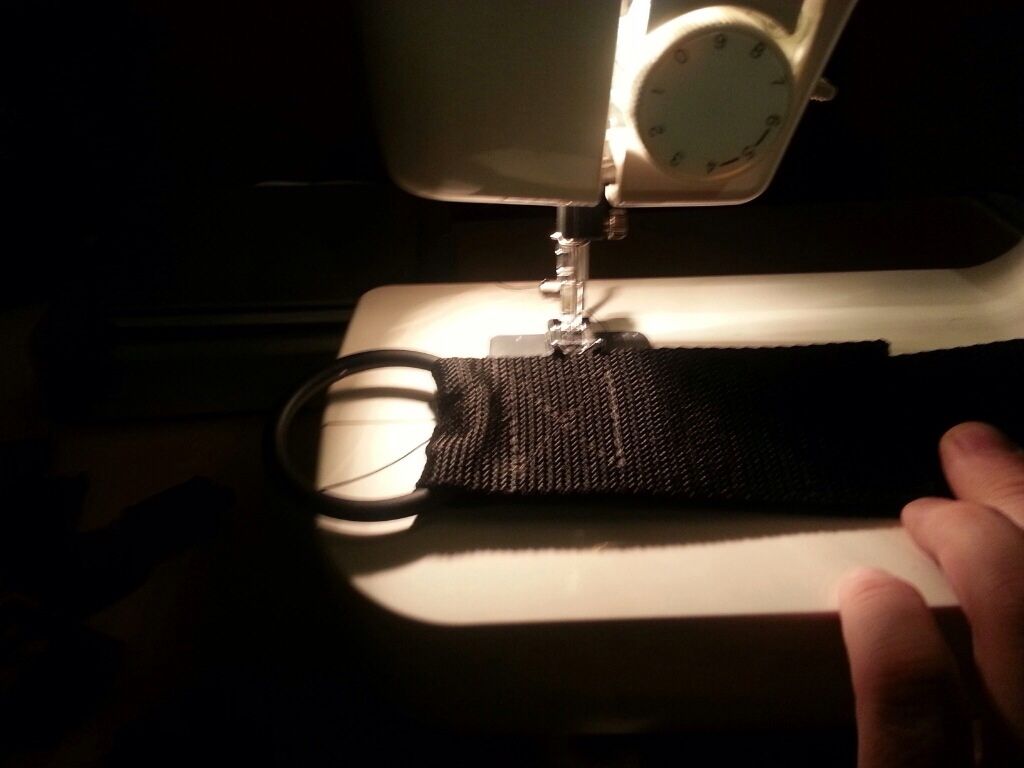
Remember in the illustration above how we hid the finished edges by going over and tucking between the two pieces here is where the crossing strap will cover the two cut ends.
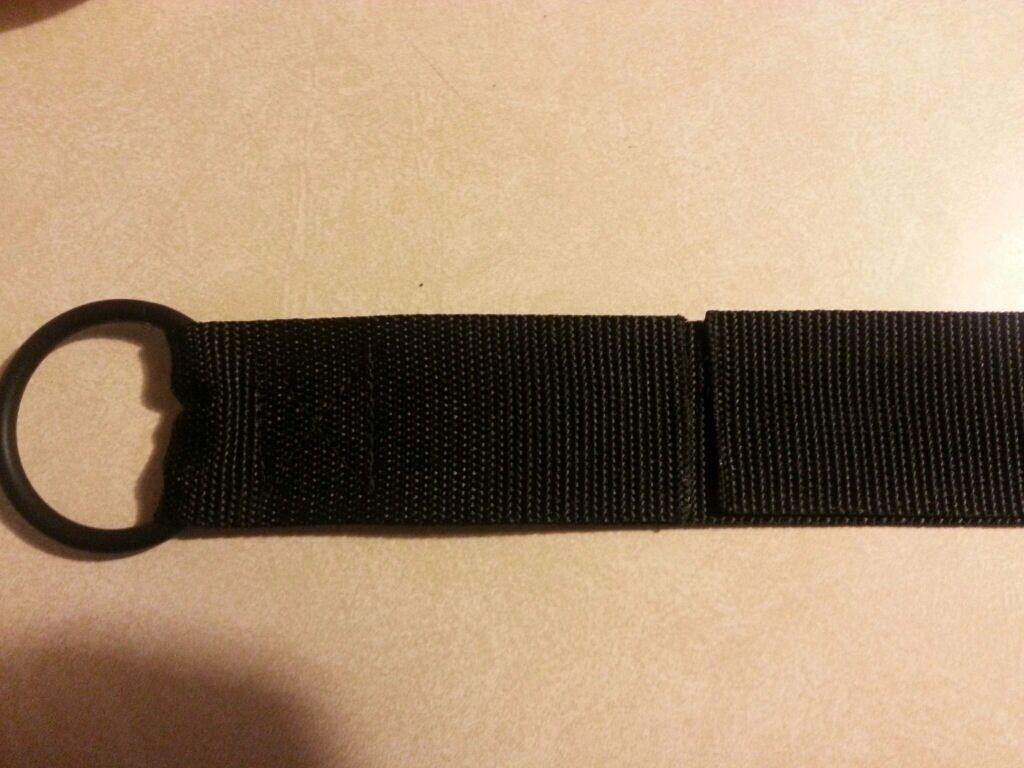
You want to make the first two pieces that span across. This is the piece that will stretch across the two furthest virtical bars. Make sure the rings fall short to these bars by at least a half inch or more.
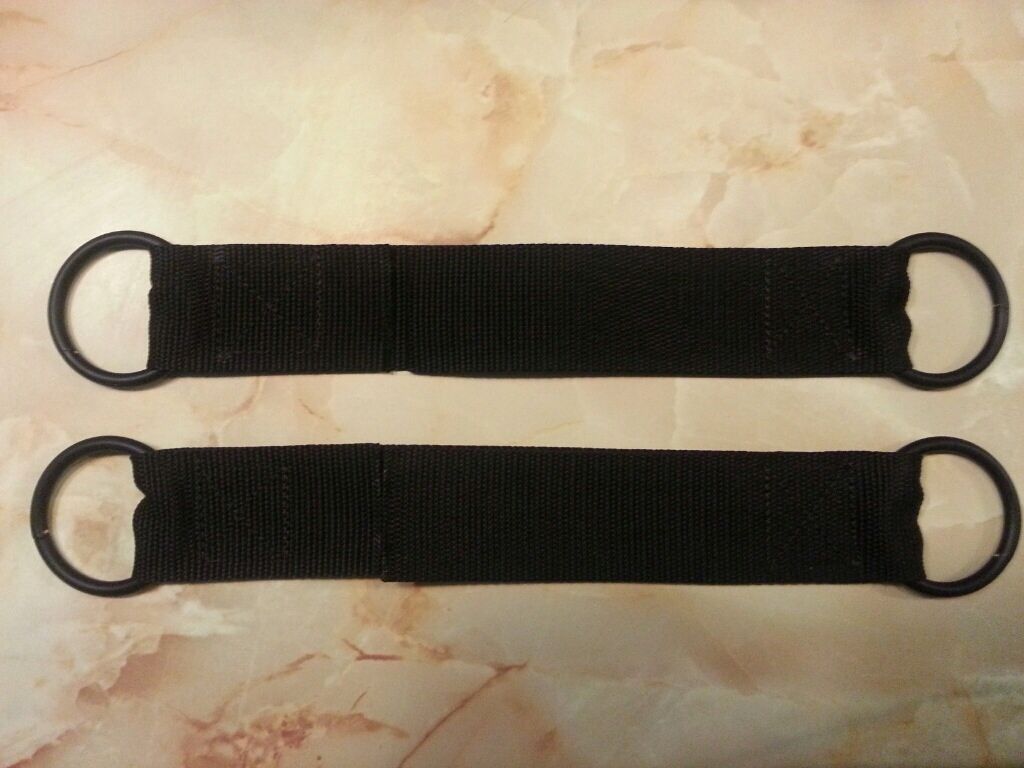
Once the two longest straps are done create the frame of the cargo net.
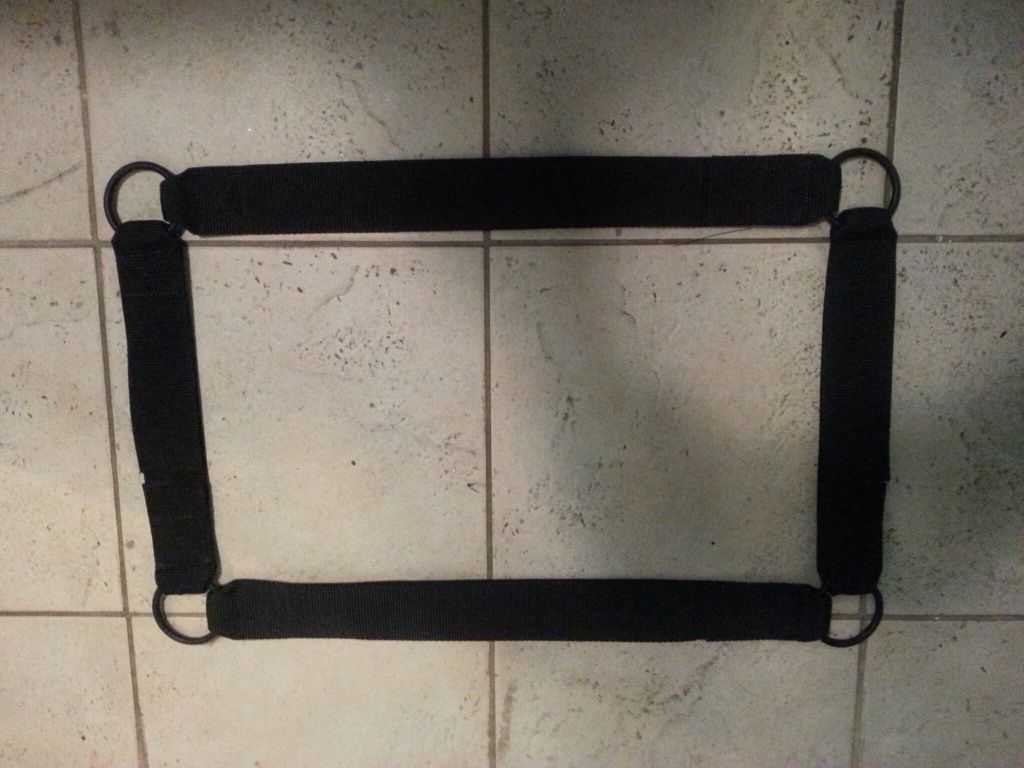
Now that you have the frame done start adding any pieces that connect outside the frame and the horizontal straps. Remember to go over any in finished edges like the illustration above.
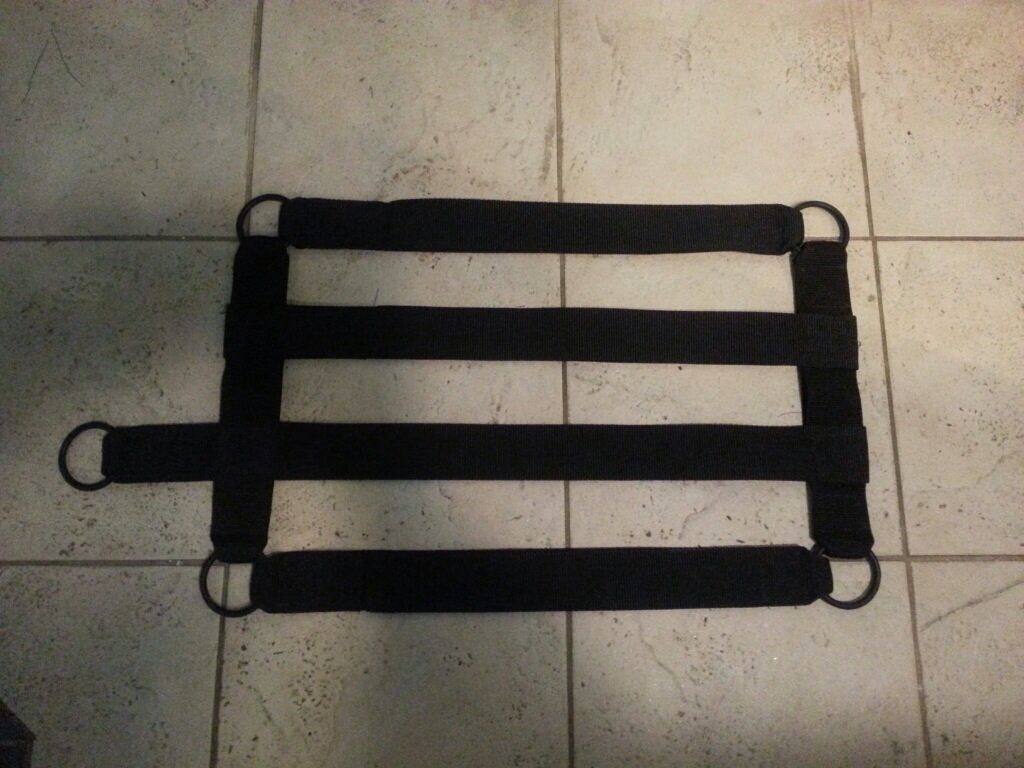
Finally add the rest of the vertical straps finalizing the cargo net portion of the project.
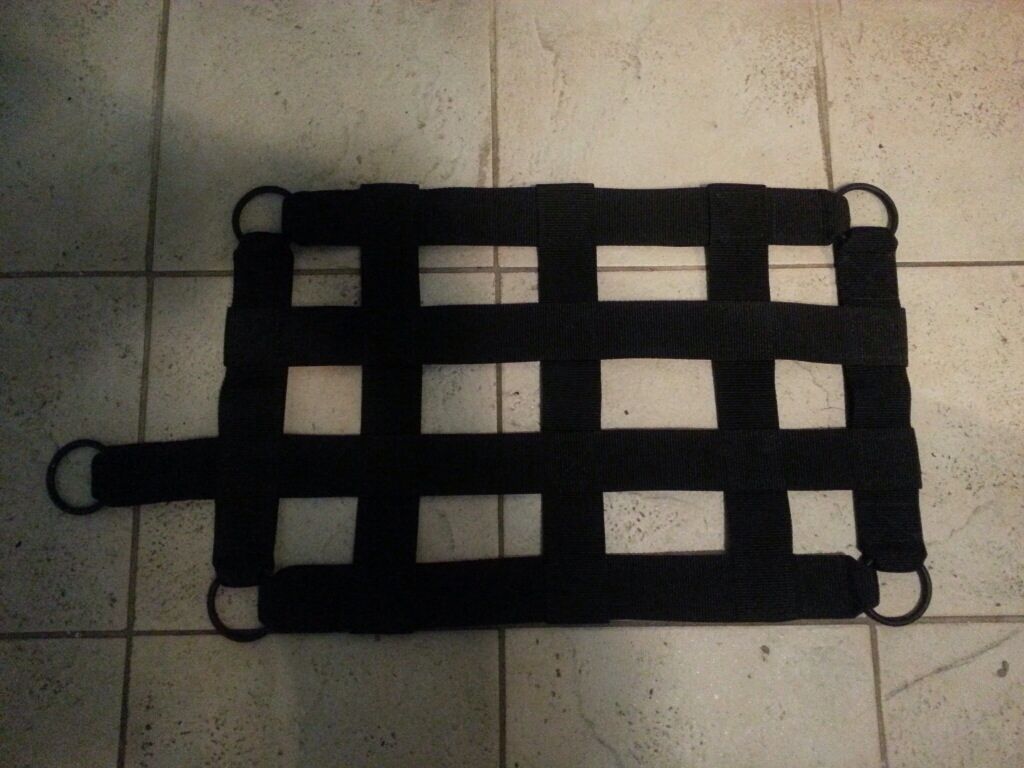
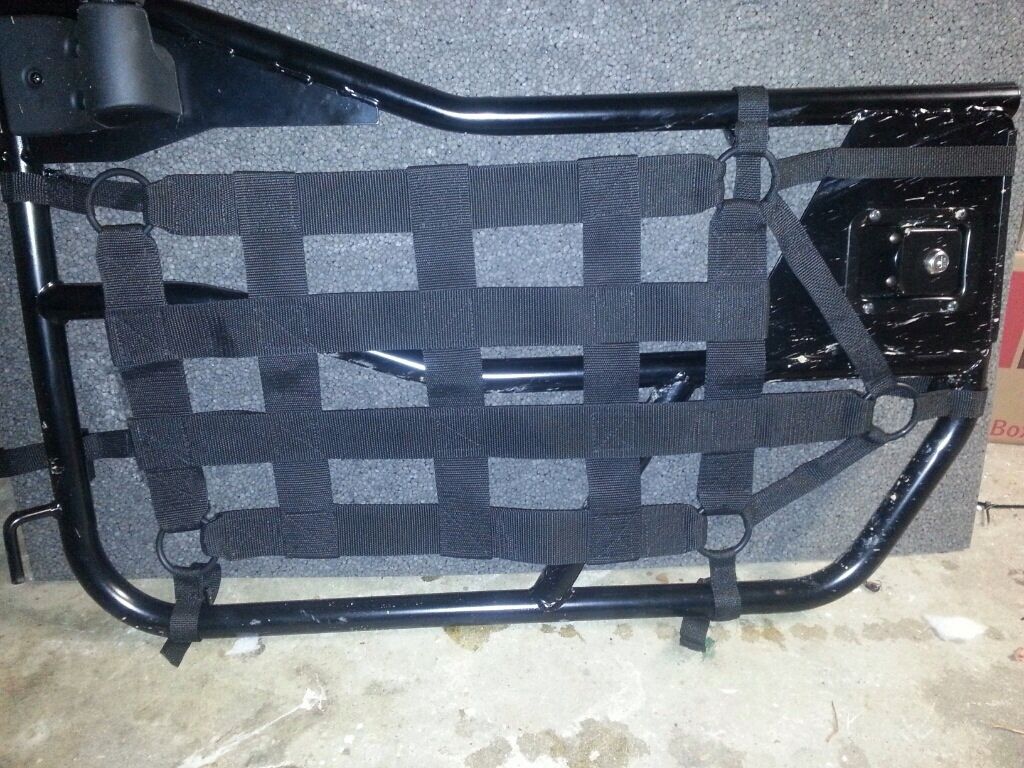
Here is my finished product.
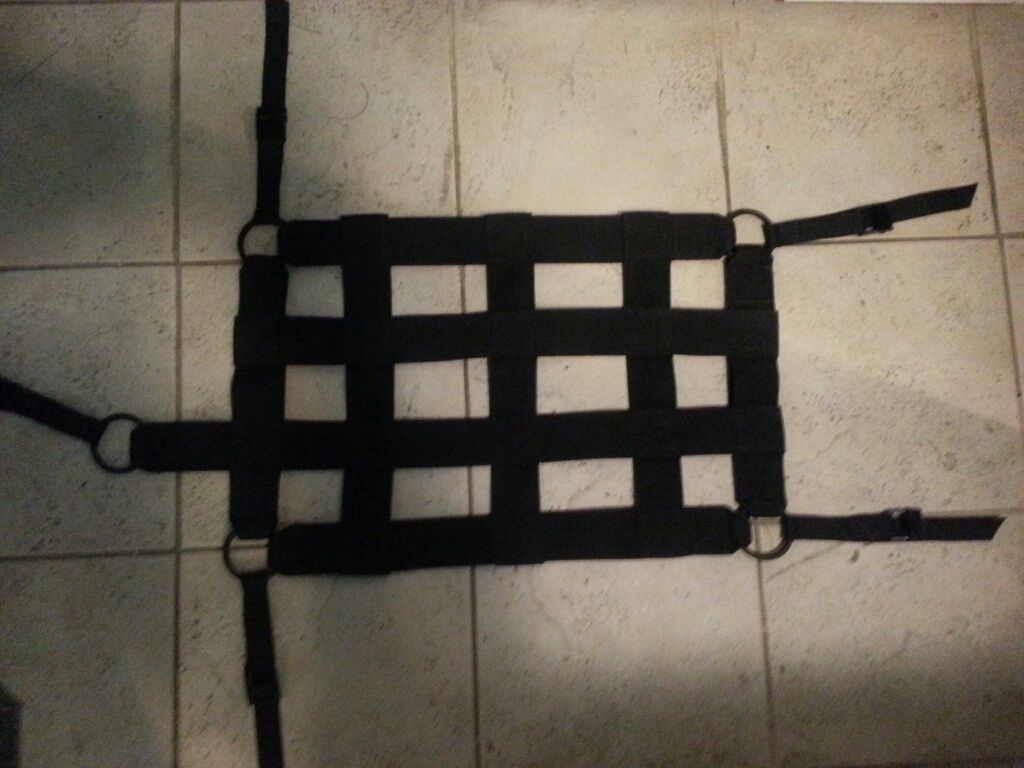
Here it is on my doors I may need to add more anchors.
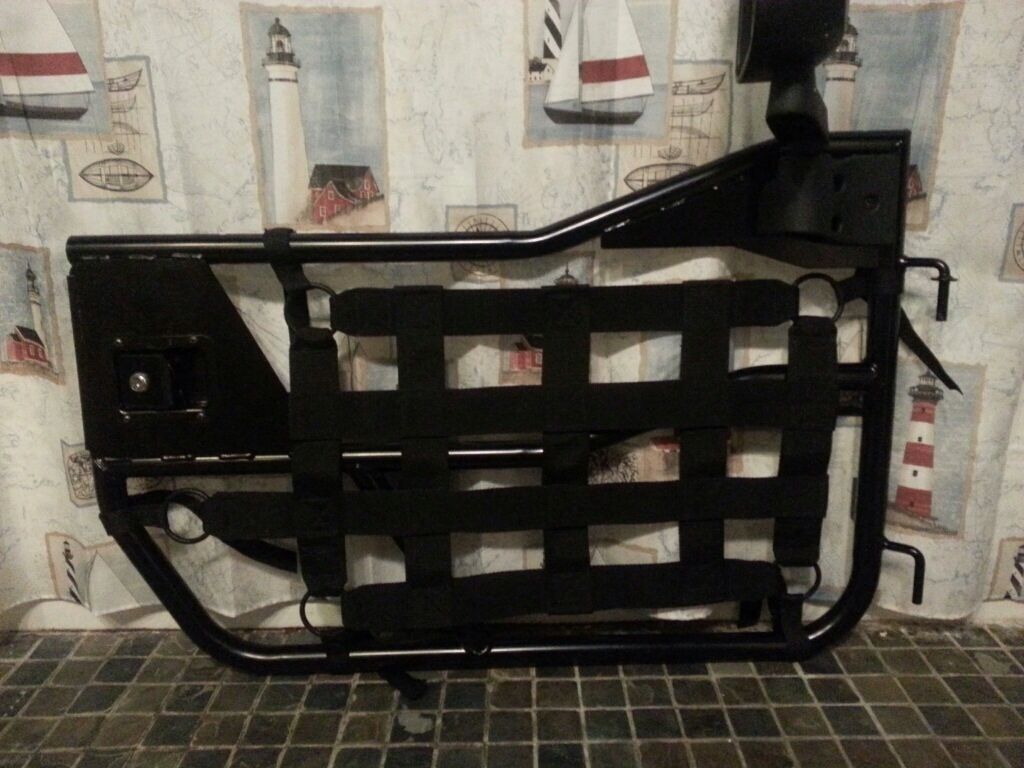
Here it is on my car.
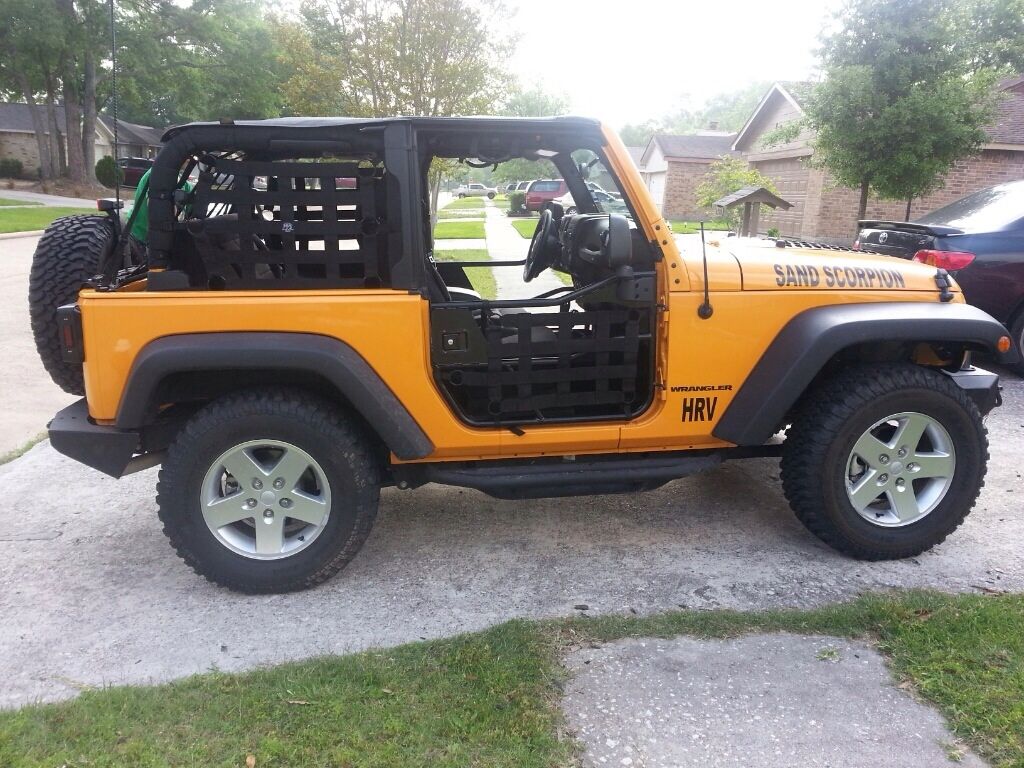
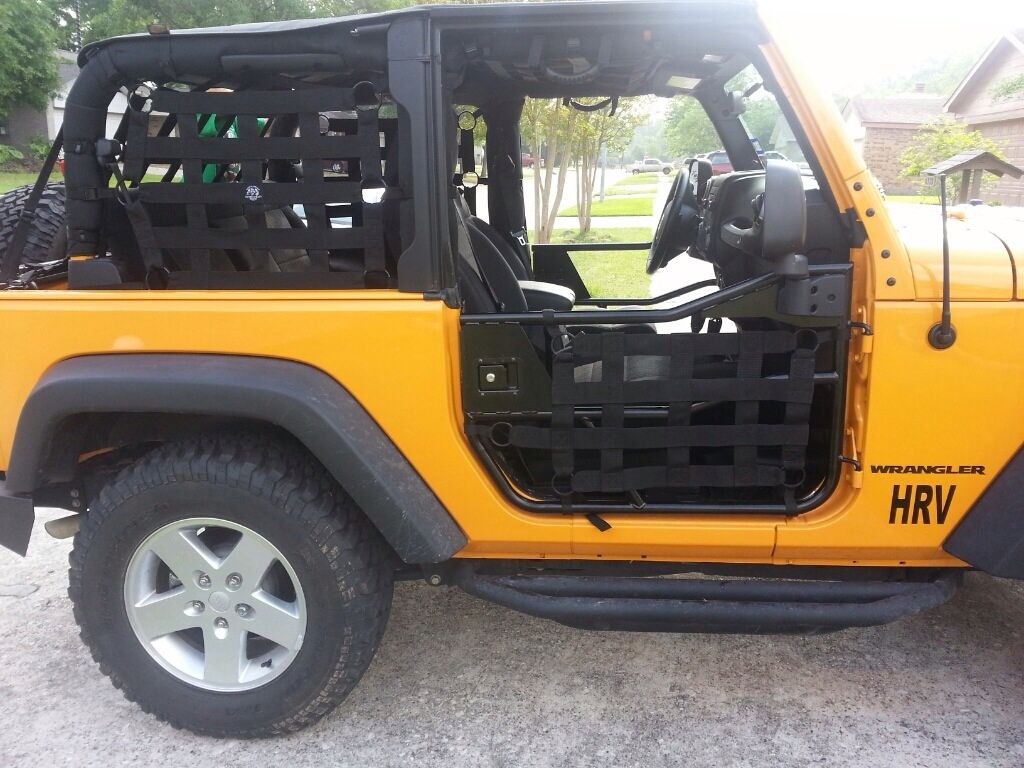
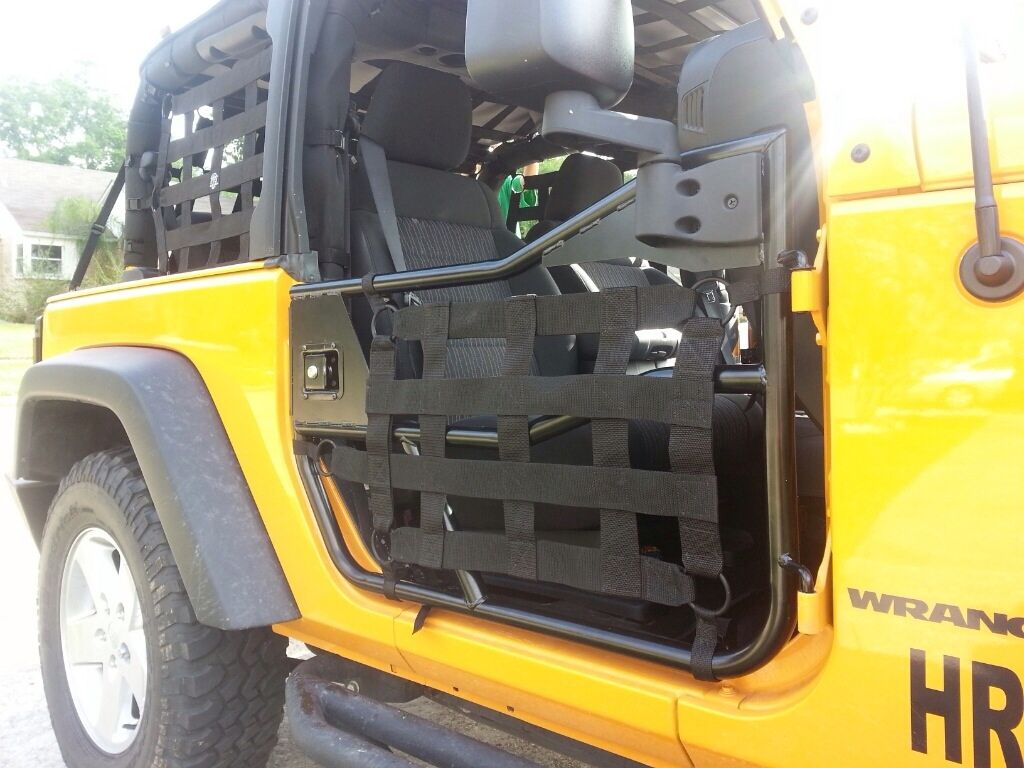
Here is safari straps brand for referrence..
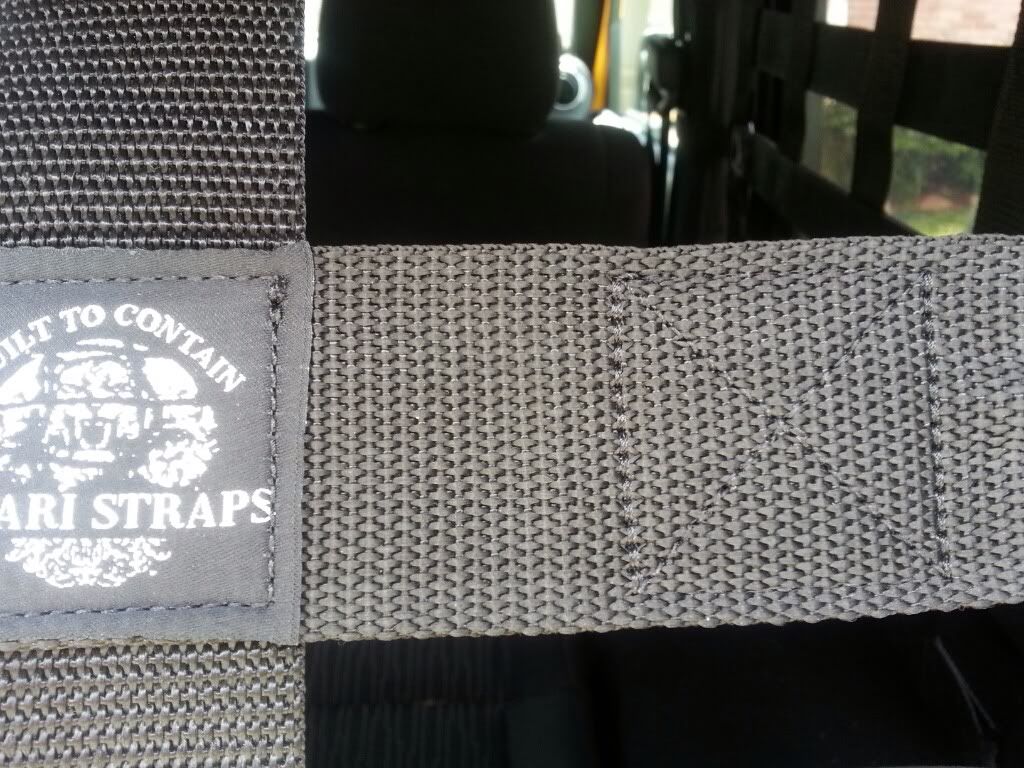
Here is one of there anchor points for reference.
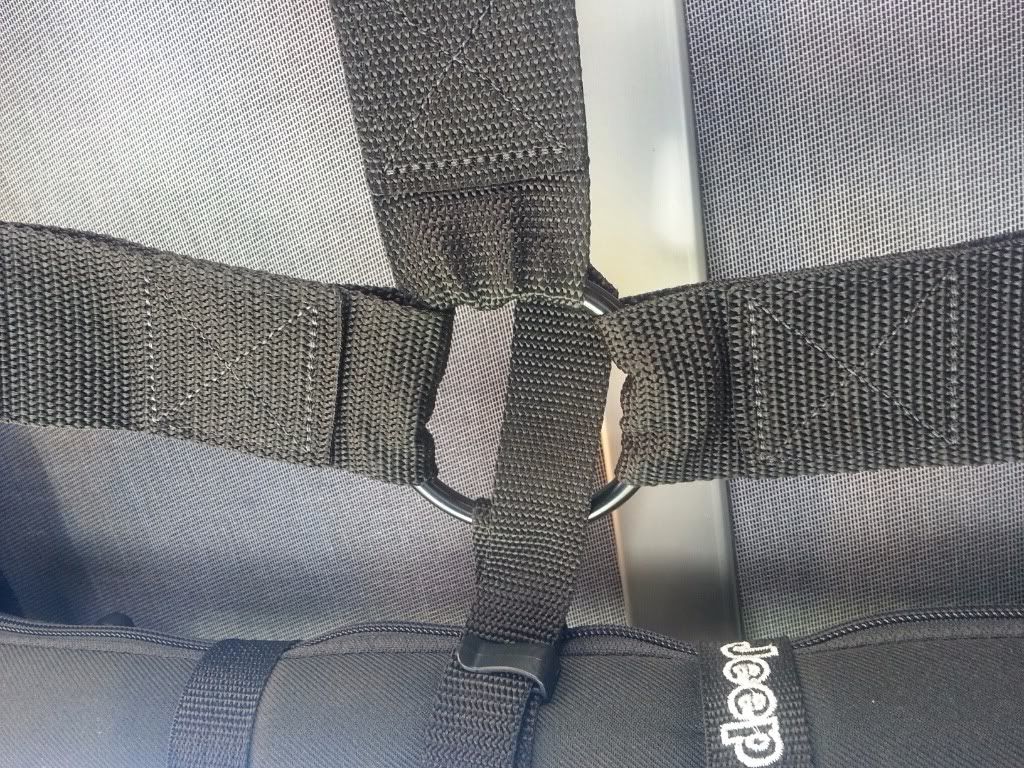
Here is a close up of one of there ratchet cam buckles strapped to the roll bar.
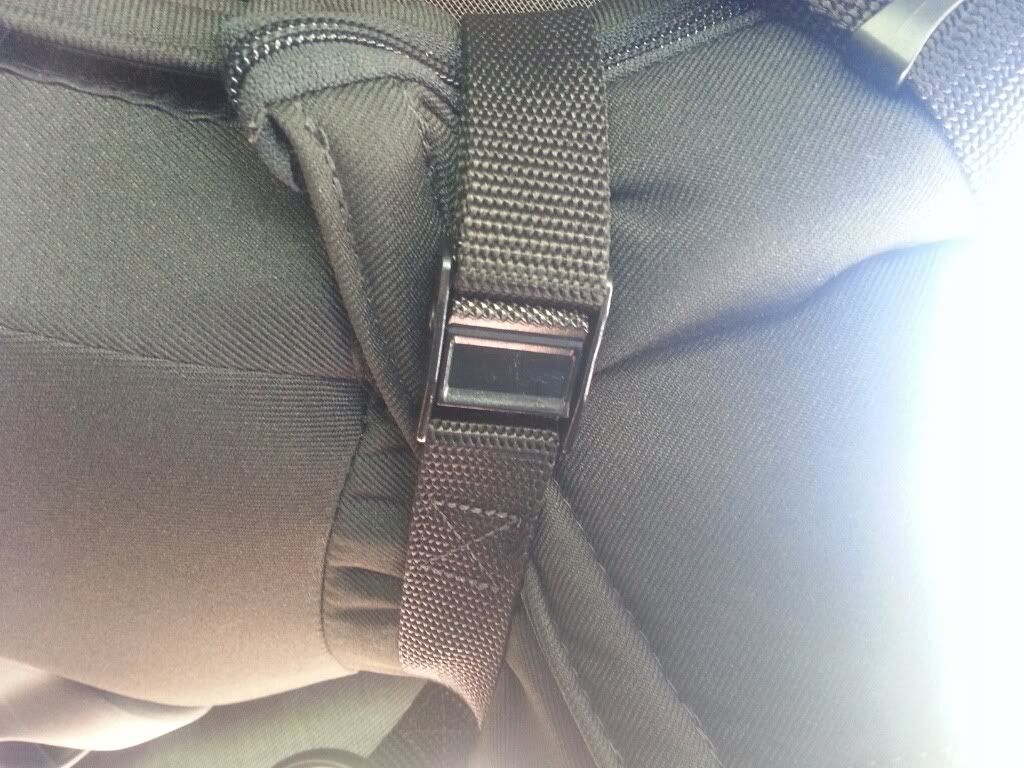
Here is one whole side
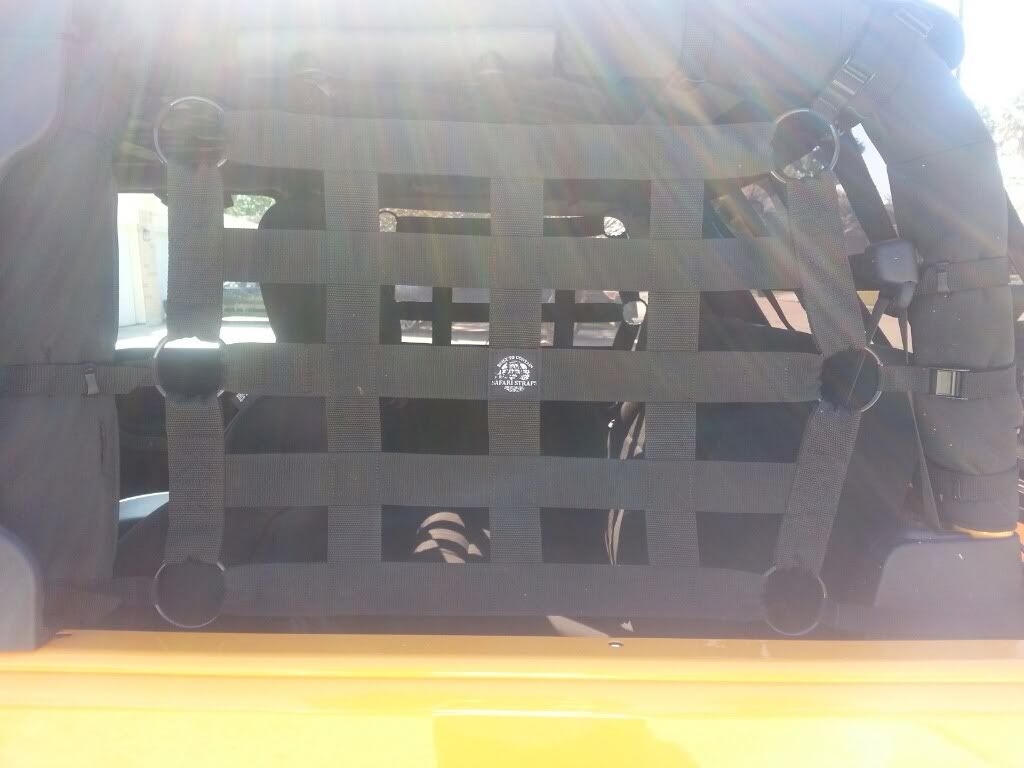
Here is the final end product... Making this cargo new was really easy.
__________________________________________________ __________________________________________________ __________________
Safari Strap Style Custom Cargo Net Tutorial
__________________________________________________ __________________________________________________ __________________
Safari Straps are a company who make High Quality Cargo nets for jeep and cost from $200 to $500 I have a picture of it below. For alot less money and some know how with a sewing machine you can make custom cargo netting. I had recently sent the company an email about straps for my tube doors (They have made them for another member in the past). They told me they where far to busy to do custom request. Since then I have done a ton of research and found out how easy it is to sew this webbing material as well as how cheap the supplies are.. For under $100 you can make any of there Cargo Nets they sell or make custom designs like me. So here is my tutorial so anyone can make there own.


I have found the same exact material they use online I was able to get 75 feet of the 2 inch straps for $13 and 150 feet of the 1 inch straps for $12. All the metal hardware 10 2 inch rings and 10 strap buckles like the ones safari straps uses was $28 total.
__________________________________________________ __________________________________________________ __________________
Where to Buy The Materials
__________________________________________________ __________________________________________________ __________________
The webbing and O-rings can be purchased in any color.

Amazon Webbing
2 inch webbing 25 yards $13.99
1 inch webbing 50 yards $12.99
STRAP WORKS COUPON CODE "AR15" 10% OFF
Metal O Rings $.28 - $2.06 each
Black metal cam buckles $1.62 each
2 Inch Webbing in all colors $0.27 per foot
1 Inch Webbing in all colors $0.18 per foot
US CARGO COUPON CODE 5% off "CARLA5"
These Cam Buckles are cheaper but only come in nickle color!!!
Metal Cam Buckle $.99 each
__________________________________________________ __________________________________________________ __________________
Making The Anchors
__________________________________________________ __________________________________________________ __________________
Anchors are used to wrap around tubing and keep the webbing tout.
Ratchet cam buckles are used to hold the straps in place around the roll cage my first batch came in they have a nickle fininsh. I have some coming in powder coated black I will post pictures of those when I get them.

For the anchor straps they will be made like this.

here is how the corner anchor points will look.

First you will need to sew one end to the buckle make sure you fold the unfinished end to the back of the buckle

Here are my finished buckles.

With the ratchet mechanism it will be able to grab tightly to the tubing.

__________________________________________________ __________________________________________________ __________________
Making the Cargo Net
__________________________________________________ __________________________________________________ __________________
Making the actual netting is fairly simple you want to create finished edges so you dont see cut ends you do this by folding strapping between two layers and stiching them together see ilistration. Note the inside strapping is only 1 layer thick unless it is connected to a ring. All straps that are connected to a ring are 2 layes thick.


Sewing the rings make sure you stitch as close as possible to the ring so there is not to much play in it.


Remember in the illustration above how we hid the finished edges by going over and tucking between the two pieces here is where the crossing strap will cover the two cut ends.

You want to make the first two pieces that span across. This is the piece that will stretch across the two furthest virtical bars. Make sure the rings fall short to these bars by at least a half inch or more.

Once the two longest straps are done create the frame of the cargo net.

Now that you have the frame done start adding any pieces that connect outside the frame and the horizontal straps. Remember to go over any in finished edges like the illustration above.

Finally add the rest of the vertical straps finalizing the cargo net portion of the project.

Here is my finished product.

Here it is on my doors I may need to add more anchors.

Here it is on my car.


Here is safari straps brand for referrence..

Here is one of there anchor points for reference.

Here is a close up of one of there ratchet cam buckles strapped to the roll bar.

Here is one whole side

Here is the final end product... Making this cargo new was really easy.

Last edited by Sand Scorpion; 05-15-2013 at 05:12 AM.
#7
Trending Topics
#9
Is there a special type of thread I need to buy also how long of a 2 inch strap roll would you recommend me buying to make a net exactly like the warrior full extended with side windows for a 2 door? Thank you so much for this tutorial I just bought a sewing machine 

#10
I use ahpolstry thread it is very strong just make sure you make several passes.. as far as the length needed I have no idea I have done just the doors which did not take much at all to do.


