When you click on links to various merchants on this site and make a purchase, this can result in this site earning a commission. Affiliate programs and affiliations include, but are not limited to, the eBay Partner Network.
Modified JK TechTech related bulletin board forum regarding subjects such as suspension, tires & wheels, steering, bumpers, skid plates, drive train, cages, on-board air and other useful modifications that will help improve the performance and protection of your Jeep JK Wrangler (Rubicon, Sahara, Unlimited and X) on the trail.
PLEASE DO NOT START SHOW & TELL TYPE THREADS IN THIS FORUM
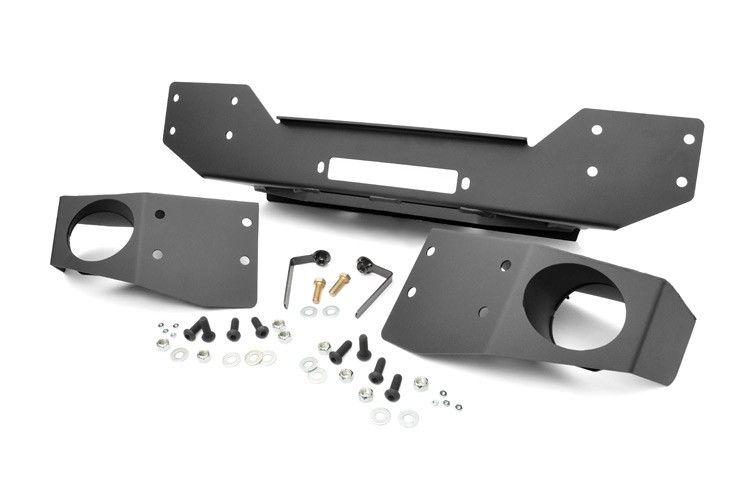
I havnt seen a write up/review on the RC hybrid stubby bumper so since i was installing mine this past weekend i figured what the hell. I dont this installation on the ground in my garage with minor hand tools and a broken ankle.
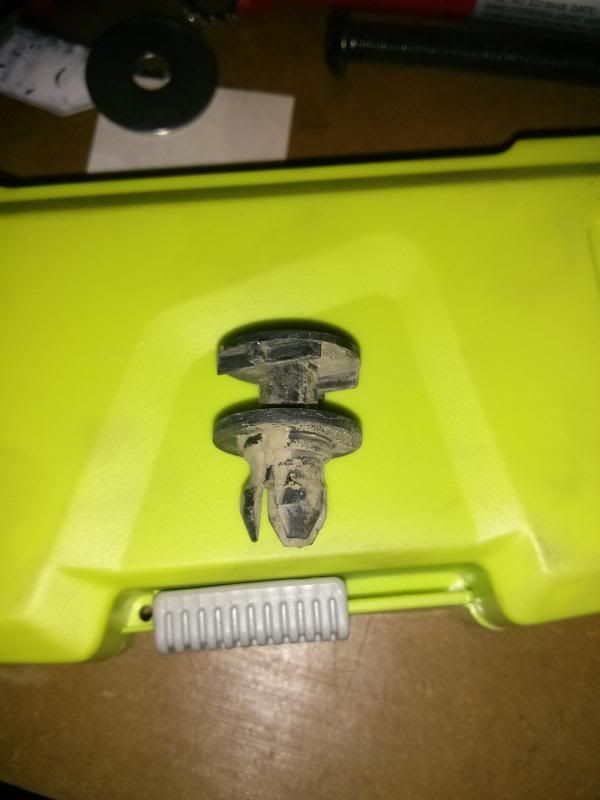
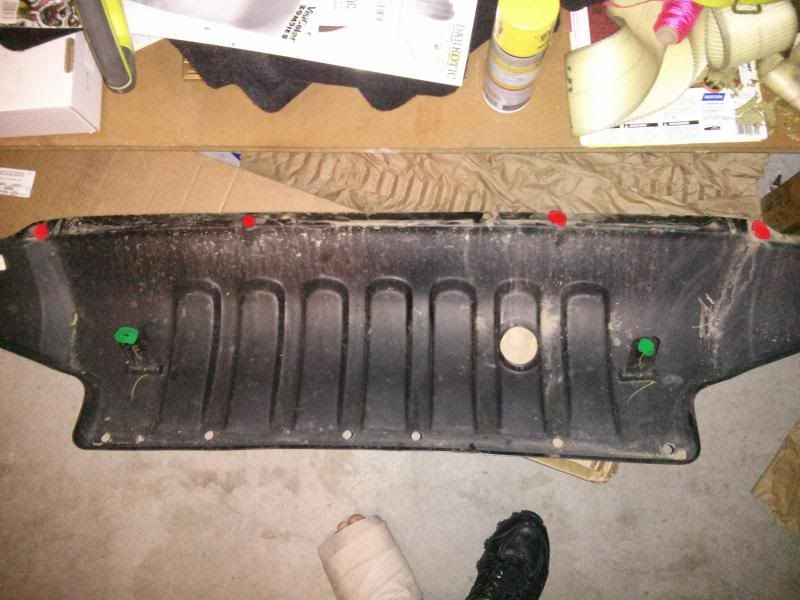
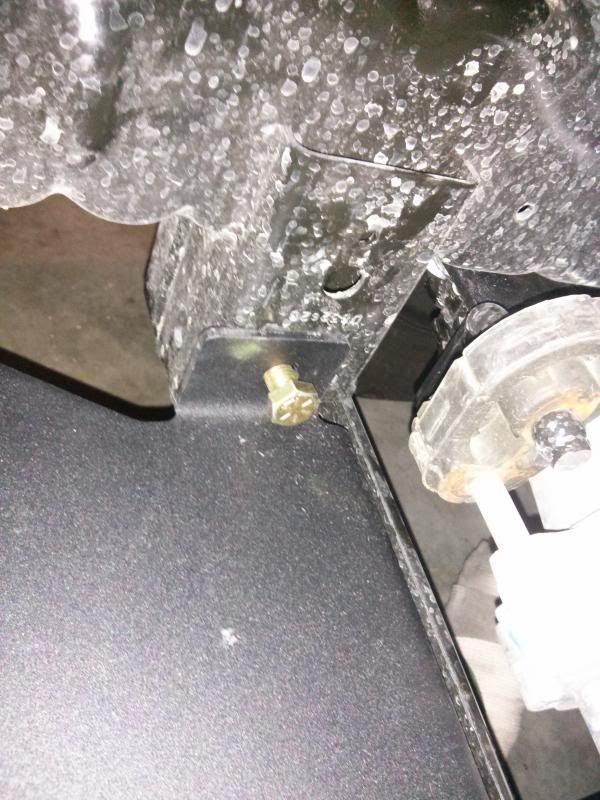
Step 1. Remove the 8 retaining clips as shown from the lower skid plate
The red dots are on the out side of the skid plate, the green dots are on the inside so you have to get under the jeep to remove them
Step 2. Remove the top skid plate underneath the grille covering the top of the sway bar disconnect motor (IF APPLICABLE). mine was already removed before installation so i didnt have a picture to insert here
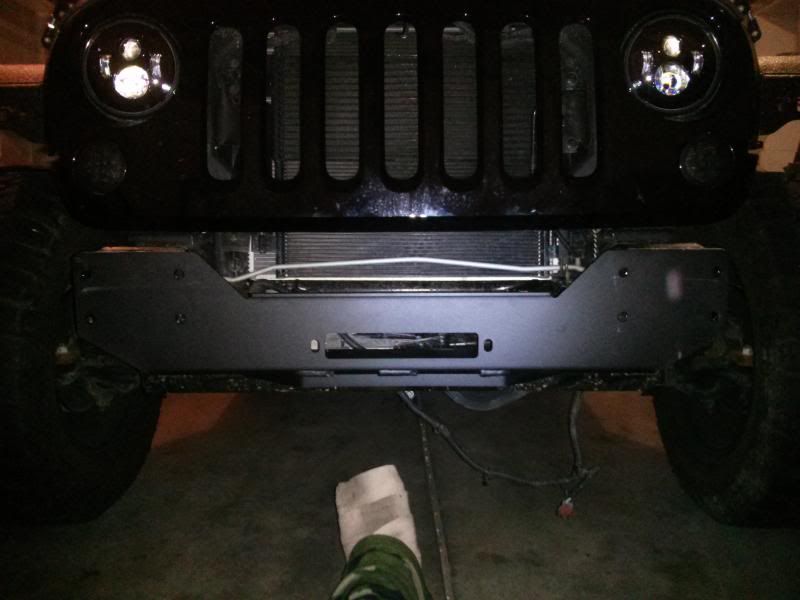
Step 3. Remove the 8 18mm nuts holding the bumper into the frame. 4 on each side.
Step 4. When you pull the bumper off go ahead and support the bumper and remove the fog light harness that is connected to the lights and bumper.
Step 5. With the bumper on the ground you can remove the factory fog lights that are held in with 4 phillip head screw drivers
Step 6. Drill out the factory mounting holes in the fog light using a 3/16" drill bit and press them into place in the new Rough Country end cap.
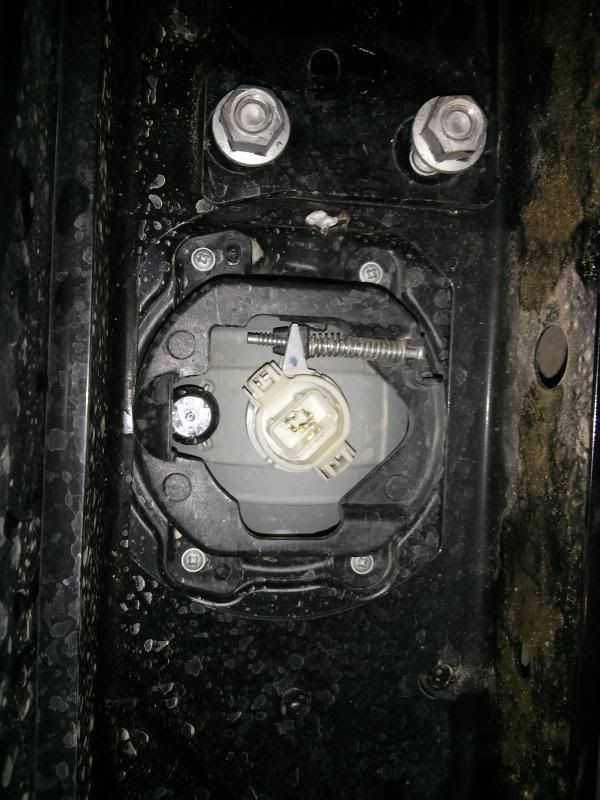
Step 7. If you havnt already like i have, you will now need to relocate the brake pump canister out of its factory location.
Step 8. End caps aside, go ahead and grab the center section of the bumper and persuade it into place. its fairly snug but does not require any cutting which is nice. I used the wood end of a hammer to help get it into place. As state earlier, this is so easy i was able to do it with a broken ankle
Step 9. Using the grade 8 hardware and flag nuts provided go ahead and install the 19mm bolts on each side of the bumper but do not tighten at this time.
*NOTE* the drivers side frame slot is not large enough for the bolt due to the factory brake pump bracket. from the outside hole drill the slot out with a 1/2" bit and the bolt will slide right though.
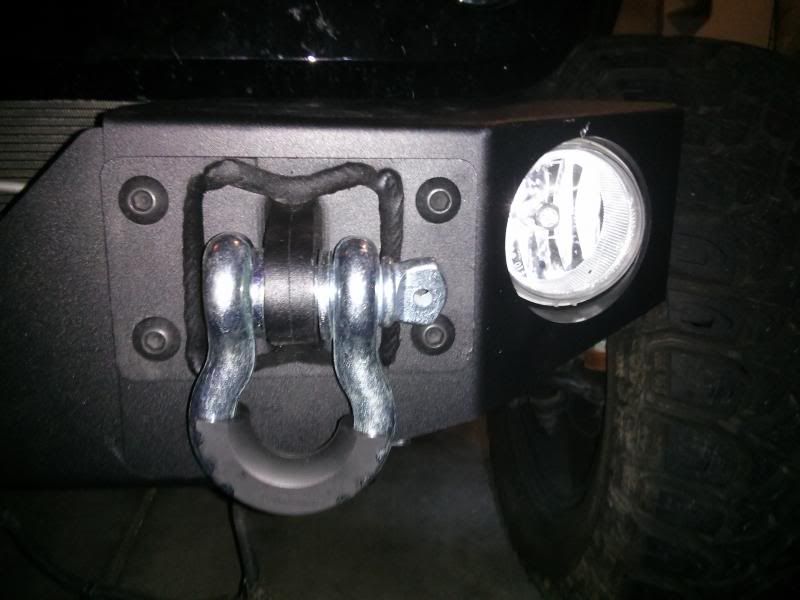
Step 10. If you got the D-ring kit like i did(1046) like i did you can how install your end cap with the D-ring kit with the provided hardware. I didnt have a allen head wrench big enough so i used a T50 torques head bit and a 19mm wrench to hold the nut on the back side.
Step 11. Repeat this process on the opposite side end cap to complete the installation of the bumper.
Step 12. Go back and now tighten the 19mm bolts holding the center section in from Step 9.
Step 13. Since the factory harness for the fog lights aren't long enough to reach them in their new location you will have to extend them properly. i didnt bother to do mine since im going to be installing some Rigid D2 flood lights there in the very near future.
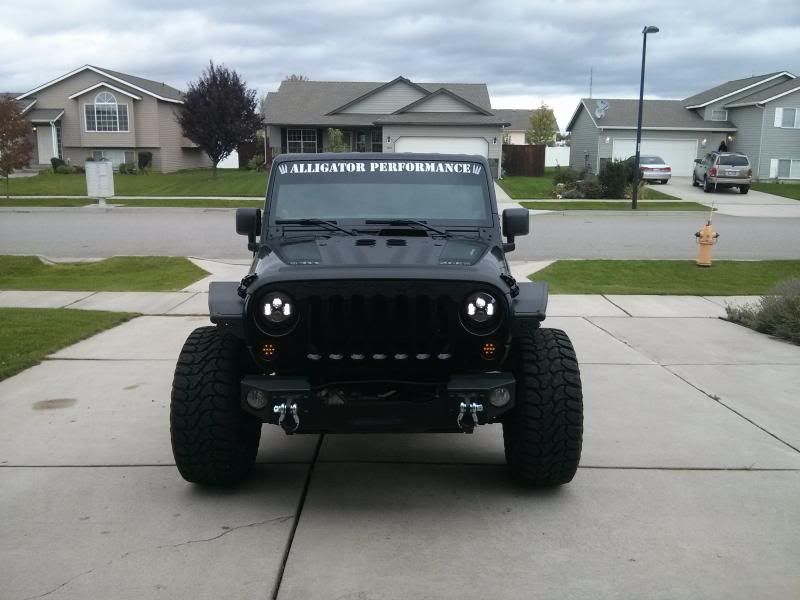
after everything is all said and done and wrapped up this is what is should look like.
all in all it took me about 3 hours but there was some BSing in there with some friends but it was a definite 3 on a scale of 1-10 on difficulty. i hope this helps and if anyone has any questions please feel free to ask.
Last edited by GuytonJK13; 10-02-2013 at 06:19 PM.
This is a great thread! I do have a follow up question though. The rough country relocation bracket looks like a lot of work. The terrible instructions tell you to cut the stock bracket off the frame, then put the relocation bracket in its place. (All this to move it about 2-3 inches). Going to put a bigger winch on, but I am leaning towards using a different bracket. Any thoughts? Has anyone used the rough country bracket?
Last edited by 0341Marine; 04-03-2020 at 12:42 PM.
If you're looking to maximize the winch space then maybe you need to look at one of the brackets that move the vacuum pump under the hood. I don't have that piece so I can't point specific examples but I do know Metalcloak made one at one point in time. You may be able to modify your current bracket to mimic the MC if it isn't in the cards.
If you're looking to maximize the winch space then maybe you need to look at one of the brackets that move the vacuum pump under the hood. I don't have that piece so I can't point specific examples but I do know Metalcloak made one at one point in time. You may be able to modify your current bracket to mimic the MC if it isn't in the cards.
i ended up buying a different bracket. Thank you for the recommendations though.

 10-02-2013, 06:14 PM