
OR Fab Tire carrier tips
 09-20-2011, 11:40 AM
#31
JK Super Freak
Join Date: Mar 2007
Location: Coastal Bend
Posts: 1,769
Likes: 0
Received 0 Likes
on
0 Posts
Agree with the others. Since I have had to remove and reinstall mine after putting on armor, I still found it hard to put the nuts on the back of the hinge bolts. Other than that, it was much easier the second time.
No rattles in nearly 3 years. No sagging ever. One time I forgot to put my cotter pin in place, and it came unlatched. Swung open so hard on a left turn that when hit the stops I nearly lost control. It merely dented the hinge bracket, didn't even distort the sheet metal. A little touch up paint is all I needed. I highly recommend this carrier.
You can see the dents in this picture.
 09-20-2011, 05:33 PM
#32
JK Enthusiast
Join Date: Sep 2010
Location: Cherry Point, NC
Posts: 239
Likes: 0
Received 0 Likes
on
0 Posts
I installed my tire carrier yesterday. I will have to admit it took a little longer than i thought. I wanted to post my findings that would be helpful. Also BONEDOCs opinions as well because they were helpful to me
If you are taking off any part of your jeep EVER, pre-buy the spray can touch up paint for your jeep color and I also used truck bed liner. This will save you when you take off the hinges and flip out that there is rust already Also the 2x4 they ask for is really a 2x4 and 1x2 on top of eachother.
[IMG]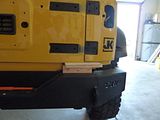 [/IMG]
print off the color instructions online. Also check that they included the TEMPLATE cause mine wasn't in there and when we followed the measurements they say...it was 1/4" off
[IMG]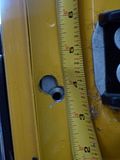 [/IMG]
[IMG]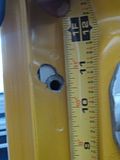 [/IMG]
[IMG]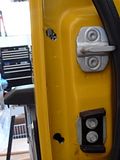 [/IMG]
You will need a long breaker bar or T-50 wrench for the hinges. Also a plastic hammer will also help!
The wavy washers are not fun to compress to put the washers in place this is what we ended up doing
[IMG]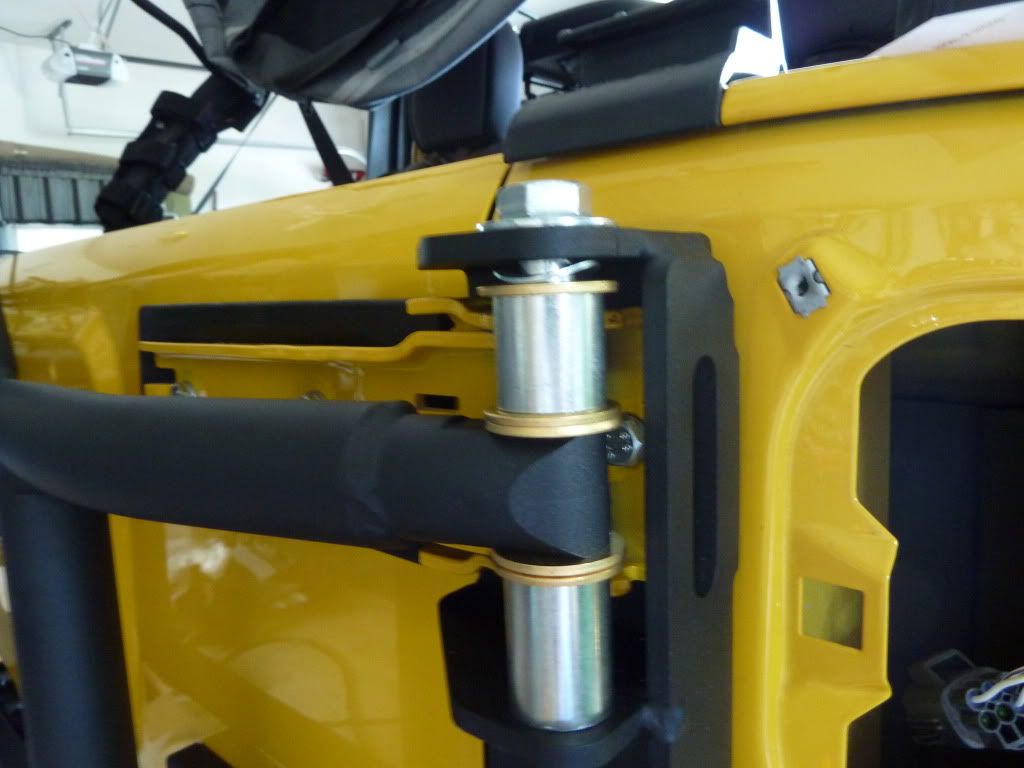 [/IMG]
[IMG]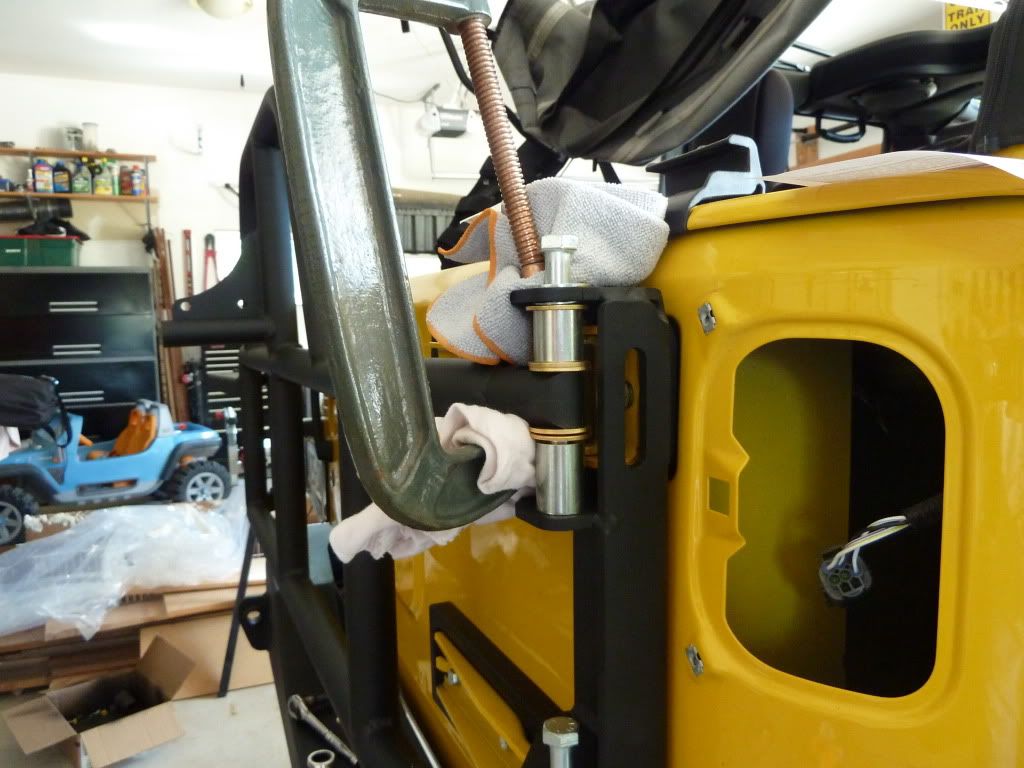 [/IMG]
Not pretty, but we were able to get one washer under the bottom spacer on the top part.
Getting the passenger tail light on was a challenge...it was pretty tight. Might have hubby talked into different taillights after this
[IMG]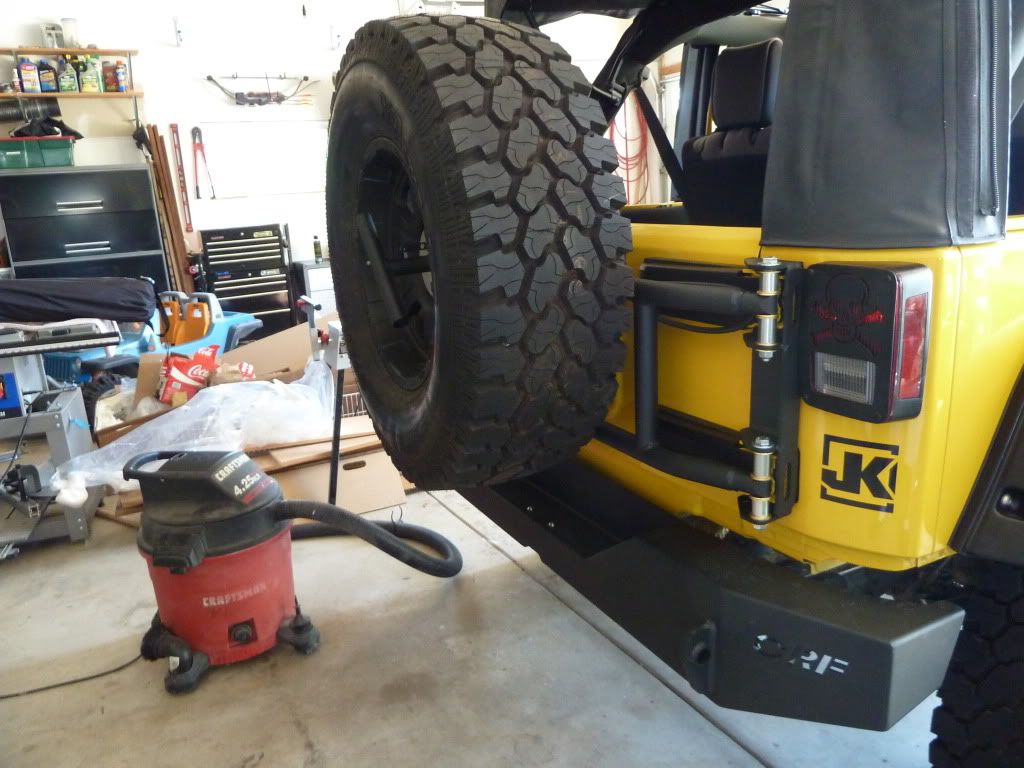 [/IMG]
[IMG]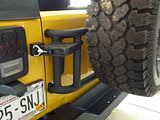 [/IMG]
[IMG]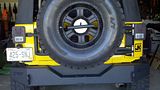 [/IMG]
If you are taking off any part of your jeep EVER, pre-buy the spray can touch up paint for your jeep color and I also used truck bed liner. This will save you when you take off the hinges and flip out that there is rust already
Also the 2x4 they ask for is really a 2x4 and 1x2 on top of eachother. [IMG]
 [/IMG]
print off the color instructions online. Also check that they included the TEMPLATE cause mine wasn't in there and when we followed the measurements they say...it was 1/4" off
[IMG]
 [/IMG]
[IMG]
 [/IMG]
[IMG]
 [/IMG]
You will need a long breaker bar or T-50 wrench for the hinges. Also a plastic hammer will also help!
The wavy washers are not fun to compress to put the washers in place this is what we ended up doing
[IMG]
[/IMG][IMG]
[/IMG]Not pretty, but we were able to get one washer under the bottom spacer on the top part.
Getting the passenger tail light on was a challenge...it was pretty tight. Might have hubby talked into different taillights after this
[IMG]
[/IMG][IMG]
 [/IMG]
[IMG]
 [/IMG]
09-20-2011, 07:05 PM
[/IMG]
09-20-2011, 07:05 PM
#33
JK Super Freak
Join Date: Mar 2007
Location: Coastal Bend
Posts: 1,769
Likes: 0
Received 0 Likes
on
0 Posts
09-21-2011, 03:17 AM
#34
JK Junkie

Yes, there is a place to install a small padlock to secure both the "T" bar and also the carrier itself.
See here....
Last edited by OH9JK; 09-21-2011 at 03:19 AM.

 09-22-2011, 02:27 AM
#36
JK Junkie
I downloaded the current installation instructions from their website before I began my install. There were some hardware and drilling location changes.
They don't include hardware for mounting the Hi Lift. The wing nuts, all thread and L brackets are to mount the Jerry cans.
They don't include hardware for mounting the Hi Lift. The wing nuts, all thread and L brackets are to mount the Jerry cans.