
MyGig Lockpick v.2 INSTALL w/pics
 01-19-2010, 12:10 PM
#1
JK Freak
Thread Starter
Join Date: Sep 2009
Location: Kirkland, WA
Posts: 894
Likes: 0
Received 0 Likes
on
0 Posts
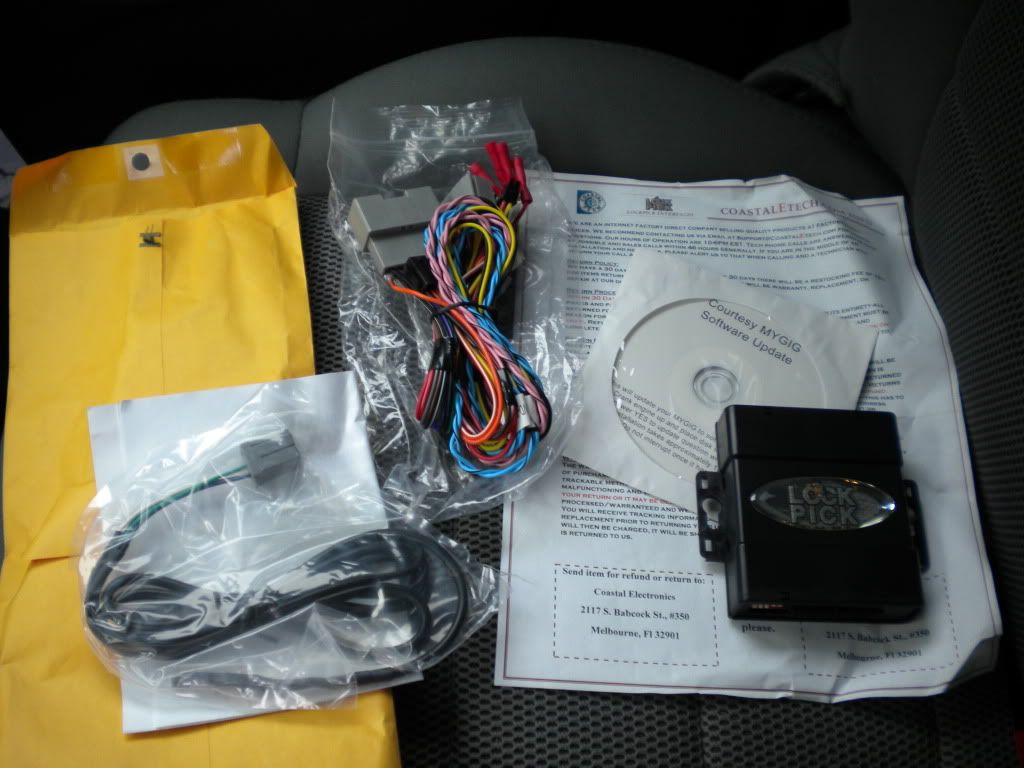
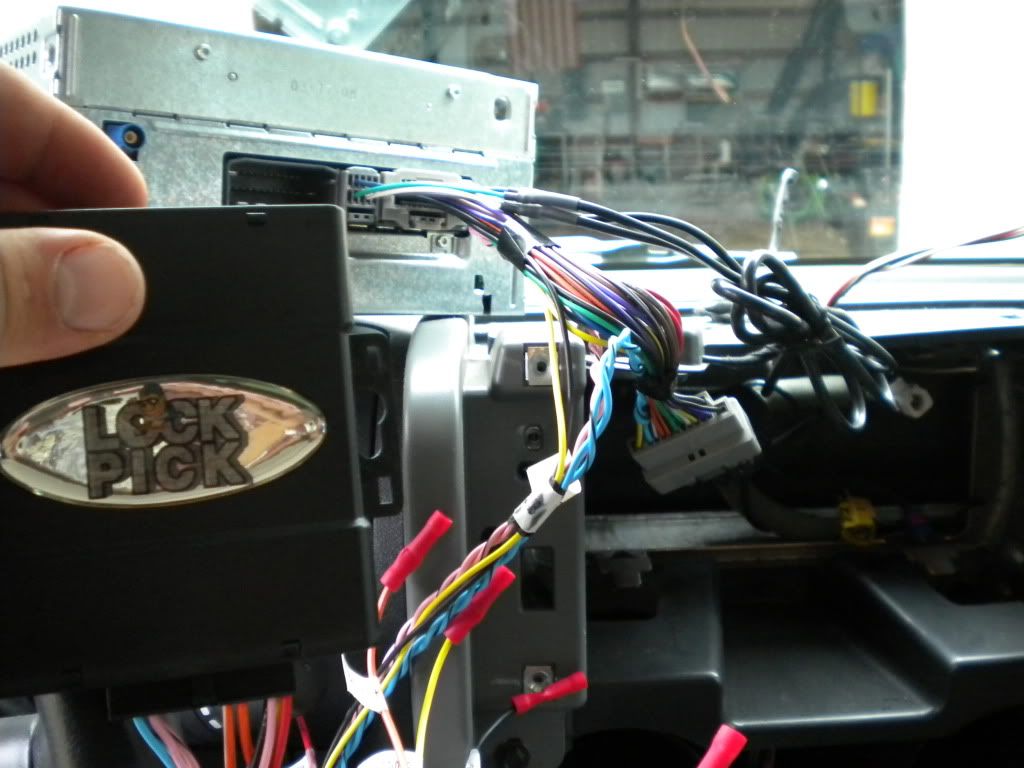
Finally decided to install the Lockpick v.2 that was sitting in my rear tub when I got the Jeep (they had to take it out to sell it legally @ the dealership, I'm the second owner). This install was by far the easiest and most straight forward install I've done on a car, and the directions from Coastaltech kicked ass.
Tools Needed:
Small ratchet with extension & 7mm socket
15/64 Drill Bit (optional for mic install)
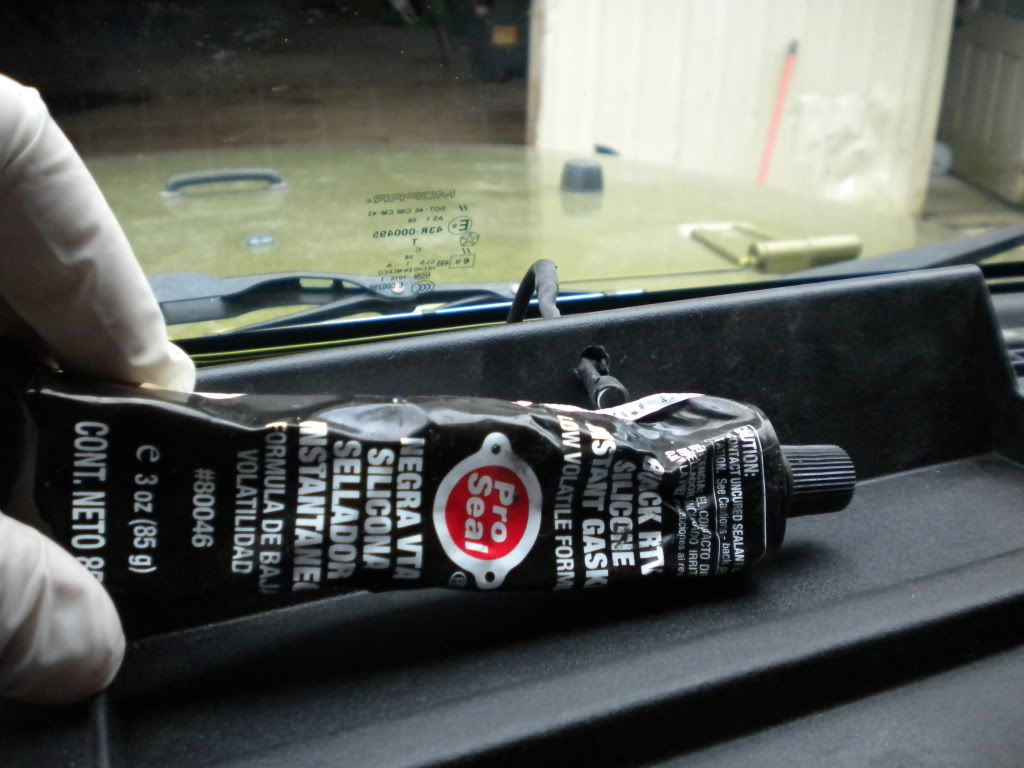
Black RTV Sealant (optional for mic install)
Hands w/fingers attached
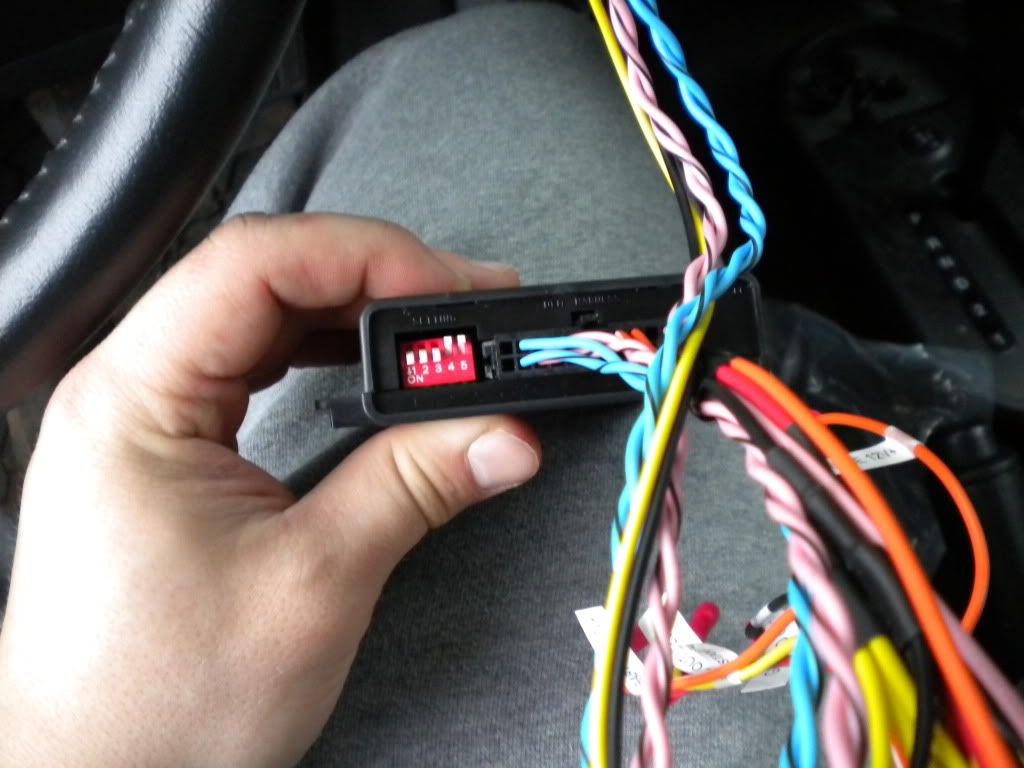
1) Set out all equipment, harnesses, mic, etc. Read your directions FIRST! toggle the appropriate switches #1-5 to their up or down setting depending on what you want available. My factory U-connect was disabled when I got the Jeep so I had to do some resetting-more on that later.
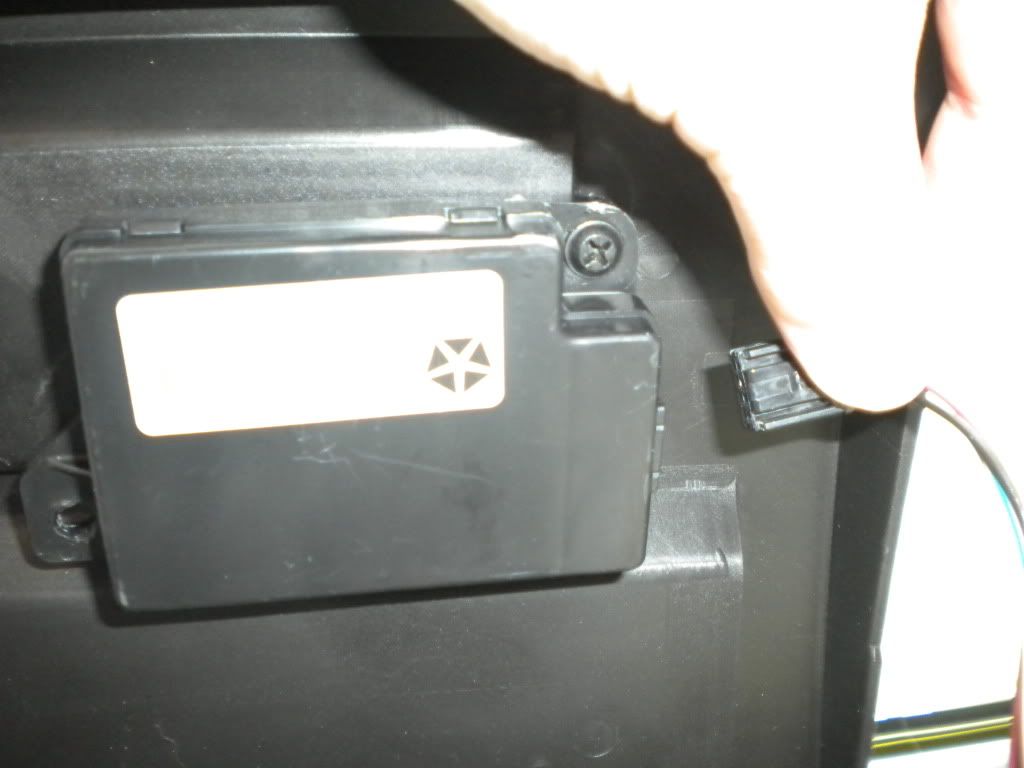
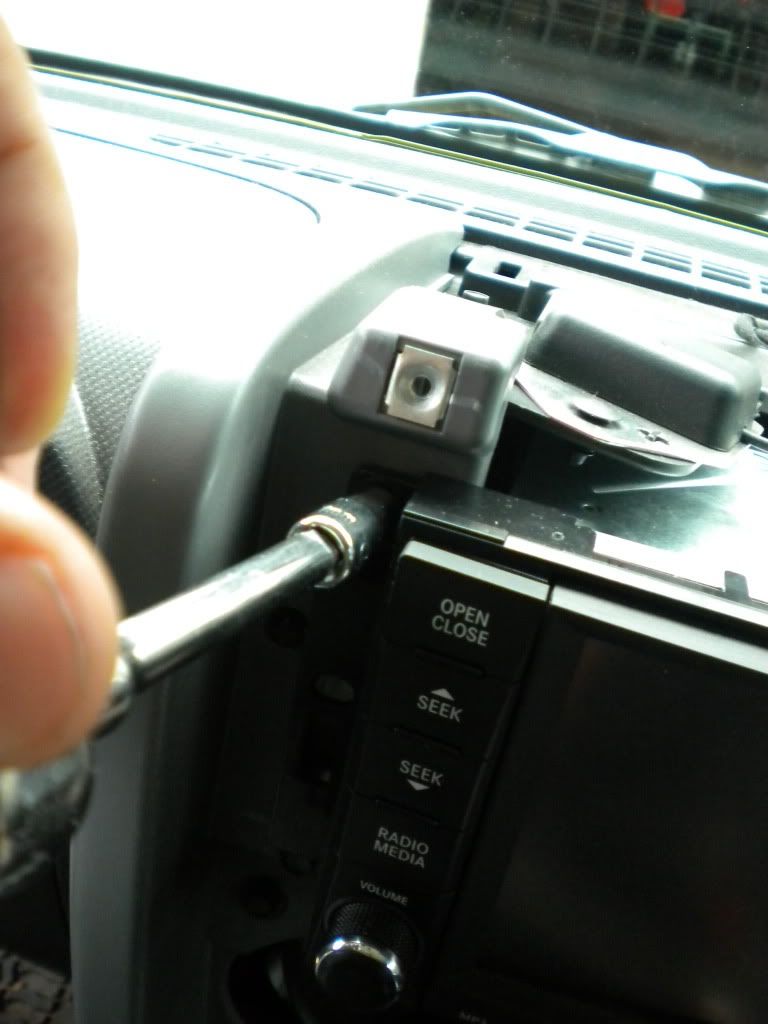
2) Begin by removing the top cover (mine is daystar) from the head unit housing. DO NOT yank the piss out of the top cover to get it off, there are two metal clips in the back that are easiest to start with, the cover then slides off and forward. Disconnect the factory compass unit @ the pin connector.
3) Remove your bottom A/C dash cover (the panel in front of the drive selector). It is only attached with metal push connectors.
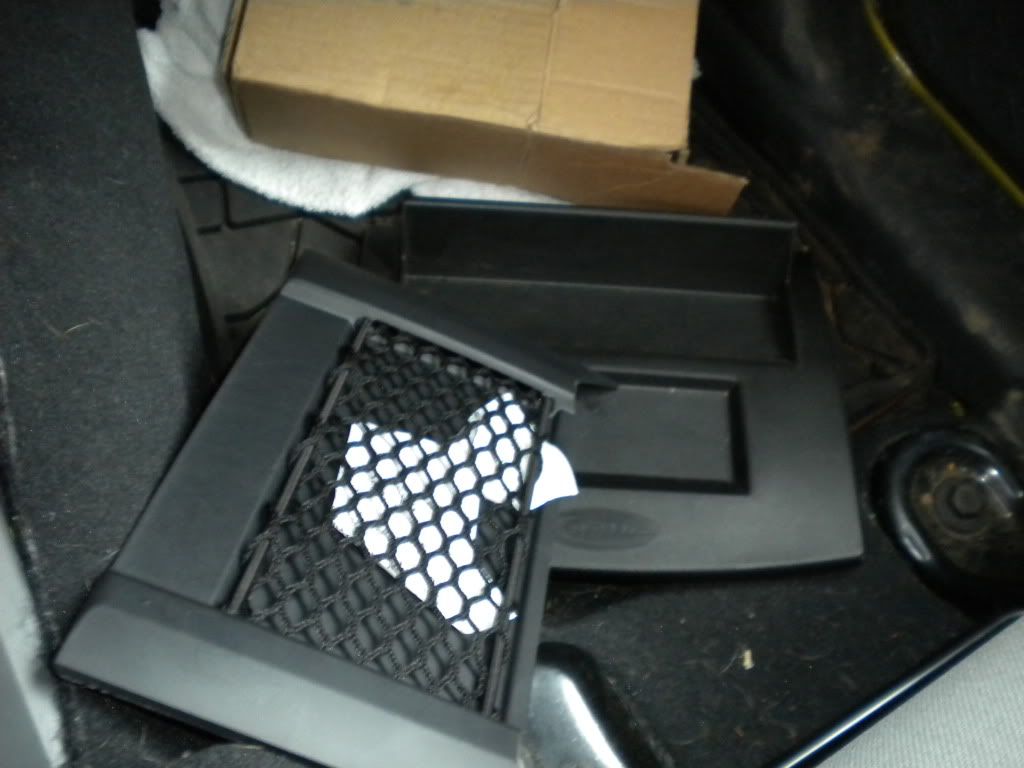
4) Remove all (4) 7mm screws w/ratchet from the corners of the A/C dash cluster.
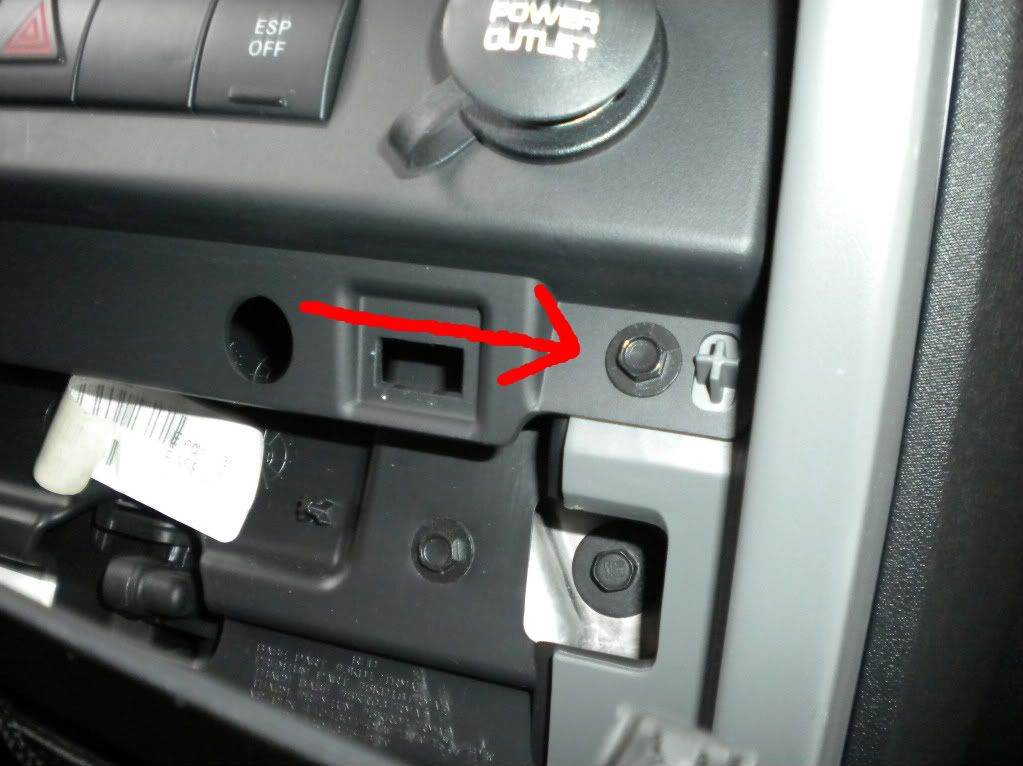
5) Now GENTLY pry the A/C dash cluster away from the dash, one push pin at a time. The pins are located on the drivers and passenger side directly behind the cig lighter, the A/C cluster, and @ the vents. Take the time to do this right or you will rip your dash in two.
Once all pins are out of their mounting positions it is not necessary to complete remove the dash, just pull it out ~4" and let it rest on the plastic in front of the shifter. You will have plenty of room to work w/the head unit.
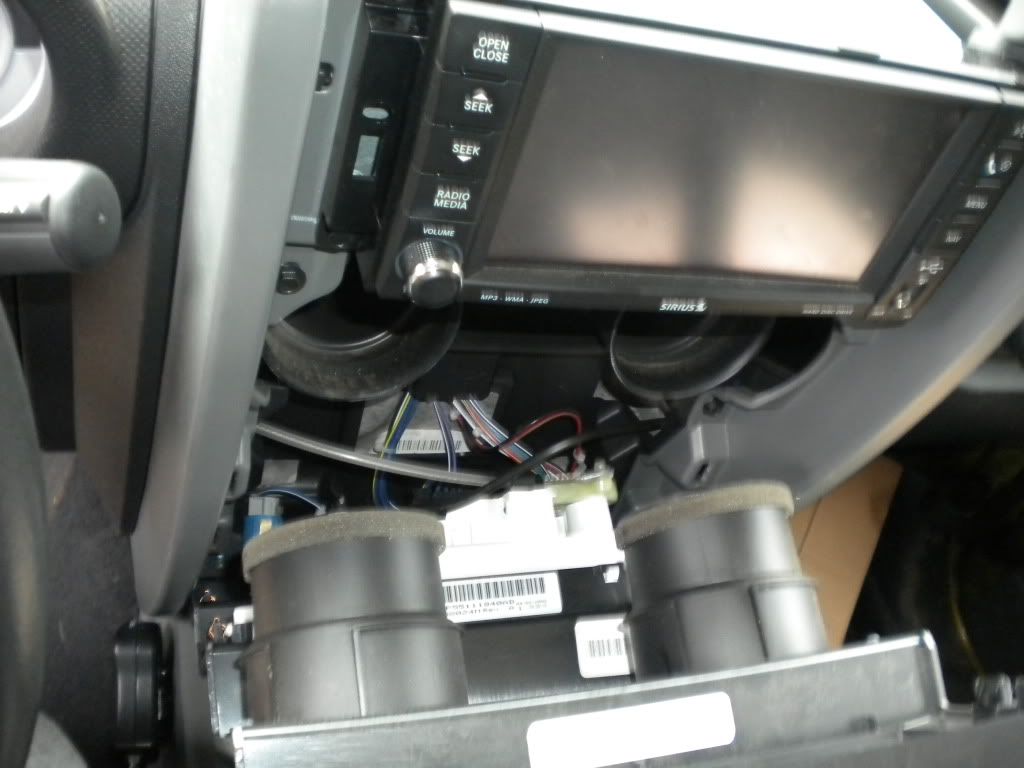
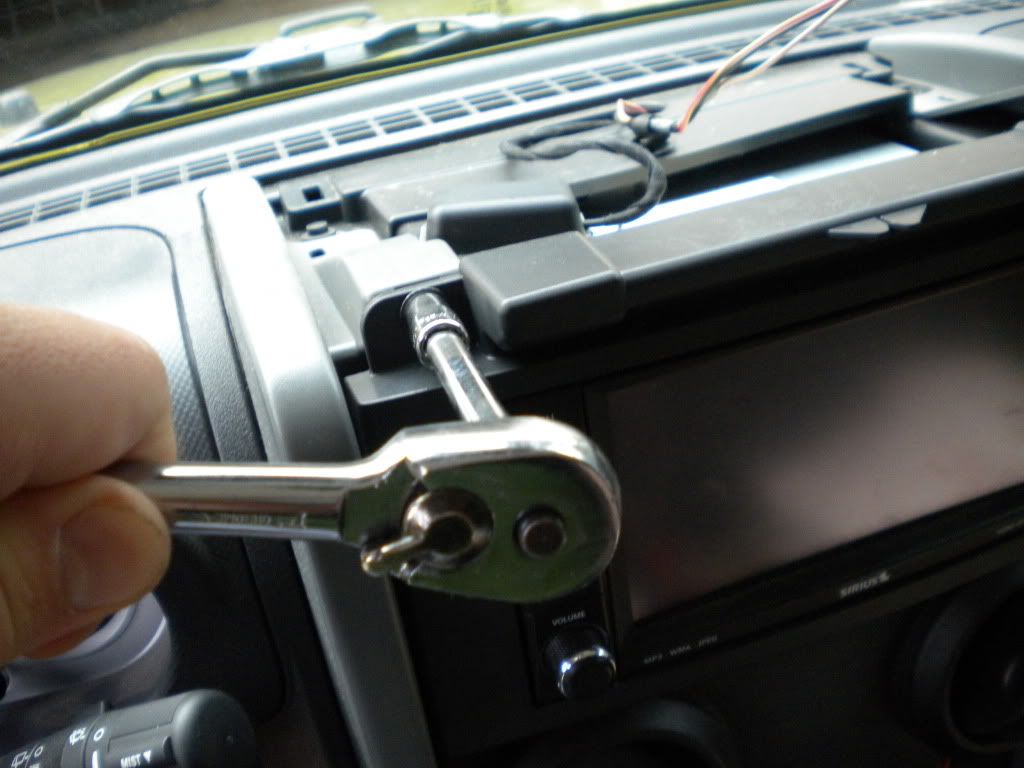
6) Remove the (4) 7mm mounting screws from the frame of the Head Unit.
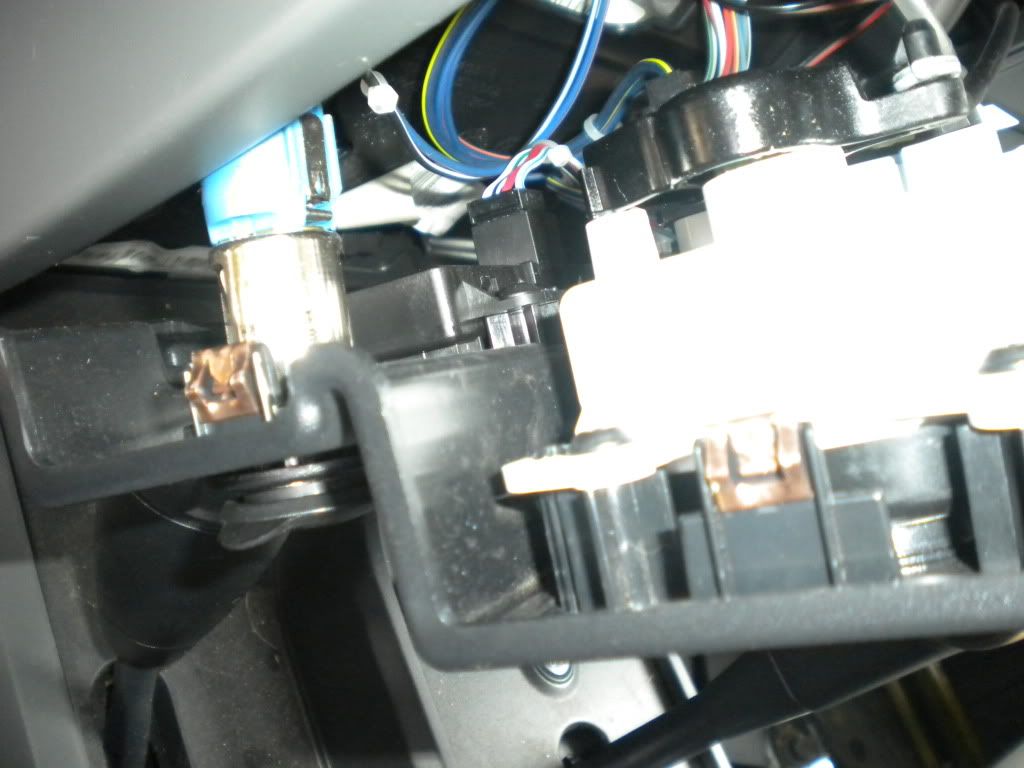
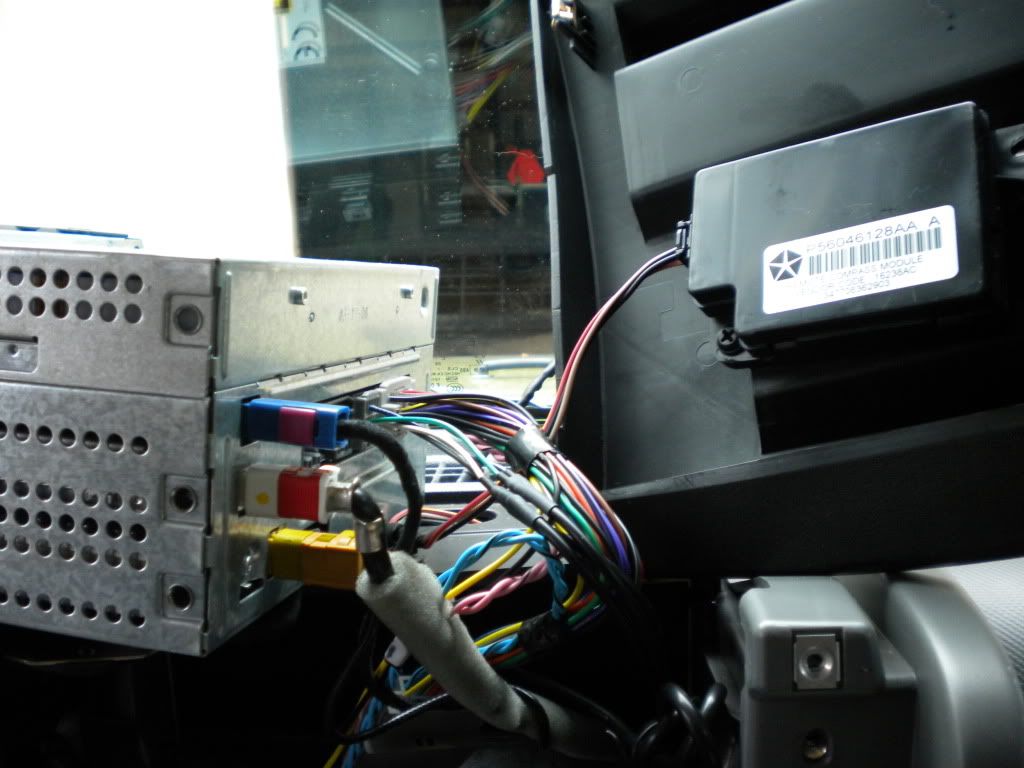
7) GENTLY pull your head unit out and disconnect all harnesses and aux cables (radio ant., GPS, and compass) The three aux cables have color coded connectors so you don't need to worry about mixing them up (unless you're color blind).
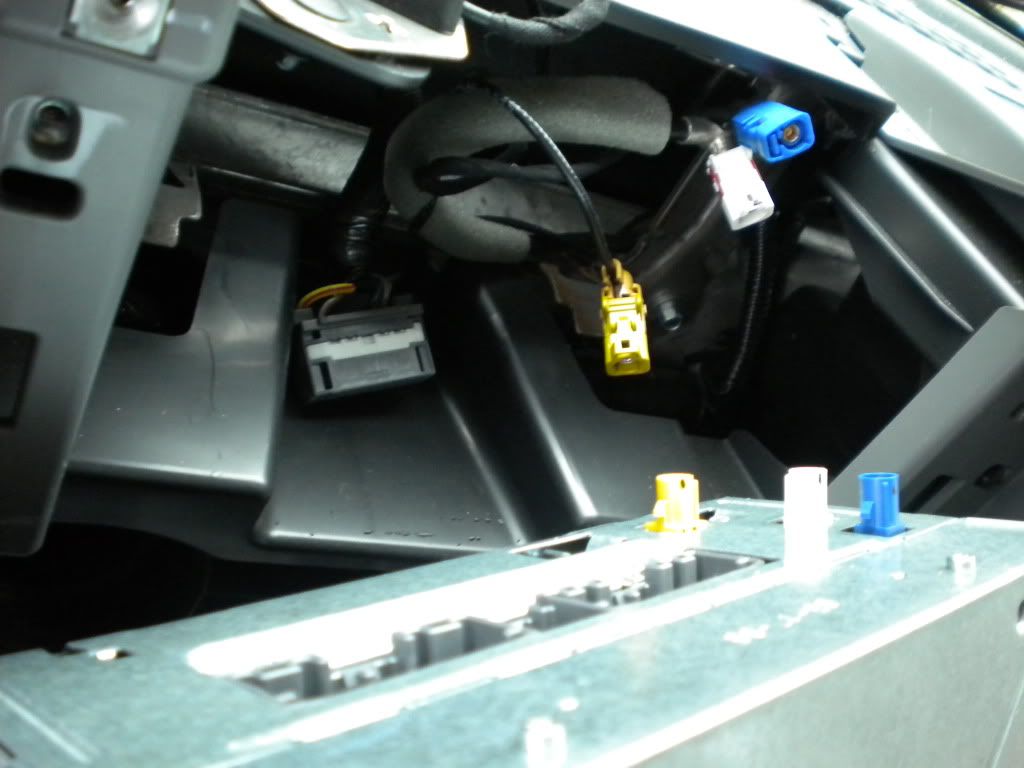
8) Make sure all of the switches on the lockpick unit itself are set to the proper setting you need. Then connect it to it's harness.
9) At this time you can connect any peripherals you would like, back up cam, RCA outs, and Video outs. Wire them accordingly.
10) Plug in the microphone to the back of the Head Unit w/supplied mic and harness if you wish to use and activate your U-Connect.
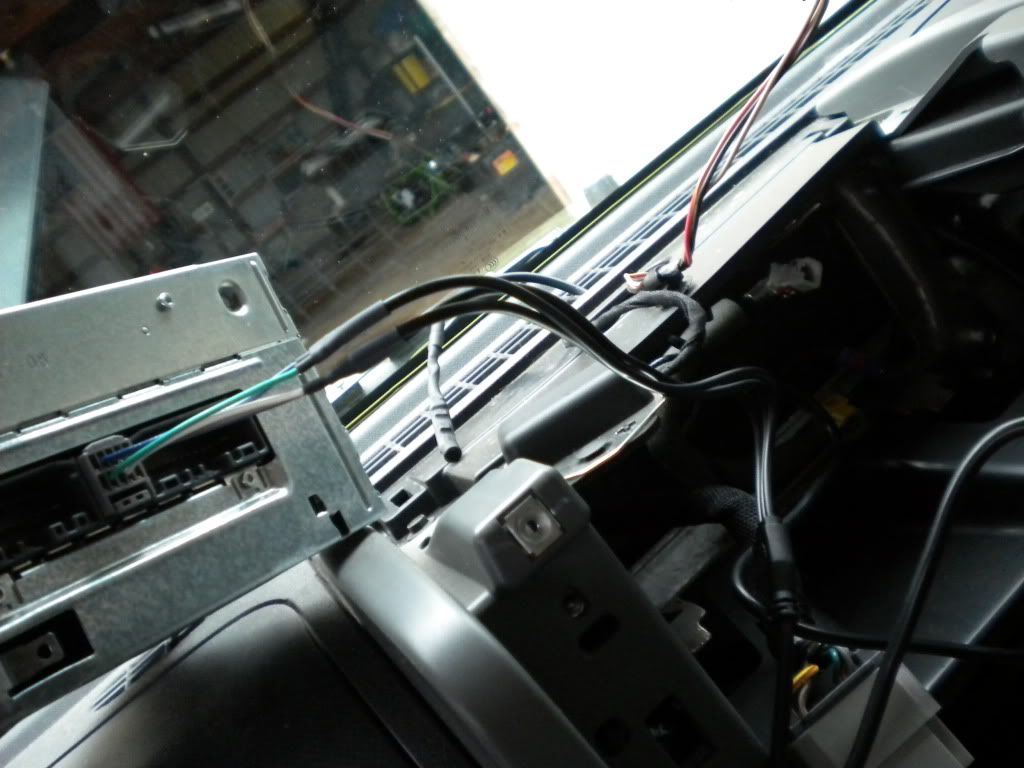
11) Connect the lockpick harness adapter into the stock harness.
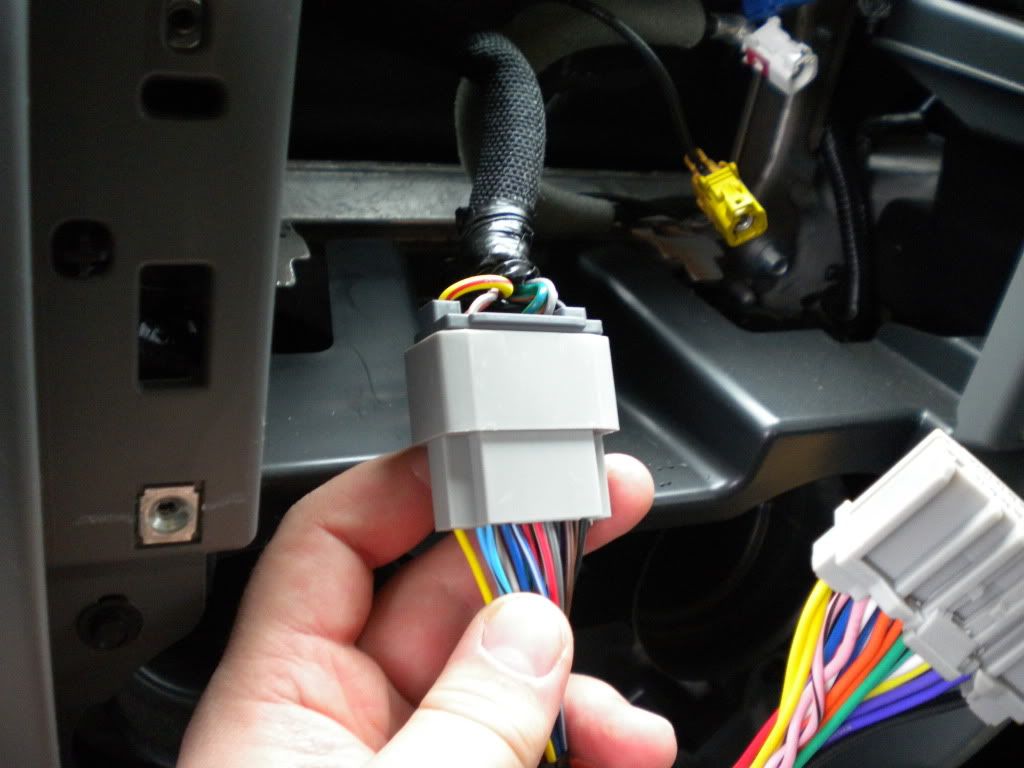
12) Now connect the lockpick head unit harness end into the MyGig. Also Re-connect all auxiliary cables (White/Orange/Blue), and reconnect the compass pin connector to the top dash cover.
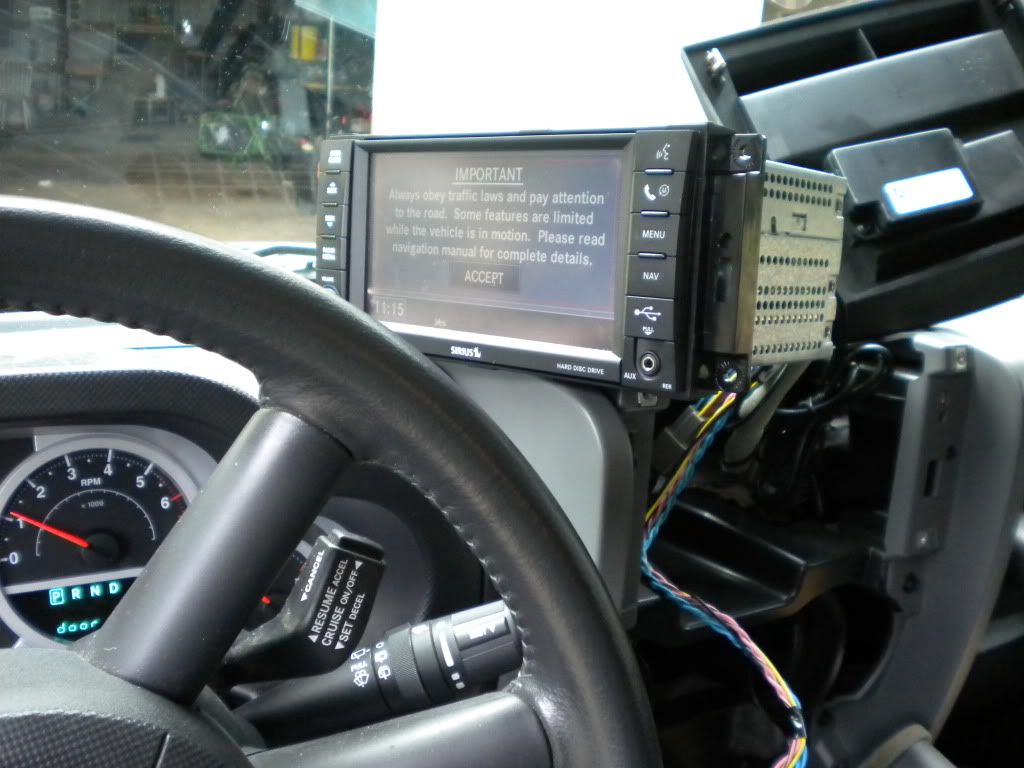
13) DO NOT put everything back together or tuck any wires until you run through all of your test applications. Test back-up video, aux video, and aux amps/stereo equipment. If you are activating U-Connect keep reading, if not skip ahead.
Follow the directions supplied with the lockpick, I'll restate just for clarity on what I'm doing.
-With everything connected, start the Jeep, hit accept
-Let the stereo first load for 5 sec.
-Turn off the car, shut all doors for @ least 1 min
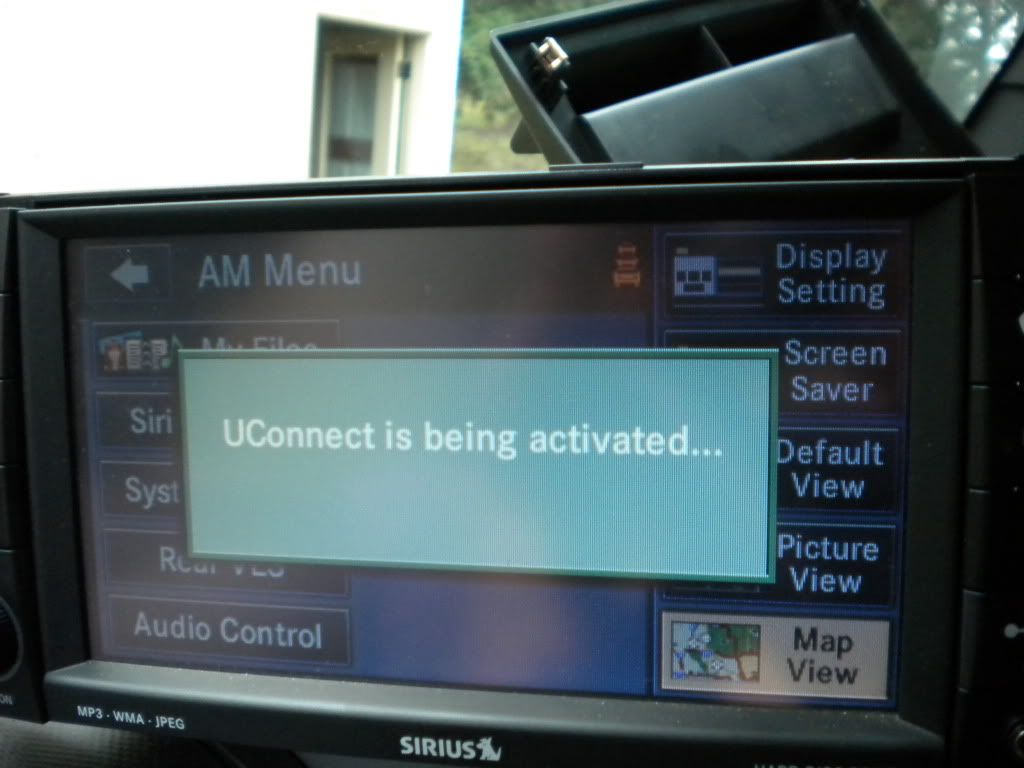
-Turn car back on, let stereo load, and hit Uconnect button.
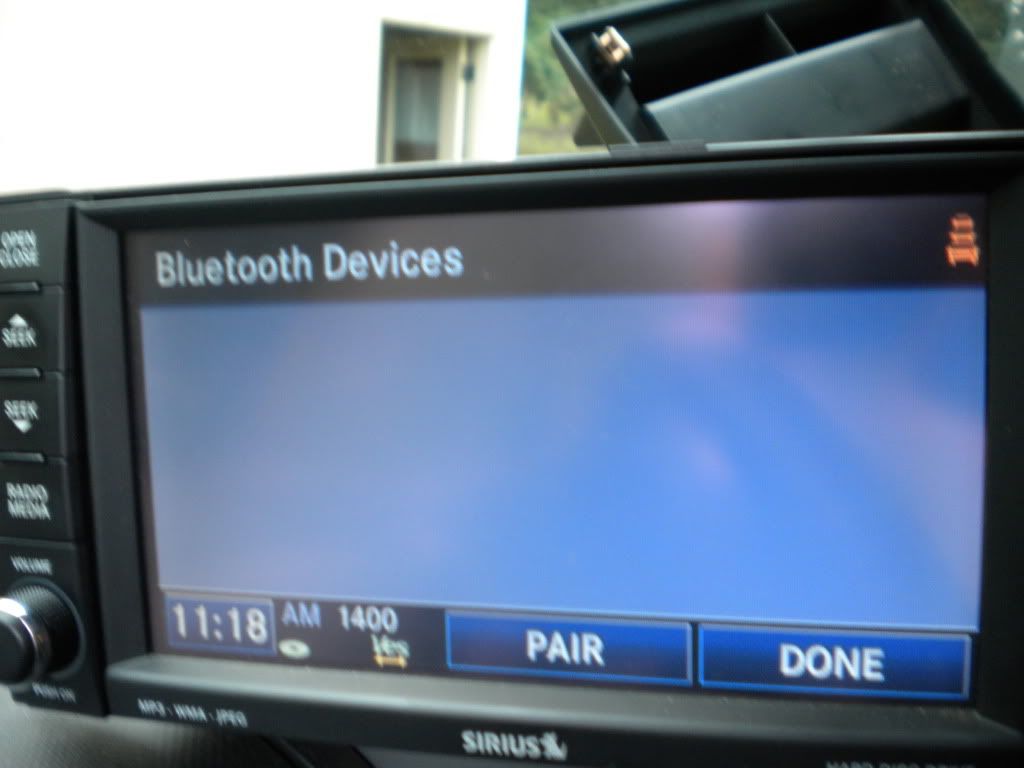
-It should activate and you can now pair bluetooth devices.
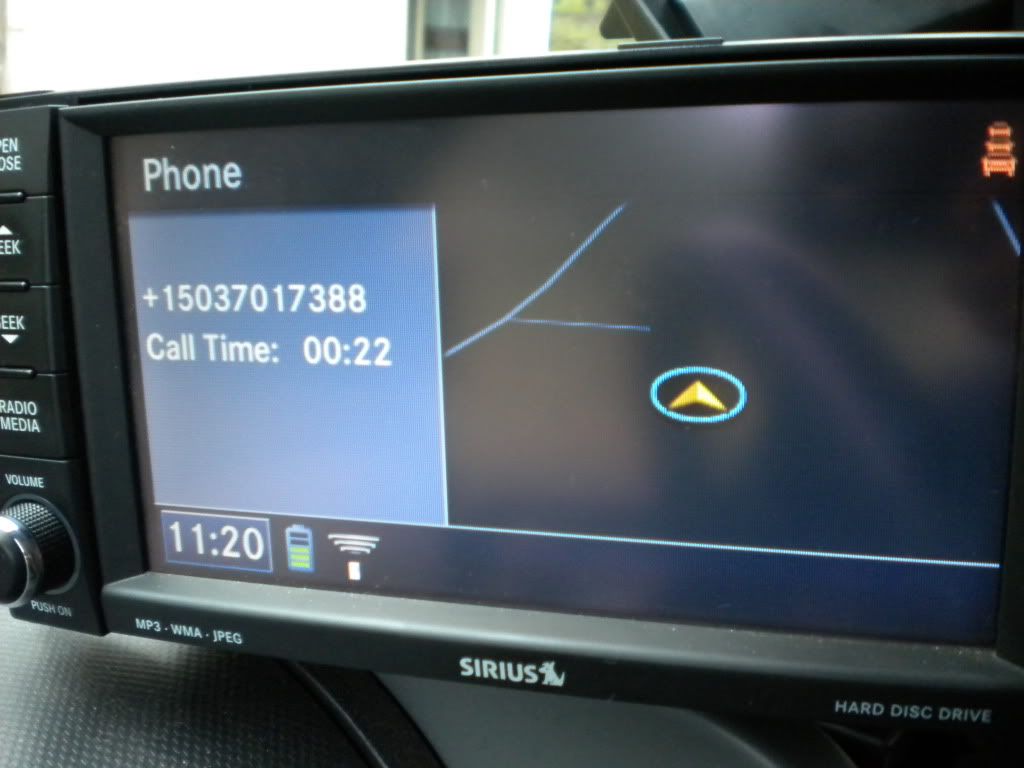
Test call someone to make sure the microphone and bluetooth connection are functioning properly.
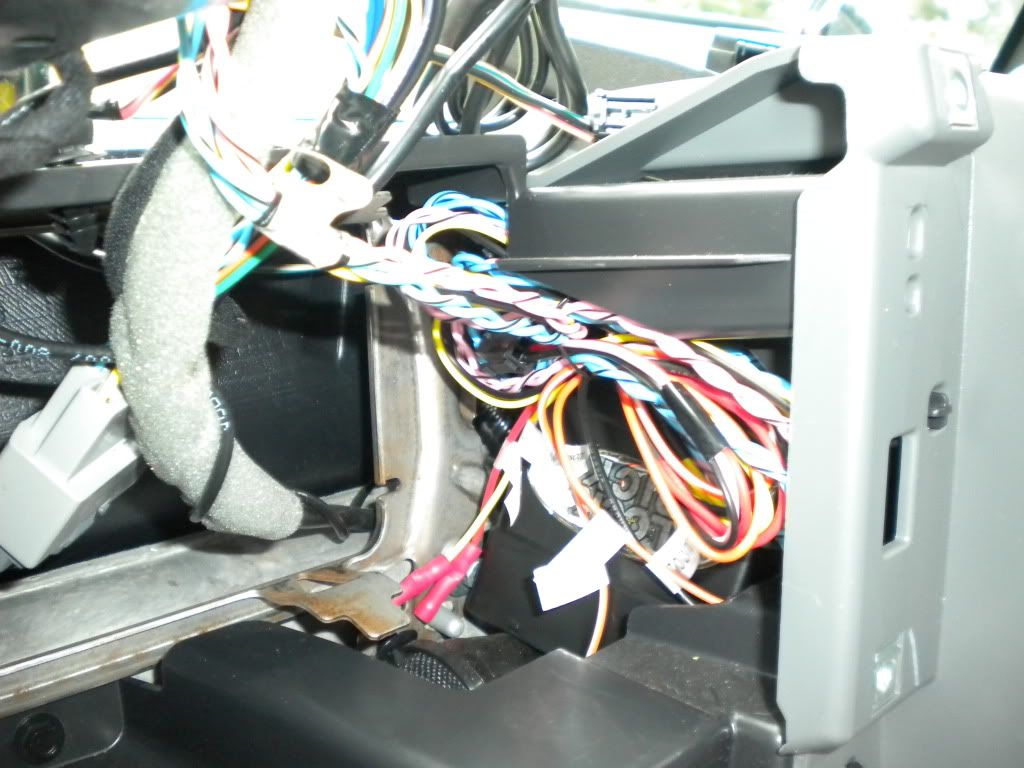
14) Tuck wires and lockpick unit into the dash wherever you see fit. I chose to shove the lockpick and aux harnesses into the gap between the glove box and passenger side vent.
15) Reassemble the dash, all except the top cover.

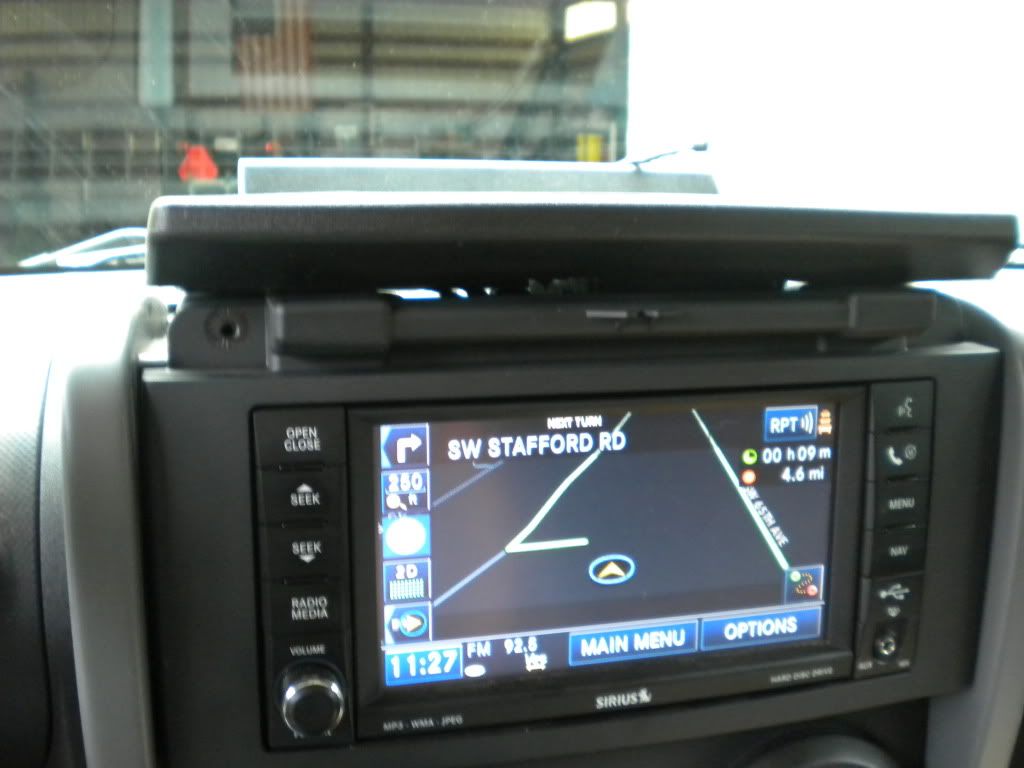
You can now test your new in-motion abilities and plug in a coordinate/destination to make sure the lock-out is disengaged.
If everything functions fine and you are not installing a mic you're all done! Make sure the dash is completely buttoned up and grab a
16) -Here is the optional mic install I did-
Taking a 15/64" drill pit I bored out a hole in the center of my Daystar Lip.
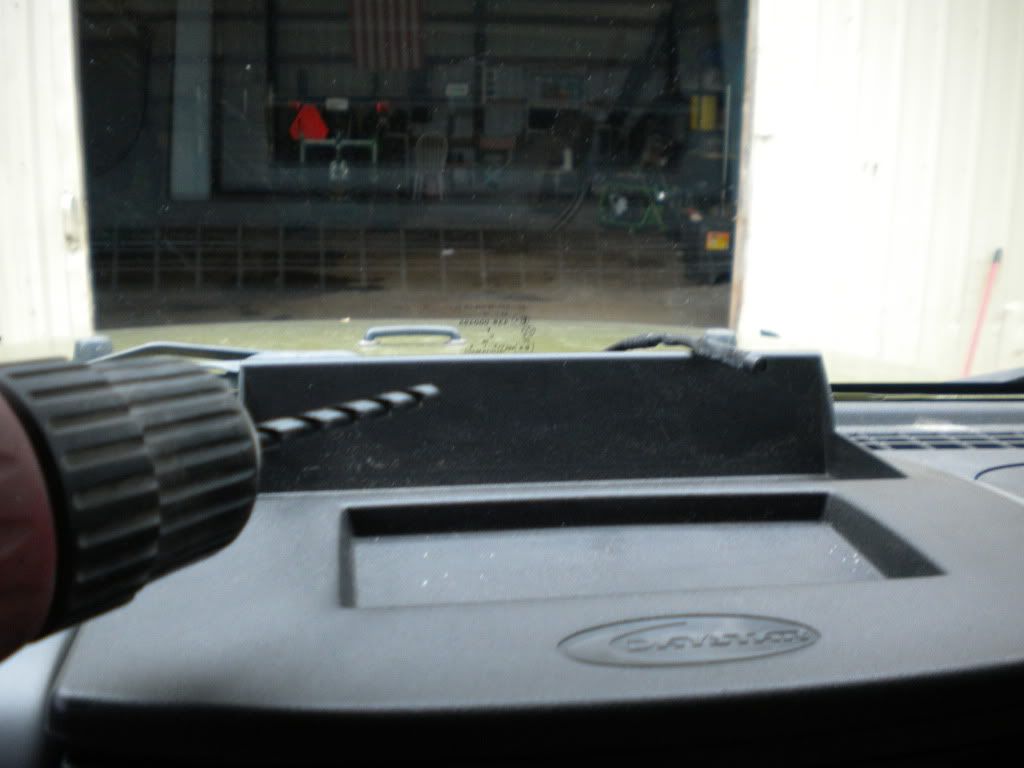
17) Before I closed up the dash I fed the mic through the back panel and up the windshield vent. Snake the wire through the hole you just made, It is a very tight fit and some more drilling may be required. Normally I would use a step drill bit but because of the slant in the daystar lip it would turn out like crap.
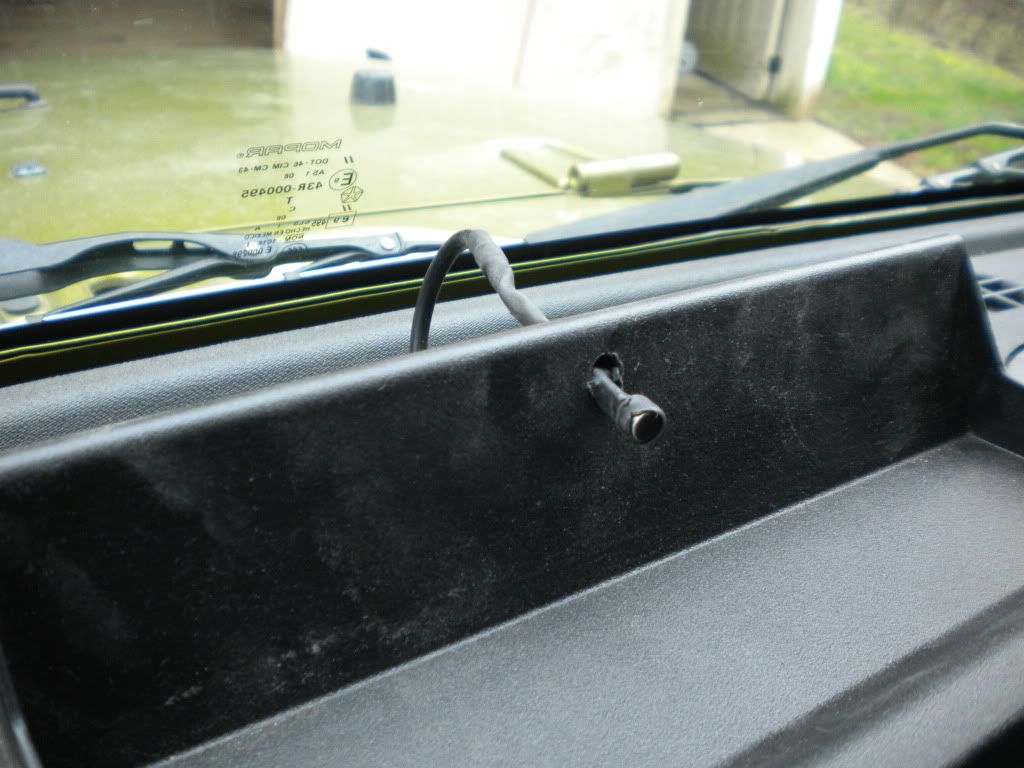
18) To secure the mic in it's place I took black RTV sealant and liberally applied it to the mic after it had been pulled through farther than necessary. Once this was done I pulled the mic back towards the windshield and tucked the wire back into the vent space. This creates a perfect seal behind the mic. Excess RTV WILL spill out, but because it's silicone it's easy to peel off after curing.
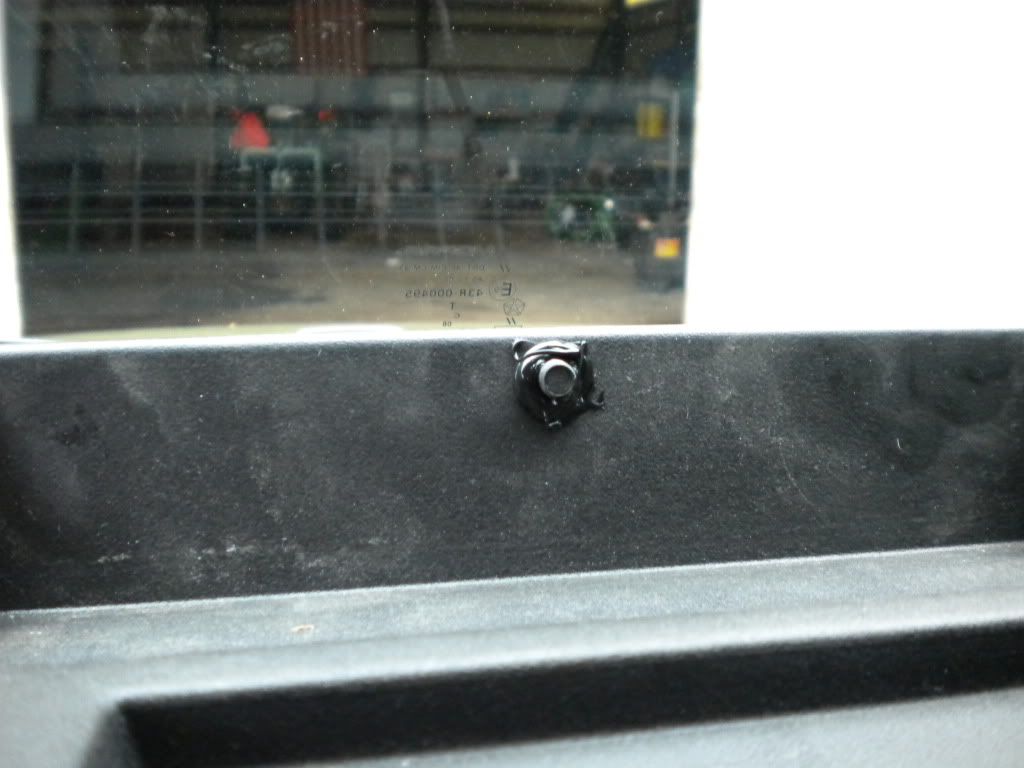
It looks awkward now, but I'll post the finished pics after it's done curing.
Tools Needed:
Small ratchet with extension & 7mm socket
15/64 Drill Bit (optional for mic install)
Black RTV Sealant (optional for mic install)
Hands w/fingers attached
1) Set out all equipment, harnesses, mic, etc. Read your directions FIRST! toggle the appropriate switches #1-5 to their up or down setting depending on what you want available. My factory U-connect was disabled when I got the Jeep so I had to do some resetting-more on that later.
2) Begin by removing the top cover (mine is daystar) from the head unit housing. DO NOT yank the piss out of the top cover to get it off, there are two metal clips in the back that are easiest to start with, the cover then slides off and forward. Disconnect the factory compass unit @ the pin connector.
3) Remove your bottom A/C dash cover (the panel in front of the drive selector). It is only attached with metal push connectors.
4) Remove all (4) 7mm screws w/ratchet from the corners of the A/C dash cluster.
5) Now GENTLY pry the A/C dash cluster away from the dash, one push pin at a time. The pins are located on the drivers and passenger side directly behind the cig lighter, the A/C cluster, and @ the vents. Take the time to do this right or you will rip your dash in two.
Once all pins are out of their mounting positions it is not necessary to complete remove the dash, just pull it out ~4" and let it rest on the plastic in front of the shifter. You will have plenty of room to work w/the head unit.
6) Remove the (4) 7mm mounting screws from the frame of the Head Unit.
7) GENTLY pull your head unit out and disconnect all harnesses and aux cables (radio ant., GPS, and compass) The three aux cables have color coded connectors so you don't need to worry about mixing them up (unless you're color blind).
8) Make sure all of the switches on the lockpick unit itself are set to the proper setting you need. Then connect it to it's harness.
9) At this time you can connect any peripherals you would like, back up cam, RCA outs, and Video outs. Wire them accordingly.
10) Plug in the microphone to the back of the Head Unit w/supplied mic and harness if you wish to use and activate your U-Connect.
11) Connect the lockpick harness adapter into the stock harness.
12) Now connect the lockpick head unit harness end into the MyGig. Also Re-connect all auxiliary cables (White/Orange/Blue), and reconnect the compass pin connector to the top dash cover.
13) DO NOT put everything back together or tuck any wires until you run through all of your test applications. Test back-up video, aux video, and aux amps/stereo equipment. If you are activating U-Connect keep reading, if not skip ahead.
Follow the directions supplied with the lockpick, I'll restate just for clarity on what I'm doing.
-With everything connected, start the Jeep, hit accept
-Let the stereo first load for 5 sec.
-Turn off the car, shut all doors for @ least 1 min
-Turn car back on, let stereo load, and hit Uconnect button.
-It should activate and you can now pair bluetooth devices.
Test call someone to make sure the microphone and bluetooth connection are functioning properly.
14) Tuck wires and lockpick unit into the dash wherever you see fit. I chose to shove the lockpick and aux harnesses into the gap between the glove box and passenger side vent.
15) Reassemble the dash, all except the top cover.
You can now test your new in-motion abilities and plug in a coordinate/destination to make sure the lock-out is disengaged.
If everything functions fine and you are not installing a mic you're all done! Make sure the dash is completely buttoned up and grab a
16) -Here is the optional mic install I did-
Taking a 15/64" drill pit I bored out a hole in the center of my Daystar Lip.
17) Before I closed up the dash I fed the mic through the back panel and up the windshield vent. Snake the wire through the hole you just made, It is a very tight fit and some more drilling may be required. Normally I would use a step drill bit but because of the slant in the daystar lip it would turn out like crap.
18) To secure the mic in it's place I took black RTV sealant and liberally applied it to the mic after it had been pulled through farther than necessary. Once this was done I pulled the mic back towards the windshield and tucked the wire back into the vent space. This creates a perfect seal behind the mic. Excess RTV WILL spill out, but because it's silicone it's easy to peel off after curing.
It looks awkward now, but I'll post the finished pics after it's done curing.
 01-19-2010, 12:33 PM
#5
JK Enthusiast
Join Date: Aug 2009
Location: Westchester NY
Posts: 358
Likes: 0
Received 0 Likes
on
0 Posts
 01-19-2010, 04:54 PM
#7
JK Freak
Thread Starter
Join Date: Sep 2009
Location: Kirkland, WA
Posts: 894
Likes: 0
Received 0 Likes
on
0 Posts
https://www.jk-forum.com/forums/show...=115252&page=2
https://www.jk-forum.com/forums/jk-electrical-lighting-sound-systems-13/line-out-convertor-aftermarket-sub-sub-amp-w-infinity-system-pics-115498/
The Lockpick system is only used for the MyGig and MyGig navi unit, it does not convert digital to analog or supply line level outs for amplifiers.
Trending Topics
01-20-2010, 09:48 AM
#9
JK Freak
Thread Starter
Join Date: Sep 2009
Location: Kirkland, WA
Posts: 894
Likes: 0
Received 0 Likes
on
0 Posts
https://www.jk-forum.com/forums/jk-write-ups-39/write-ups-aftermarket-sub-sub-amp-remote-turn-wire-loc-line-output-convertor-115758/
The best thread on how to do it ^
The best thread on how to do it ^