When you click on links to various merchants on this site and make a purchase, this can result in this site earning a commission. Affiliate programs and affiliations include, but are not limited to, the eBay Partner Network.
JK Write-UpsBulletin board forum regarding useful installation write-ups, budget fixes and homemade solutions for the Jeep JK Wrangler (Rubicon, Sahara, Unlimited and X).
JK to JL Front End Conversion
If you're interested in converting your JK front end to look like the newer JL style, here is some info I learned in converting mine.
First, this is not a simple bolt-on process. It currently involves creating several custom brackets to modify the JL parts to the JK body. It also requires cutting parts of the frame and installing nutserts, among other modifications. The good news is that none of the modifications will interfere with returning the Jeep back to stock form.
Yes, there are simpler, aftermarket solutions for installing a JL style grill on your JK.
My write-up involves swapping the fenders, flares, headlights and hood to get the full JL stance.
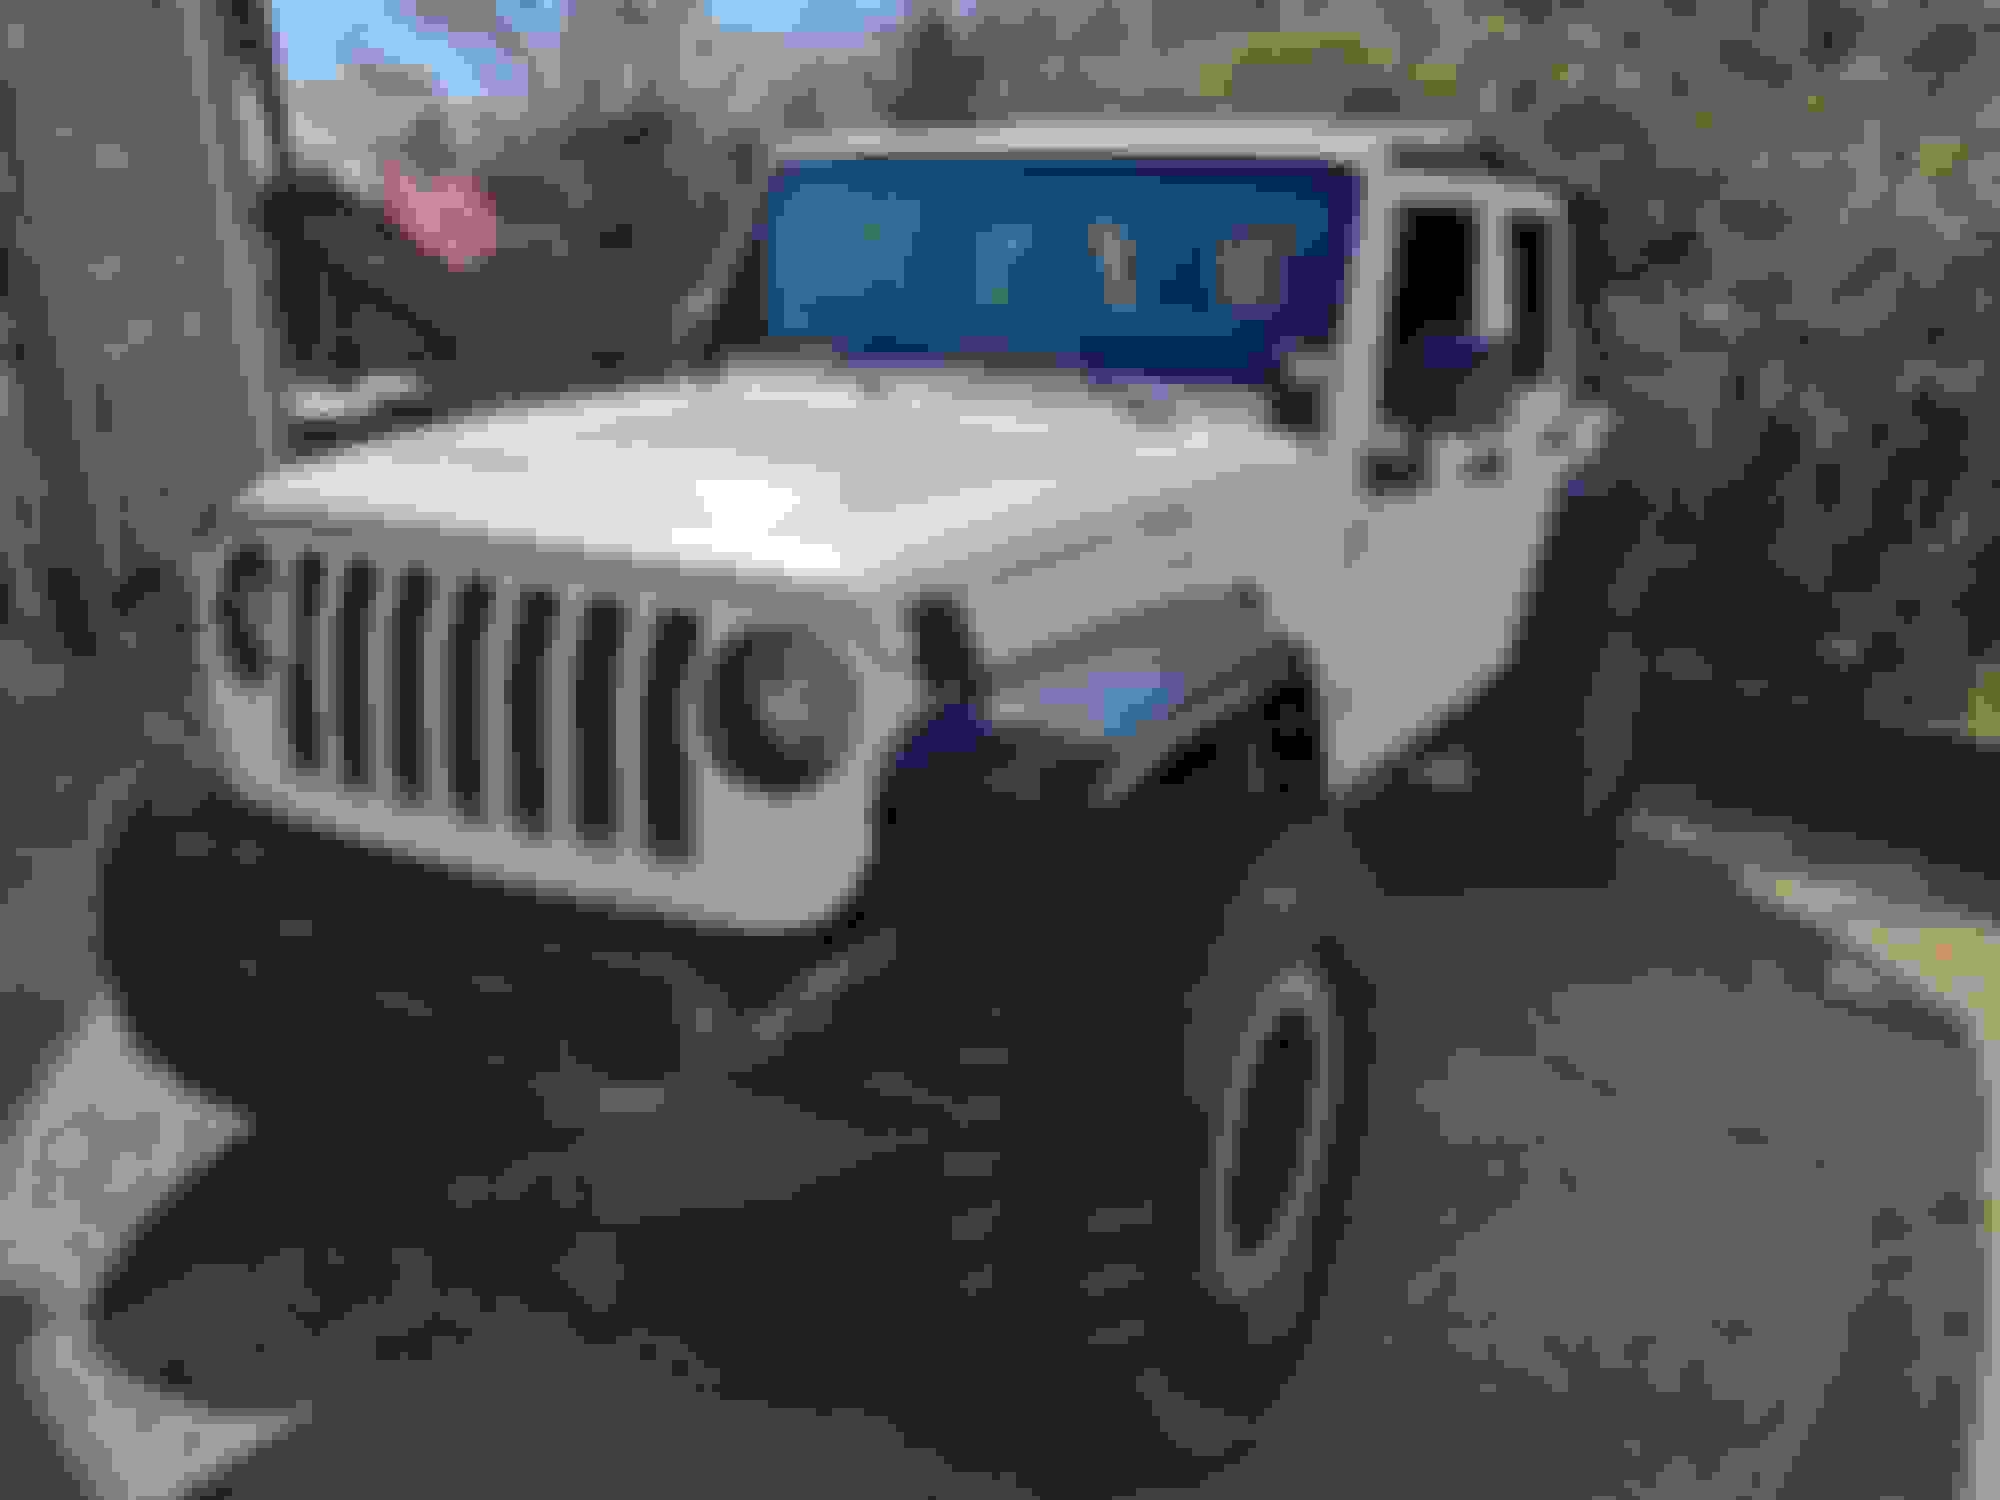
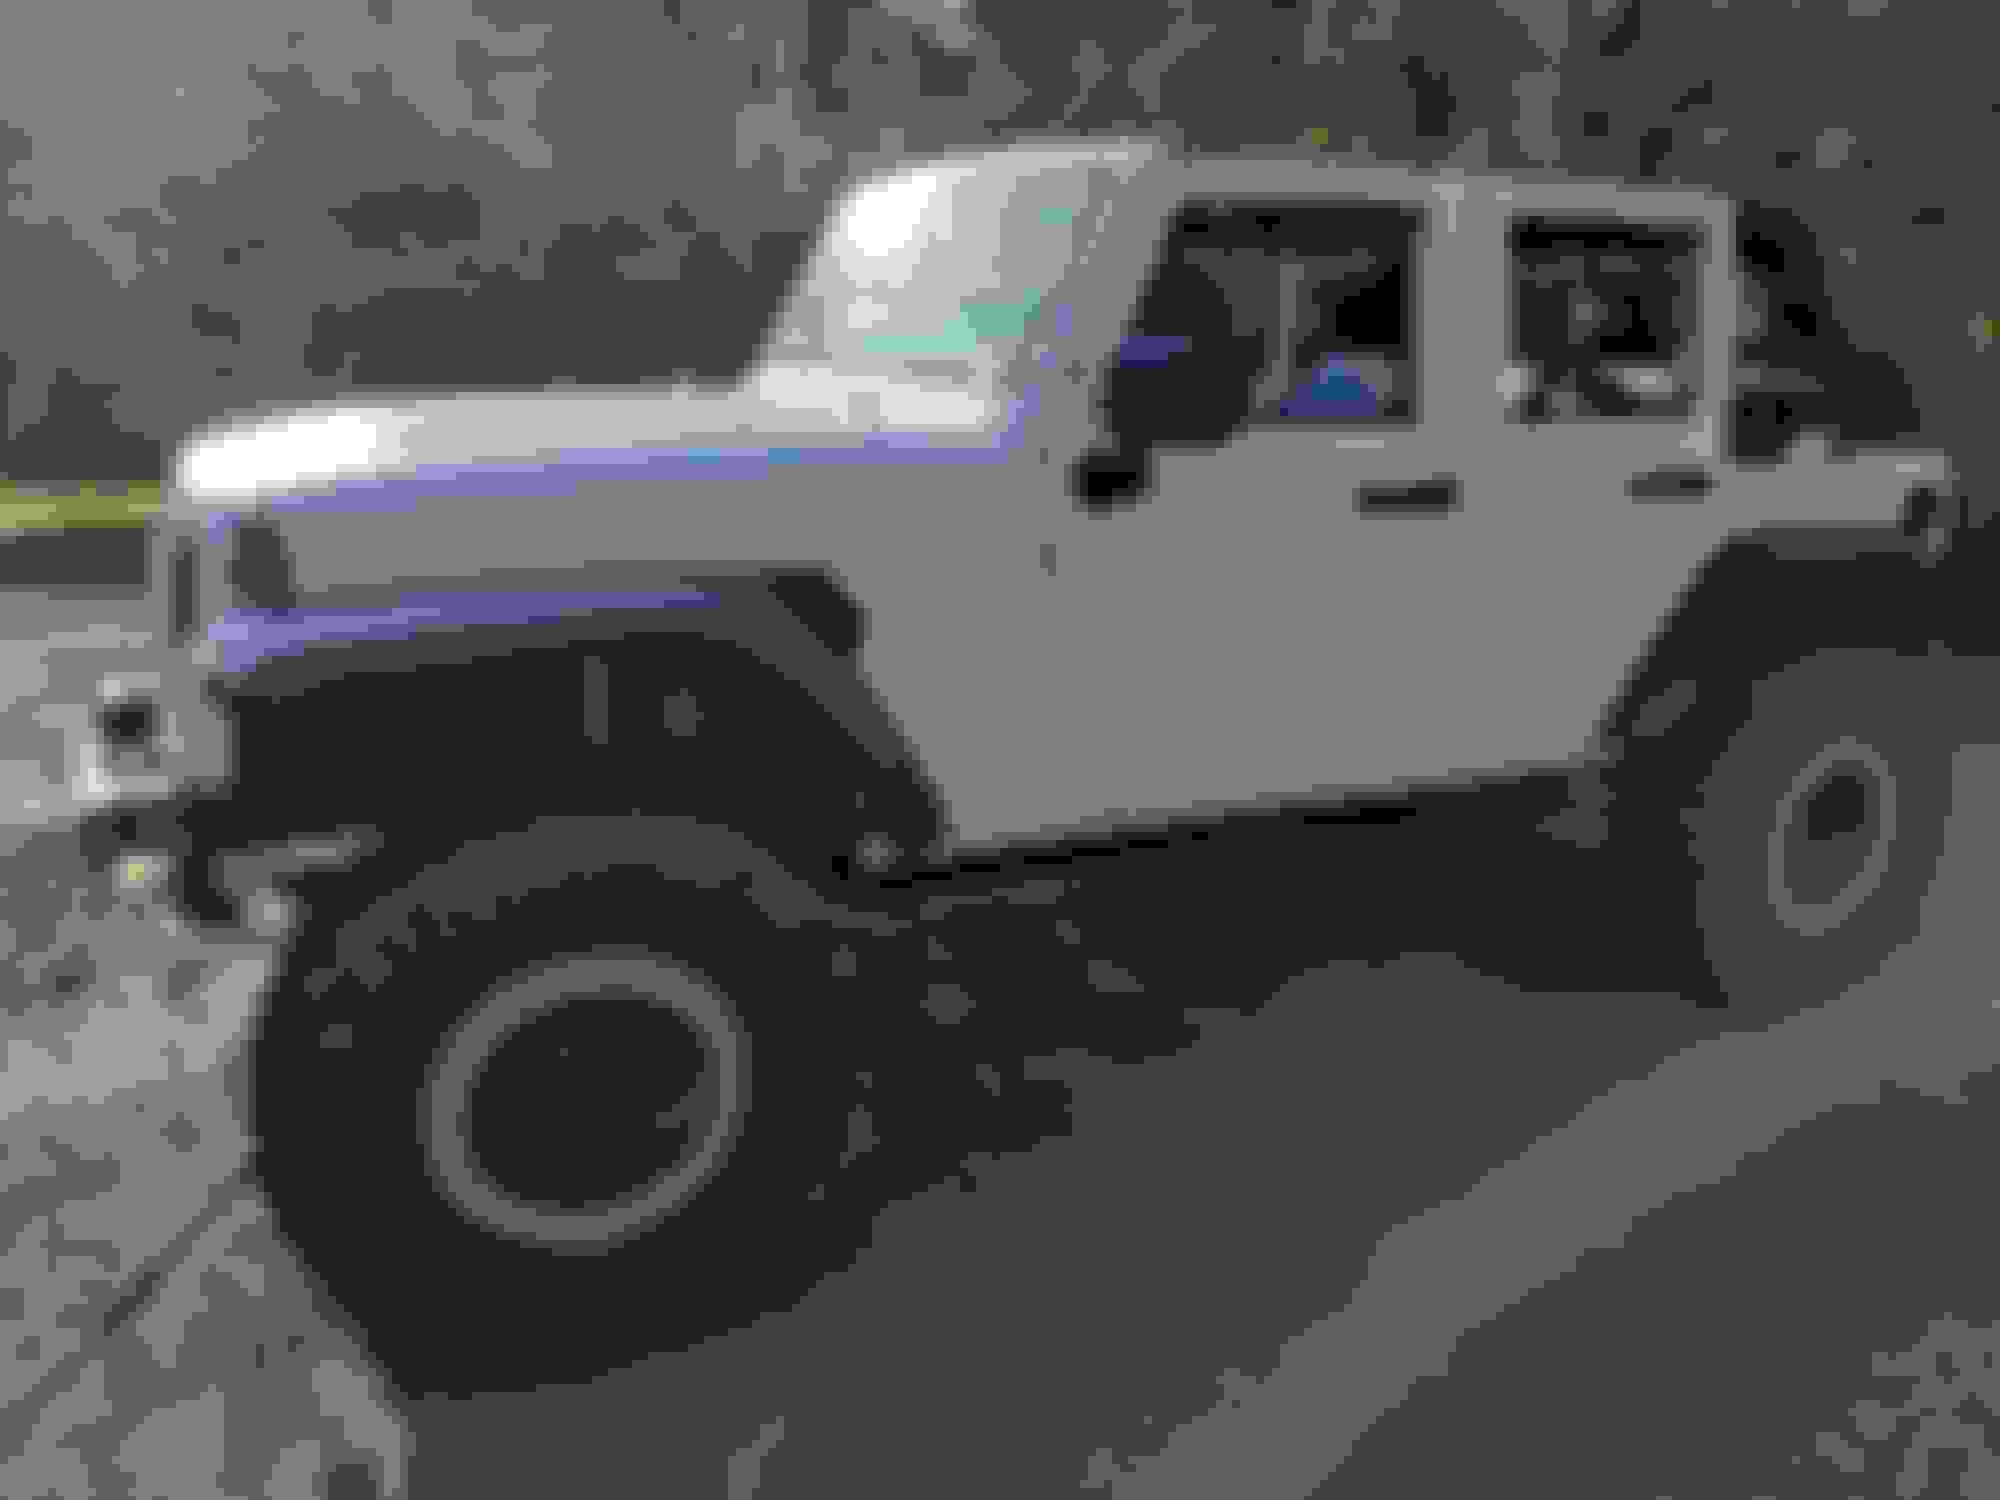
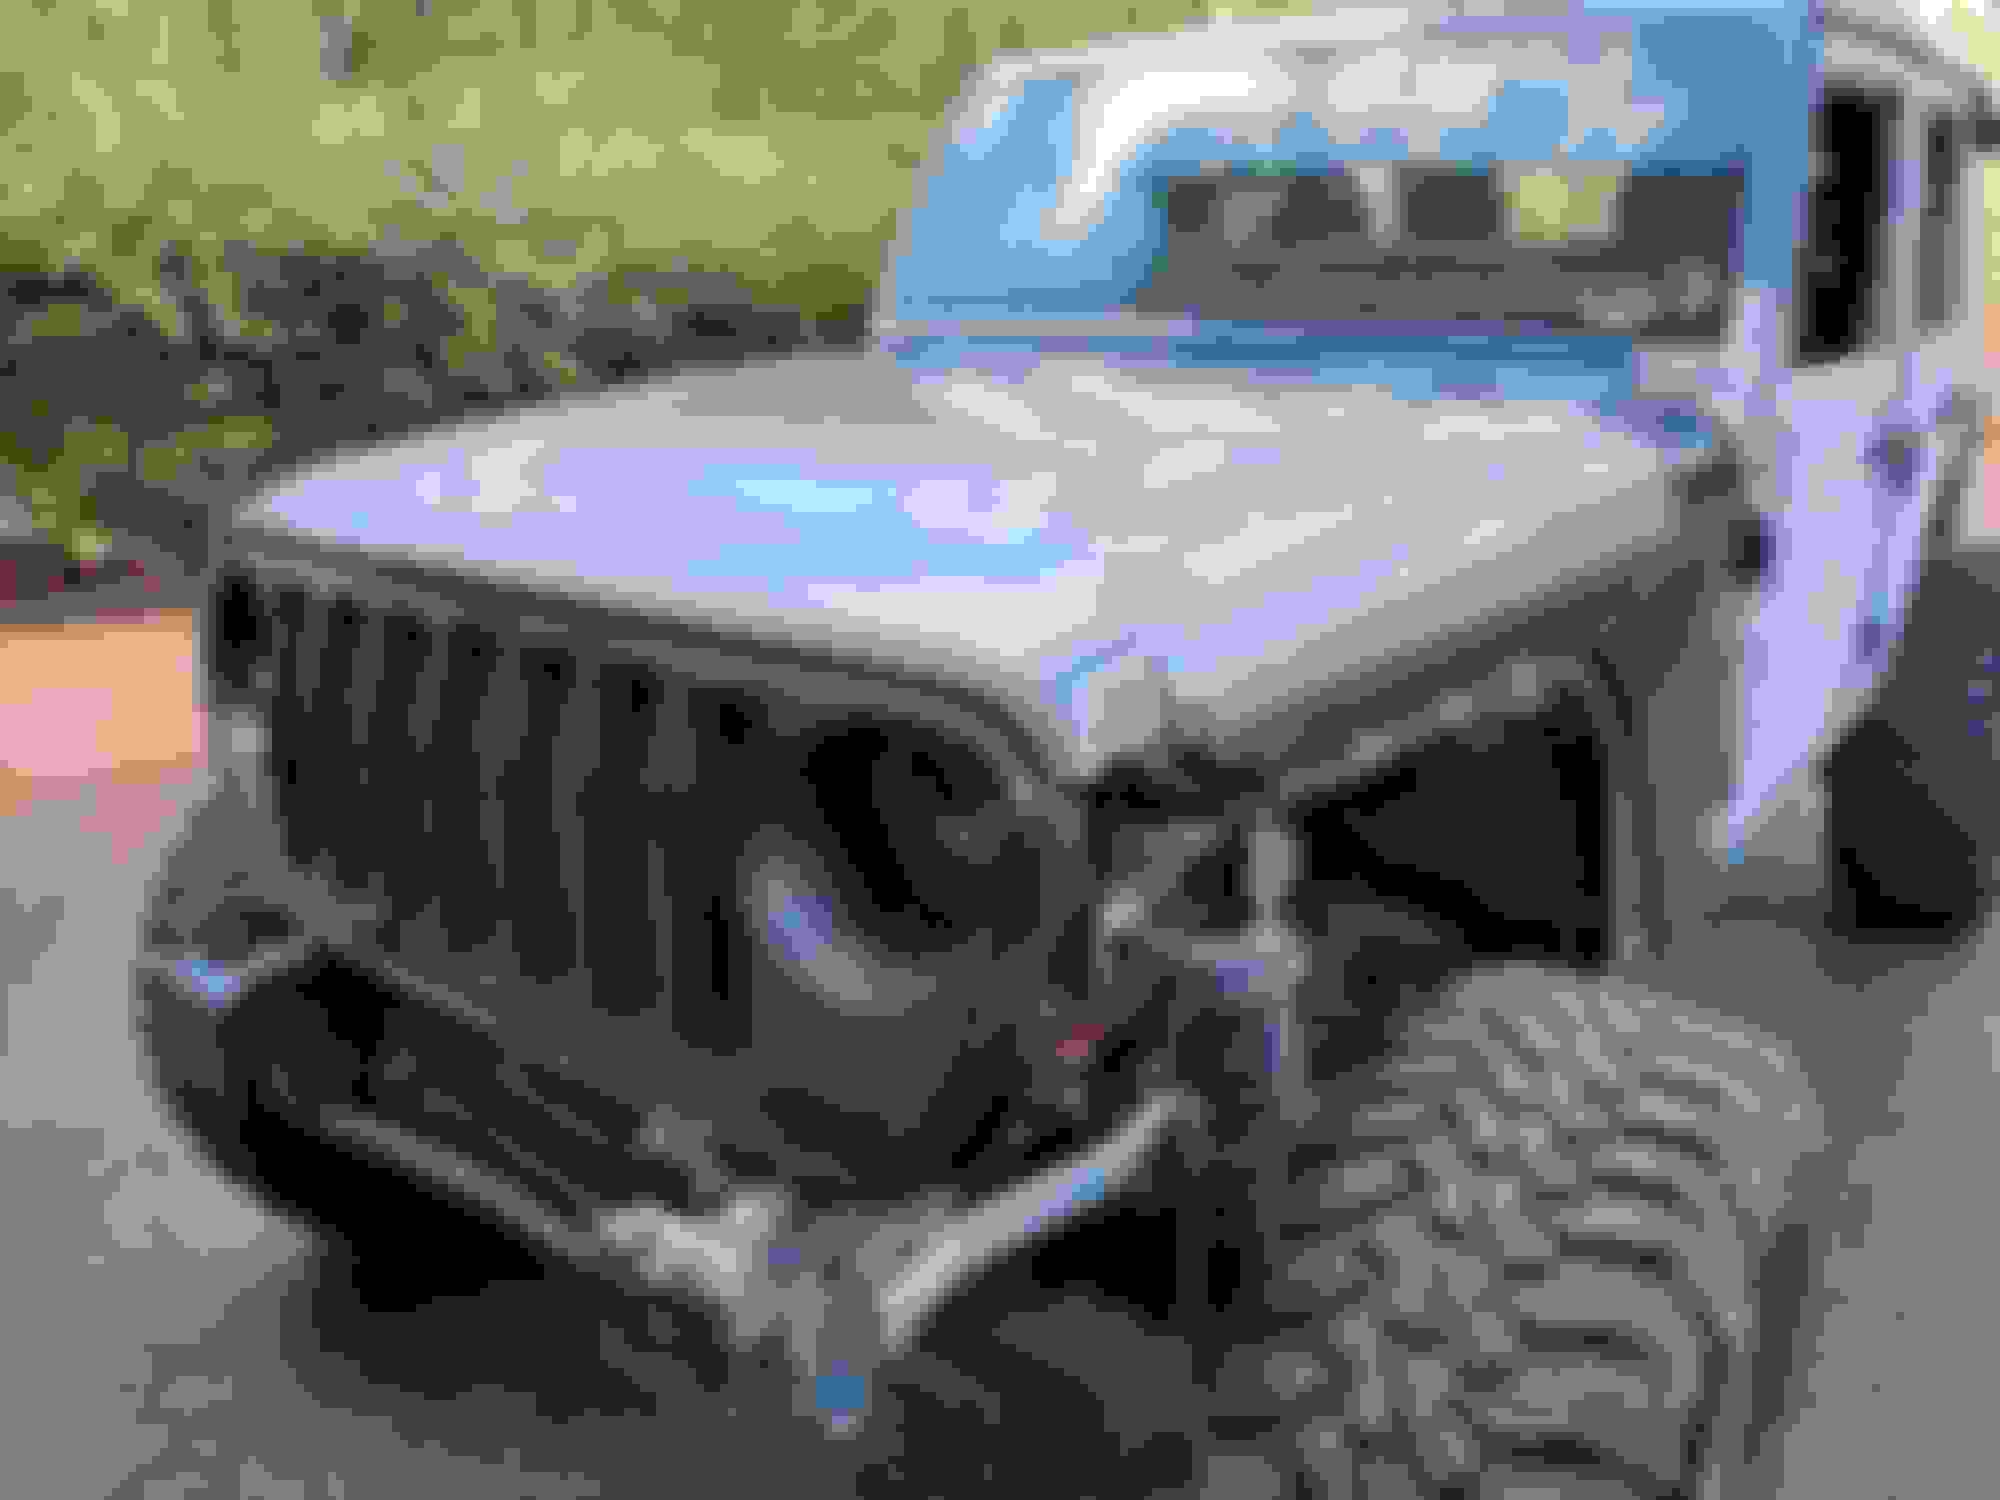
Here's how my conversion looks now:
Parts: I was able to source most of the JL parts used online locally at cheap prices, as most JL owners are upgrading these parts.
Parts Needed:
JL Hood
JL Fender Flares
JL Fender
JL Rad Support
JL Headlights
Coolant
JL Headlight Wiring/JK Wiring
Step 1:
JK Parts Removal
Remove your JK hood, grill, flares, fenders, headlights, cowls and radiator support. Save all hardware. You can remove the radiator support and prop/support the radiator so it doesn't leak/move. You will eventually replace the upper radiator hose, so be prepared to have coolant to refill and burp system.
Step 2:
JL Radiator Support Install
The JL rad support is taller than the JK and the factory mounting holes don't quite line up, so you'll need to make an adapter bracket to raise the radiator up on the rad support and also install nutserts on the JK frame to properly mount the rad support. Minor cutting is also required.
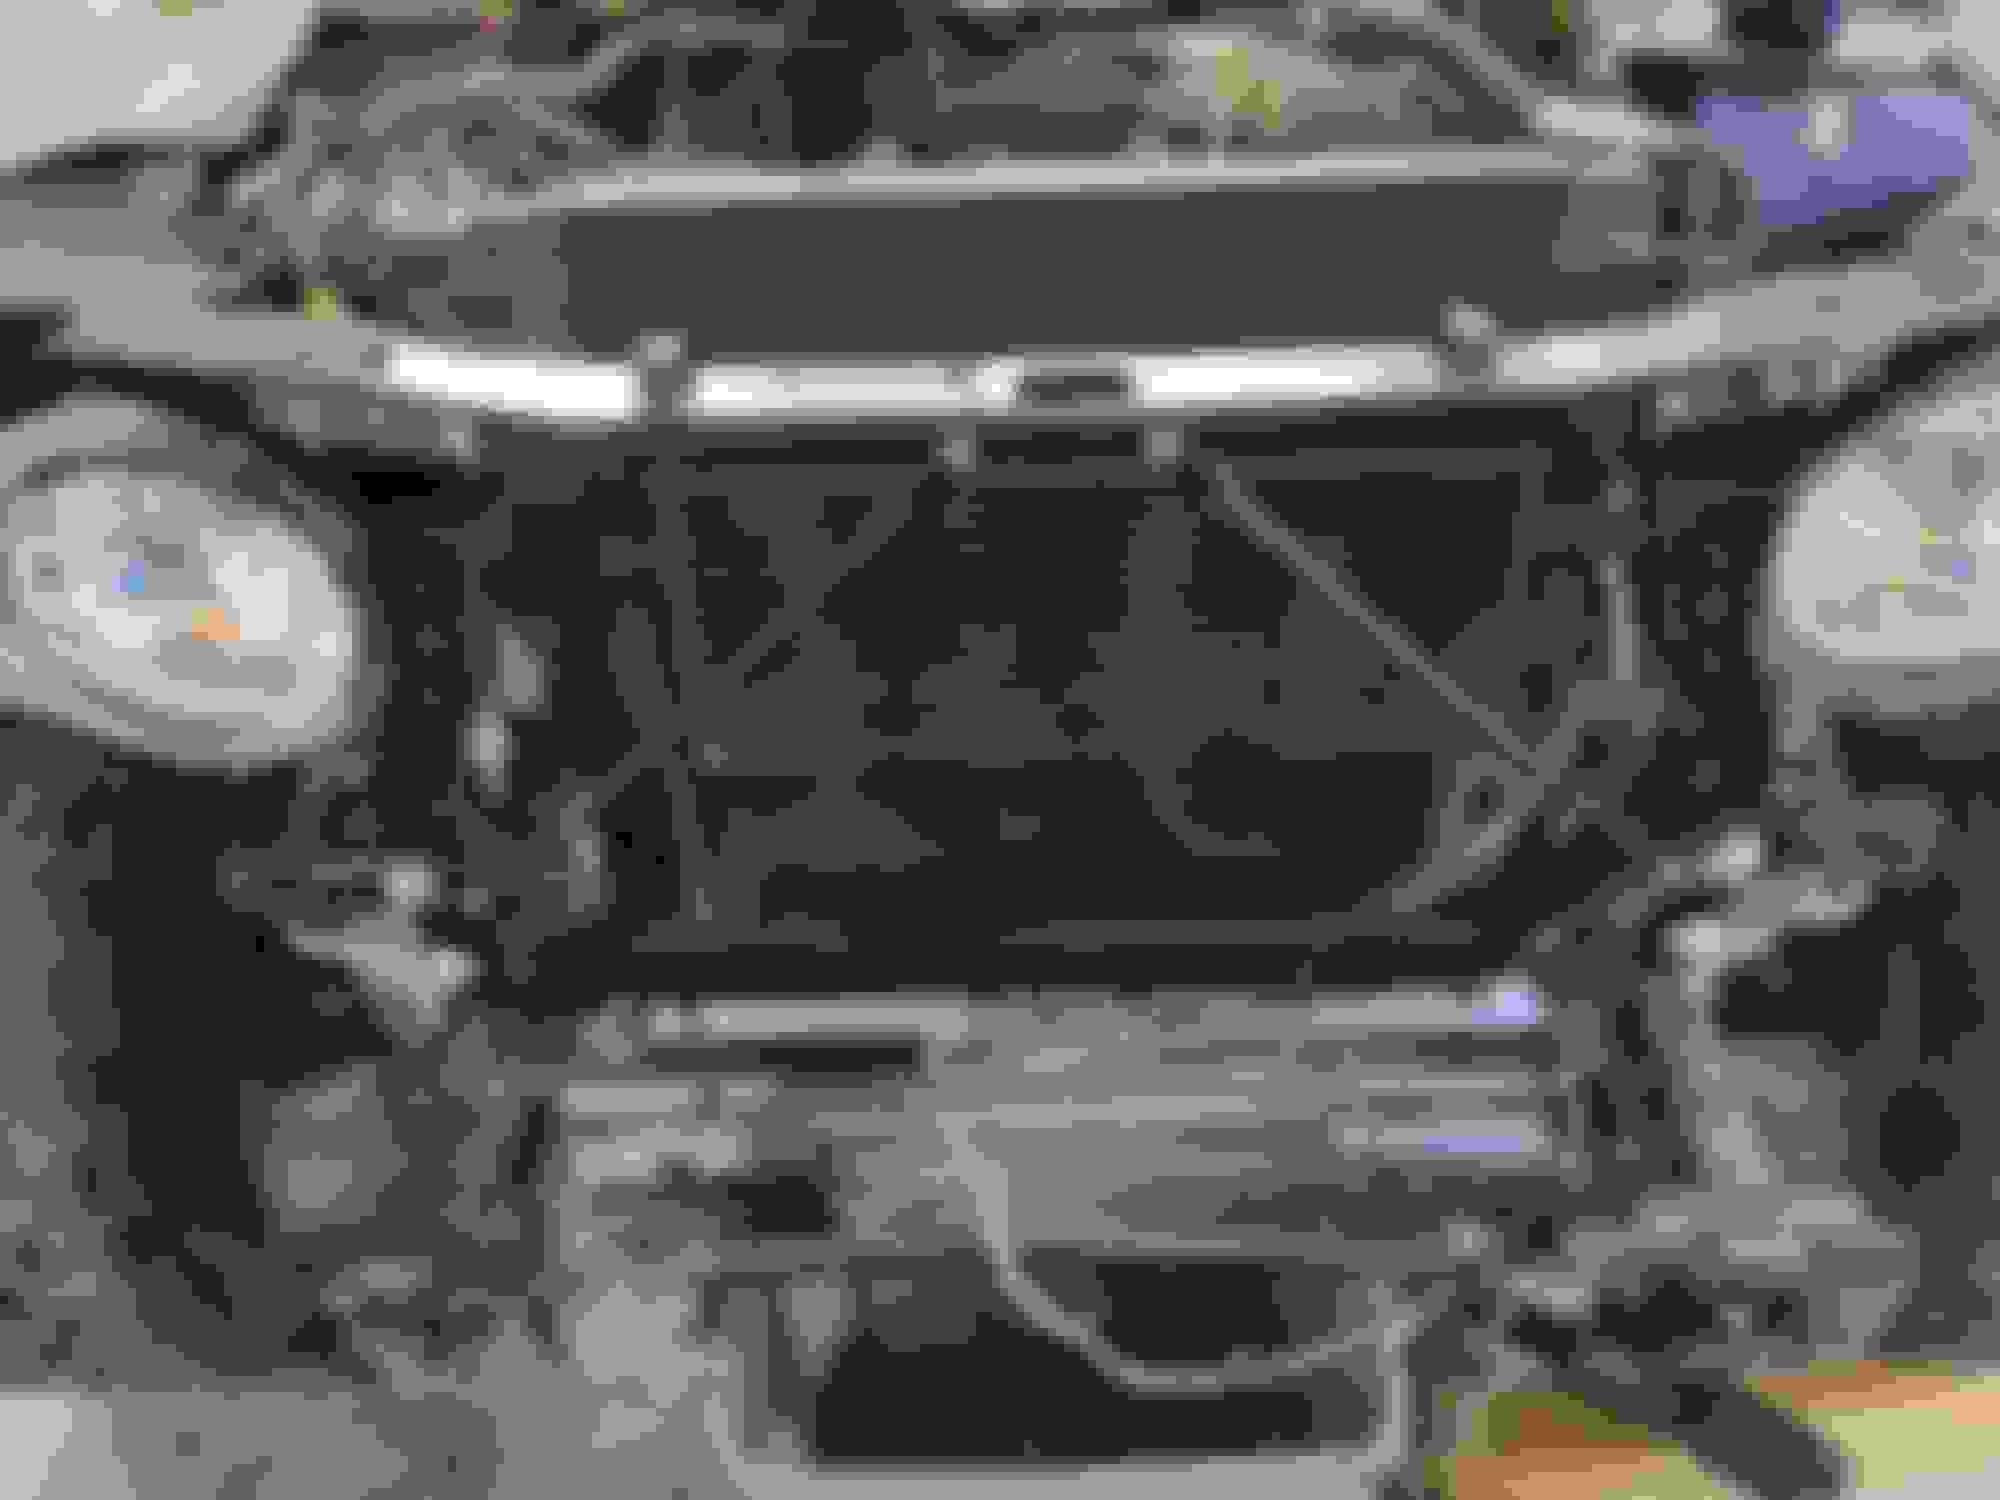
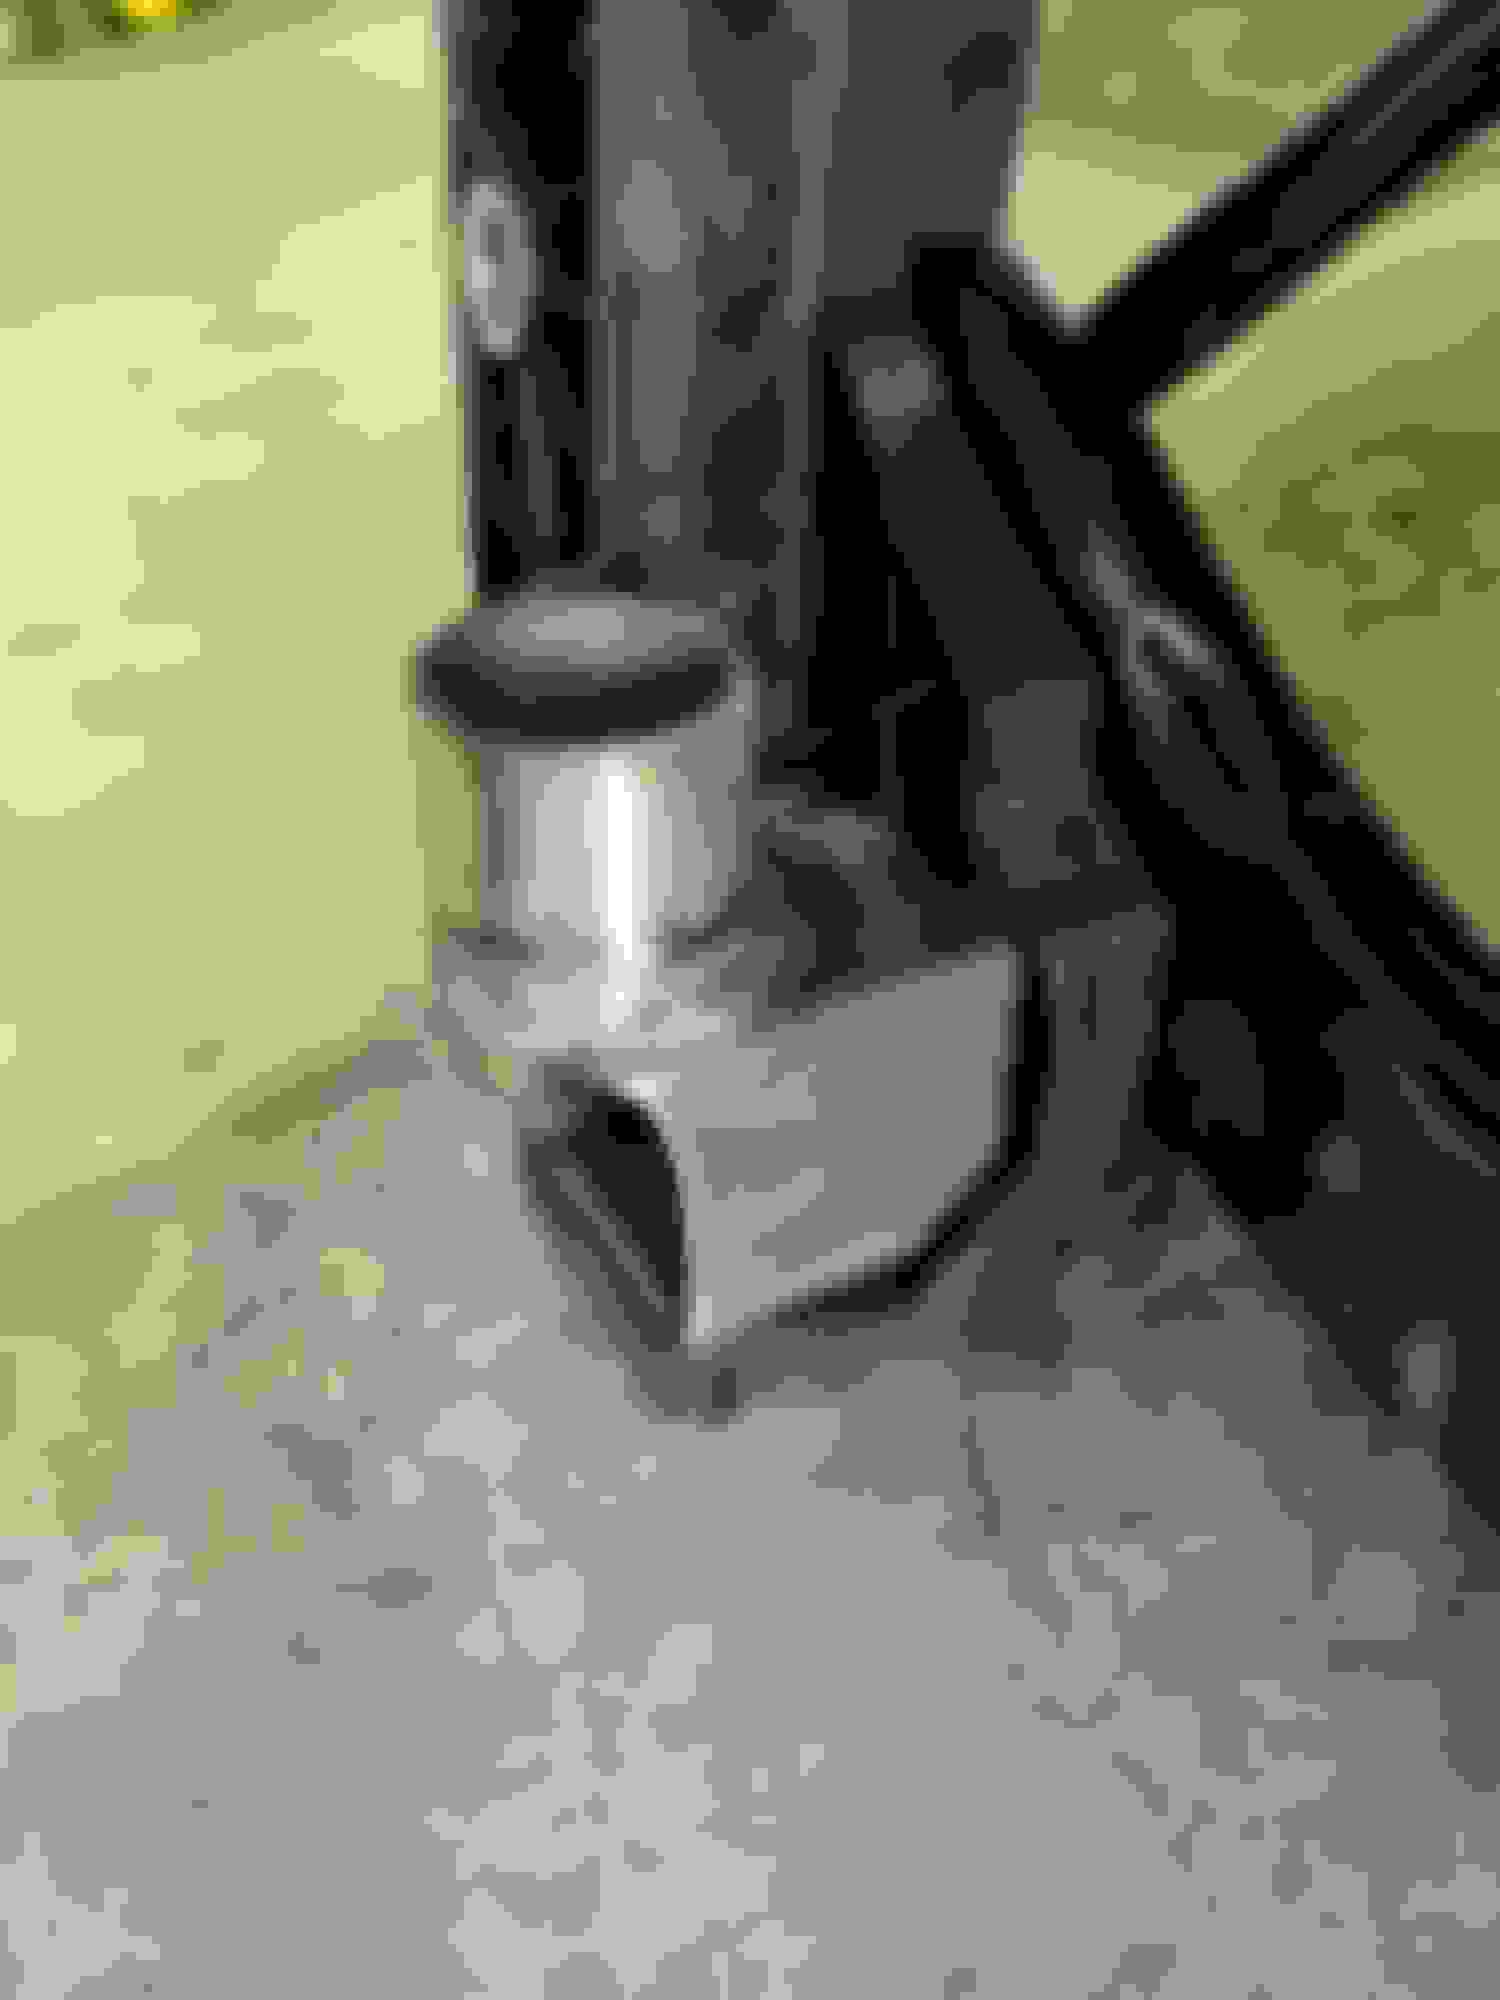
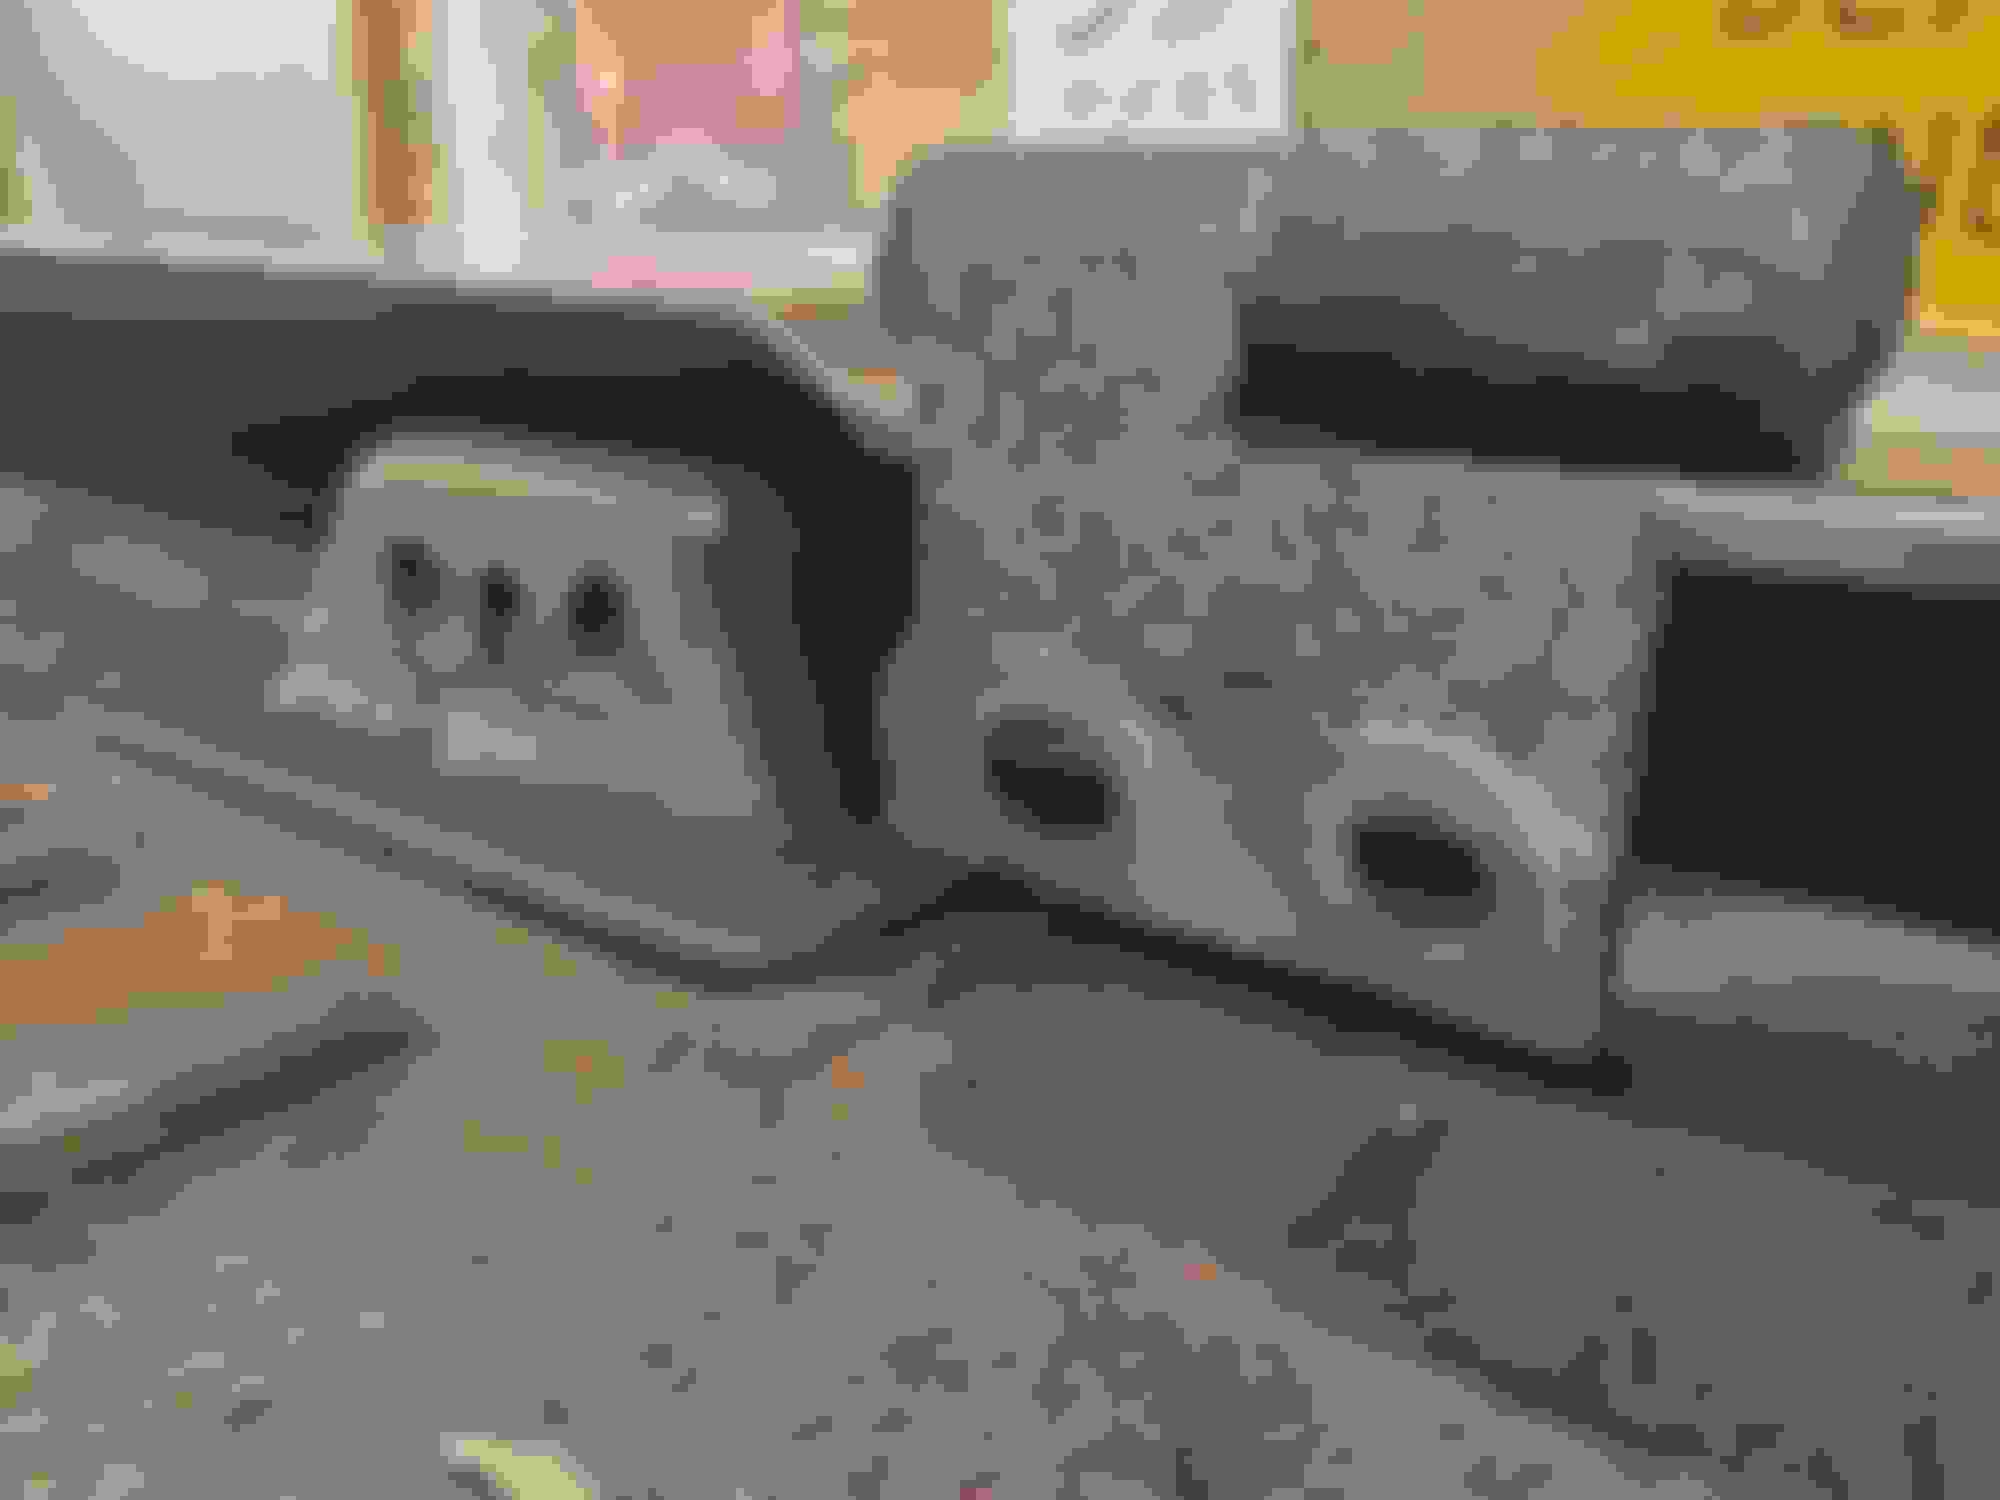
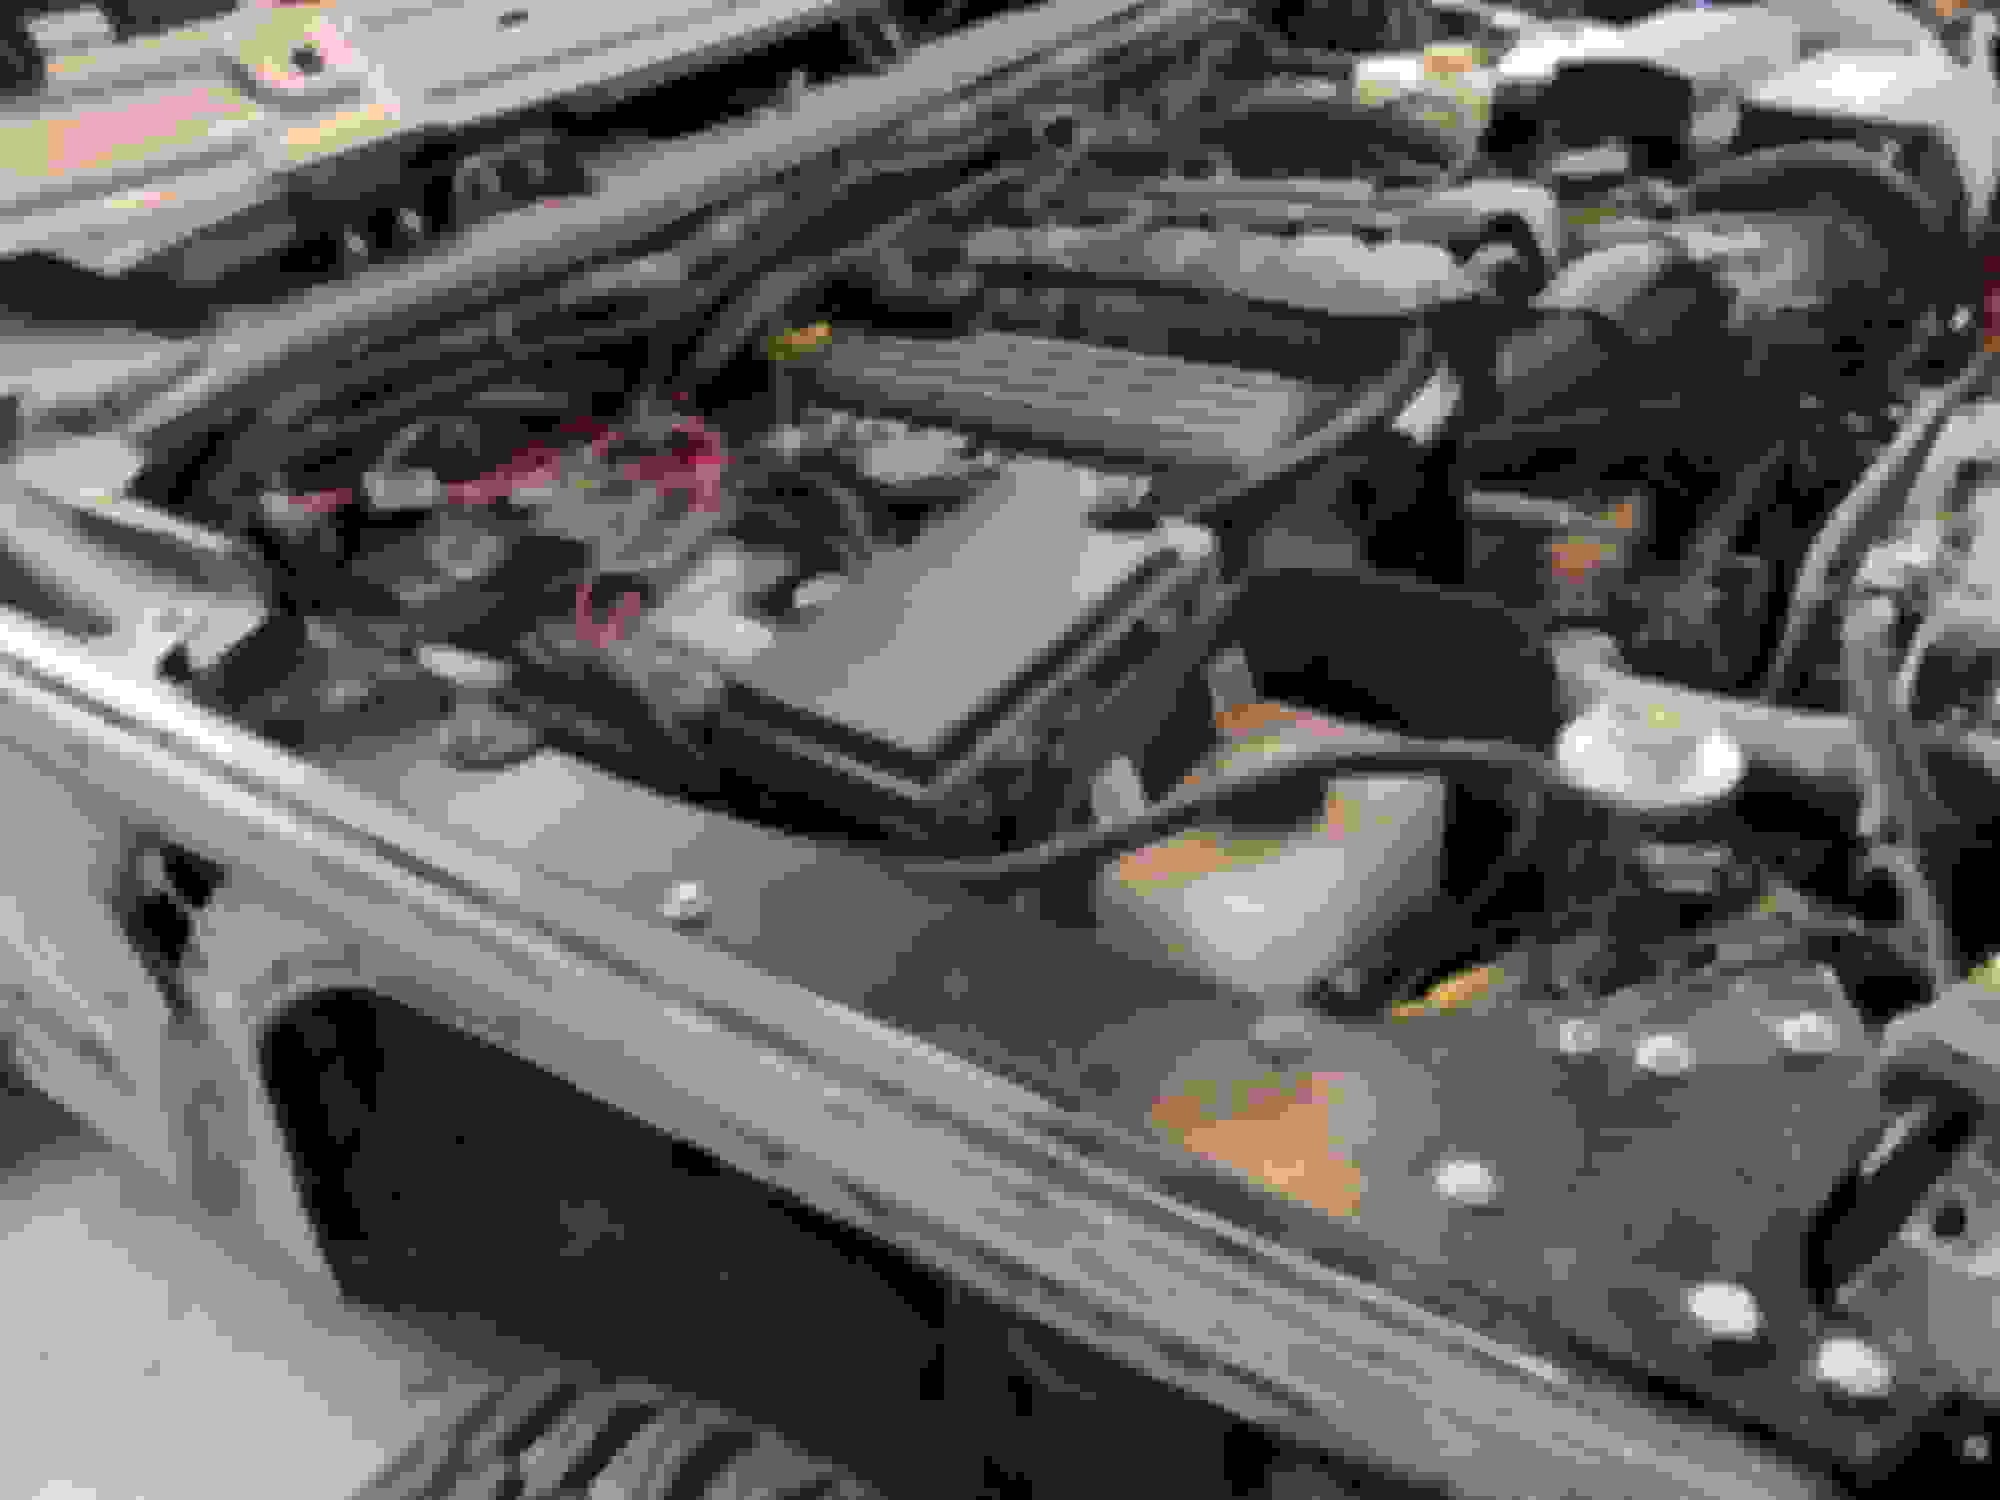
Rad support installed below:
Frame rail modifications: the section marked in black needs to be removed. Also note the placement of the nutsert on the end of the frame bucket. The rad support mounts with 4 large bolts; 2 per side. The lower hole requires the nutsert. The upper hole is same as JK usage.
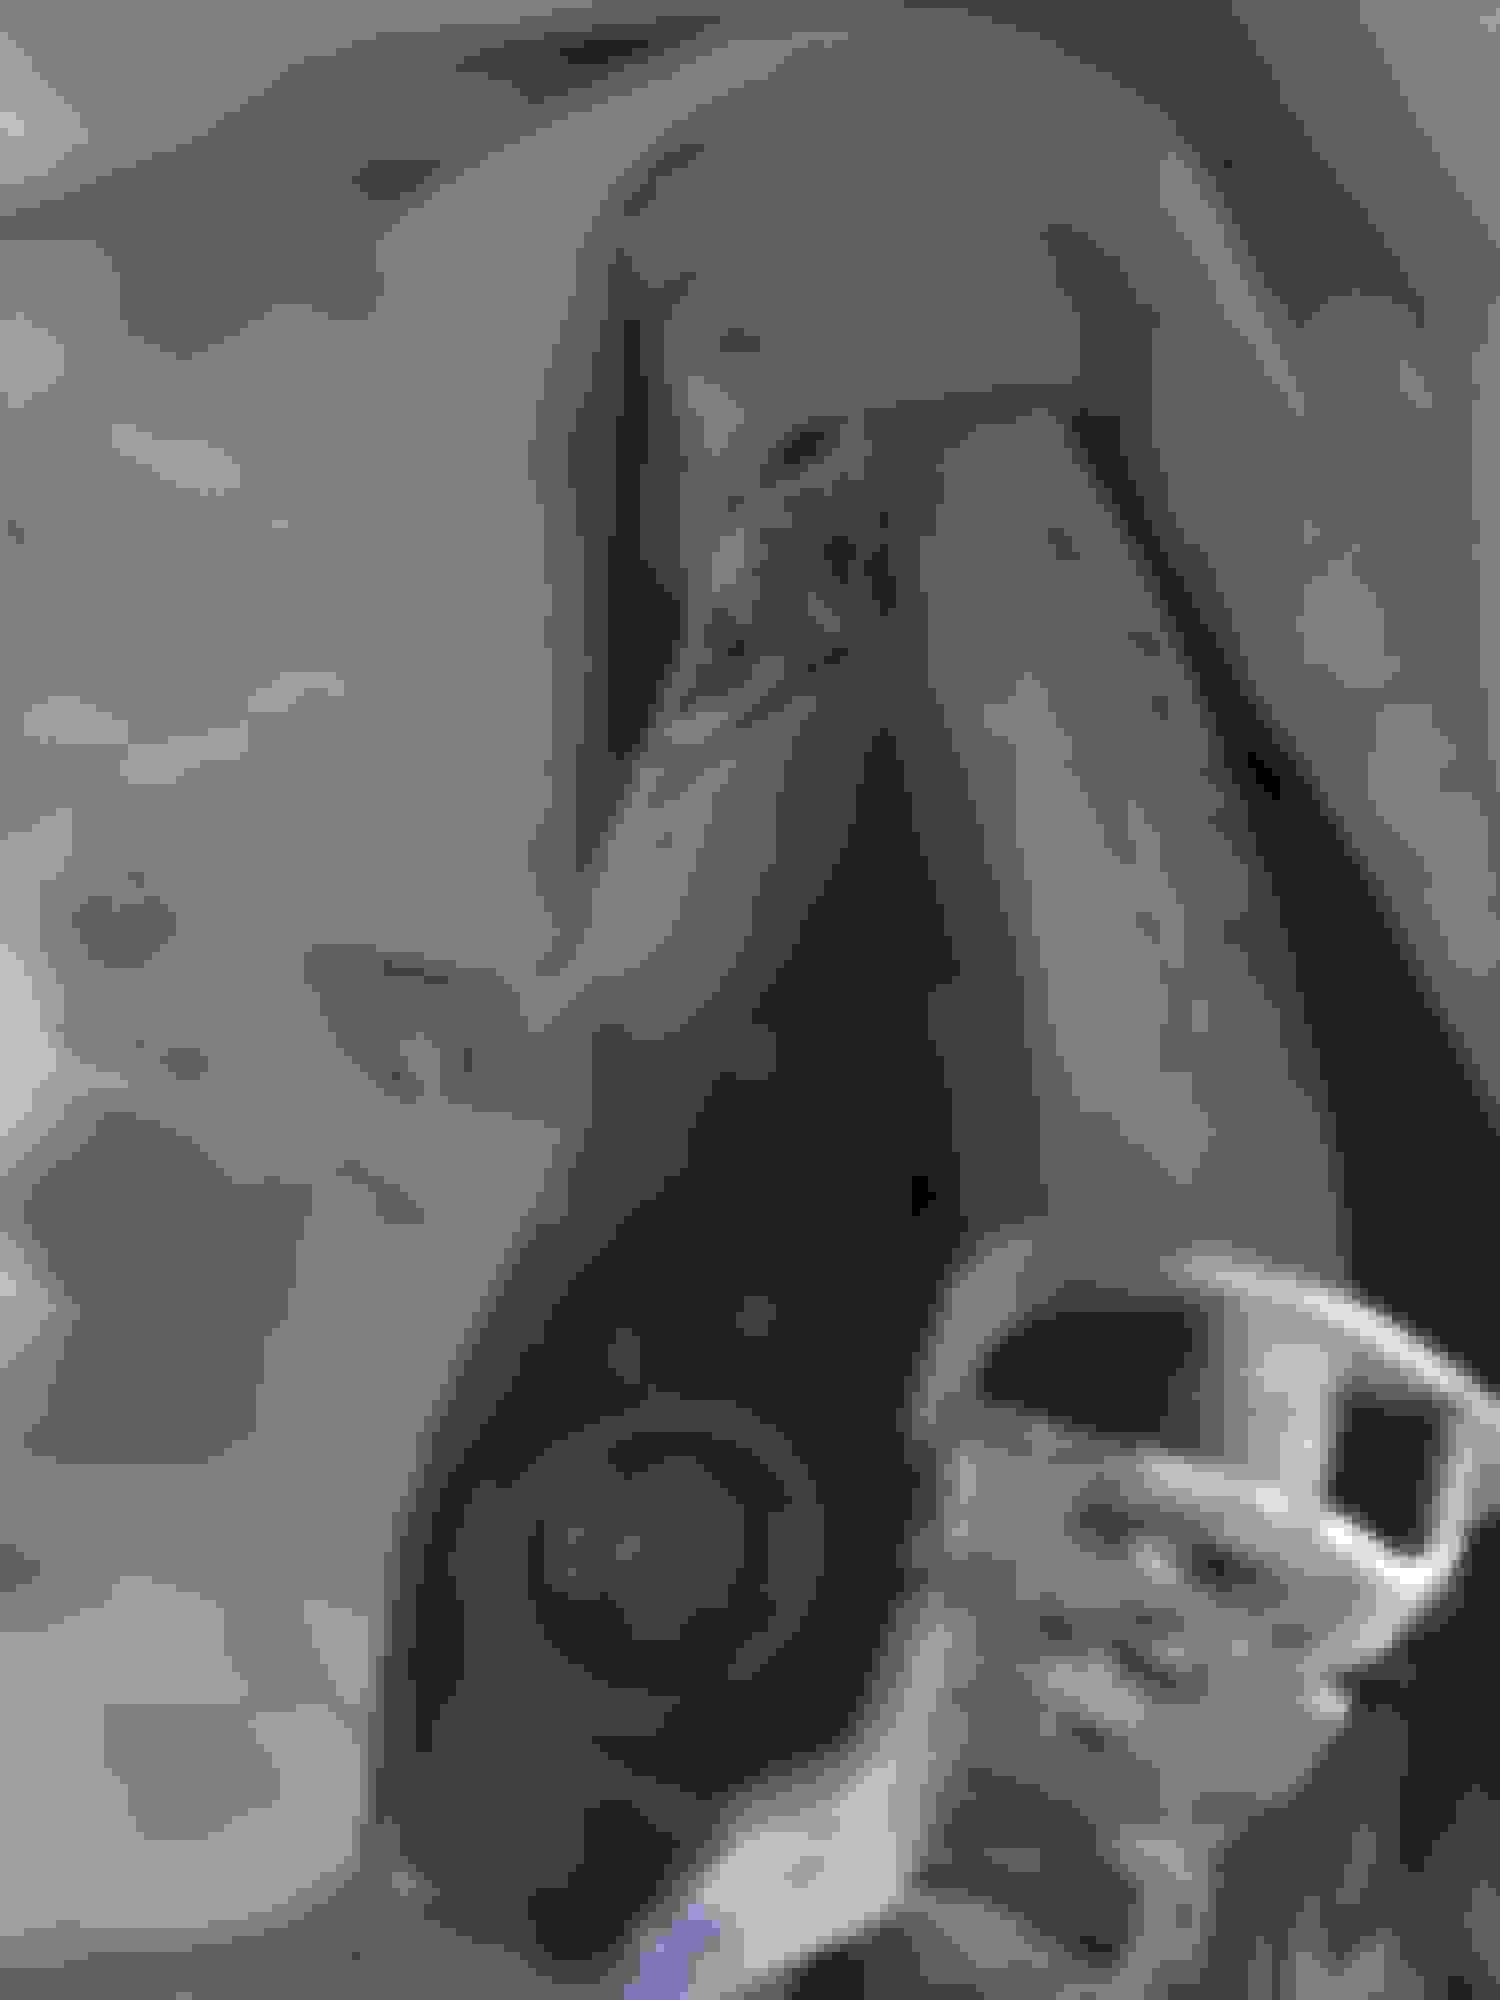
Here's what mine looked like w/ section cut out.
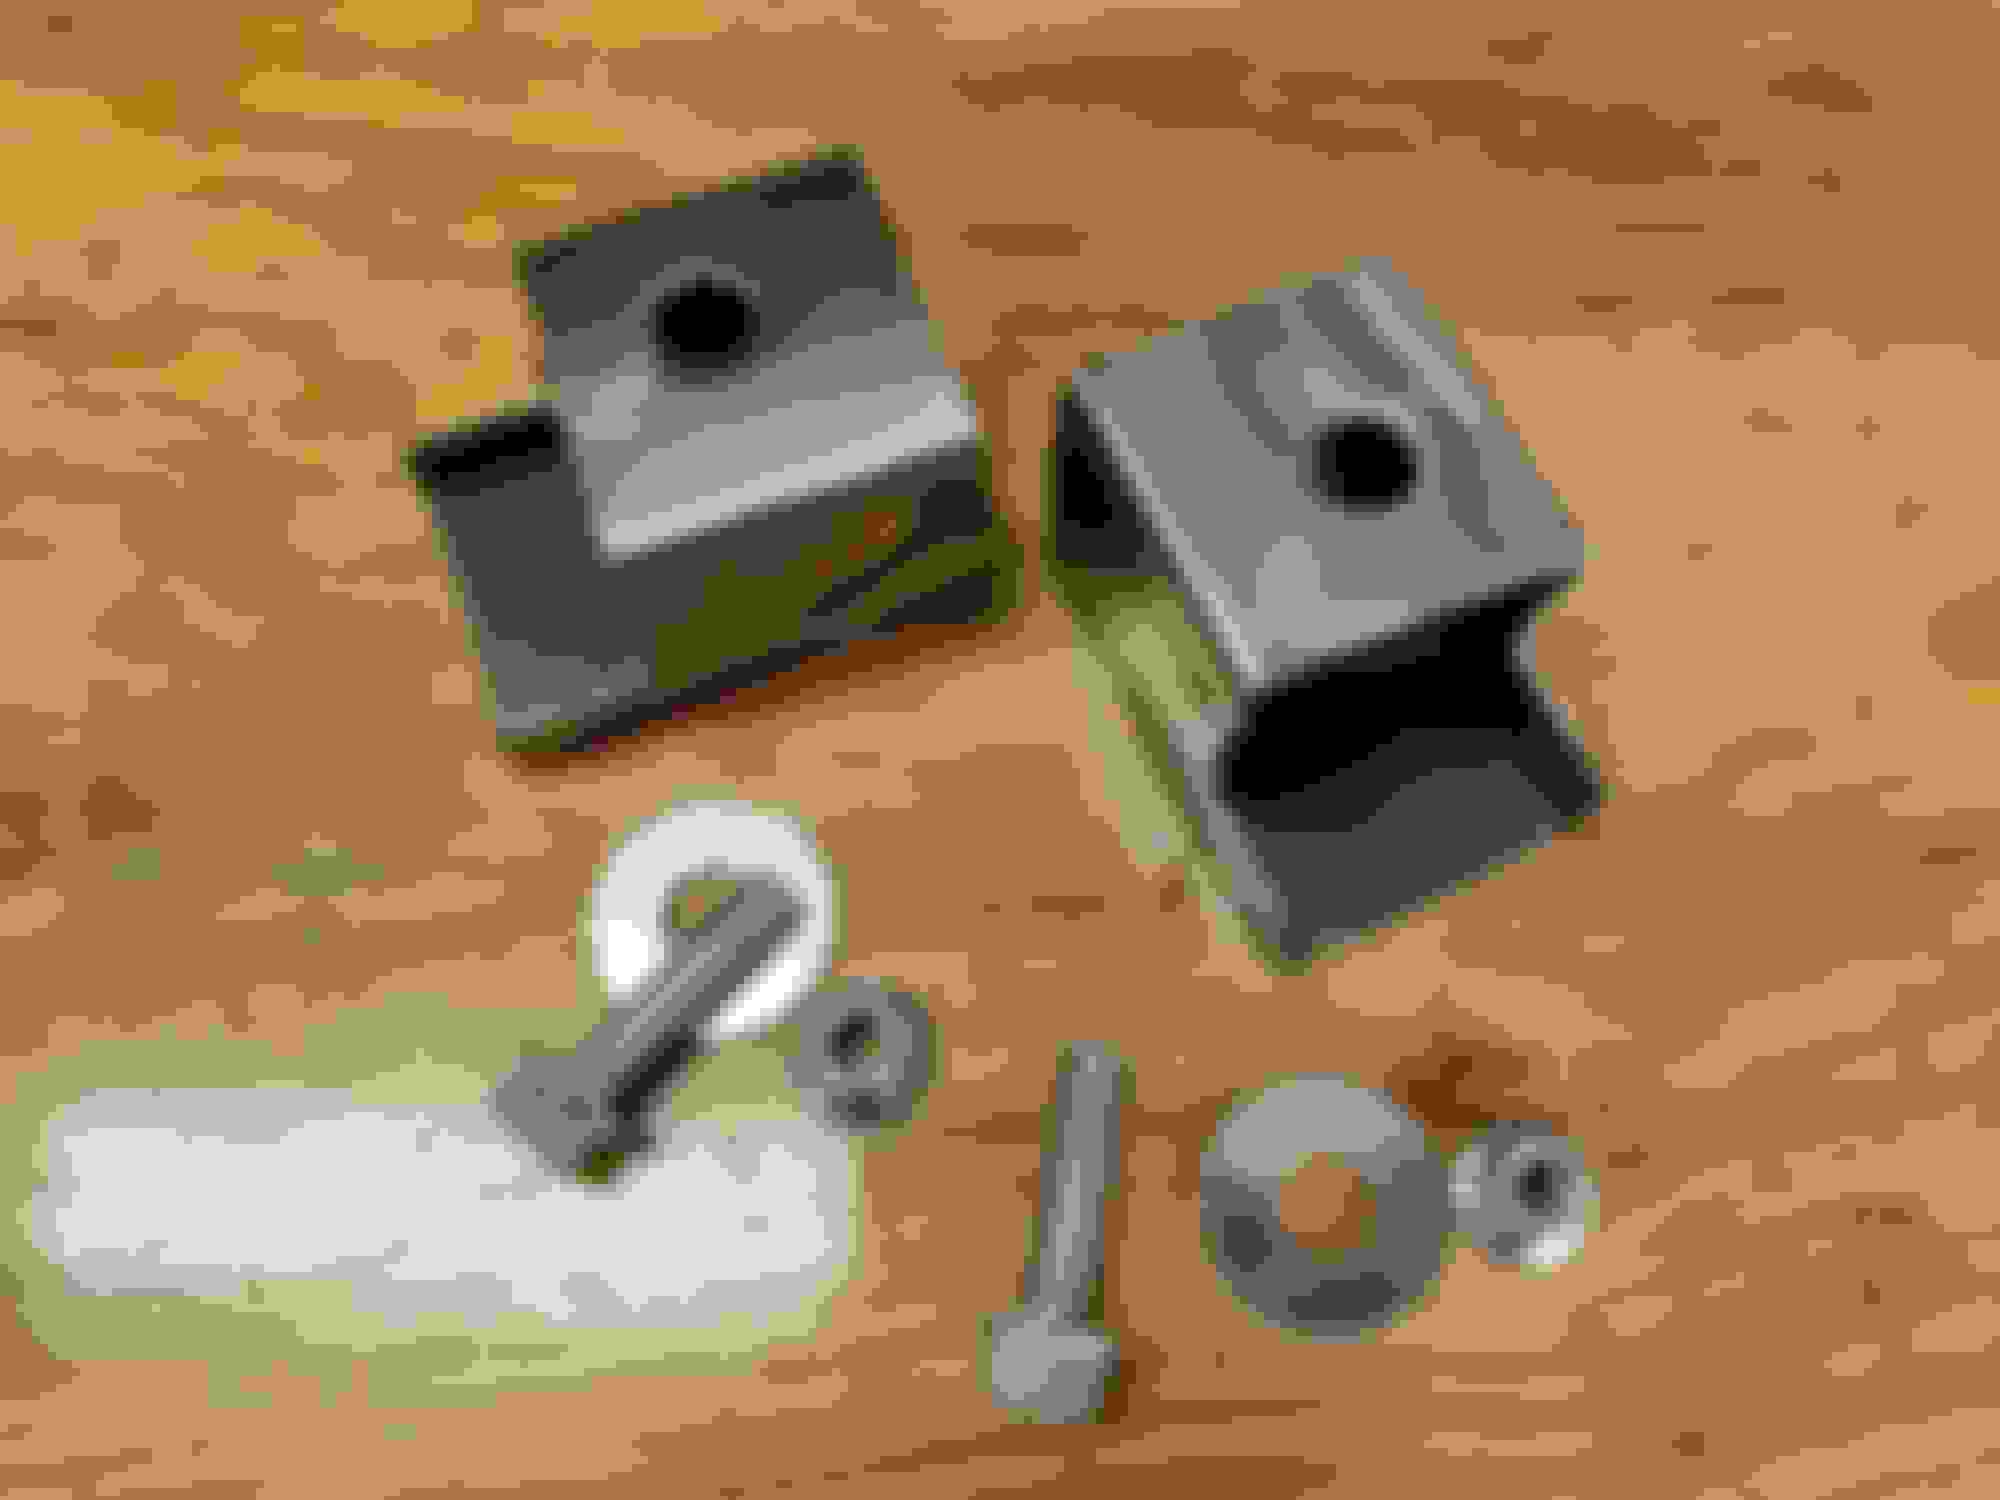
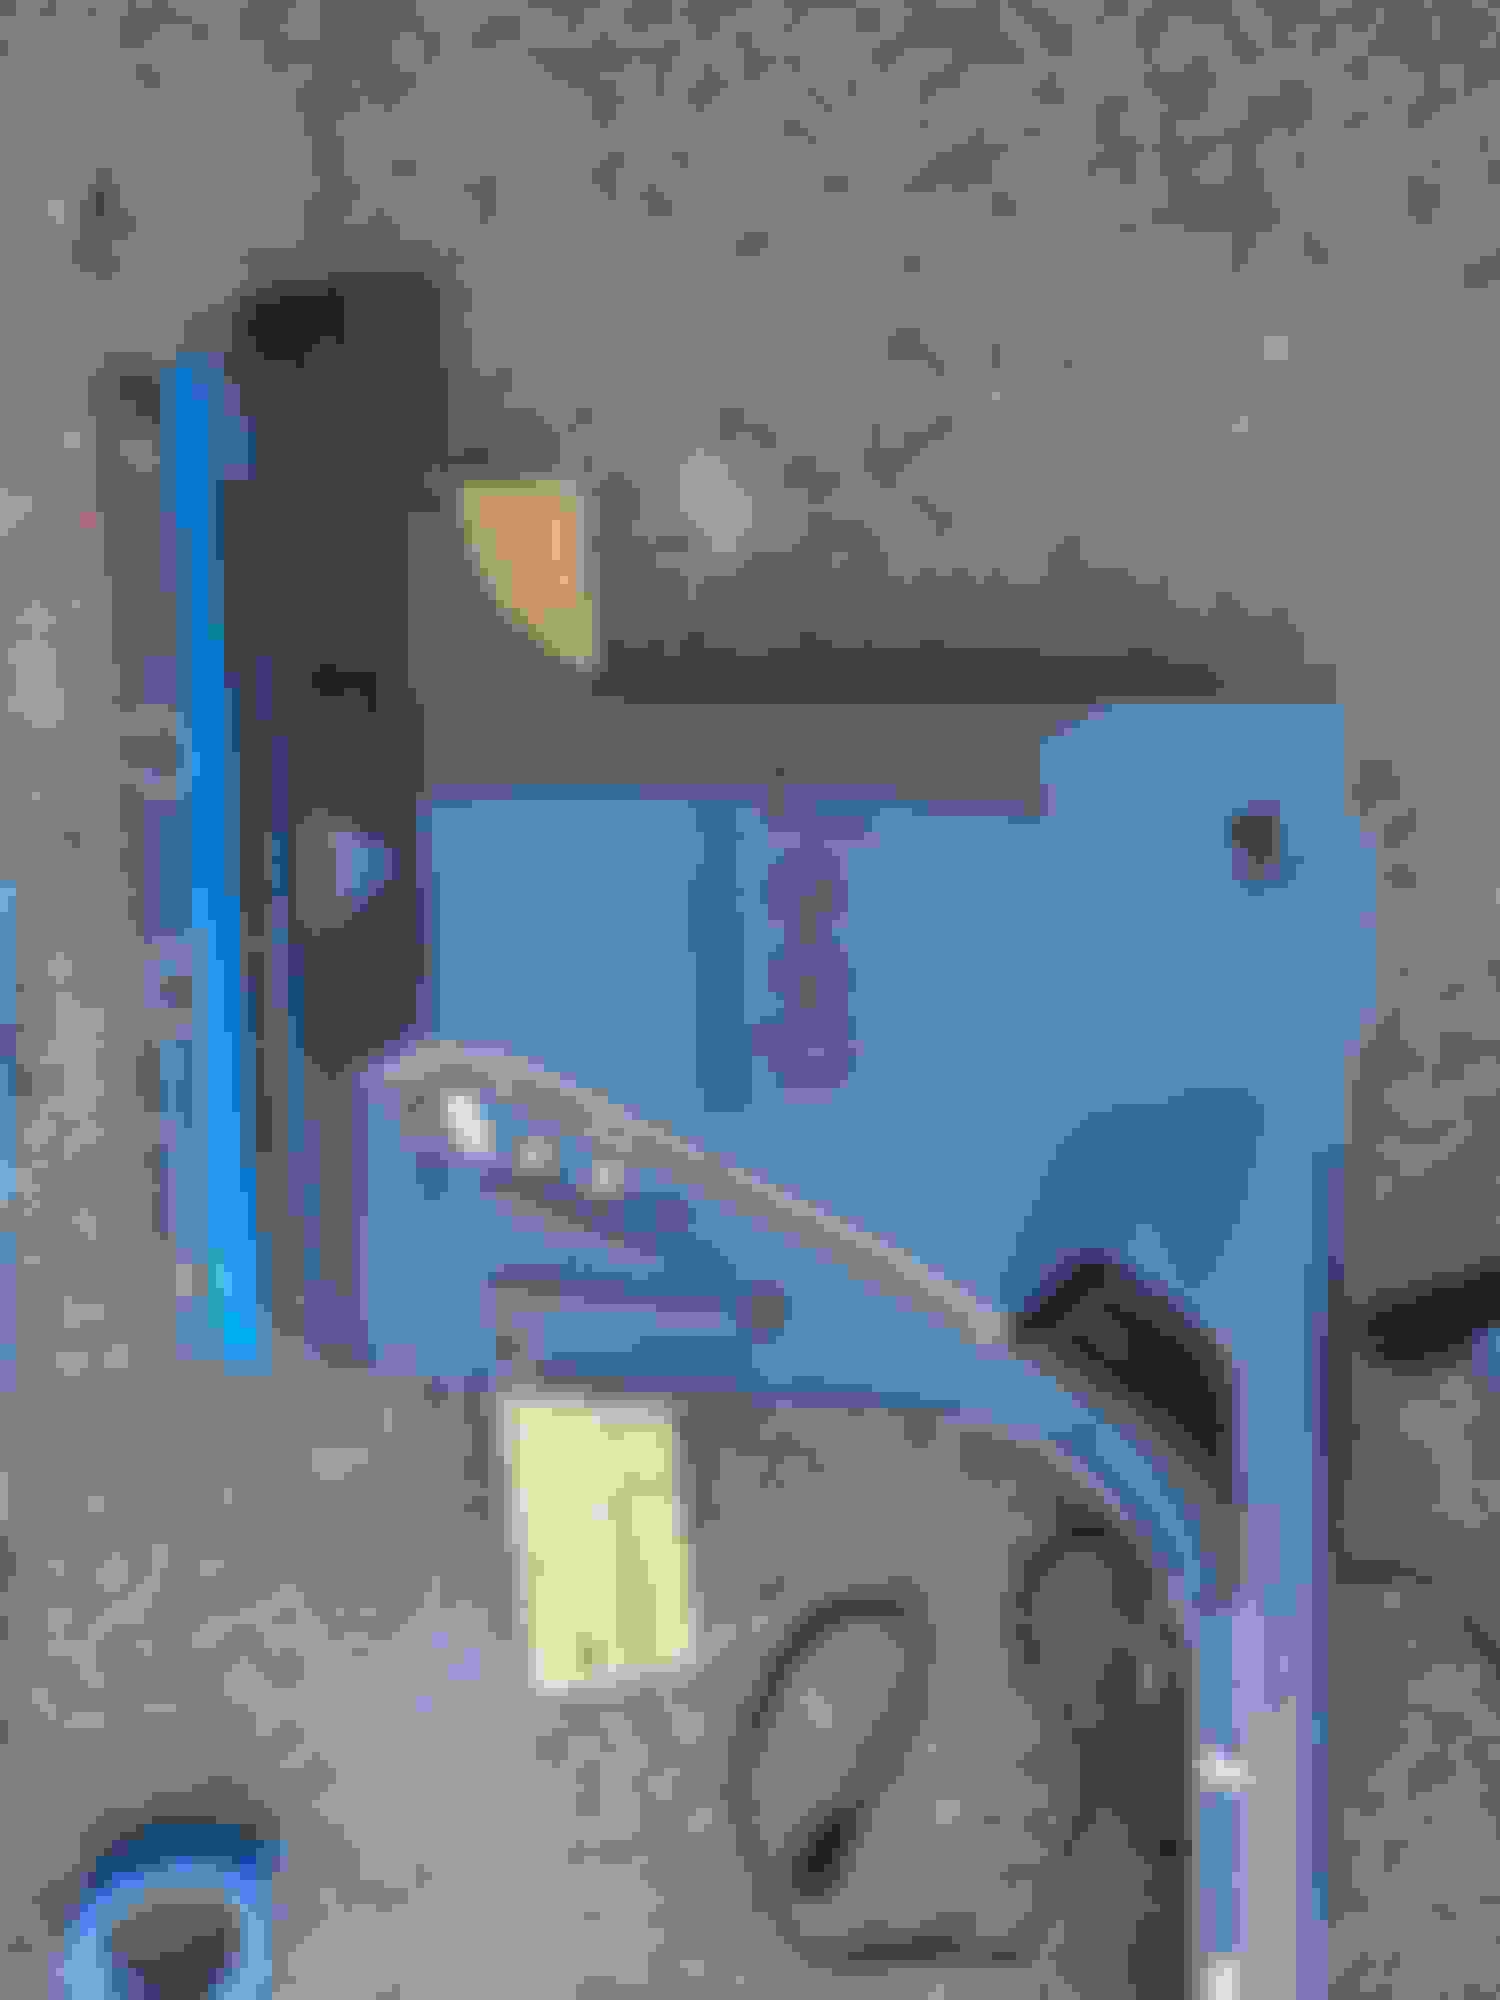
For my application, the radiator mounts easily to the top of the JL rad support; however, the lower portion of the radiator was unsupported. To solve this, I created two brackets to both raise and offset the JK radiator. Brackets and hardware below. I used 2" square tube to lift and offset and then added 1" tube to hold the bottom radiator bushings tightly in place. Once properly fitted, sanded and painted black to match rad support.
Bracket mock-up in proper place.
Final painted bracket below.
Additional steps coming with details on trimming the fenders, mounting the hood and wiring the headlights and turn signals.
Step 3:
Hood & Grill Install
With the JL rad support in place, the JL grill will mount easily in place, just push it on for now.
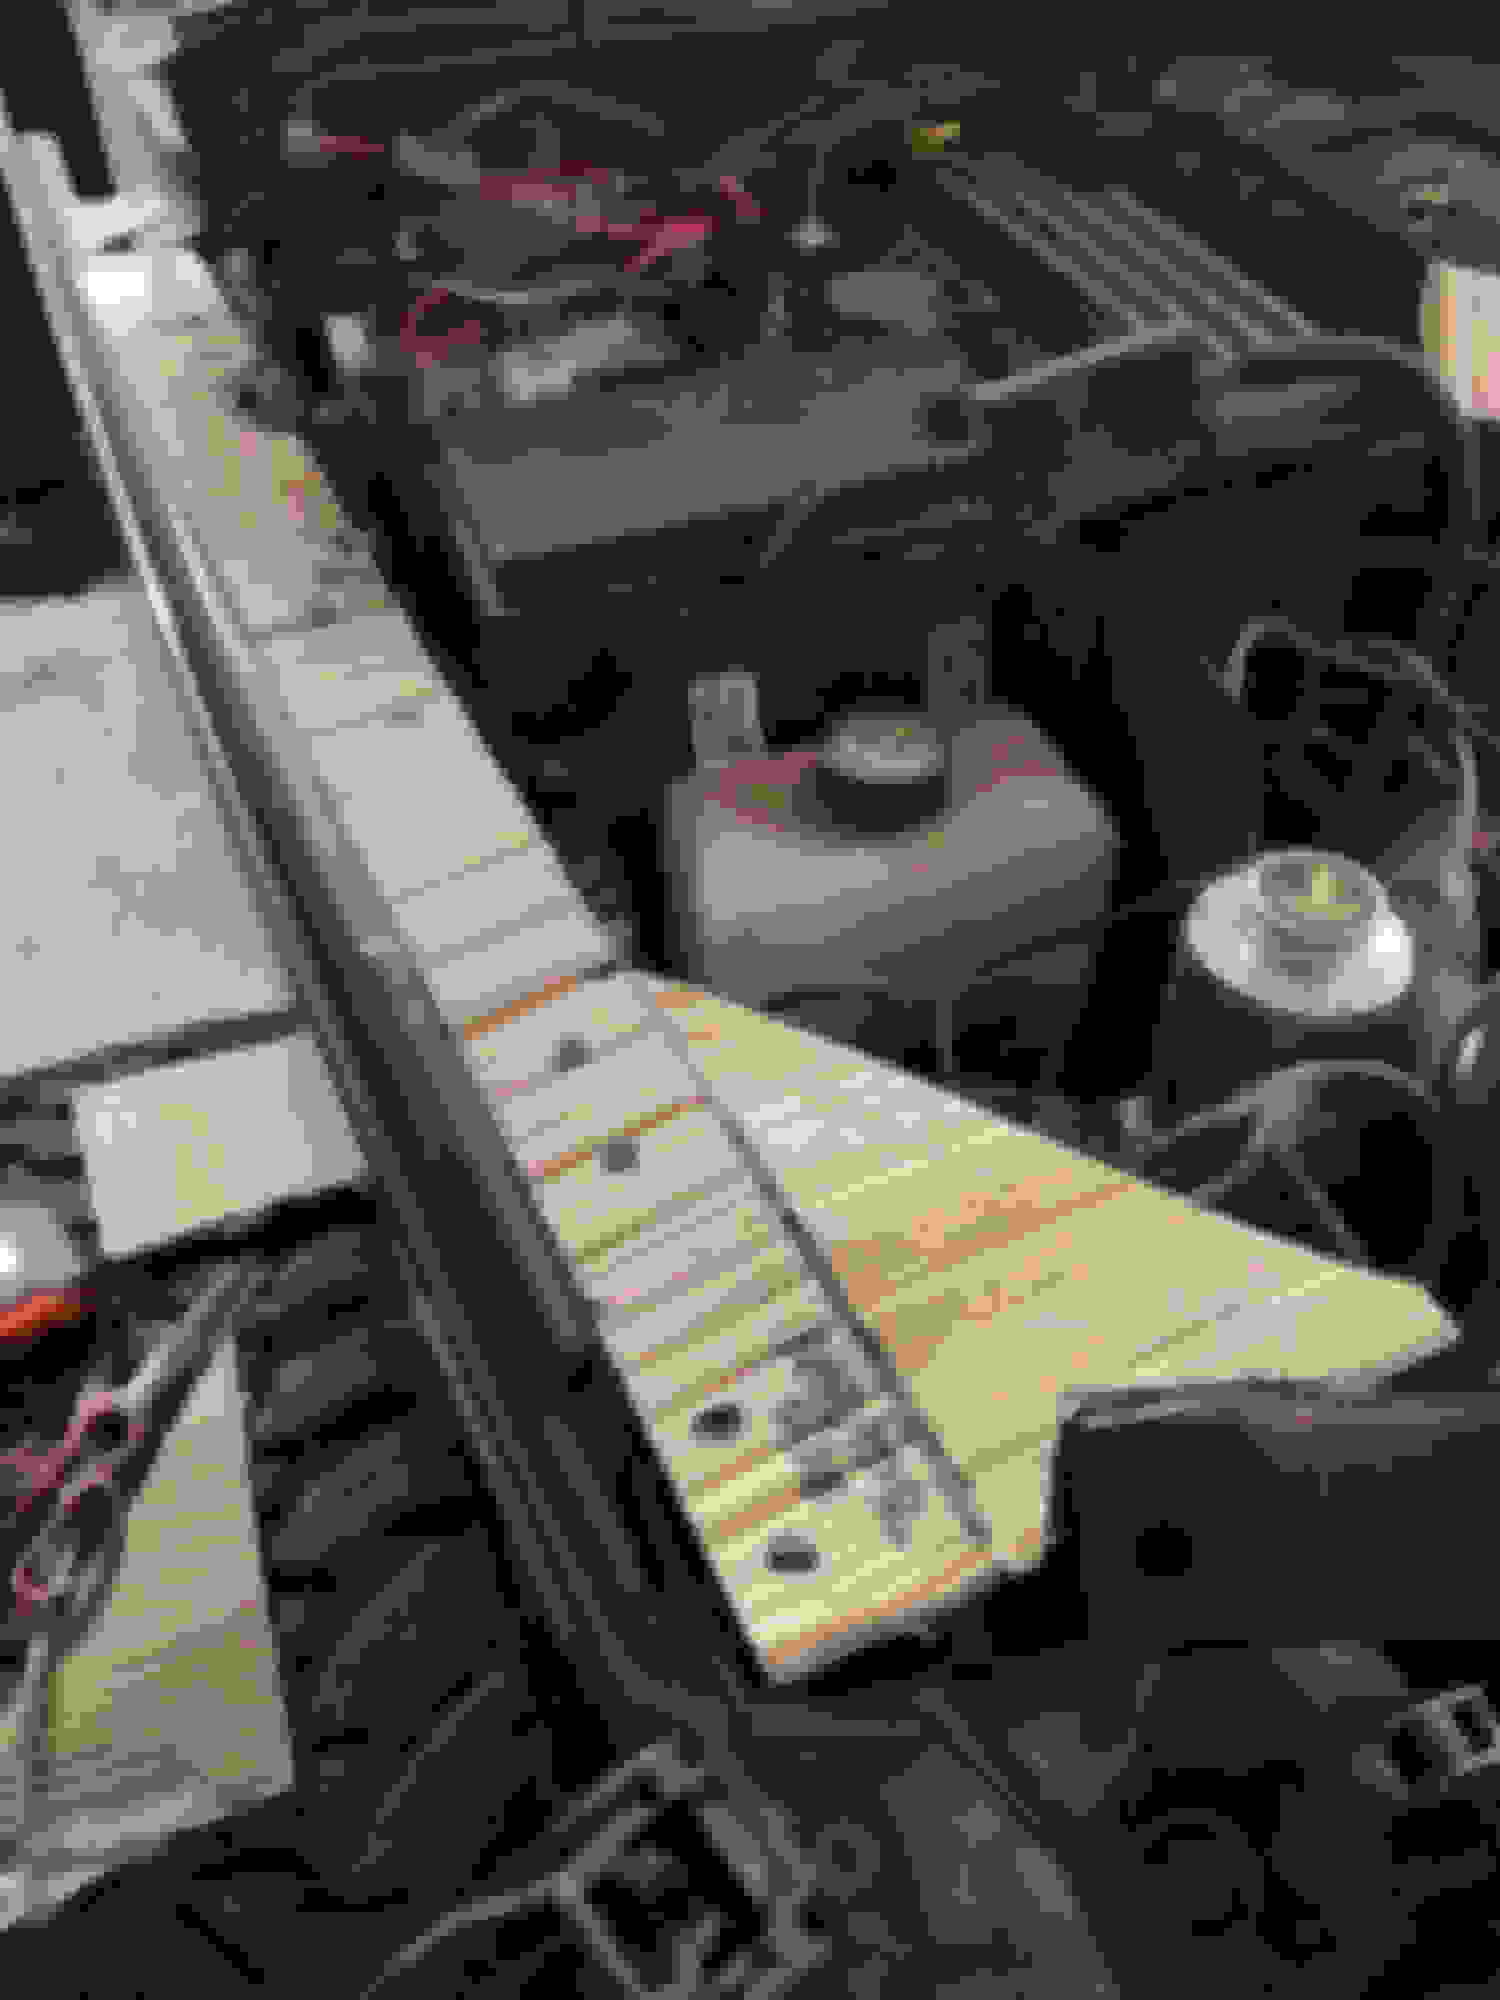
Next up is installing the hood. If you haven't done so, you'll need to remove your JK hood hinges. The JL hood sits wider than the JK so you'll need to make brackets to offset the mounting location. The JK hinges will bolt up, but you could also upgrade to JL hinges if you want the newer style.
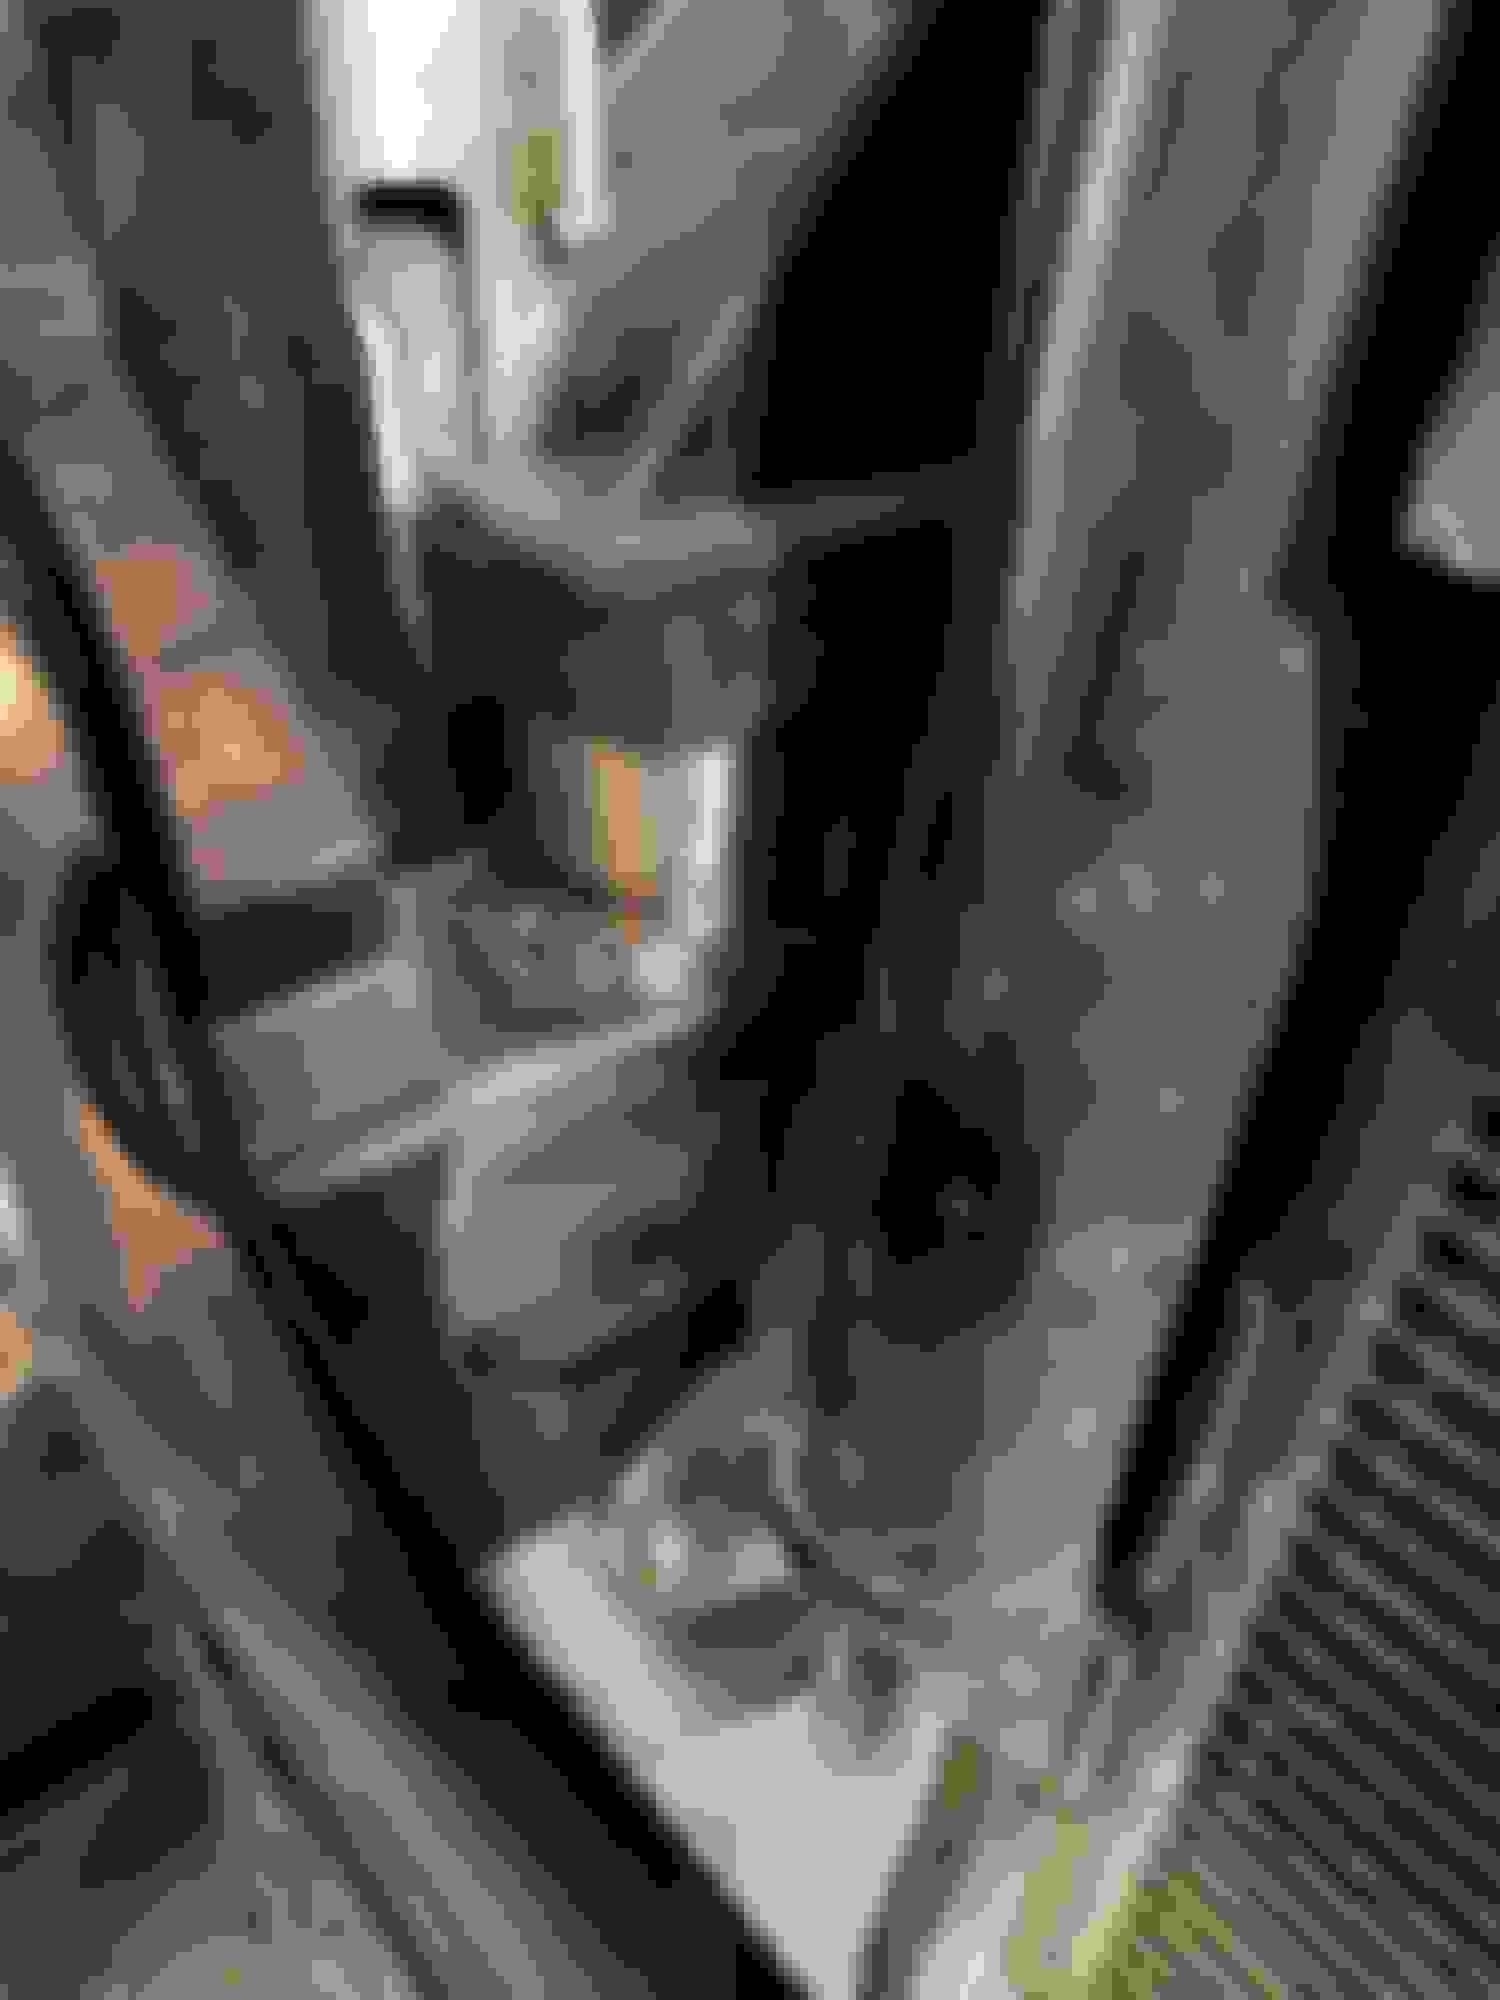
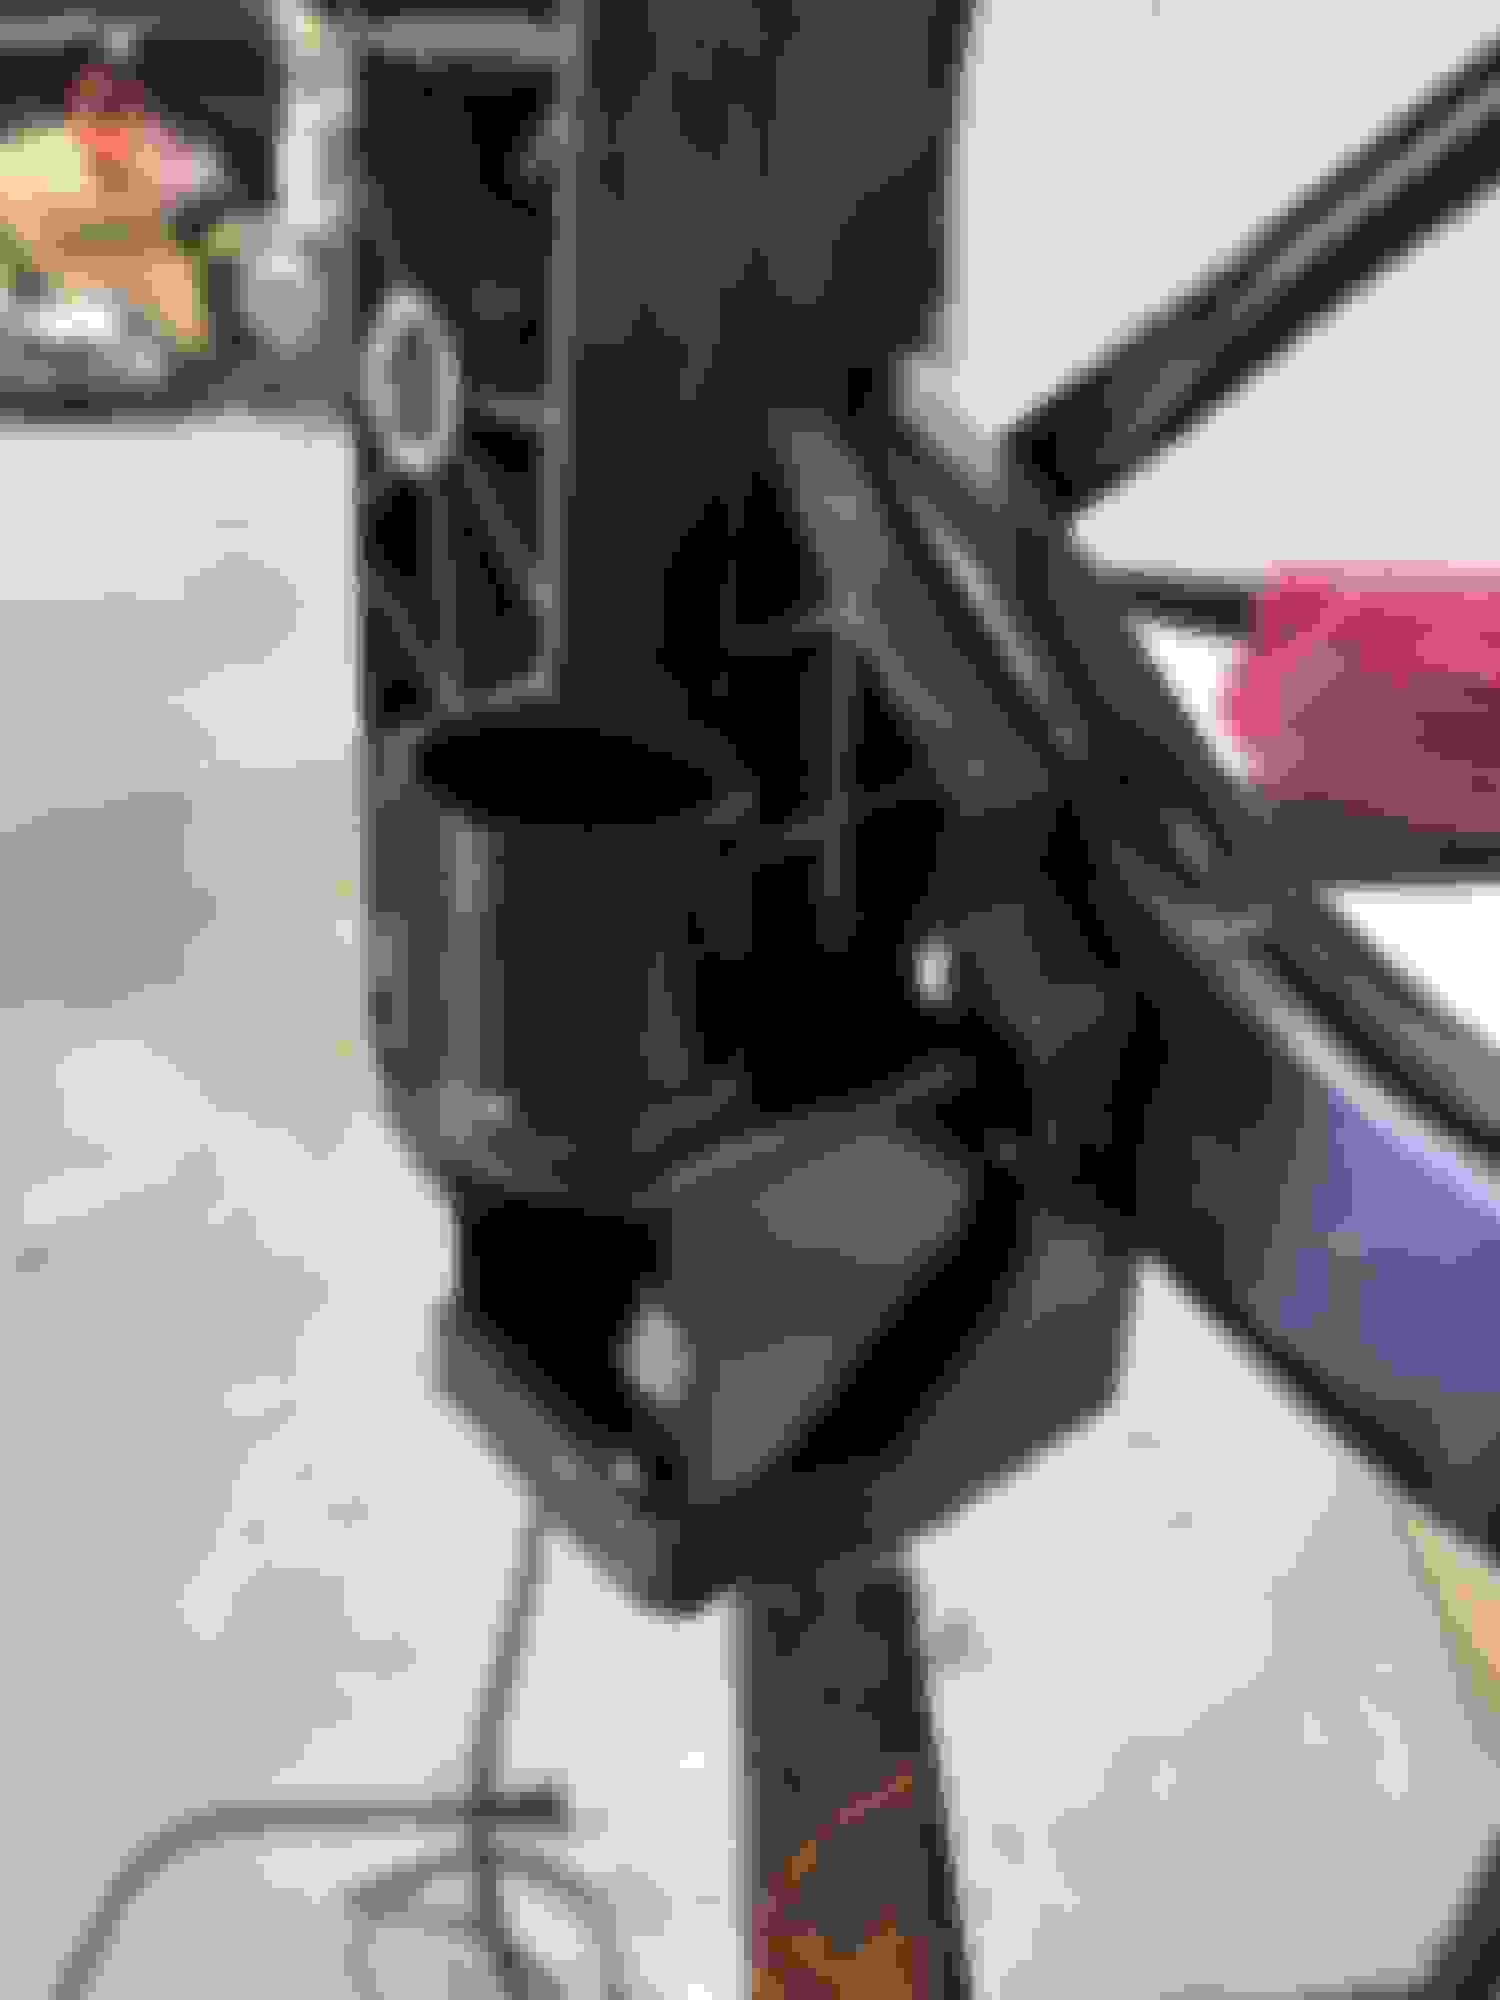
Pic below shows JL hood with JK hinge hanging down (passenger side view) and the factory JK mount to the left. Ignore my raptor liner paint job there flaking.
To offset the hood mount, I simply used a 2" wide metal bar with 4 holes drilled. It's not the prettiest setup, but it works well. Also, this added bar bracket will allow you to adjust the height and position of the hood, which is key in getting it all to sit together somewhat correctly.
The hood should now sit properly aligned with the grill/rad support. In the upcoming steps, you'll use this setup to position the JL fenders.
Also, since the JL hood mounts at wider points than the JK, you'll need to notch out the windshield cowl by each hinge. See mine below that shows my cut and bend lines a bit as I was mocking it up.
hi, did u have a chance to finish the write up? My only struggle for ideas are the metal fenders.
let me know if u can help or what u did.
thanks!
Oops, I started this last year and got sidetracked with work and other projects. I will provide fender info shortly and try to finish the write-up for others that may be interested in doing this conversion.
Step 4:
Fender Mock-Up
This step takes a bit of work. In order for the fenders (not the flares) to fit correctly, you have to cut the JL fenders in a few places, plus, you'll have to make a bracket or similar to mount the flare on the JK body so that it sits inline with the JL hood / grill combo. In this step, we'll cover just the fender cutting and placement.
Fender Cutting:
Object here is to cut as little as possible but also have the JL fender align as close as possible to JK fender enclosure.
I mocked up the fender along the jeep as I went, slowly removing metal. See pics below to see where I cut the fender.
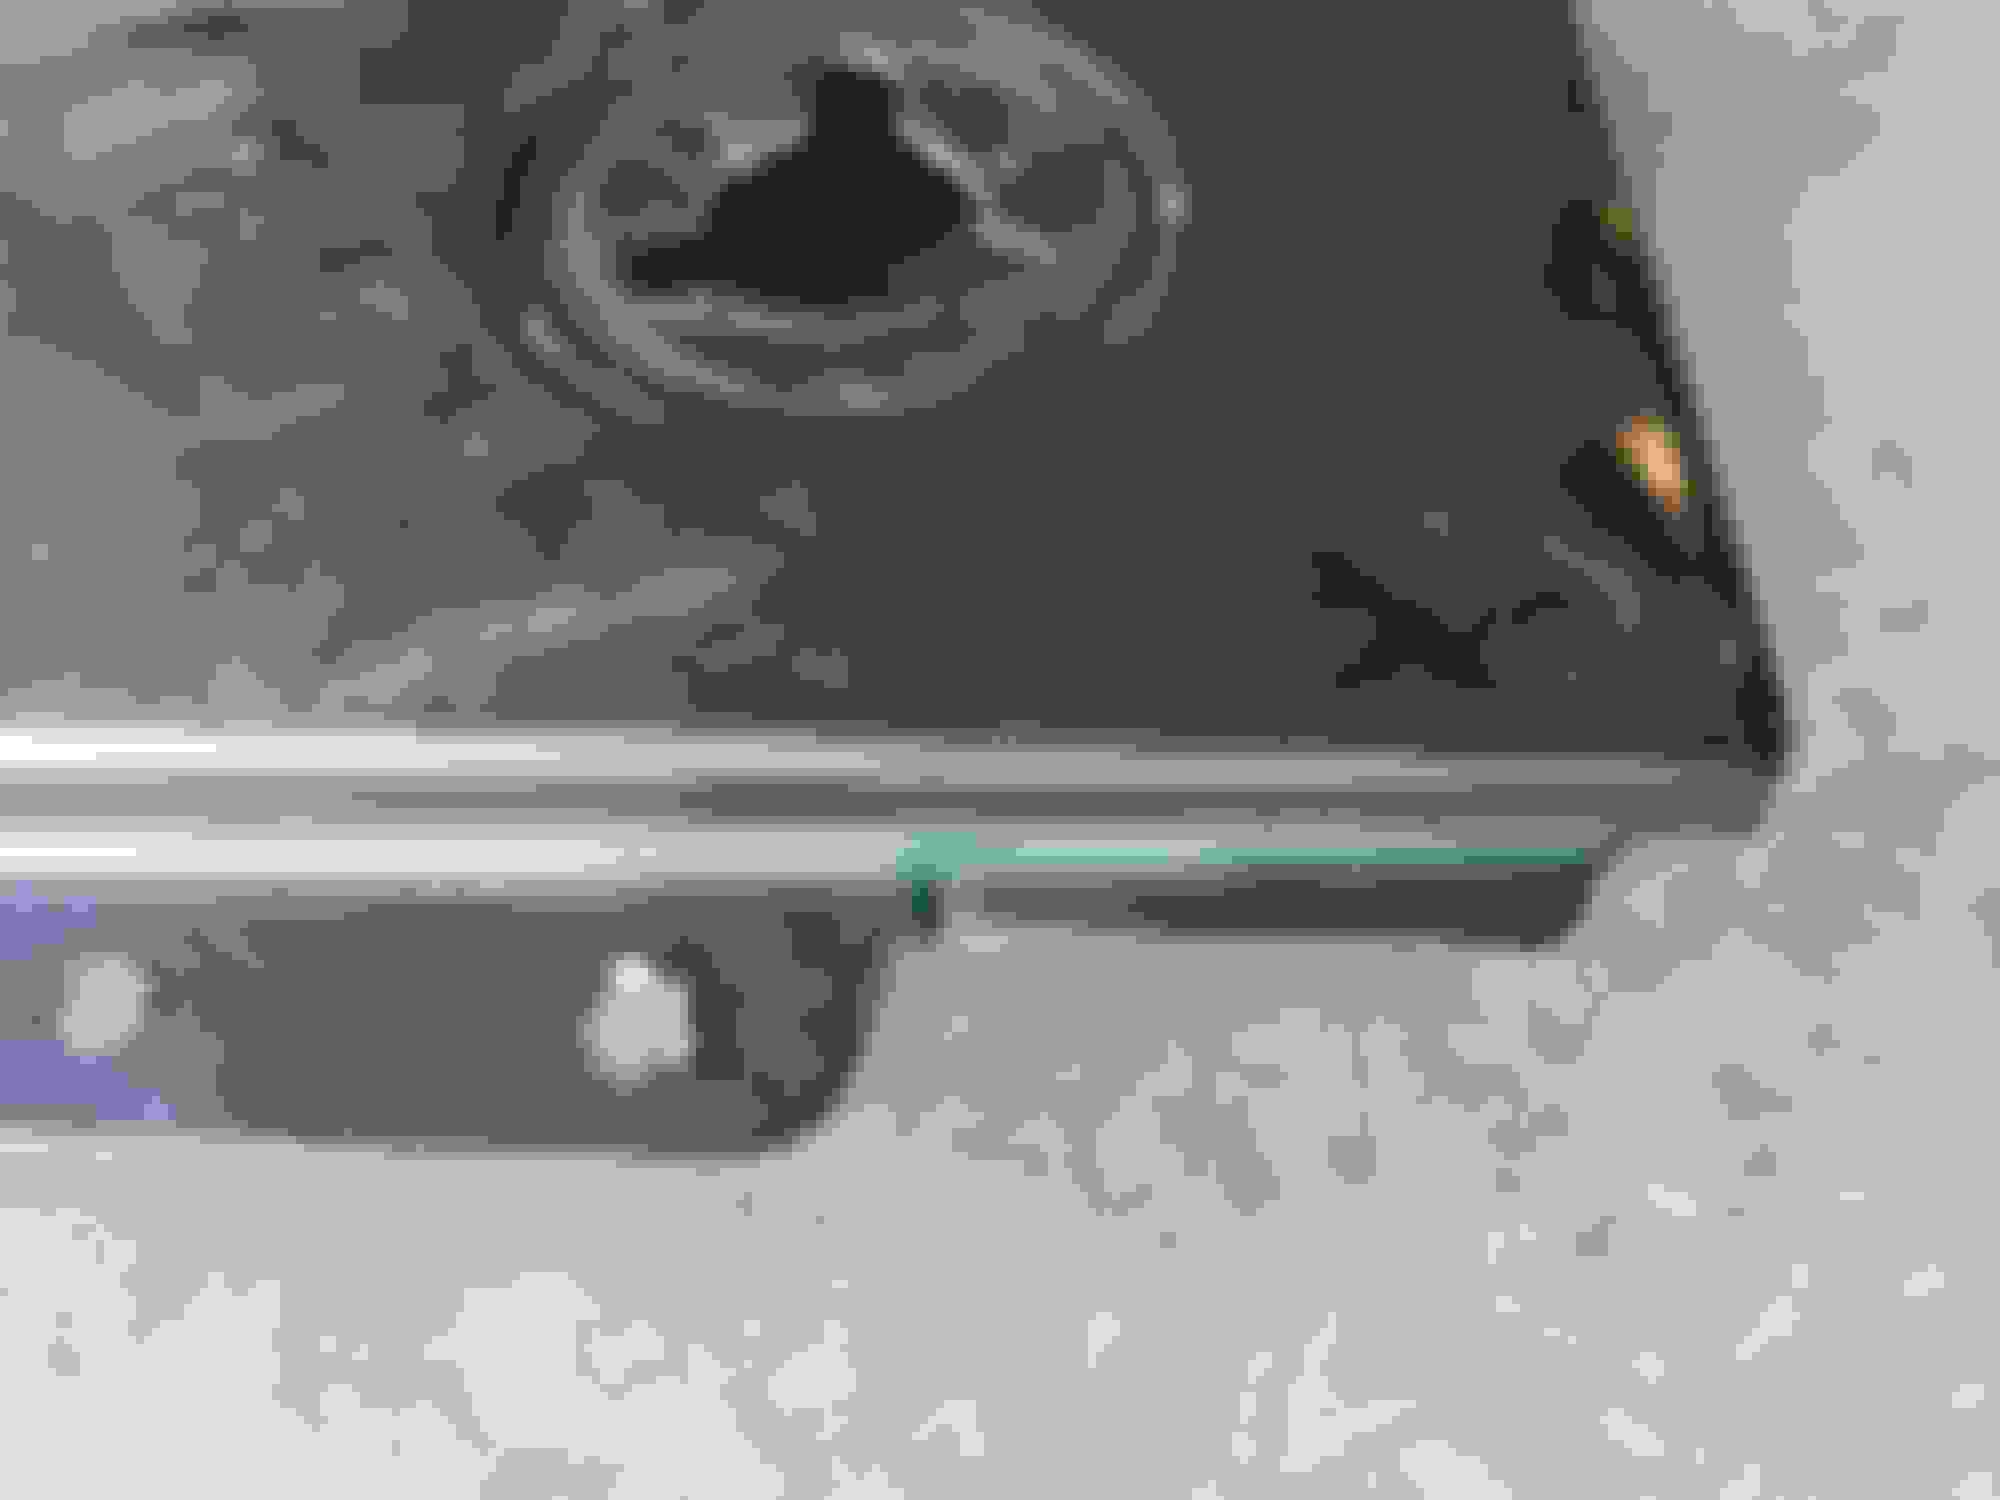
Mounting tab - I used the green line as my base cutting point.
Slight trimming at the top of the panel.
Remove the extra backing plate/metal on the back of the JL. I had to drill out the weld (3 holes) to get it off.
Bottom Section - I trimmed off a large section of the lower portion of the JL fender so that it aligned with the lower JK bodyline. I didn't get a specific measurement as much as I just followed the contour of the panel. Also, not show, you have to cut the end of the panel as well, as it will extend past the JK B-pillar area. I believe I removed 1-2" from the end, but if you continue to cut and mock-up as you go, you'll know about where to cut so it is flush with JK body.
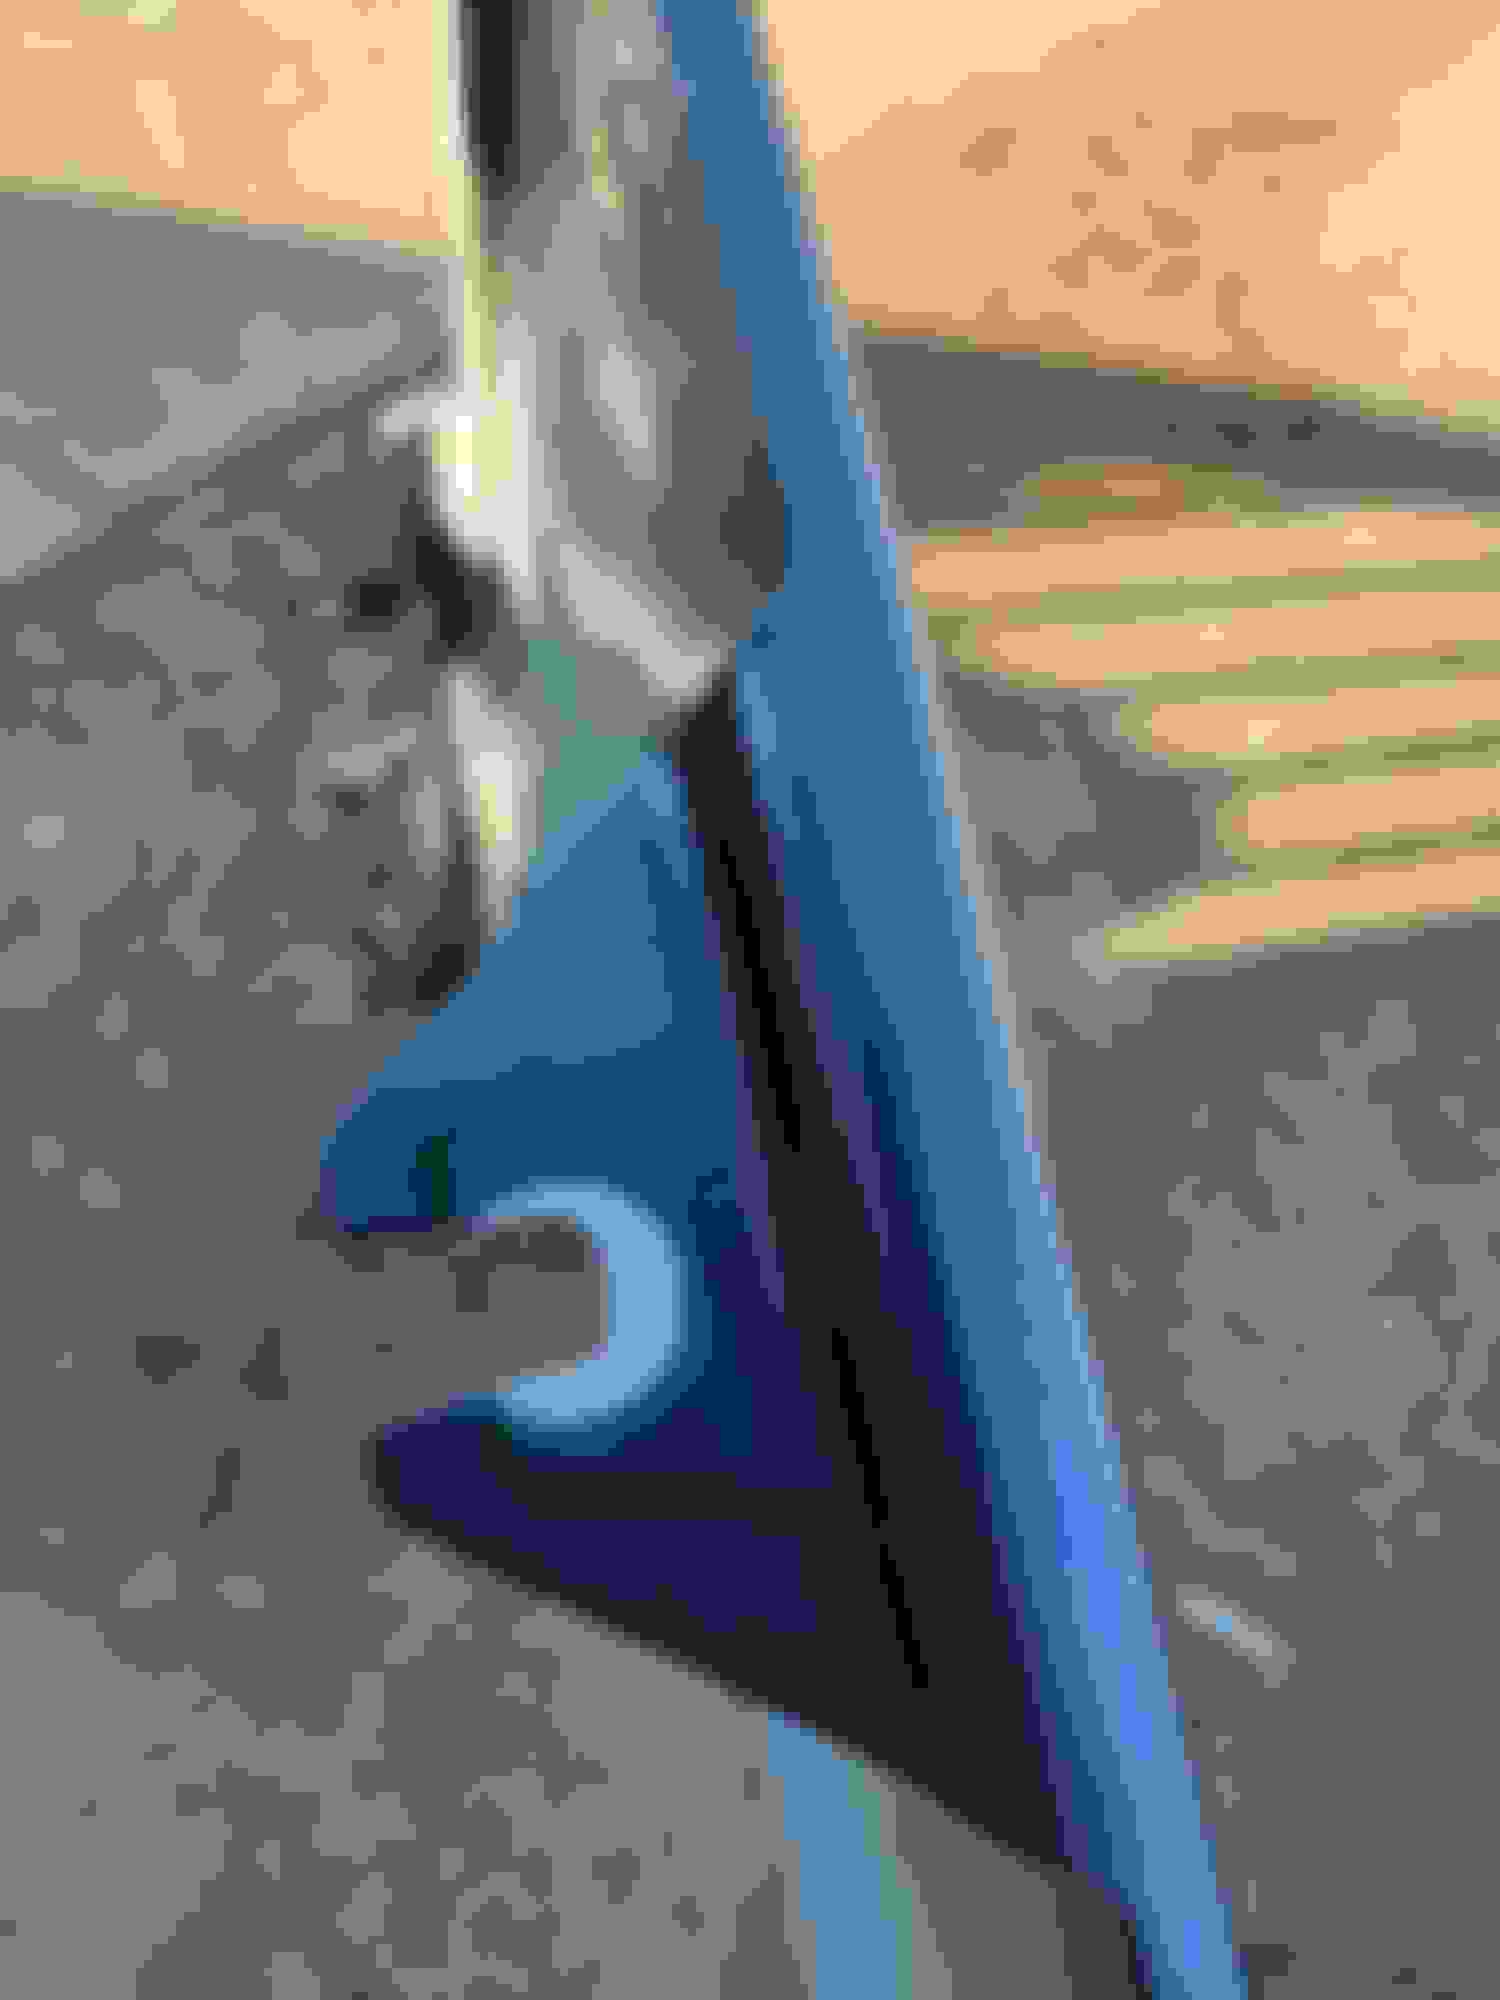
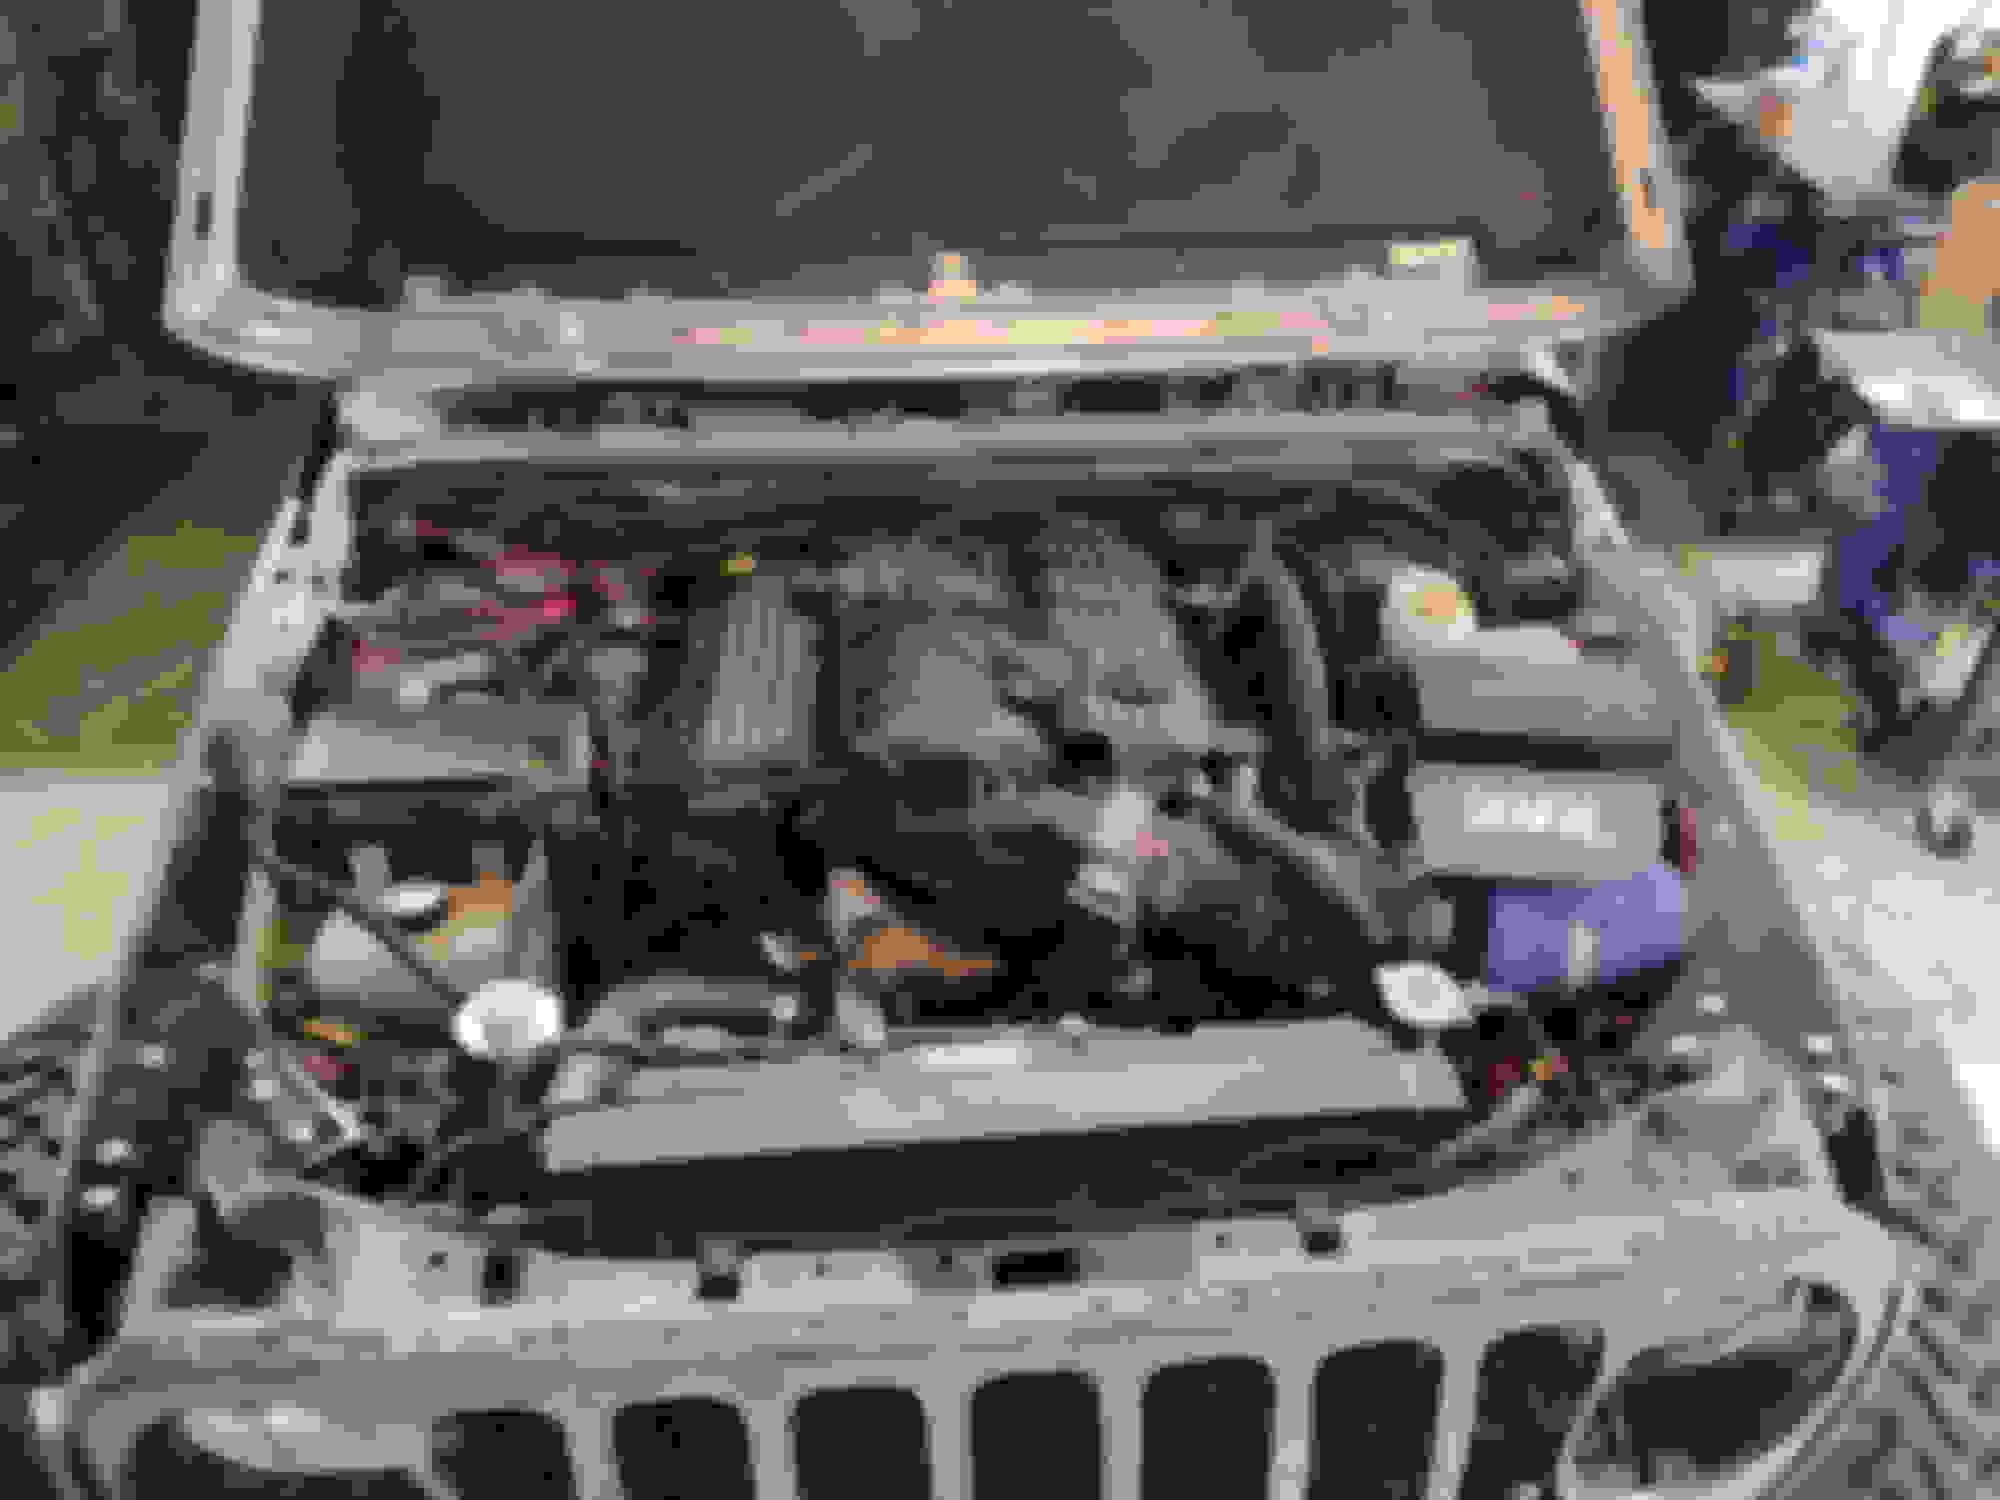
If you're following along so far, your jeep should be loosely mocked up, like how mine looks below with hood, grill and cut fenders in place. Note - you'll need to remove the upper cowl from your JK side fender (mine is shown here in blue). It wouldn't be a bad idea to have extra cowls handy. They are hard to find and I had to massage mine a bit to align with JL curves (although, still not 100% happy with it).
Step 5:
Fender Brackets
Once your fenders are in the position you want them, now is when you'll make an adapter bracket to mount them on the JK fender enclosure/frame.
Note - the fender will have some spacing from the frame. There will be gaps since the JL is wider than the JK.
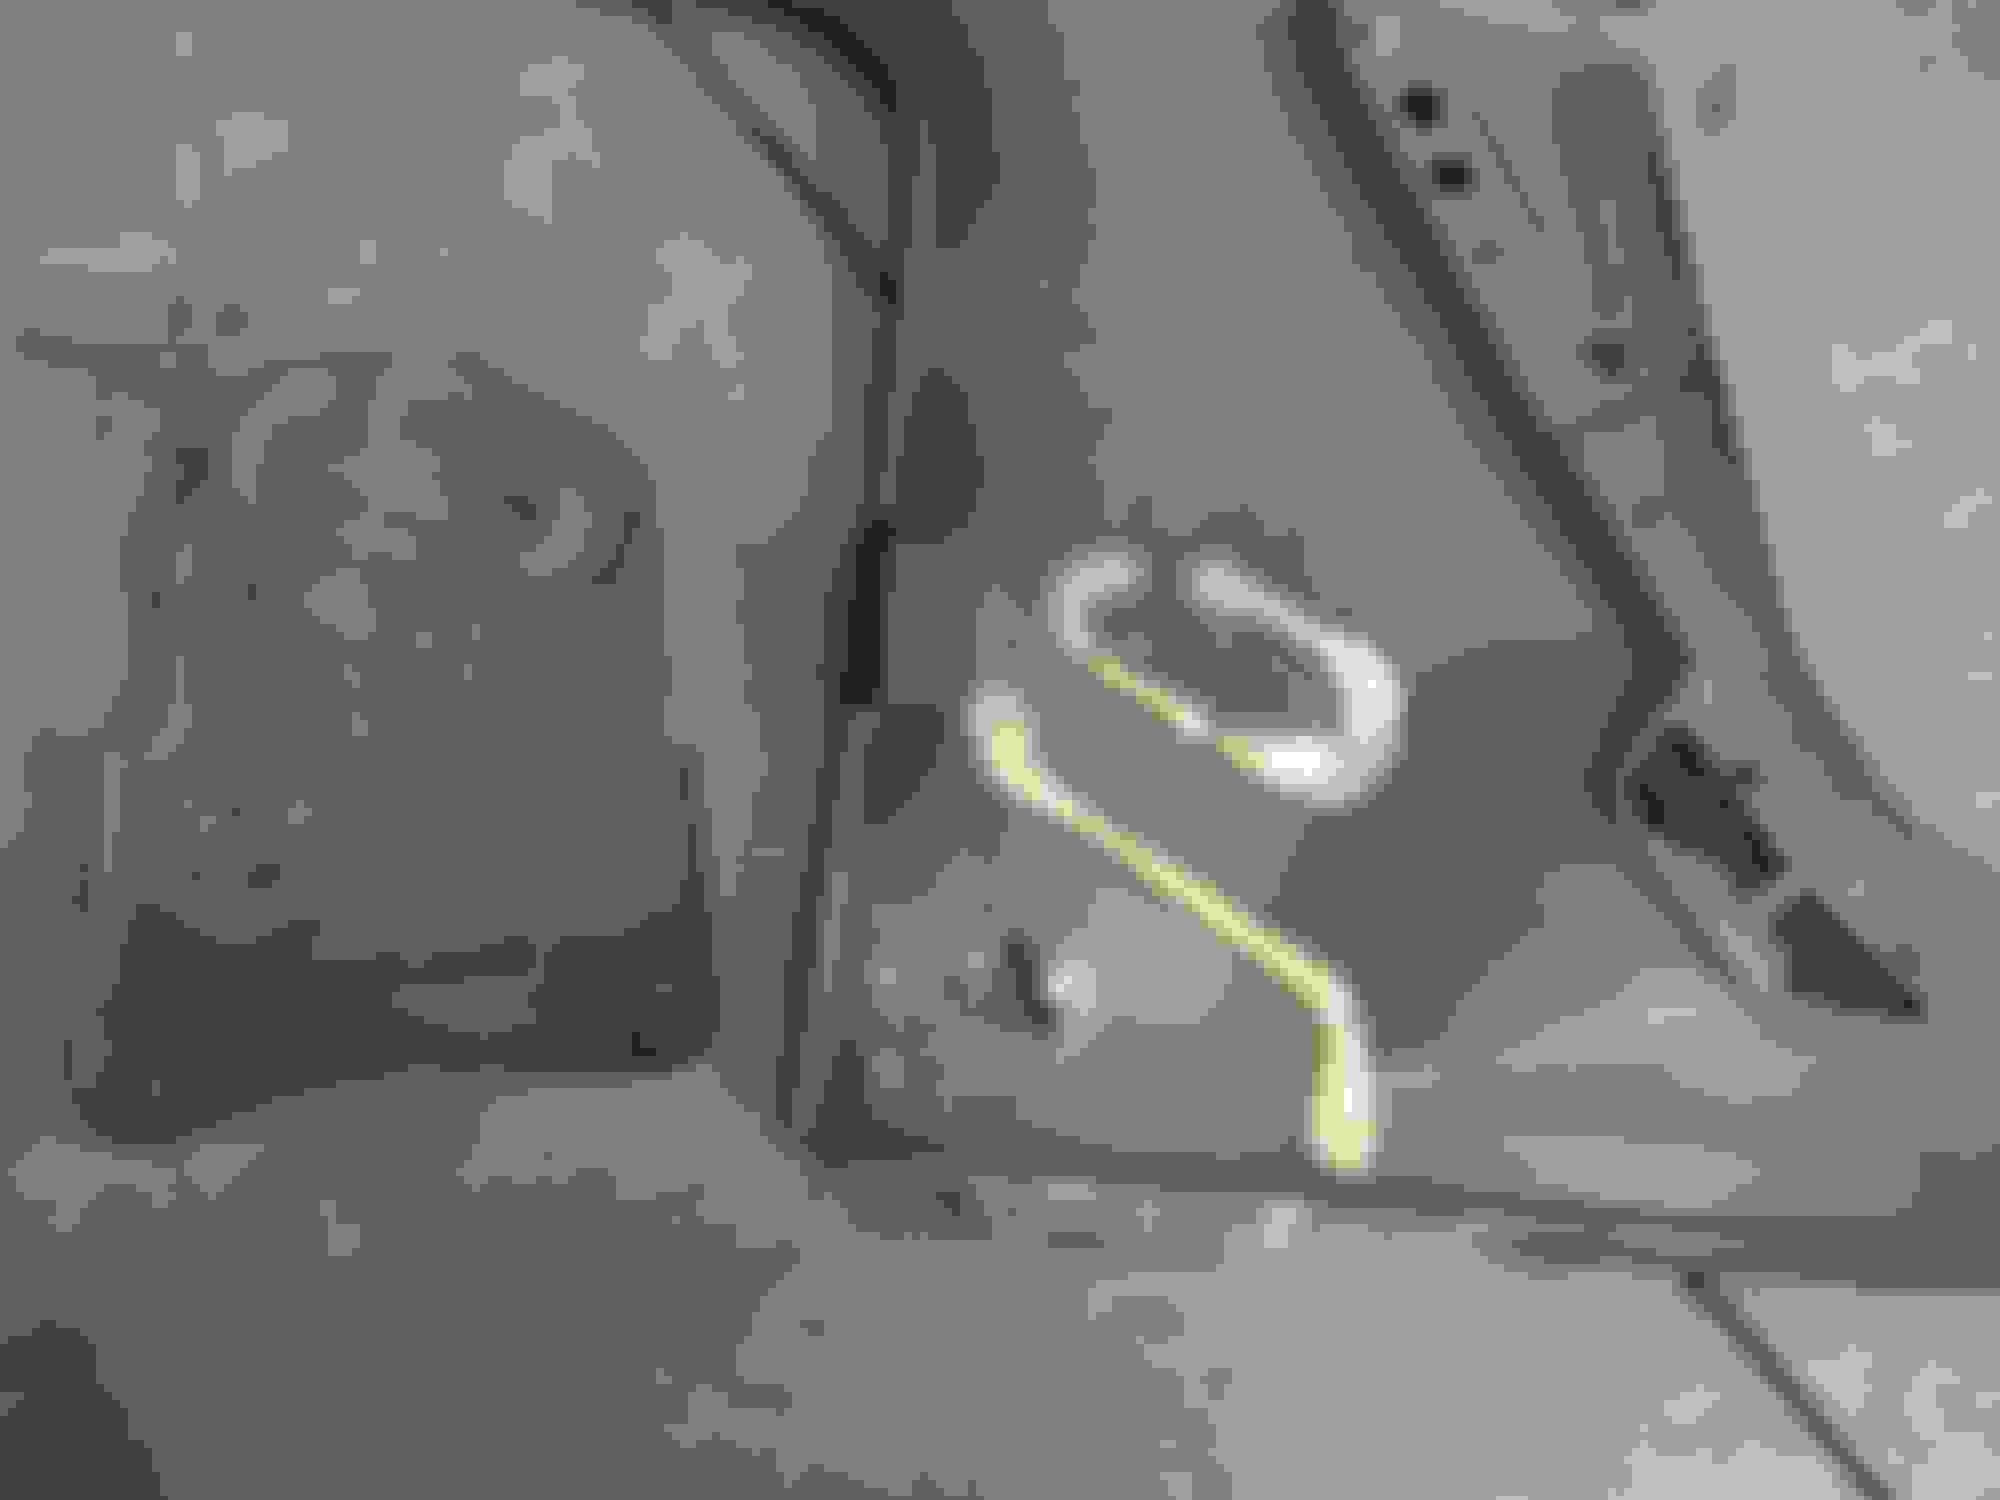
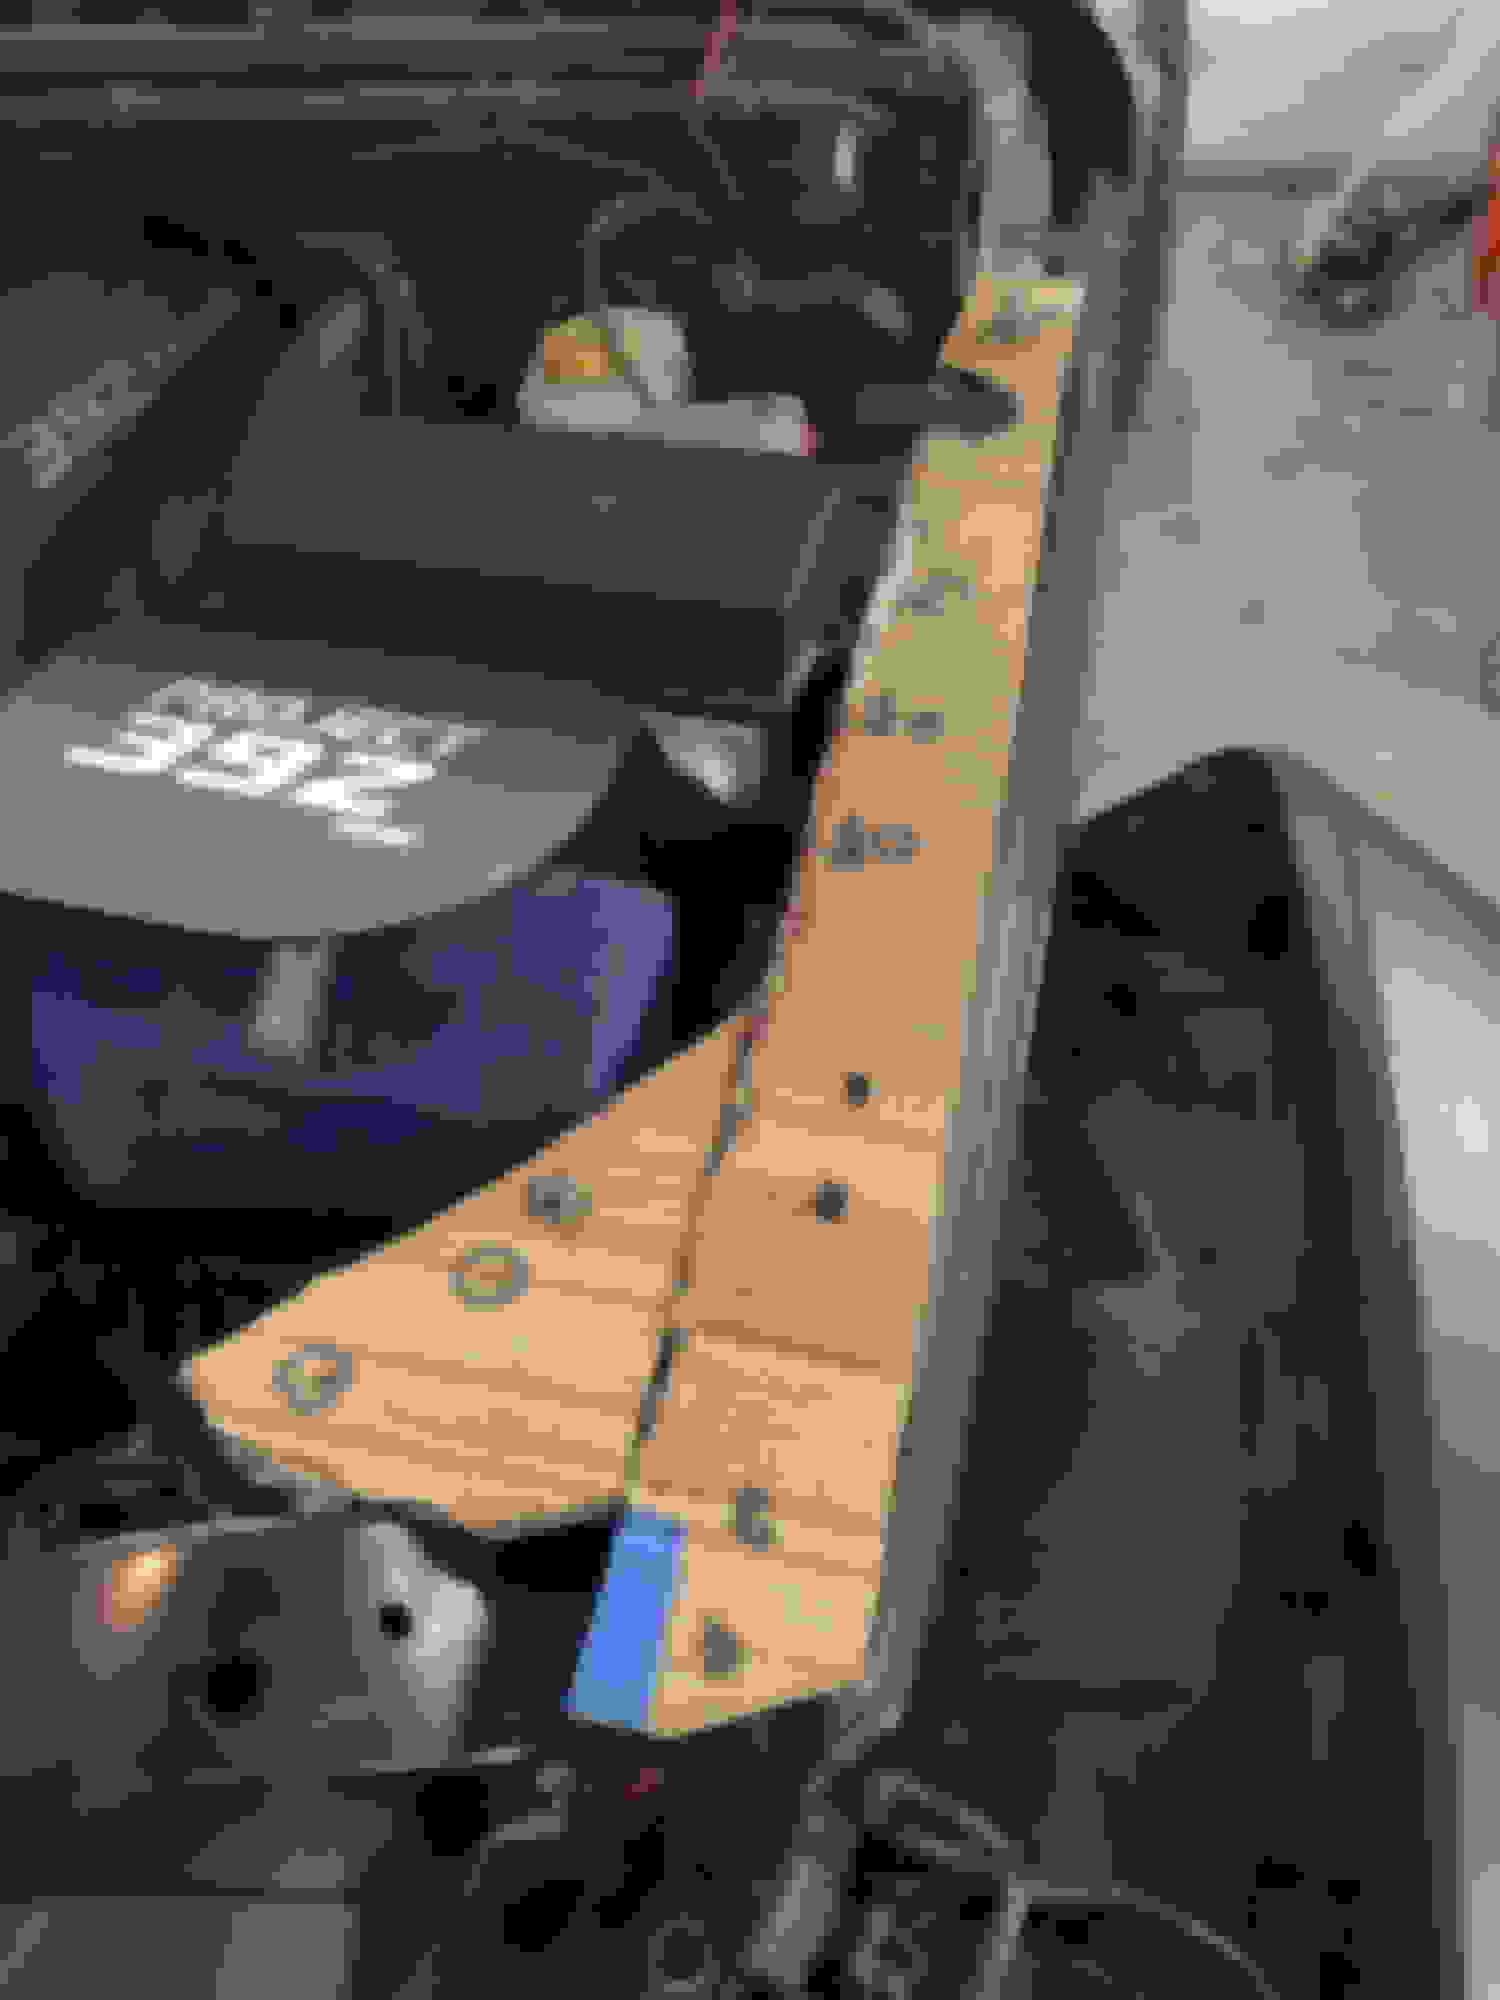
To mount the fenders, I made cardboard templates that ran along the JK fender enclosure and connected to newly cut JL fender. You may have a better way to do this, but I simply marked my JK mounts and then found points where I could secure the JL fender.
Once I was happy with my cardboard mock-up, I transferred the layout to metal. I tried to use as many of the factory 10MM points already in-place.
I used nutserts for the others. Here's the passenger side. I also used nut/bolts to connect the radiator support and bracket (see the two hex head bolts on far right side of bracket).
Man that looks killer great job. Looks like a lot of planning and hard work. Appreciate the info. How many hours do you think you put into this?
Thanks. It's still not perfect but it works for me.
This conversion took several days over the course of a few weeks to accomplish. The fabricating of several brackets and precise fitting will take some time and materials.
My jeep is an extra vehicle so it was easy to leave in the garage in building stages. If anyone attempts this on a daily driver, you'll have to reassemble the jeep multiple times until you've mocked up all the pieces. It could probably be done over the course of 2 long weekends. If there was a pre-made turnkey kit available, it would be a simple 3-4 hour install.

 05-03-2021 | 09:06 PM