
Installing a transmission cooler with a RIPP SC already installed
 01-23-2012, 06:33 PM
#1
JK Newbie
Thread Starter

Join Date: Jan 2012
Location: Atlanta, GA
Posts: 49
Likes: 0
Received 0 Likes
on
0 Posts
This thread is about how to mount an auxiliary automatic transmission cooler on RIPP Supercharger equipped JK's. To save time, I skipped the part about routing of hoses. There are many threads, with better drawing skills, on how to do the plumbing part.
I know some people have placed transmission coolers between the SC intercooler and the radiator (actually the A/C cooler). But the RIPP SC instructions specifically specify not letting the SC intercooler touch the radiator, lest it burn a hole in the intercooler (then you are up a creek without a supercharger! ).
After looking through many threads on multiple forums about installing an auxiliary transmission cooler with the RIPP Supercharger and not finding any ideas, I asked a friend who is the SC-guru. He asked a friend who has an auto transmission, RIPP SC and an auxiliary transmission cooler. His friend used "L-brackets". Thanks to my un-named hero! So, that got me thinking. A little scouting through Home Depot and I found the necessary parts to fabricate my own mounting brackets.
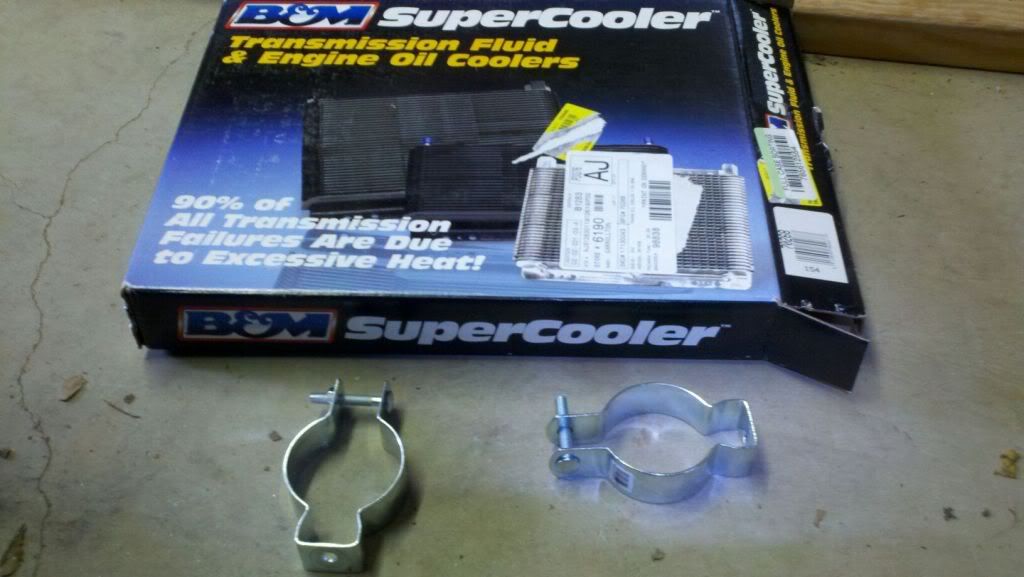
I bought two 2" electrical conduit brackets (Electrical aisle of Home Depot, aprox. $2/each), and two 24" metal straps (Lumber/Building Materials aisle of Home Depot, aprox. $4/each).
If you crawl under your Jeep, just below and behind the radiator is a 2" diameter round frame member. Perfect place to mount the B&M cooler behind the radiator fan. This is not as efficient of a location as in front of the radiator, but the SC intercooler takes up most of the space between the grill and the radiator.
Here is a picture of the 2" Electrical Conduit brackets. Wrap these around that 2" round frame member mentioned earlier, spaced apart the same width as the auxiliary transmission cooler.
I then mounted the B&M kit-supplied brackets to the 2" Electrical Conduit brackets as seen here. I spray-painted all of the brackets before installing them using flat black high temp spray paint (it was all that I had at the moment, but regular spray paint should work, too).

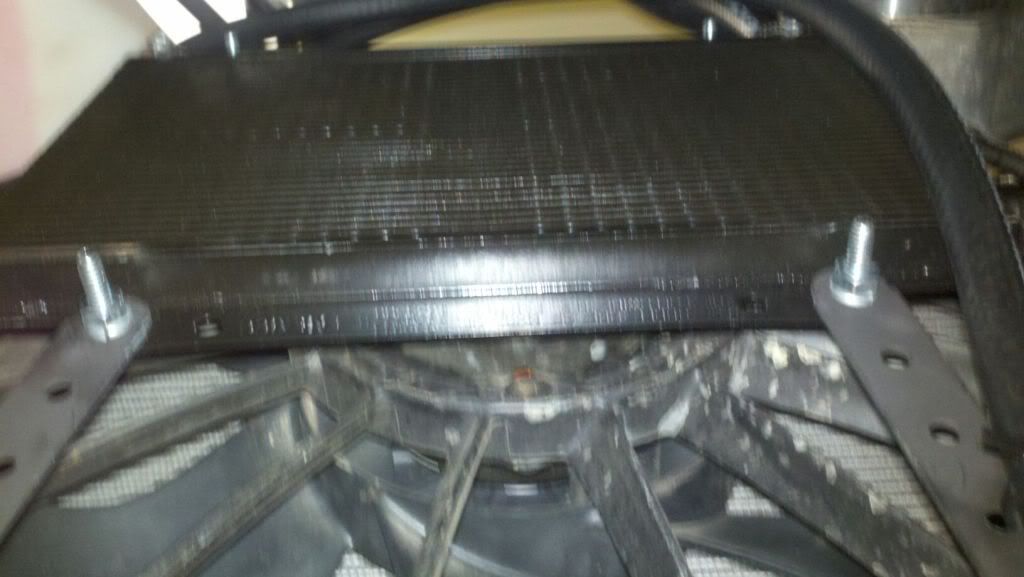
Finally I mounted the auxiliary transmission cooler to the top of the kit brackets. I placed the cooler with the inlet/outlet facing UP. You can install the cooler sideways, just not with the inlet/outlet facing down. Here is a picture of the cooler installed behind the radiator as seen from below. Sorry, it is a little fuzzy.
Okay, now that I have the cooler supported from underneath, I needed to stabilize it from rocking back and forth. Remove the front grill, and the black plastic cover at the top of the radiator. To help with installation of the top brackets I used a bungee cord hooked to the top of the cooler and over the top of the radiator and hooked the other end to a tow hook on the front bumper.
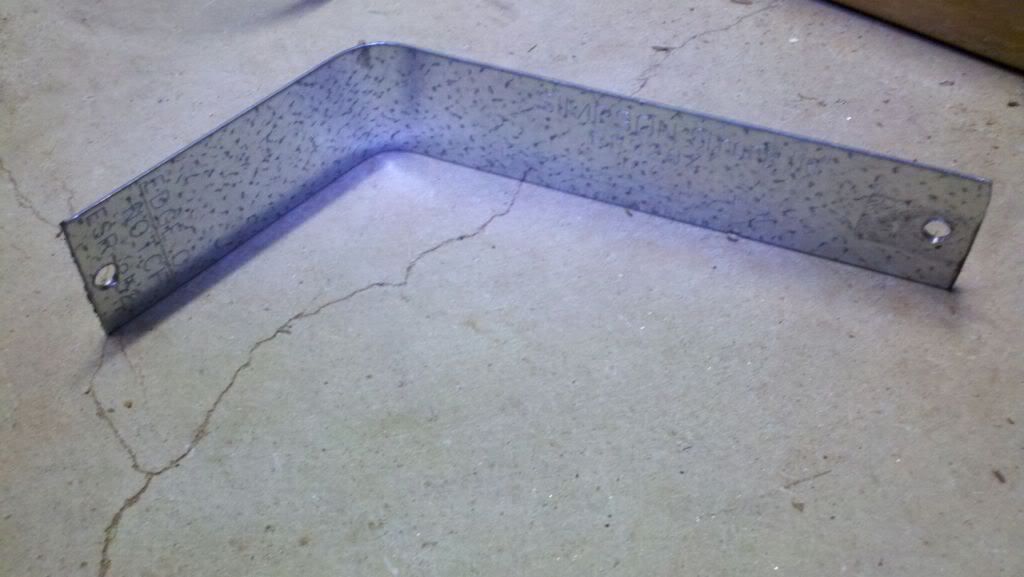
Next, I measured in an "L" shape, the length from the top of the cooler to two holes that the plastic radiator cover is secured with. I cut the two metal straps to the measured lengths (measure each one separately, they are NOT the same!). I used a cutting wheel, but a hacksaw will work just as well. I drilled holes in the L-brackets where I could bolt them to the cooler and to the top of the radiator. Here is a picture of one the straps cut and bent.
Finally, I installed the L-brackets. One end is bolted to the cooler, the other end is simply attached by placing the plastic radiator cover atop it and popping the plastic bolts through the holes.

On a final note, attach the hoses and hose clamps to the cooler BEFORE installing the cooler. Trust me, that will be much easier than the way I did it.
I hope this helps anyone who is considering installing a transmission cooler with a RIPP SC already installed. Sorry I couldn't provide a top-looking-down view of the installed cooler. The SC pretty much blocks all view of the transmission cooler. Good luck!
I know some people have placed transmission coolers between the SC intercooler and the radiator (actually the A/C cooler). But the RIPP SC instructions specifically specify not letting the SC intercooler touch the radiator, lest it burn a hole in the intercooler (then you are up a creek without a supercharger! ).
After looking through many threads on multiple forums about installing an auxiliary transmission cooler with the RIPP Supercharger and not finding any ideas, I asked a friend who is the SC-guru. He asked a friend who has an auto transmission, RIPP SC and an auxiliary transmission cooler. His friend used "L-brackets". Thanks to my un-named hero! So, that got me thinking. A little scouting through Home Depot and I found the necessary parts to fabricate my own mounting brackets.
I bought two 2" electrical conduit brackets (Electrical aisle of Home Depot, aprox. $2/each), and two 24" metal straps (Lumber/Building Materials aisle of Home Depot, aprox. $4/each).
If you crawl under your Jeep, just below and behind the radiator is a 2" diameter round frame member. Perfect place to mount the B&M cooler behind the radiator fan. This is not as efficient of a location as in front of the radiator, but the SC intercooler takes up most of the space between the grill and the radiator.
Here is a picture of the 2" Electrical Conduit brackets. Wrap these around that 2" round frame member mentioned earlier, spaced apart the same width as the auxiliary transmission cooler.
I then mounted the B&M kit-supplied brackets to the 2" Electrical Conduit brackets as seen here. I spray-painted all of the brackets before installing them using flat black high temp spray paint (it was all that I had at the moment, but regular spray paint should work, too).
Finally I mounted the auxiliary transmission cooler to the top of the kit brackets. I placed the cooler with the inlet/outlet facing UP. You can install the cooler sideways, just not with the inlet/outlet facing down. Here is a picture of the cooler installed behind the radiator as seen from below. Sorry, it is a little fuzzy.
Okay, now that I have the cooler supported from underneath, I needed to stabilize it from rocking back and forth. Remove the front grill, and the black plastic cover at the top of the radiator. To help with installation of the top brackets I used a bungee cord hooked to the top of the cooler and over the top of the radiator and hooked the other end to a tow hook on the front bumper.
Next, I measured in an "L" shape, the length from the top of the cooler to two holes that the plastic radiator cover is secured with. I cut the two metal straps to the measured lengths (measure each one separately, they are NOT the same!). I used a cutting wheel, but a hacksaw will work just as well. I drilled holes in the L-brackets where I could bolt them to the cooler and to the top of the radiator. Here is a picture of one the straps cut and bent.
Finally, I installed the L-brackets. One end is bolted to the cooler, the other end is simply attached by placing the plastic radiator cover atop it and popping the plastic bolts through the holes.
On a final note, attach the hoses and hose clamps to the cooler BEFORE installing the cooler. Trust me, that will be much easier than the way I did it.
I hope this helps anyone who is considering installing a transmission cooler with a RIPP SC already installed. Sorry I couldn't provide a top-looking-down view of the installed cooler. The SC pretty much blocks all view of the transmission cooler. Good luck!
 01-29-2012, 03:30 PM
#2
JK Super Freak
Really nice write-up. I've been wanting to install a cooler myself, but wasn't sure about it because I would like to get a Ripp sc someday. Did you install a temperature gauge? I wonder how effective the cooler is in the location it's in.
01-30-2012, 09:02 AM
#3
JK Newbie
Thread Starter
Join Date: Jan 2012
Location: Atlanta, GA
Posts: 49
Likes: 0
Received 0 Likes
on
0 Posts
No, I haven't installed a transmission cooler gauge yet. I plan to soon, though. I placed the cooler so that it comes about half-way up the radiator fan so it can get cooling from the fan, and low enough so it gets cool air from under the front bumper (I removed the front air dam already).
Go for the RIPP SC, it makes a BIG difference in power & torque. I have GlowShift Vacumm/Boost & Oil Pressure gauges. The Vacuum part will help diagnose other engine problems. The Boost part will help you fine tune the SuperCharger Blow-Off-Valve. The oil pressure gauge was installed because I want to know about internal engine problems BEFORE the idiot light comes and the damage is already done.
Go for the RIPP SC, it makes a BIG difference in power & torque. I have GlowShift Vacumm/Boost & Oil Pressure gauges. The Vacuum part will help diagnose other engine problems. The Boost part will help you fine tune the SuperCharger Blow-Off-Valve. The oil pressure gauge was installed because I want to know about internal engine problems BEFORE the idiot light comes and the damage is already done.