
Or-Fab 2 door cage install
 02-10-2010, 06:56 PM
#1
JK Freak
Thread Starter
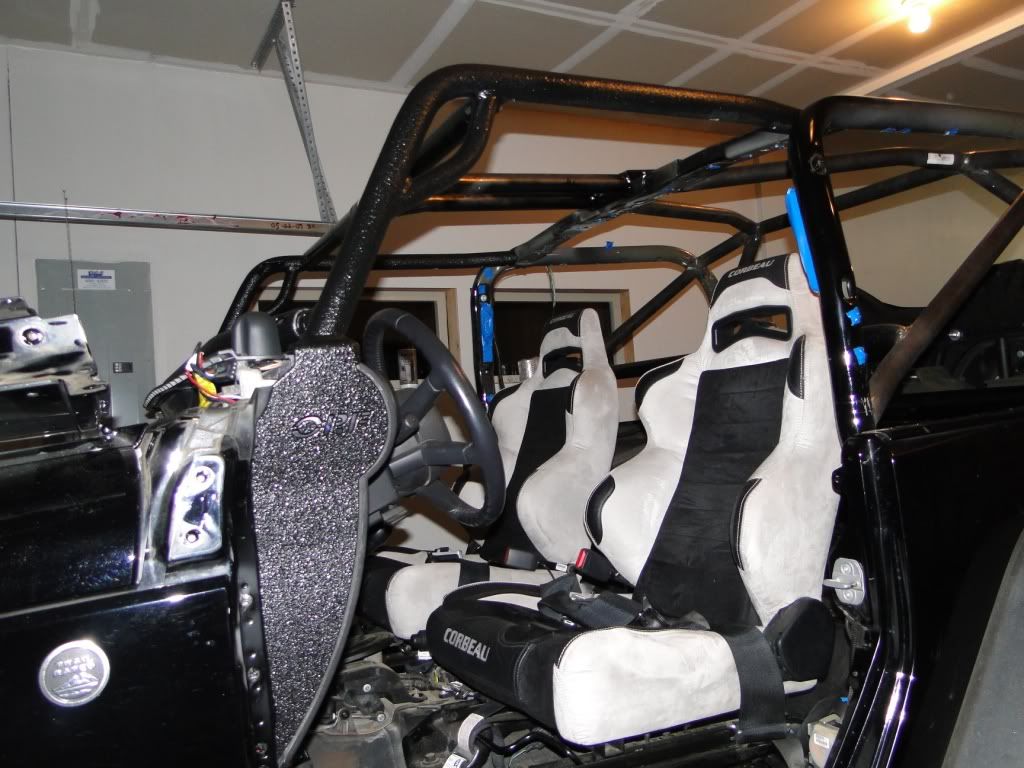
I ordered an Or-Fab front cage for the front of my JK to help give the front the same type of protection the back has with a full weld in kit. I did not want to weld in a front cage because I would loose access to the dash center section via the dash topper and I could loose access to the sides of the dash if I welded in a kit that covers the dash side openings.
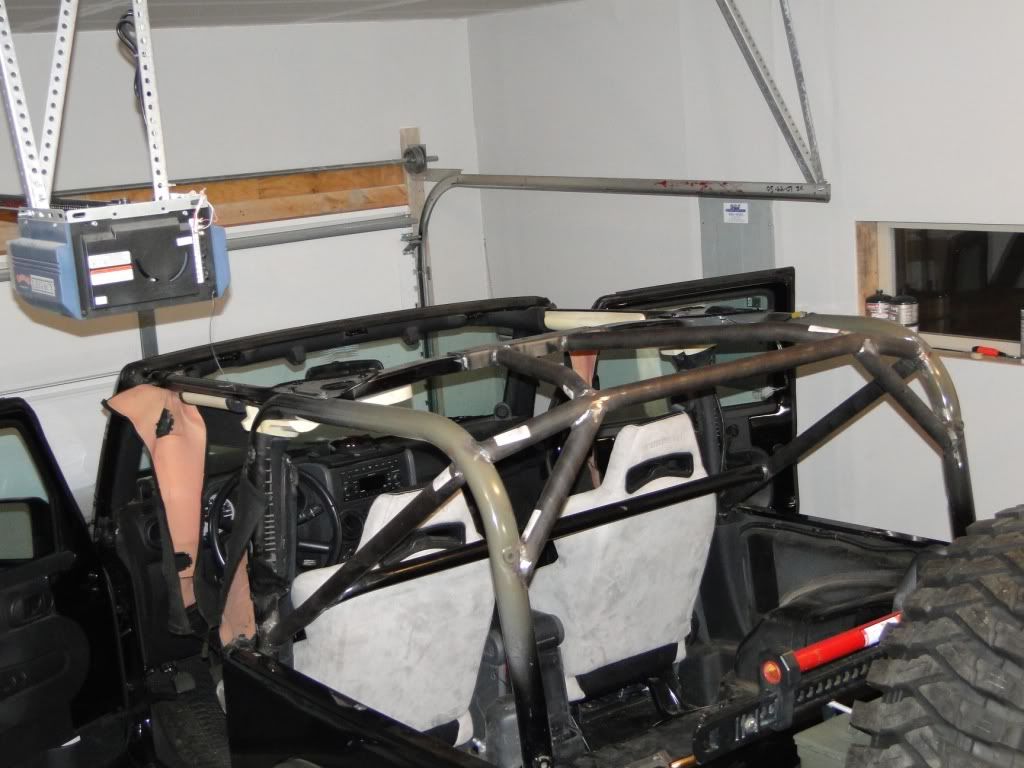
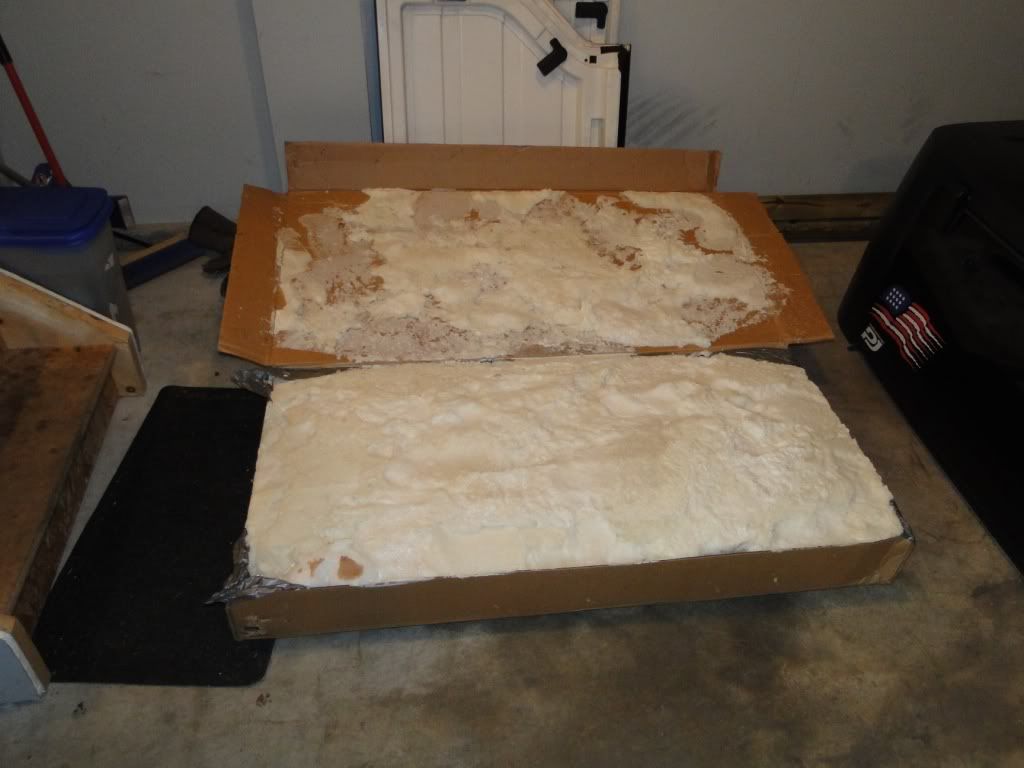
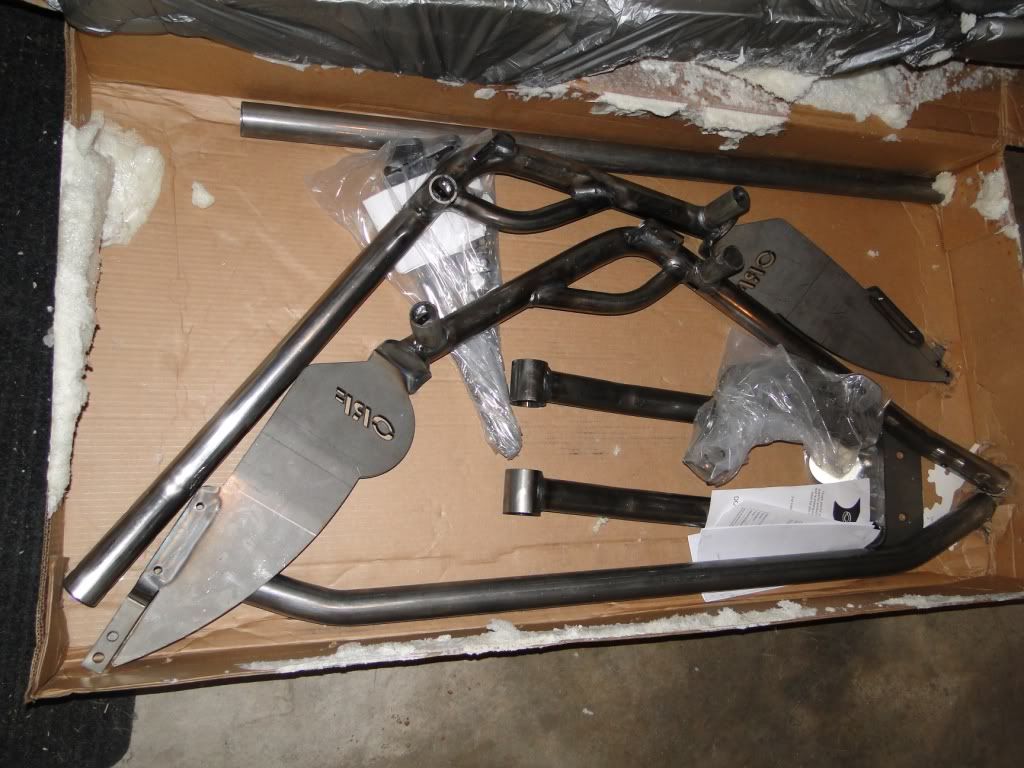
Because I thought I might be welding to the Or-Fab kit and I knew I would be bed lining the whole cage I ordered my Or-Fab kit in bare steel. The kit came packaged really well, just like my tire carrier it was completely entombed in this spray expanding foam stuff.
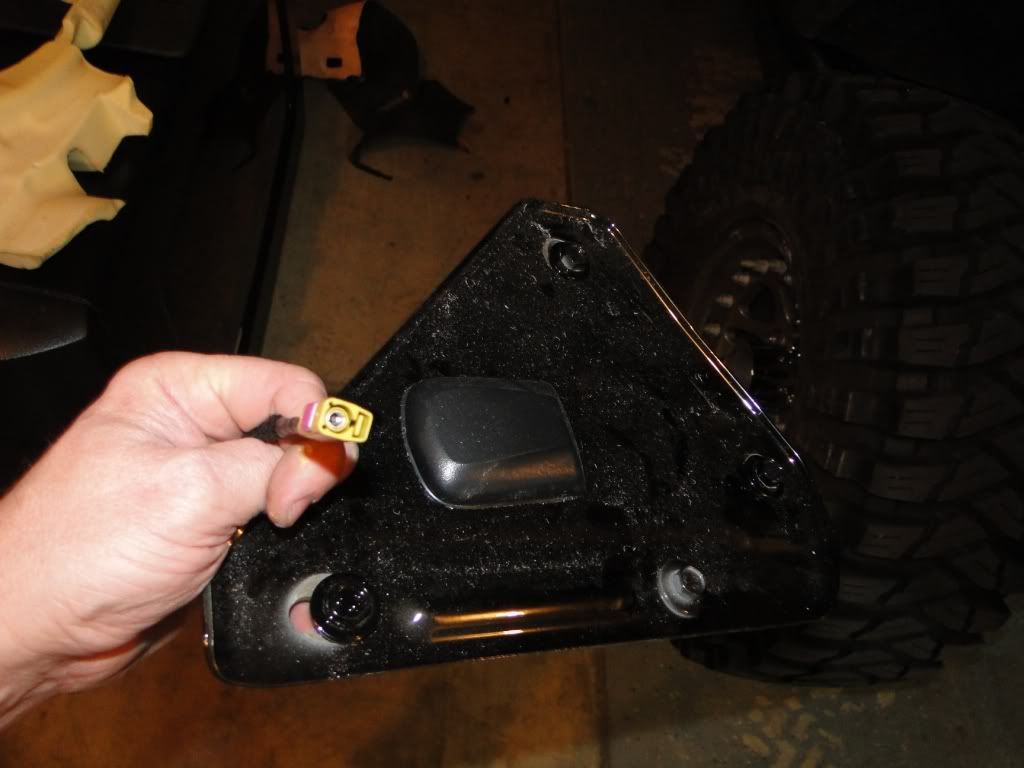
The Or-Fab instructions go into great detail telling you how to remove your hard or soft top, sound bar, plastic trim and sun visors. Pretty basic to take all these off but you will more than likely destroy some of the Christmas tree retaining clips.
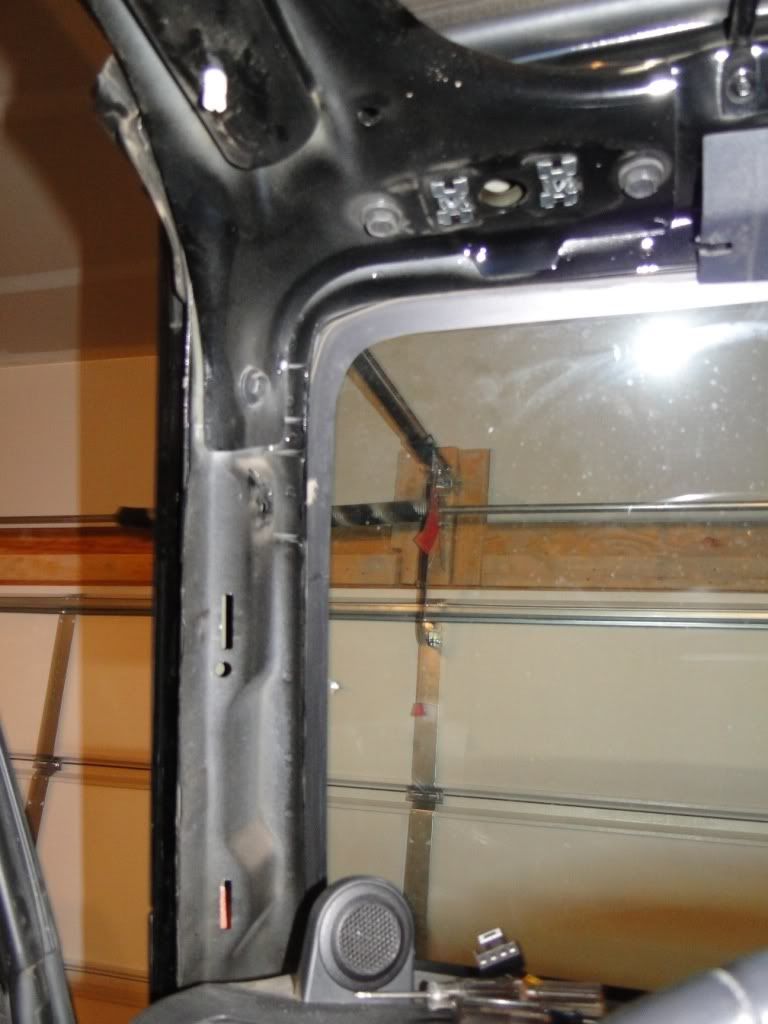
Next I measured the distance from the tabs where the top latches to the windshield back to the metal cross bar under the sound bar. You will need to write down these measurements on the driver and passenger sides, so that when you�re finished you can ensure that the windshield is in the correct location.
Next I removed the bars directly above both door openings. Make sure that you disconnect the satellite antenna
Because I thought I might be welding to the Or-Fab kit and I knew I would be bed lining the whole cage I ordered my Or-Fab kit in bare steel. The kit came packaged really well, just like my tire carrier it was completely entombed in this spray expanding foam stuff.
The Or-Fab instructions go into great detail telling you how to remove your hard or soft top, sound bar, plastic trim and sun visors. Pretty basic to take all these off but you will more than likely destroy some of the Christmas tree retaining clips.
Next I measured the distance from the tabs where the top latches to the windshield back to the metal cross bar under the sound bar. You will need to write down these measurements on the driver and passenger sides, so that when you�re finished you can ensure that the windshield is in the correct location.
Next I removed the bars directly above both door openings. Make sure that you disconnect the satellite antenna
 02-10-2010, 06:57 PM
#2
JK Freak
Thread Starter
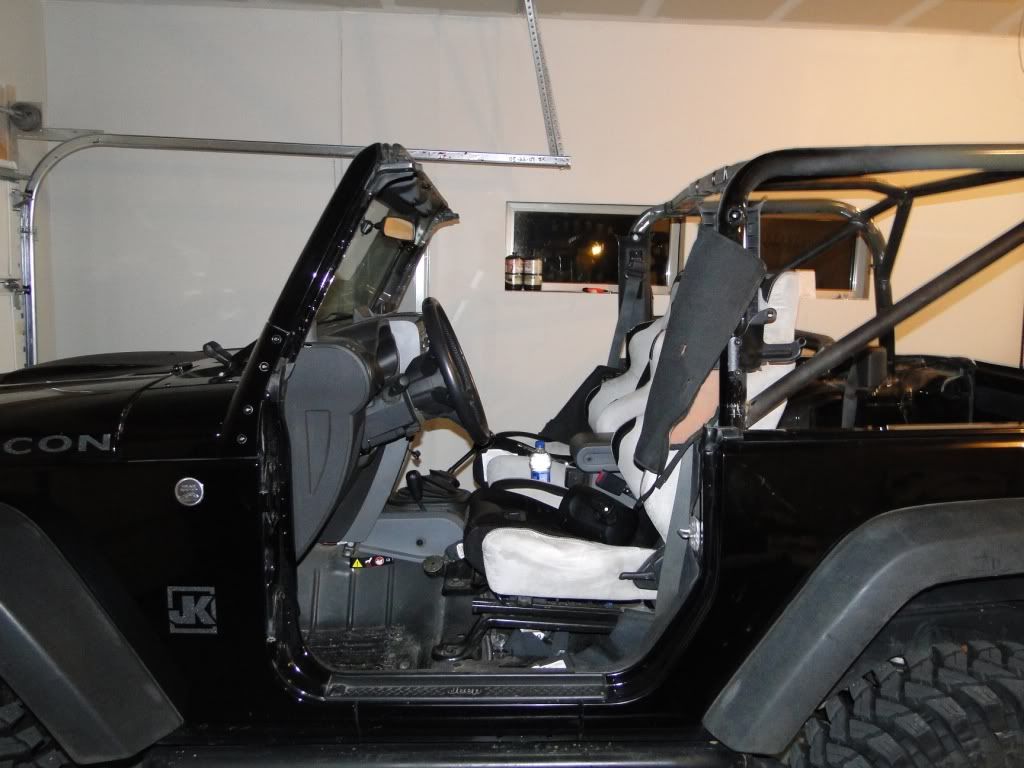
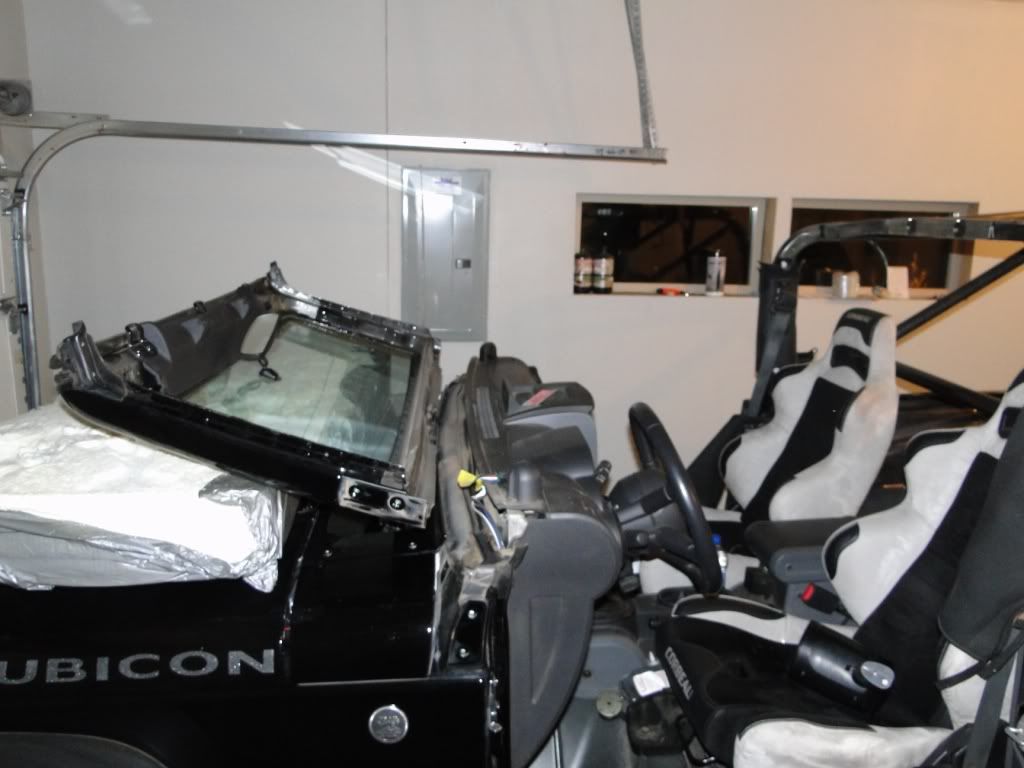
Next I removed the windshield wipers and the 6 bolts in the windshield support plate. I also found a new use for the packing foam. Space was tight in my garage and my AEV hood does not have the rubber windshield stoppers so I put the foam packing material under the windshield when I folded it.
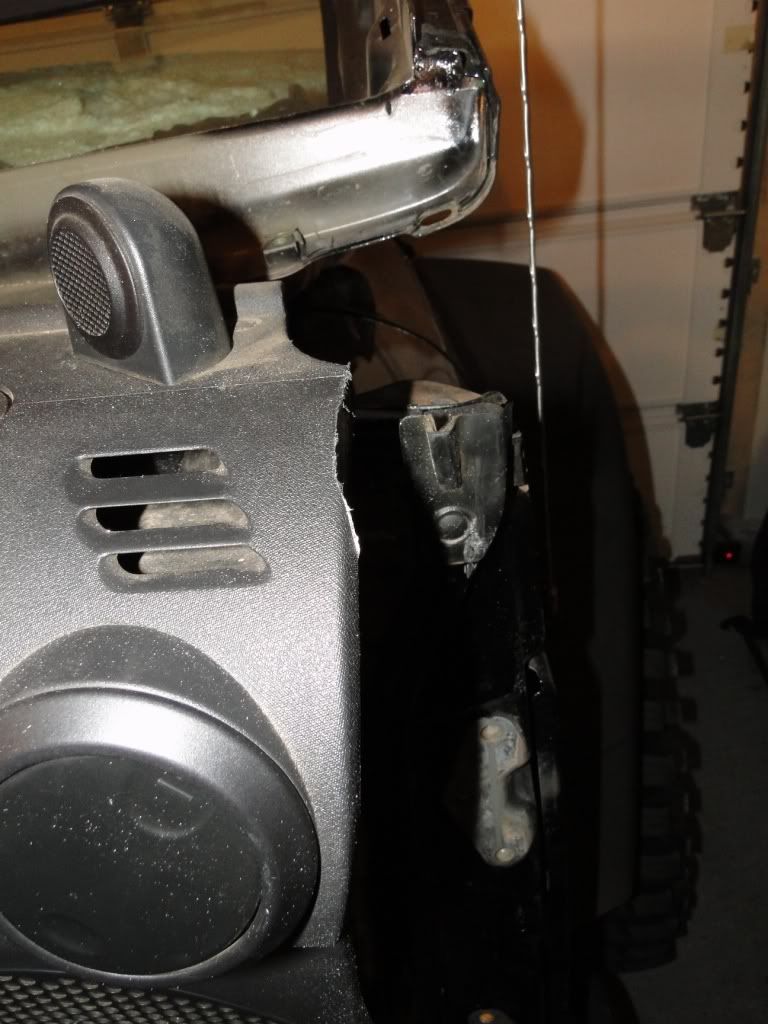
Now for the really fun part�..I removed the plastic inserts on the sides of the dash and had to cut out pieces of metal that would be in the way of the new side supports for the cage. Hopefully my pics will help, the ones in the directions are not really clear.
First the driver side. It has 3 sections that must be cut and removed.
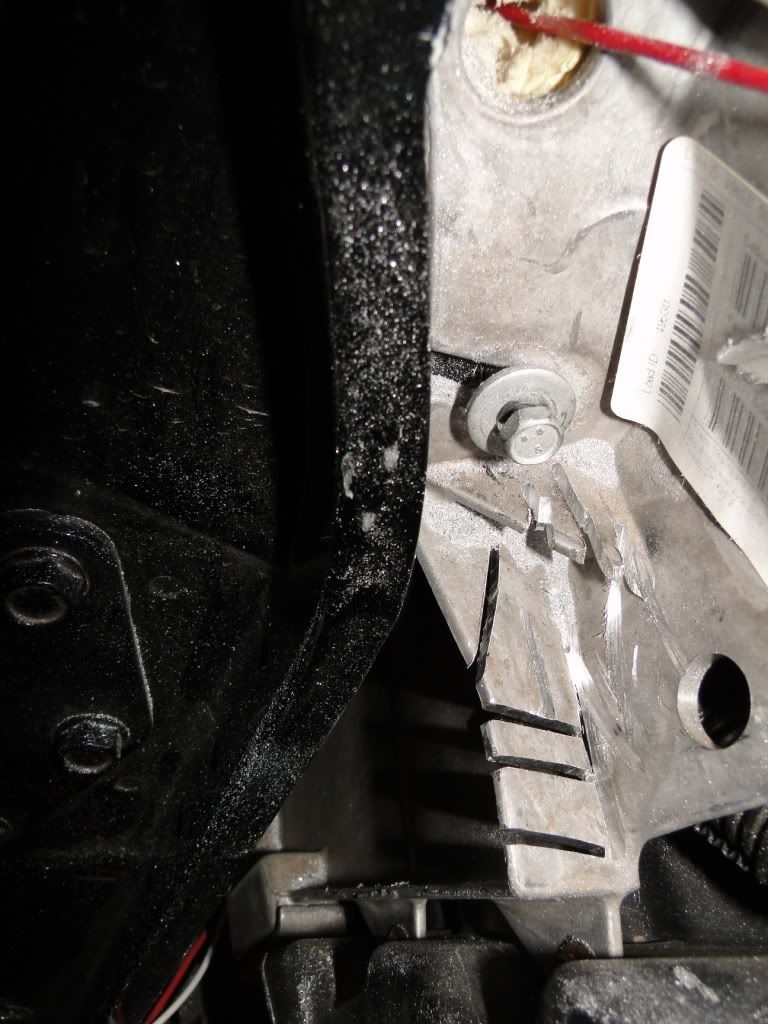
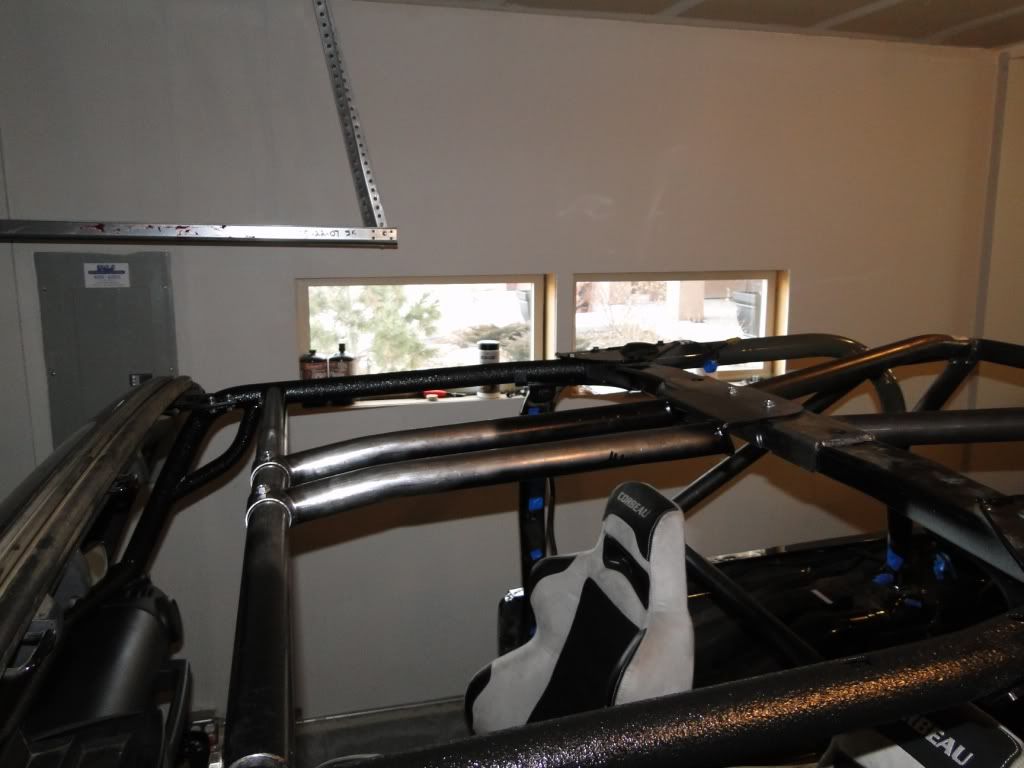
Once I had all of the pieces trimmed I did a test fit to make sure that the cage had room to slide into place��
Looks goo so far��.
Now for the passenger side.
Now for the really fun part�..I removed the plastic inserts on the sides of the dash and had to cut out pieces of metal that would be in the way of the new side supports for the cage. Hopefully my pics will help, the ones in the directions are not really clear.
First the driver side. It has 3 sections that must be cut and removed.
Once I had all of the pieces trimmed I did a test fit to make sure that the cage had room to slide into place��
Looks goo so far��.
Now for the passenger side.
02-10-2010, 06:58 PM
#3
JK Freak
Thread Starter
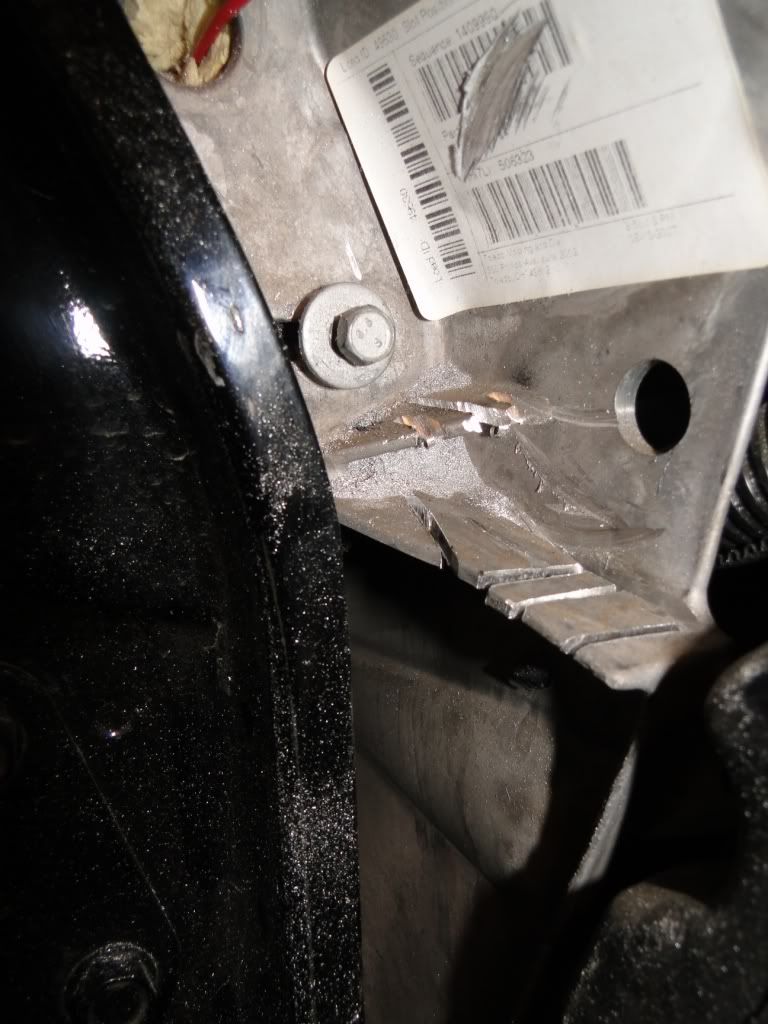
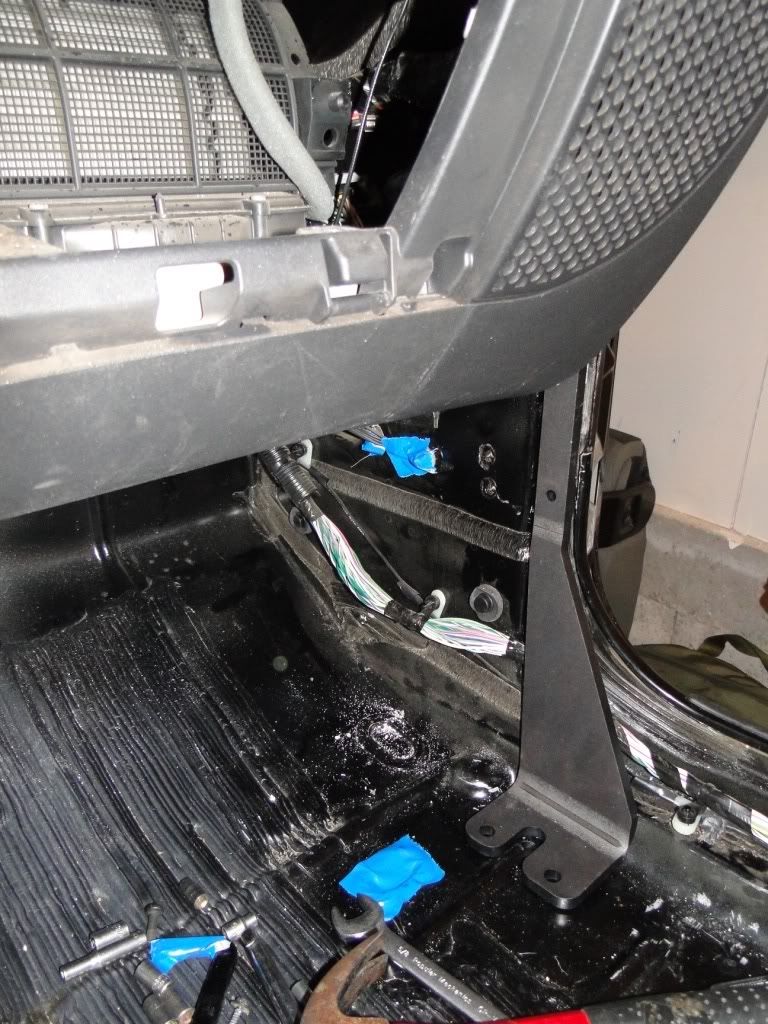
I marked all the areas that needed to be cut� I also removed the glove box and passenger side speaker, and pulled the wire harness away from the sides.
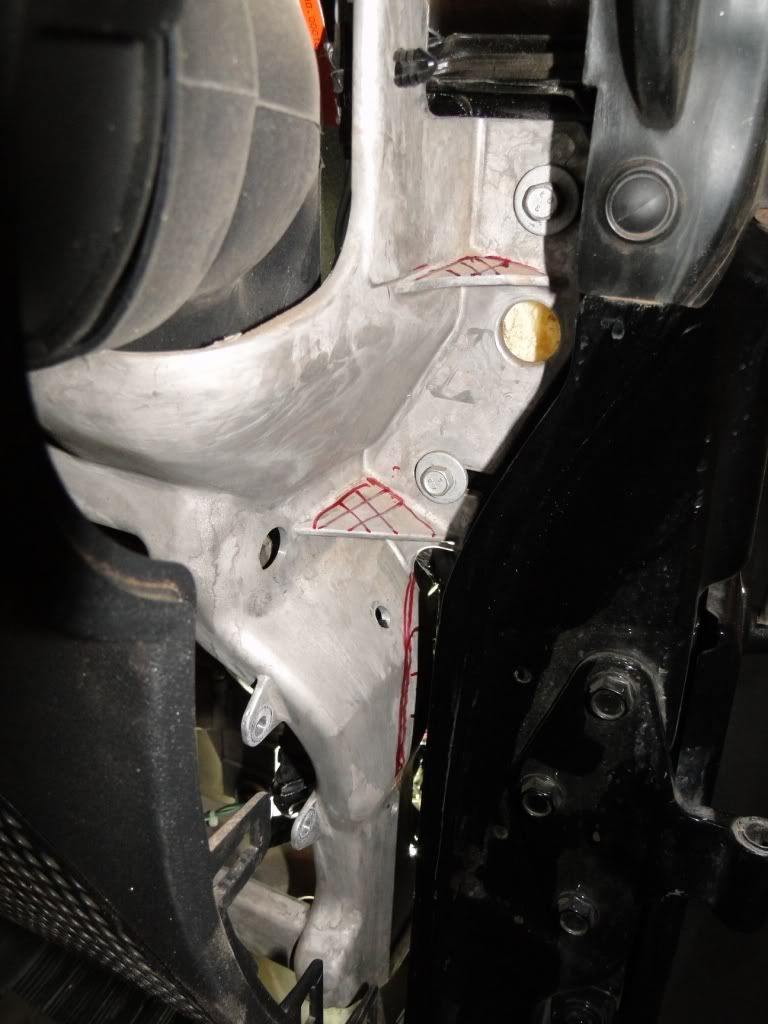
A little bit of sawzall action�.
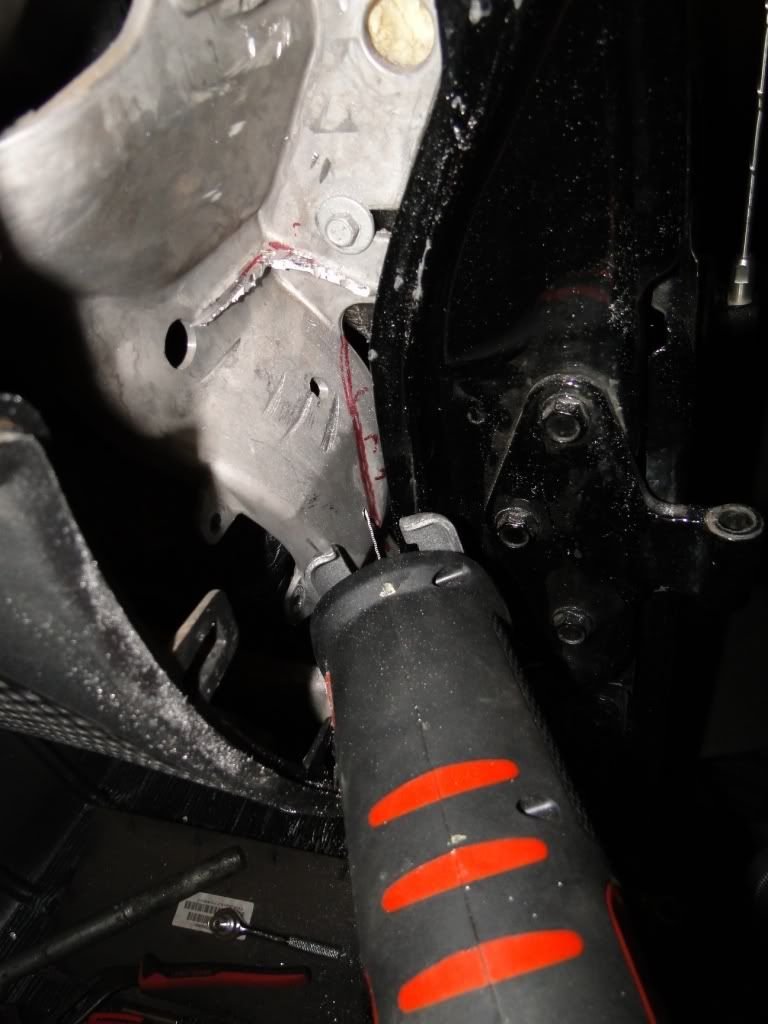
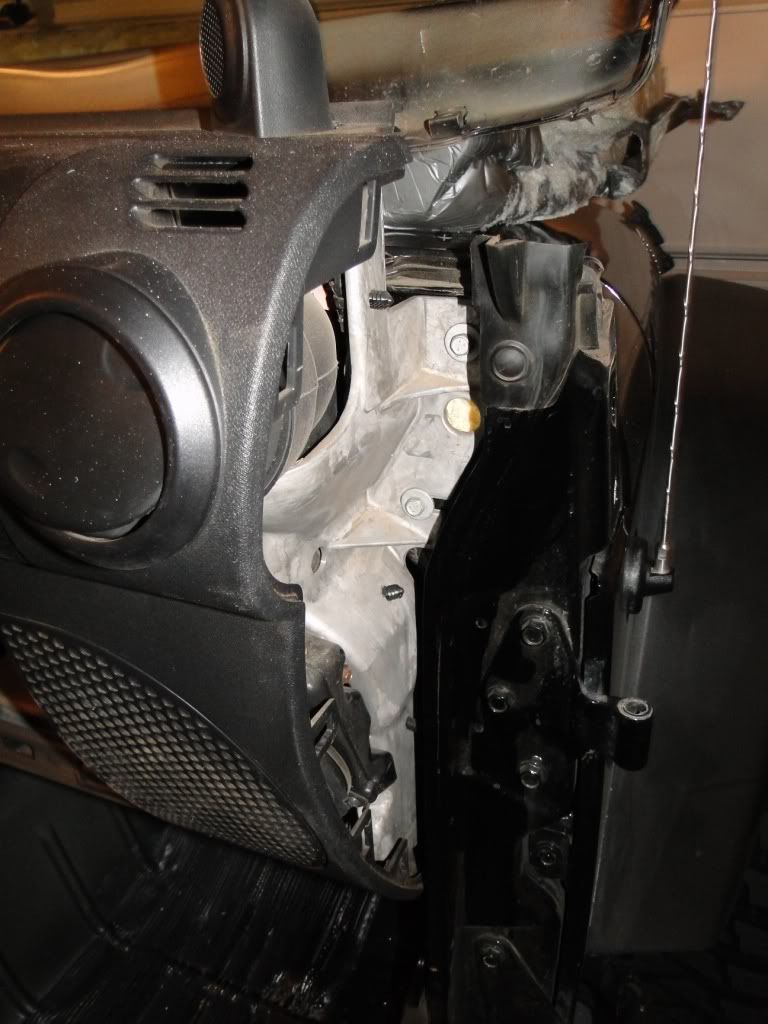
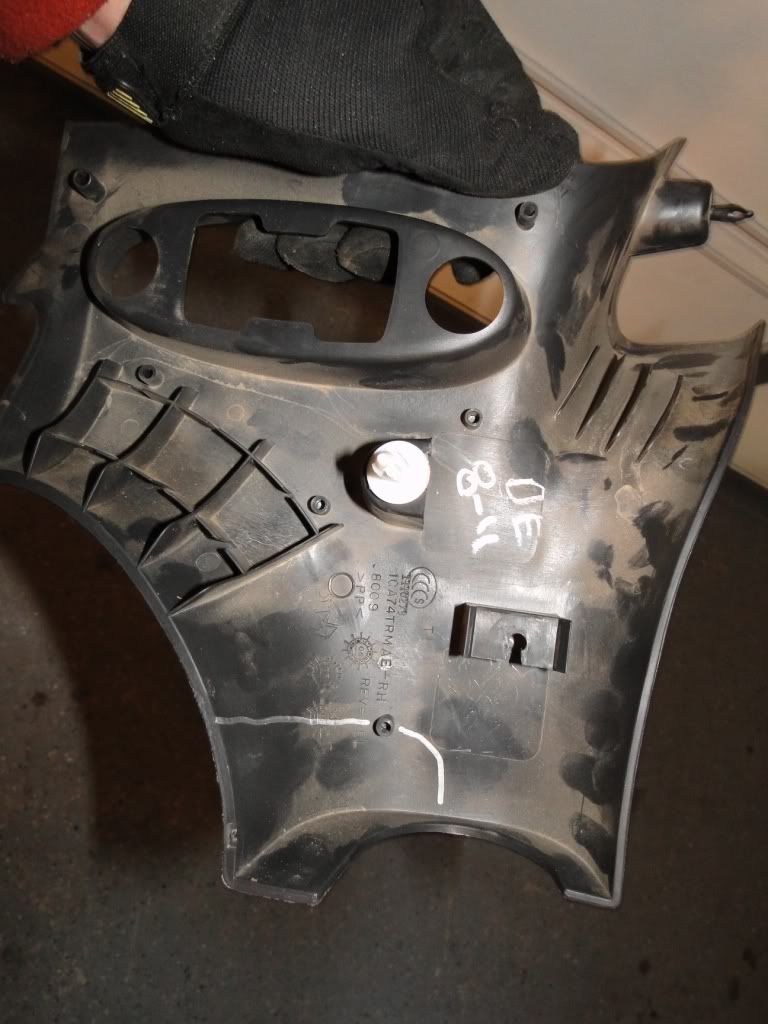
Here is what I cut out of the bottom section. It was really hard to tell by the instructions but hopefully if you are going to install one of these this picture will help.
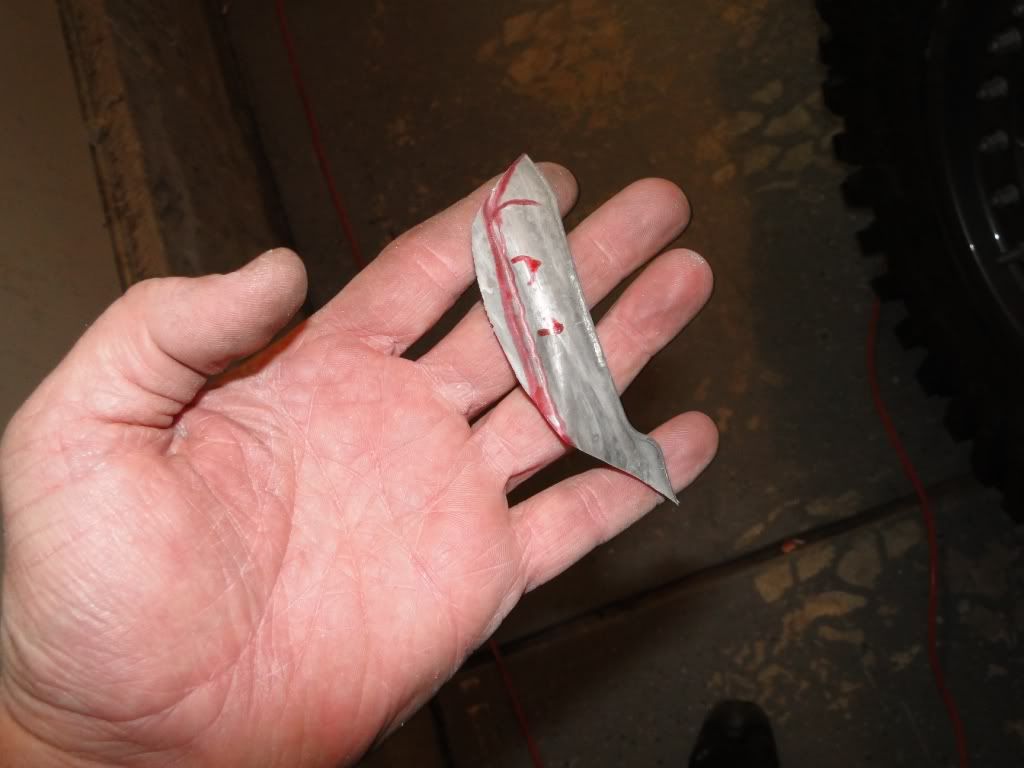
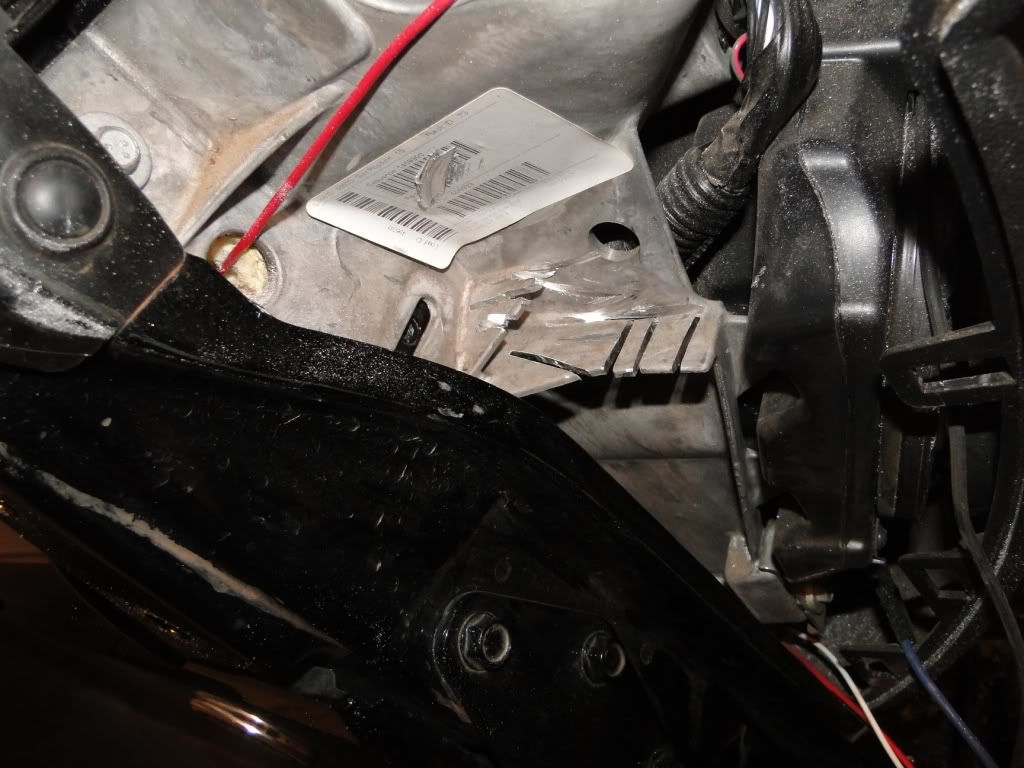
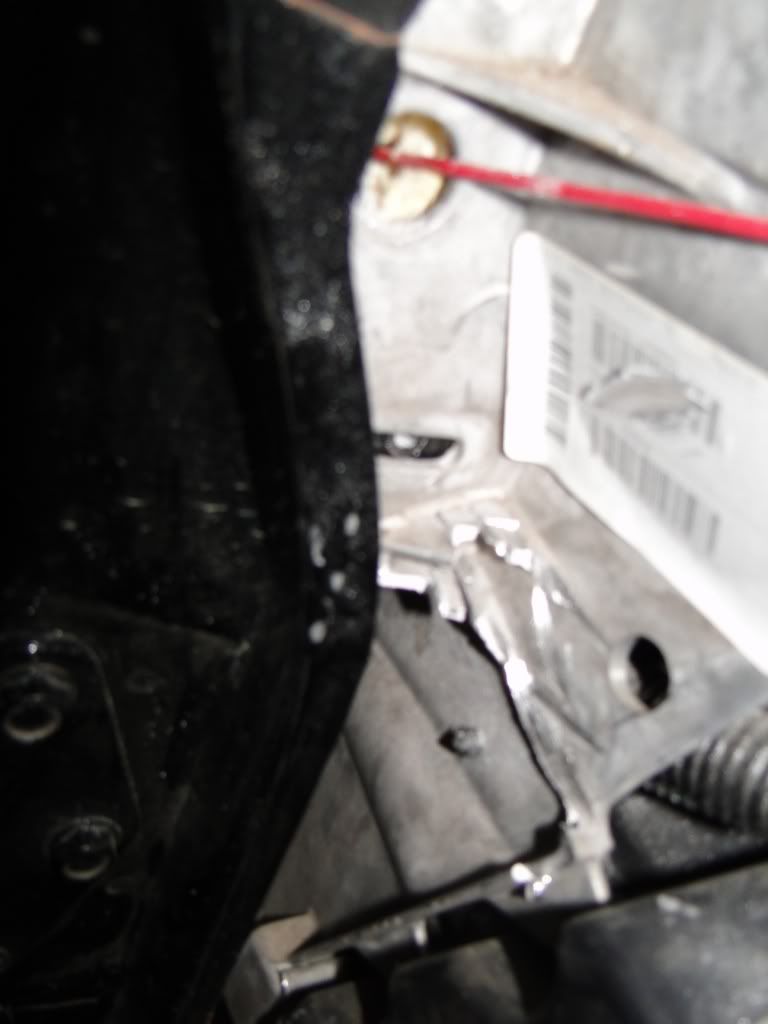
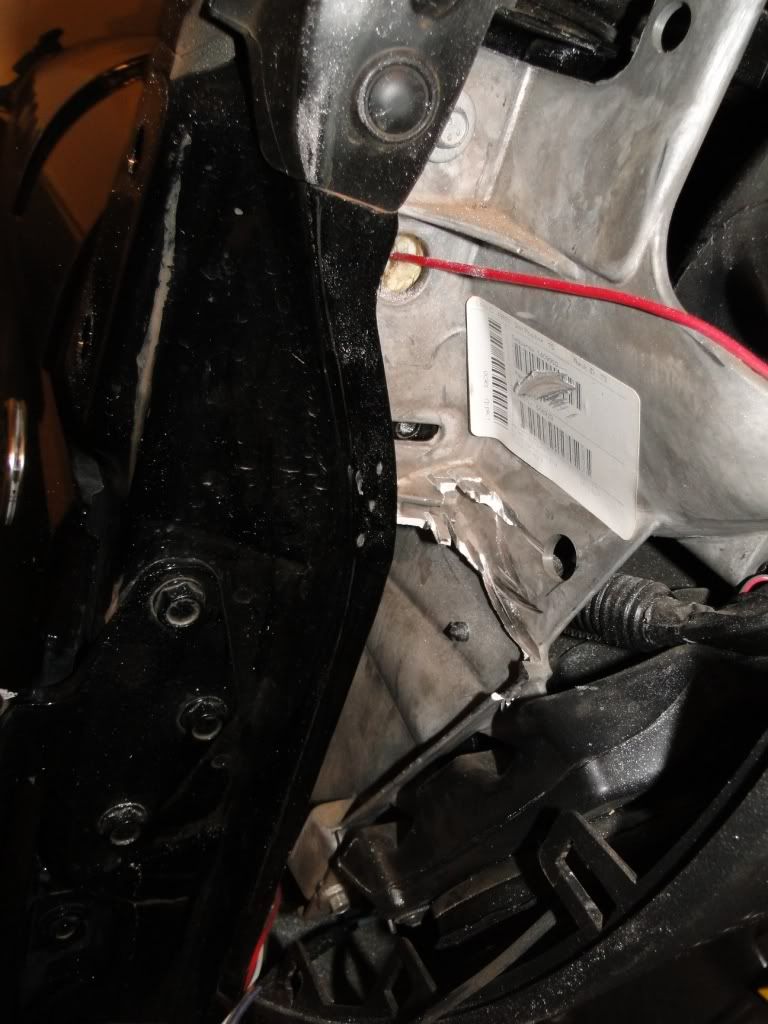
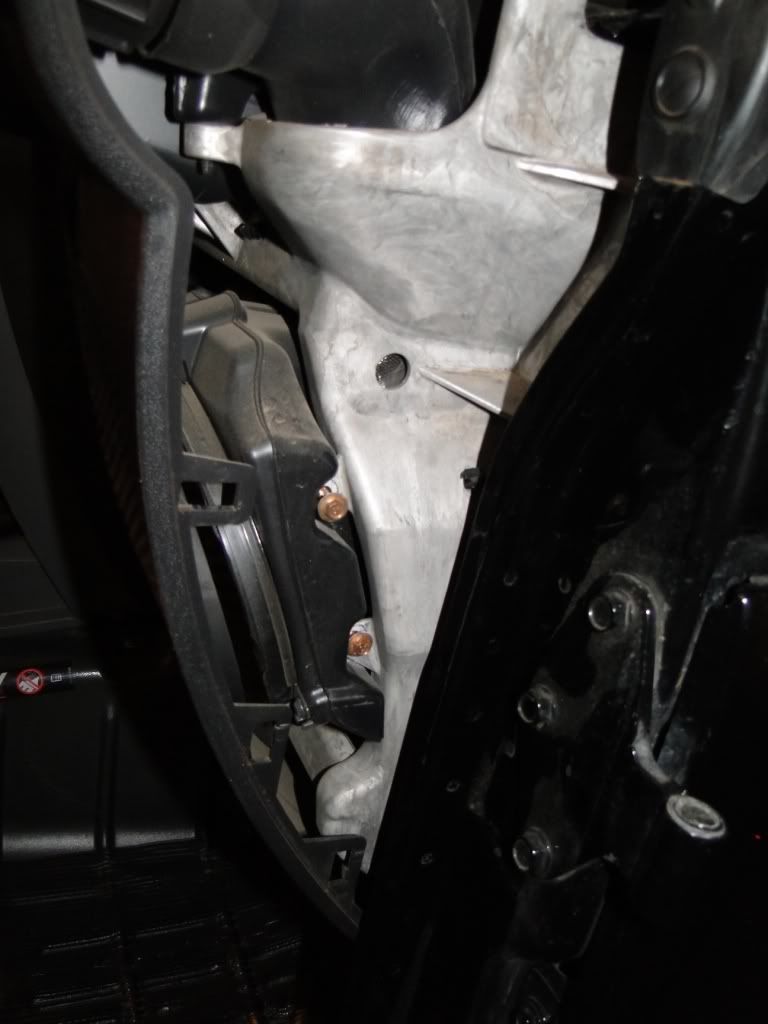
Here is what it looked like once all the sections were cut out of the passenger side.
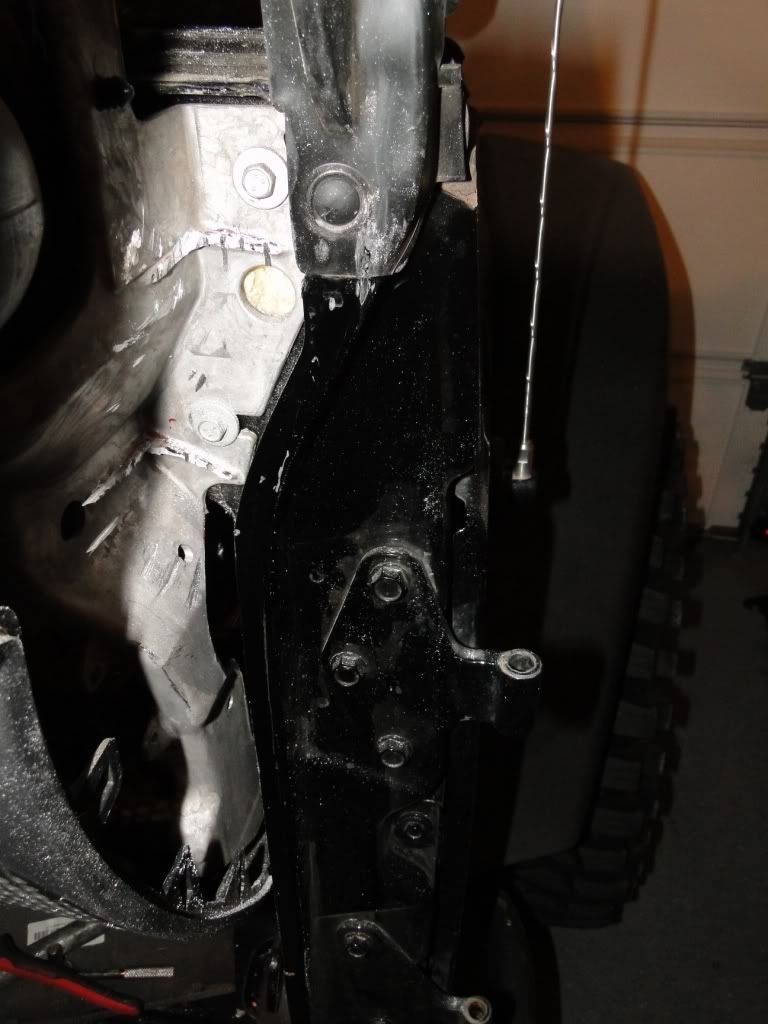
Next I had to trim the edges of the dash. Basically I just trimmed all the overhand off to make the side flush with the tab.

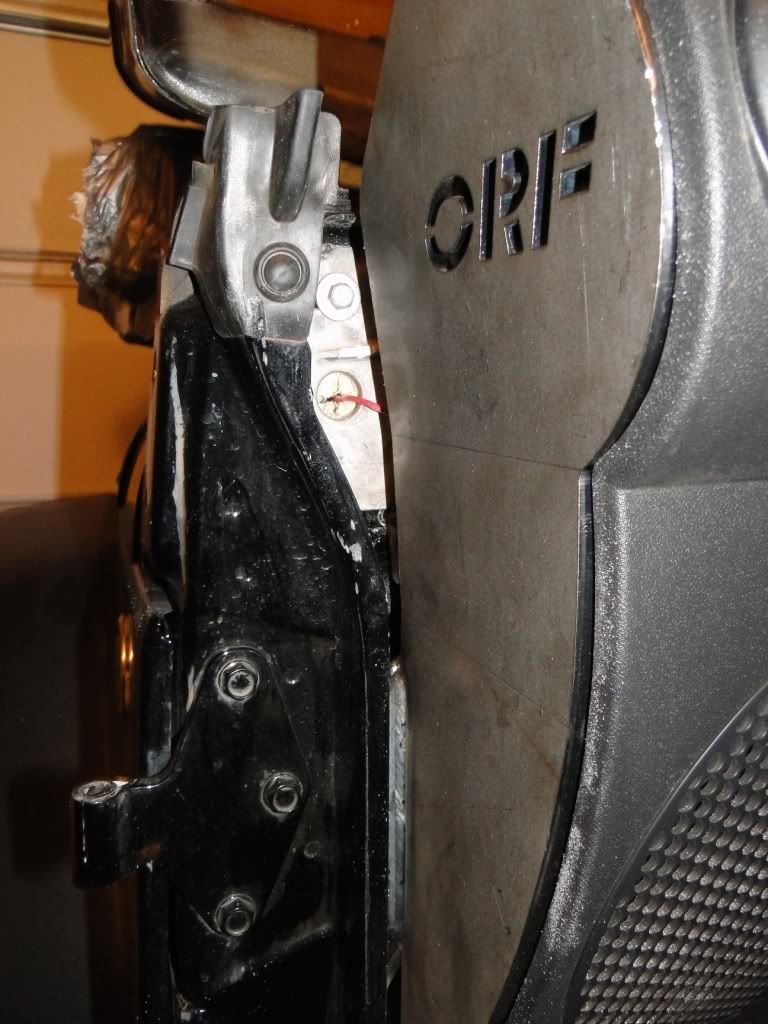
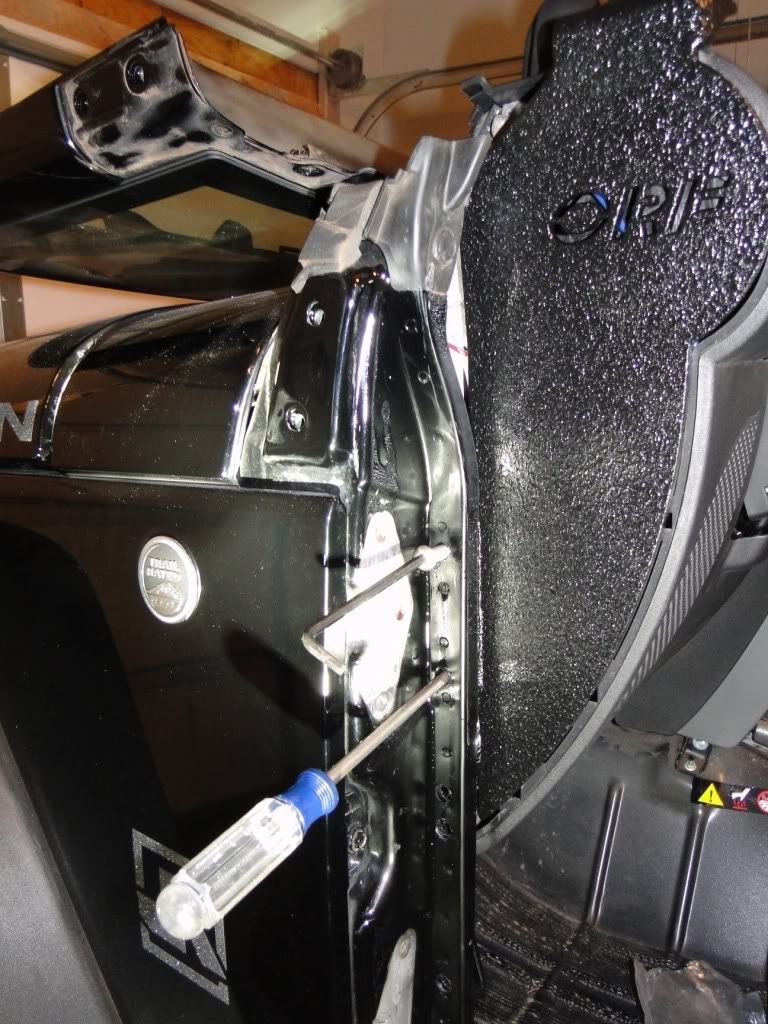
Next it was time to drill the mounting holes in the door pinch seam. I had a small panic attack and was just about to call Or-Fab and tell them they forgot to send my template when I found it inside one of the bars�.
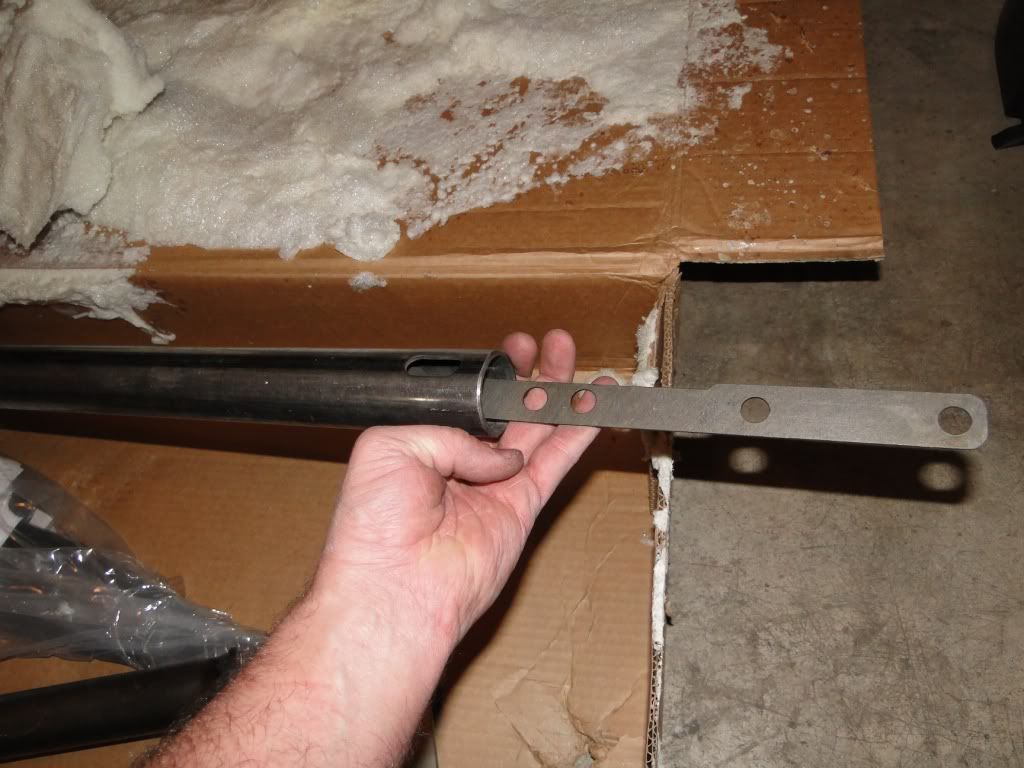
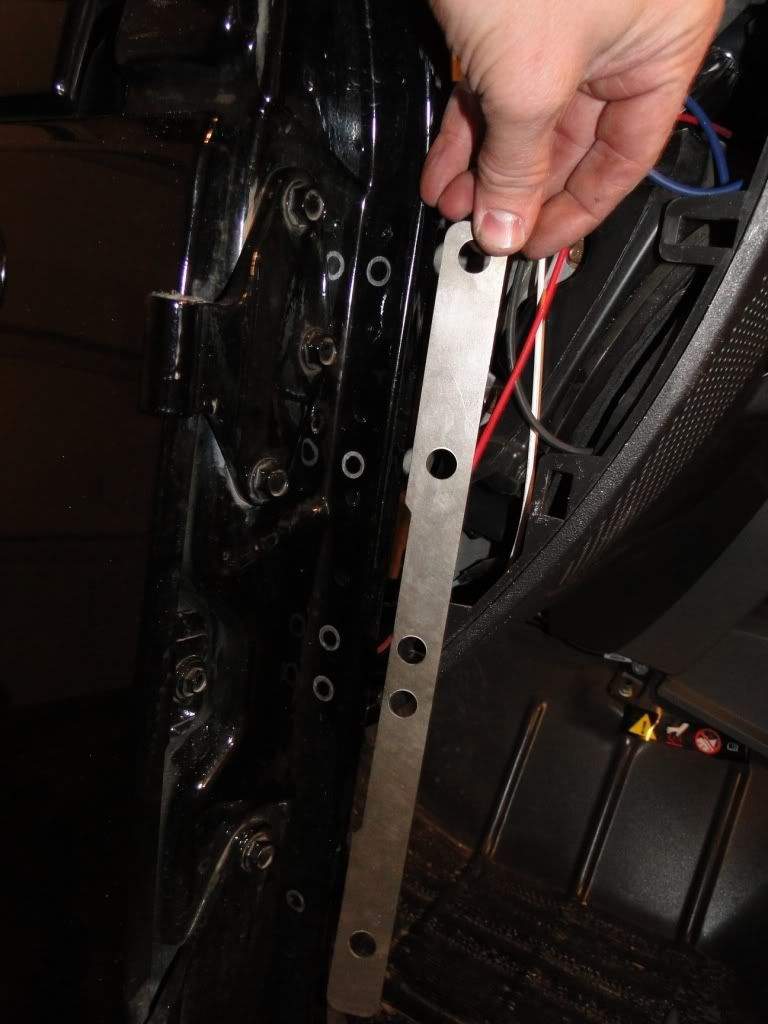
To drill the holes you will probably need to remove the door hinges. I marked the holes with a silver sharpie. You will need a 7/16th drill bit to drill the holes in the seam. There are 5 holes on the template but you will only need to drill 4 holes unless you have the floor mounting kit. I did buy the floor kit so I marked and drilled all 5 holes.
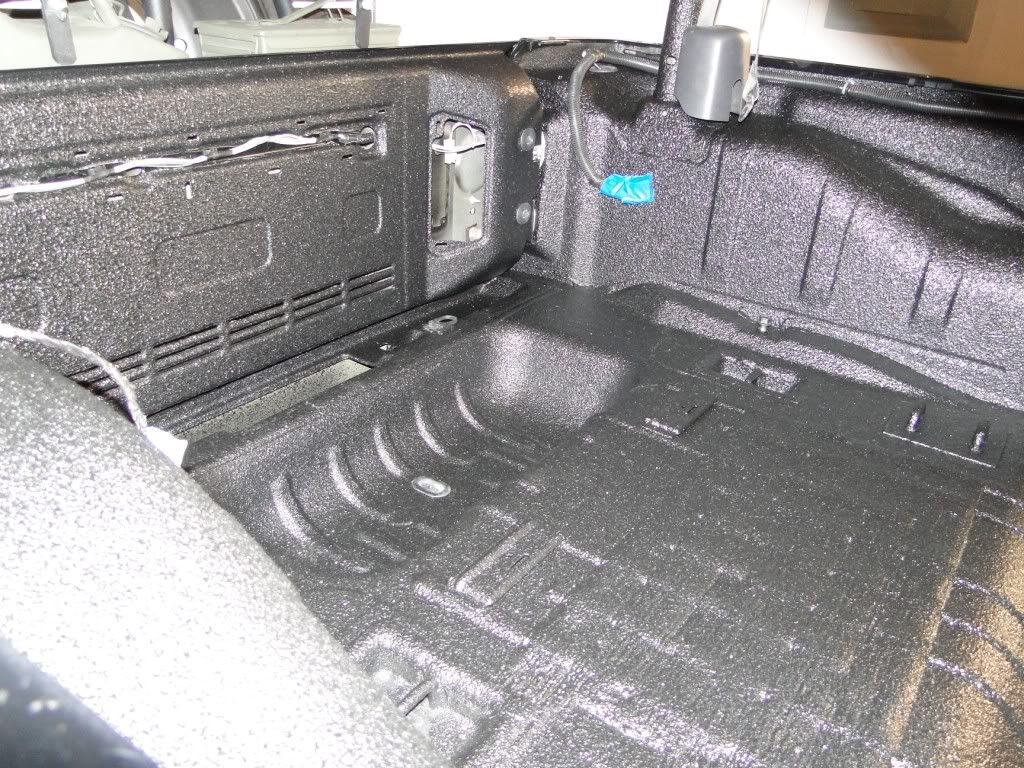
Next I had a brief pause while I sent everything to be rhino lined. I had them do the pieces of the Or-Fab cage before install and then took the whole jeep back the next day so that they could finish it up. With the angles of the cage I thought that it would be best if some parts were sprayed before being installed.
Back from the 1st rhino lining session��time for the install
A little bit of sawzall action�.
Here is what I cut out of the bottom section. It was really hard to tell by the instructions but hopefully if you are going to install one of these this picture will help.
Here is what it looked like once all the sections were cut out of the passenger side.
Next I had to trim the edges of the dash. Basically I just trimmed all the overhand off to make the side flush with the tab.
Next it was time to drill the mounting holes in the door pinch seam. I had a small panic attack and was just about to call Or-Fab and tell them they forgot to send my template when I found it inside one of the bars�.
To drill the holes you will probably need to remove the door hinges. I marked the holes with a silver sharpie. You will need a 7/16th drill bit to drill the holes in the seam. There are 5 holes on the template but you will only need to drill 4 holes unless you have the floor mounting kit. I did buy the floor kit so I marked and drilled all 5 holes.
Next I had a brief pause while I sent everything to be rhino lined. I had them do the pieces of the Or-Fab cage before install and then took the whole jeep back the next day so that they could finish it up. With the angles of the cage I thought that it would be best if some parts were sprayed before being installed.
Back from the 1st rhino lining session��time for the install
02-10-2010, 06:58 PM
#4
JK Freak
Thread Starter
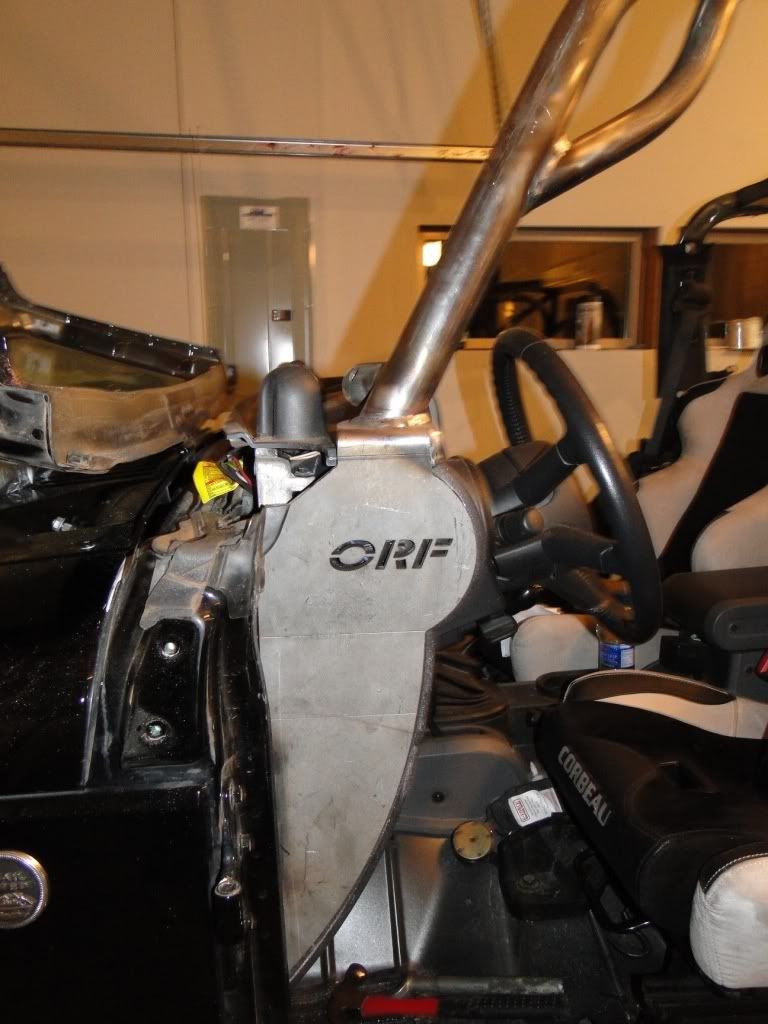
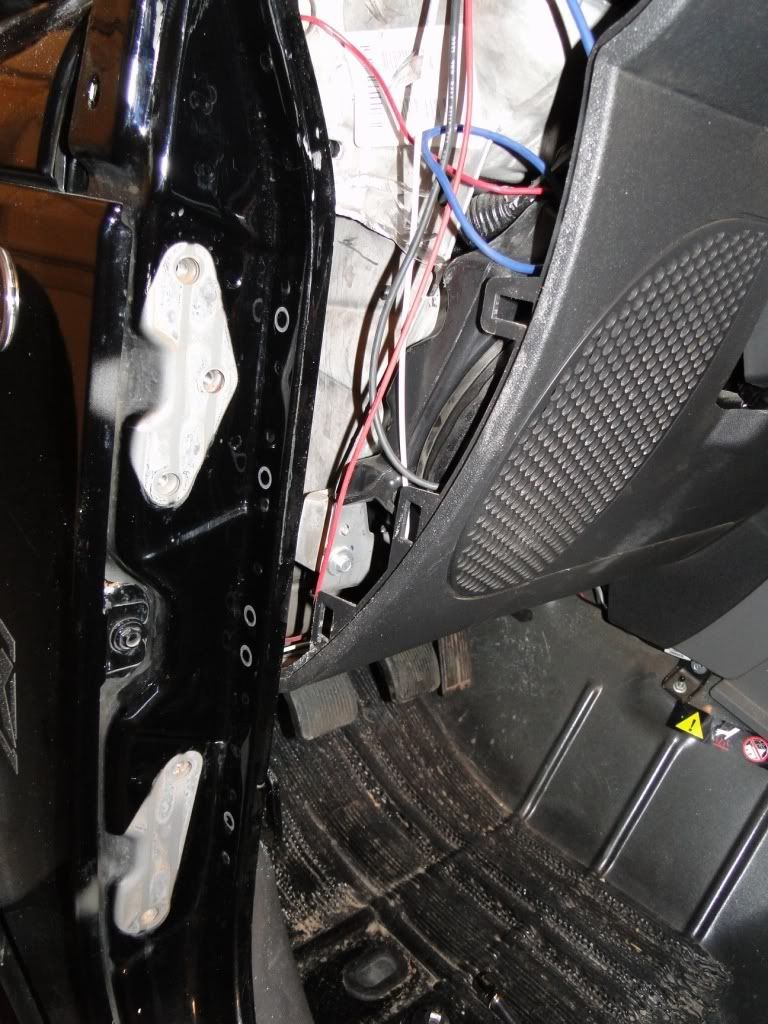
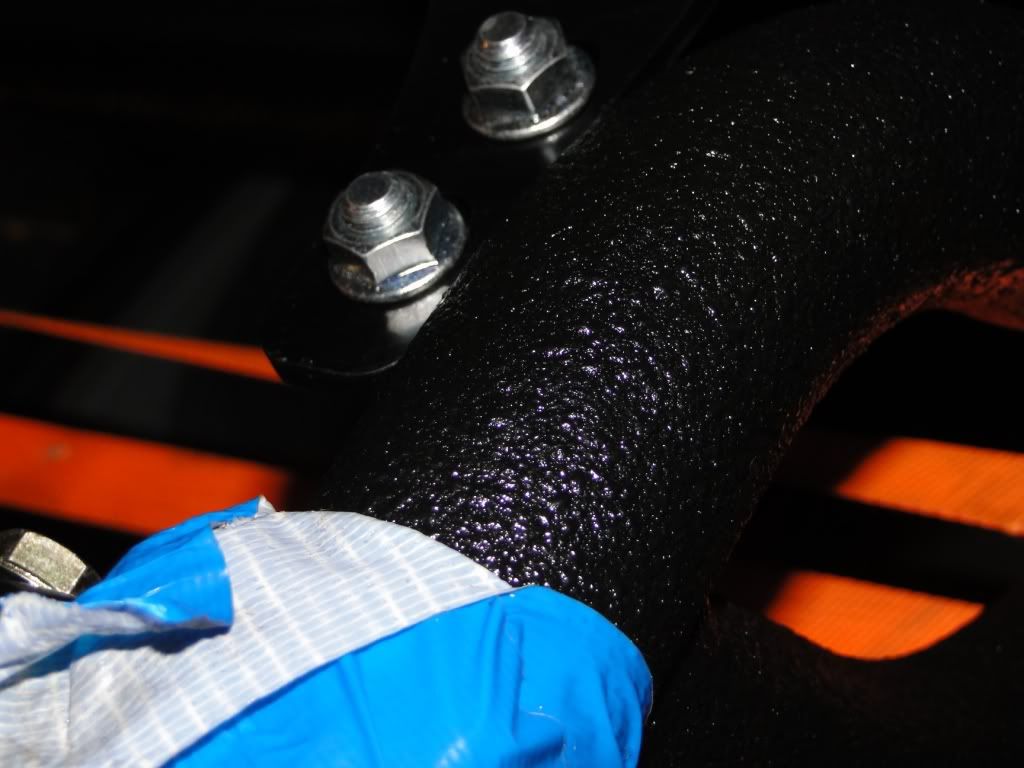
Lining up and installing the side bolts�
IF INSTALLING THE FLOOR MOUNT PIECES���SLIDE THEM IN PLACE BEFORE YOU PUT THE SIDES IN!!!!!! The directions say do it the other way but I could not get mine to squeeze in there with the side supports in place and had to completely remove the cage and do the floor pieces first.
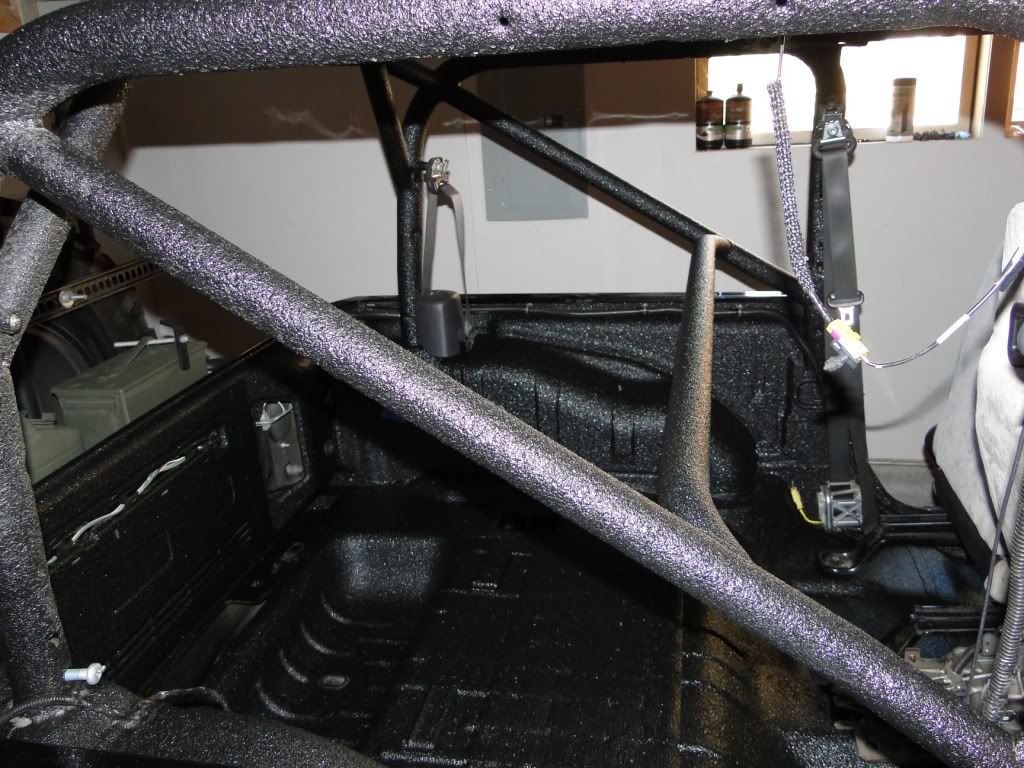
Once everything was basically in place I used several ratchet straps and a tape measure to line the cage up according to the instructions.
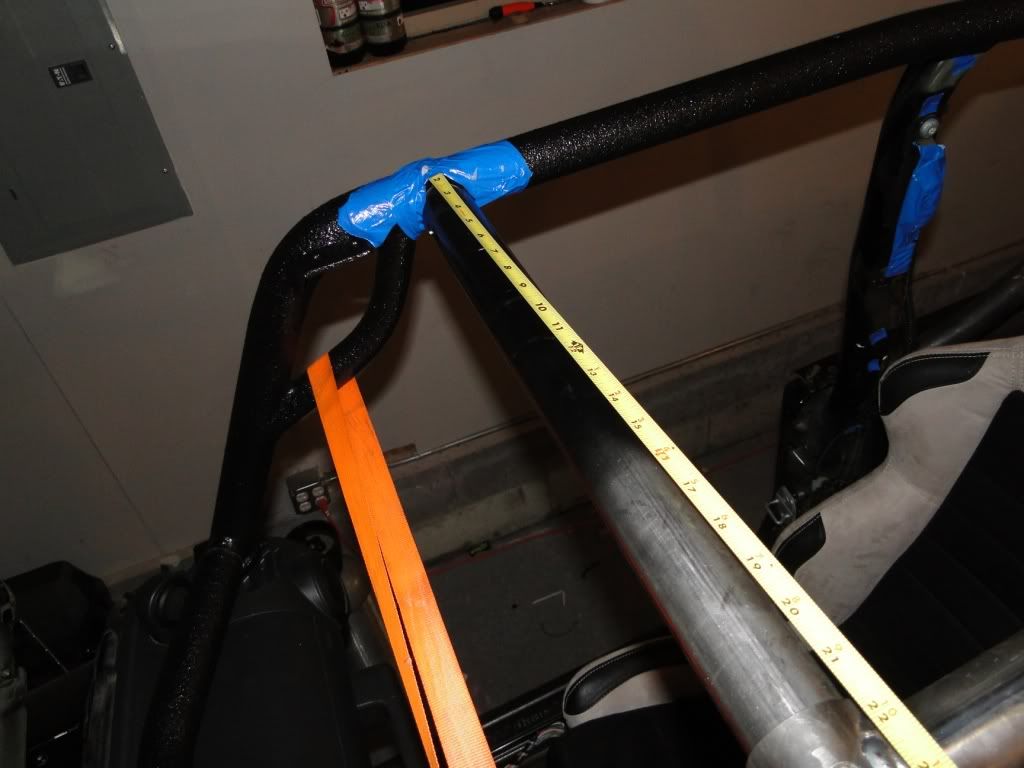

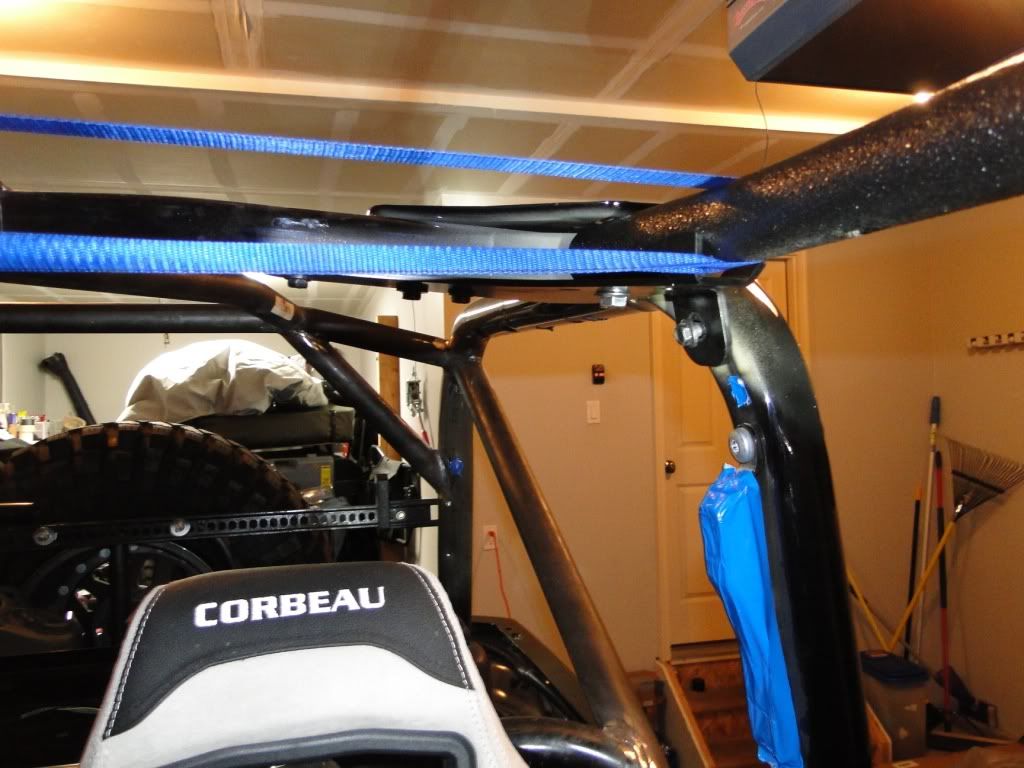
All the blue tape is marking stuff I did not want the rhino liner guy to spray.
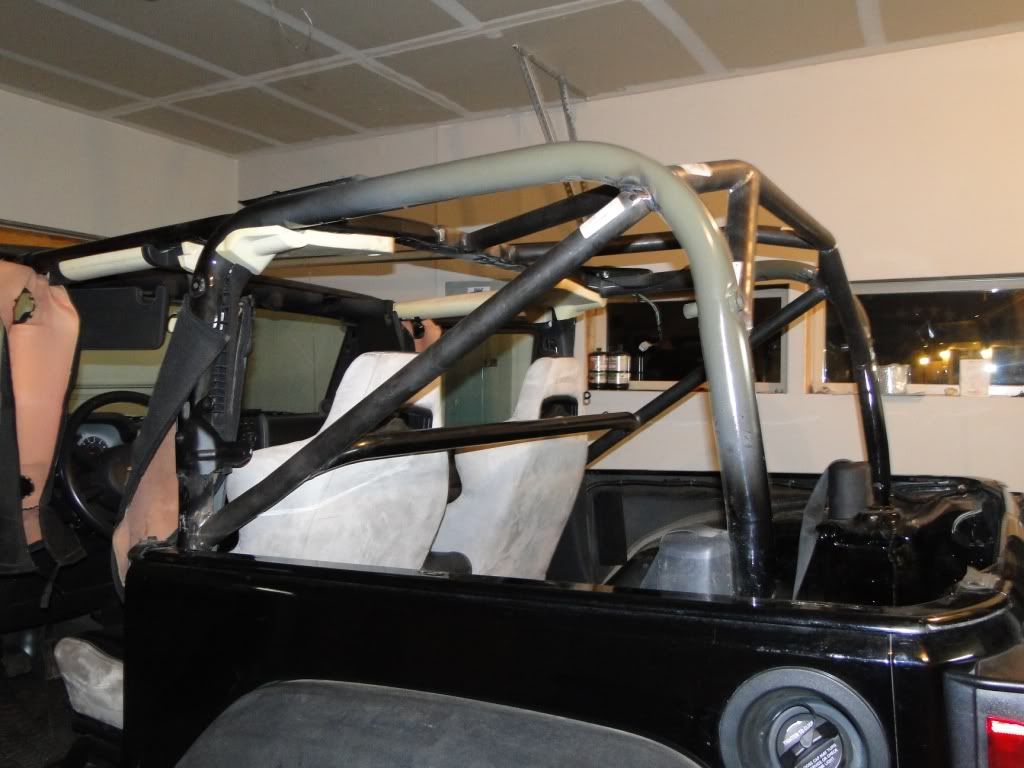
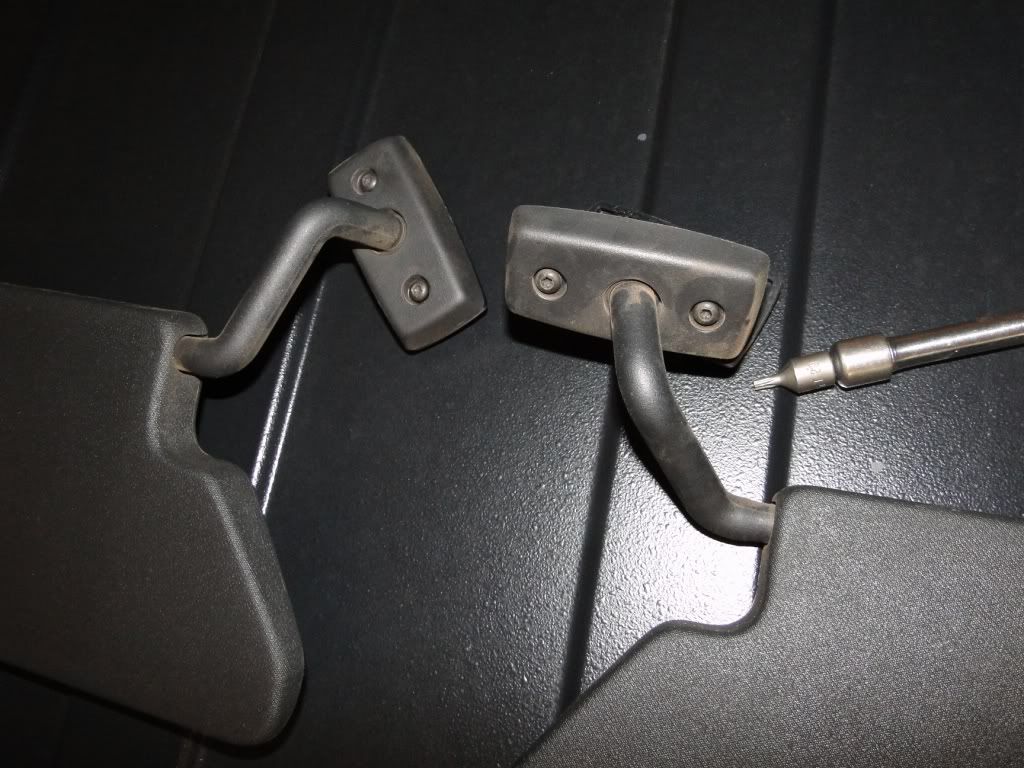
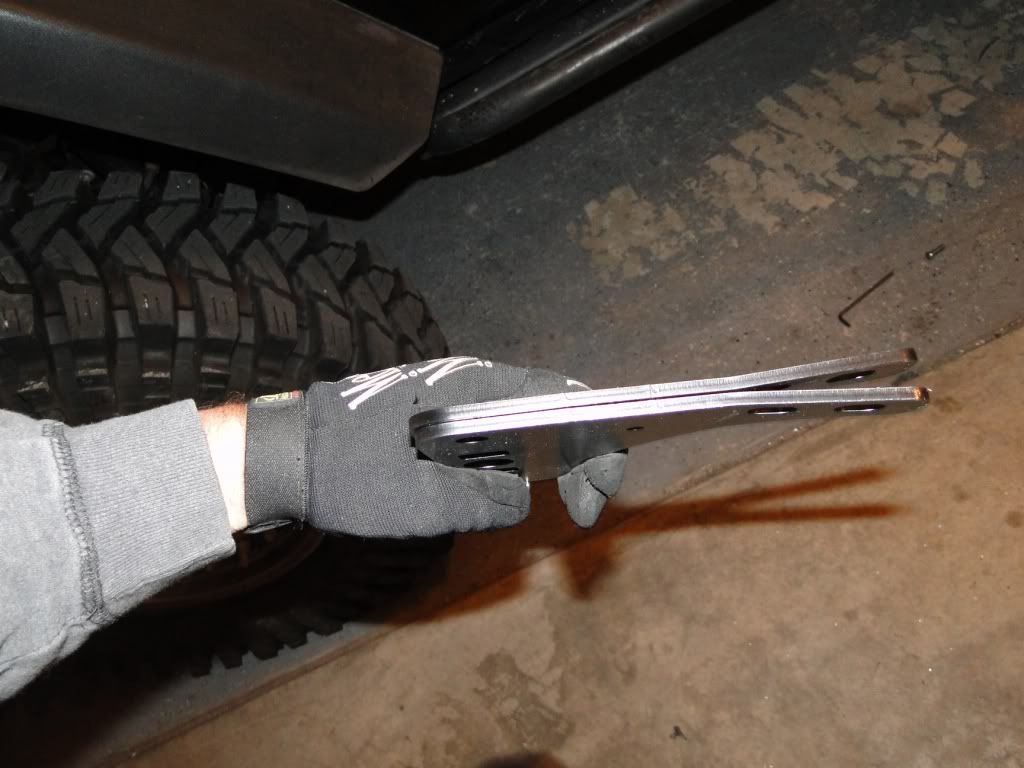
Next I had to install the windshield retainer mounts. These are not identical. I mounted them so that the slight bend was pointing down.

Finally together enough to drive to the shop for the rest of the rhino lining�..
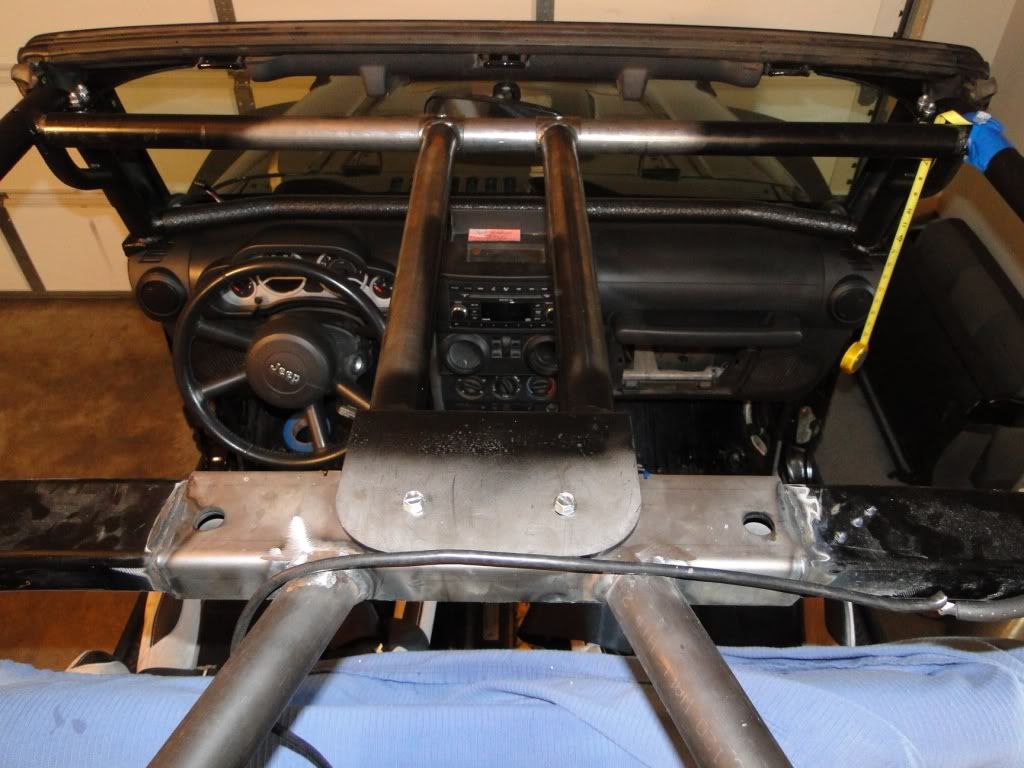
IF INSTALLING THE FLOOR MOUNT PIECES���SLIDE THEM IN PLACE BEFORE YOU PUT THE SIDES IN!!!!!! The directions say do it the other way but I could not get mine to squeeze in there with the side supports in place and had to completely remove the cage and do the floor pieces first.
Once everything was basically in place I used several ratchet straps and a tape measure to line the cage up according to the instructions.
All the blue tape is marking stuff I did not want the rhino liner guy to spray.
Next I had to install the windshield retainer mounts. These are not identical. I mounted them so that the slight bend was pointing down.
Finally together enough to drive to the shop for the rest of the rhino lining�..
02-10-2010, 06:59 PM
#5
JK Freak
Thread Starter
Now back and ready to be re-measured and tighten up all the bolts�.

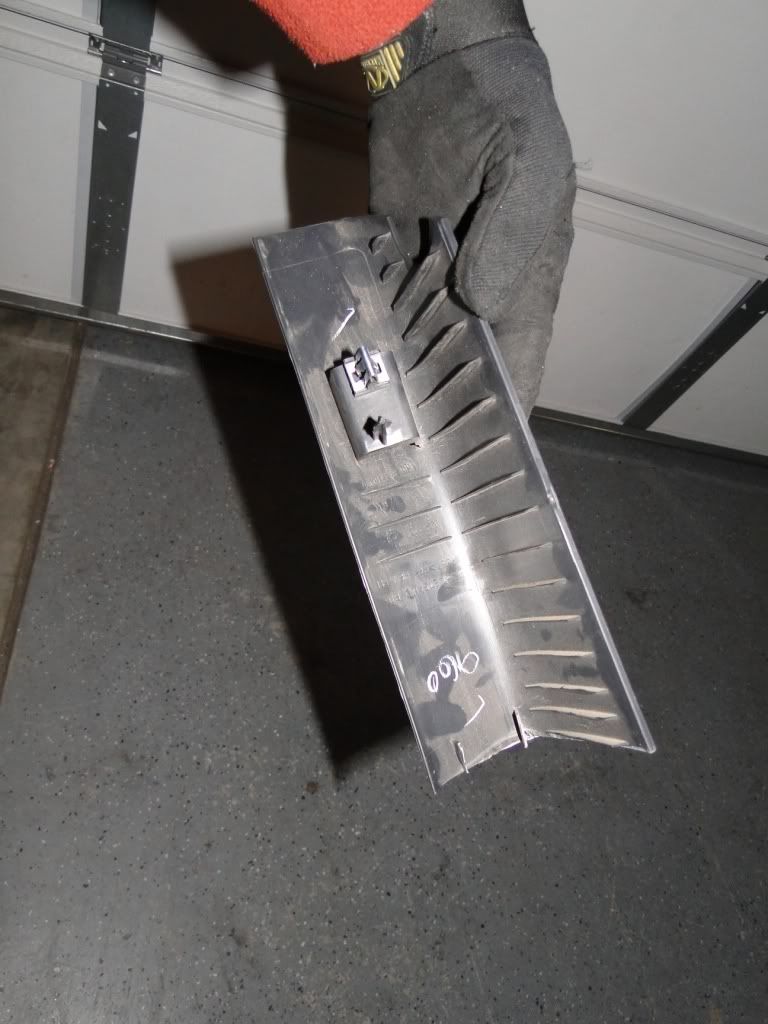
Now the long process of putting back in all the trim pieces�.. Several pieces had to be cut but the directions were not really clear on where to cut. Hopefully these pictures will help out. I used a sharpie to mark the cuts before I made them�..I had to make several small cuts and test fits.
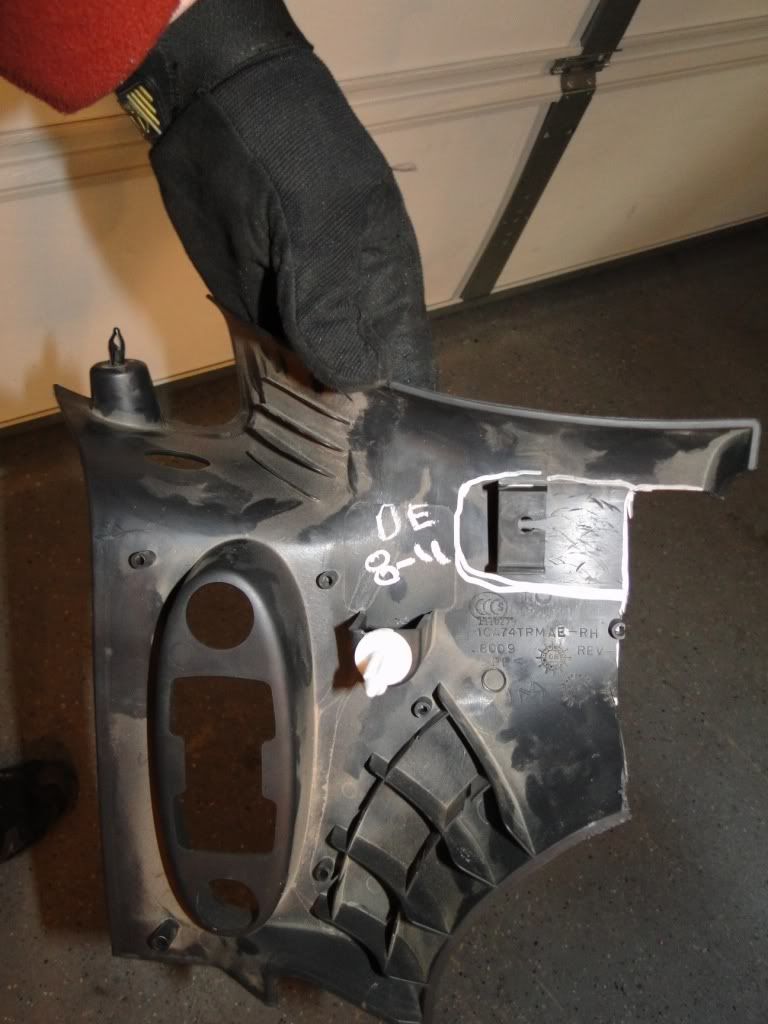
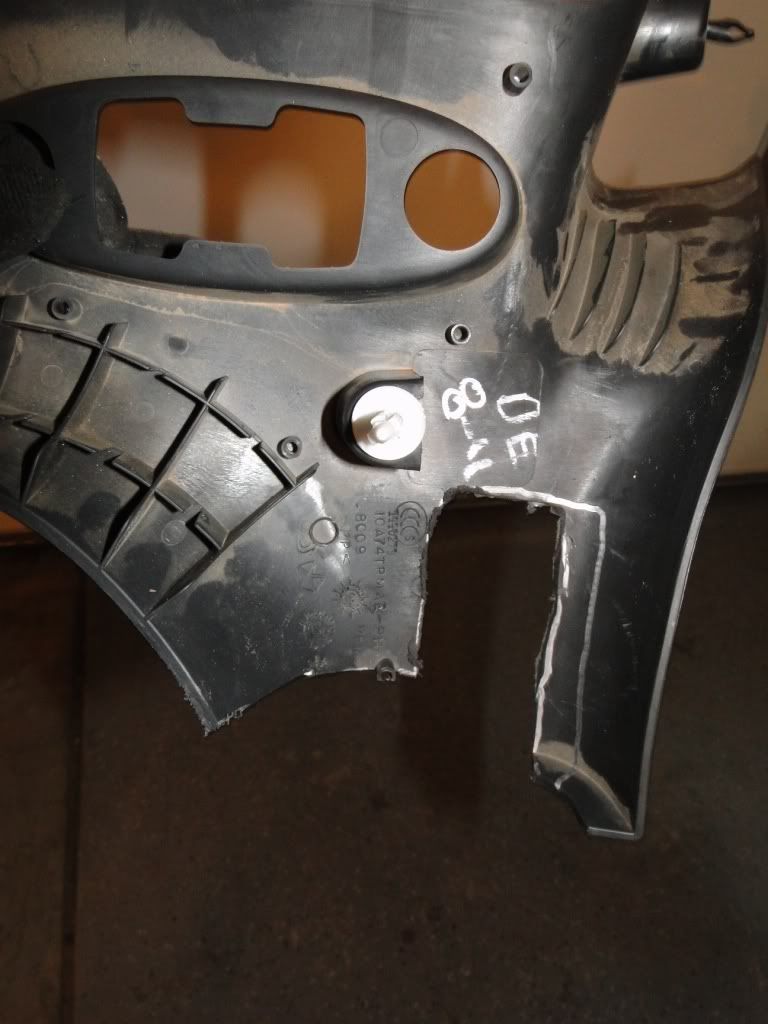
FINAL CUT��.
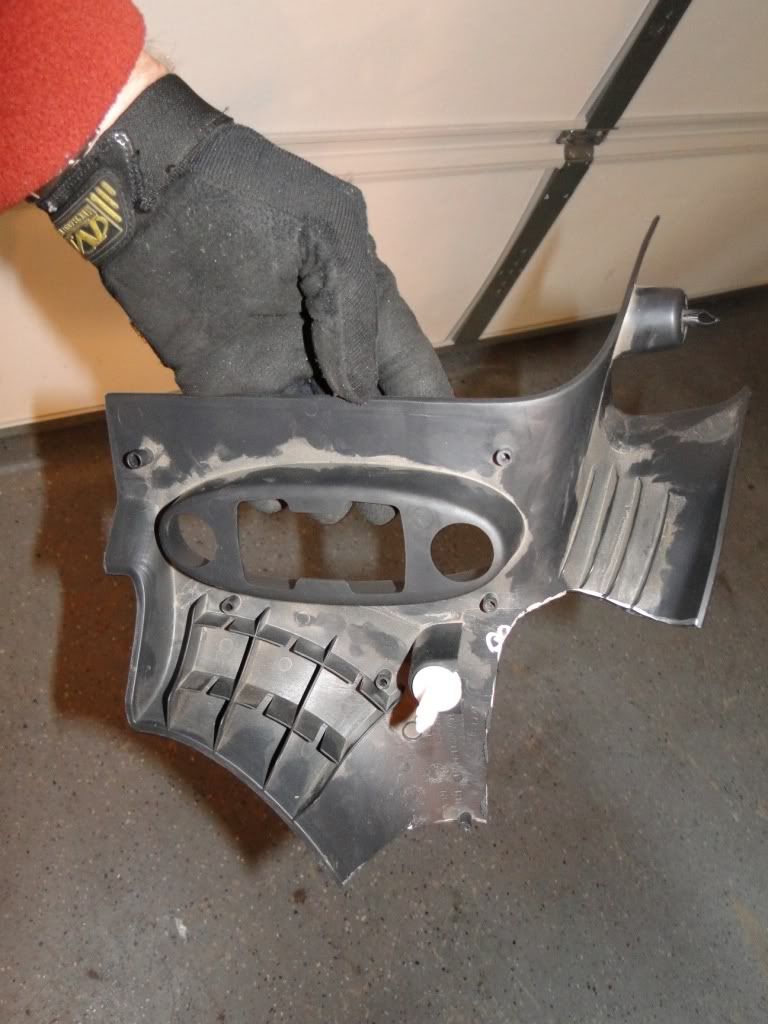
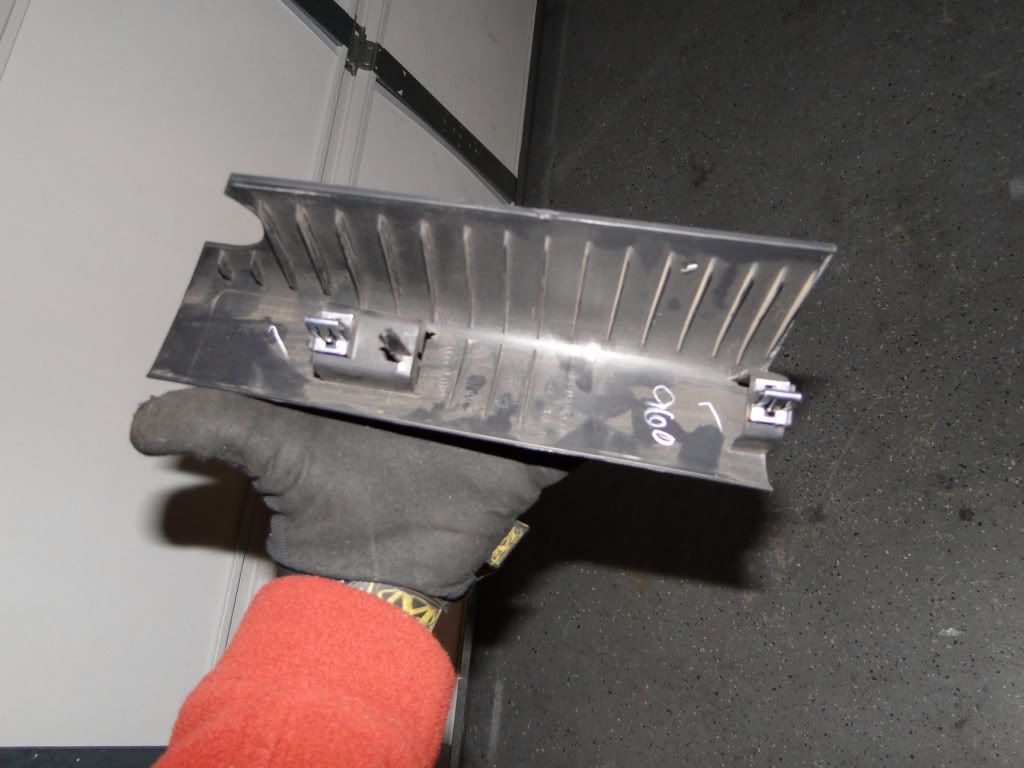
Also had to trim the side pieces. This was pretty easy; I just cut the bottoms off.
Now the long process of putting back in all the trim pieces�.. Several pieces had to be cut but the directions were not really clear on where to cut. Hopefully these pictures will help out. I used a sharpie to mark the cuts before I made them�..I had to make several small cuts and test fits.
FINAL CUT��.
Also had to trim the side pieces. This was pretty easy; I just cut the bottoms off.
02-10-2010, 07:00 PM
#6
JK Freak
Thread Starter
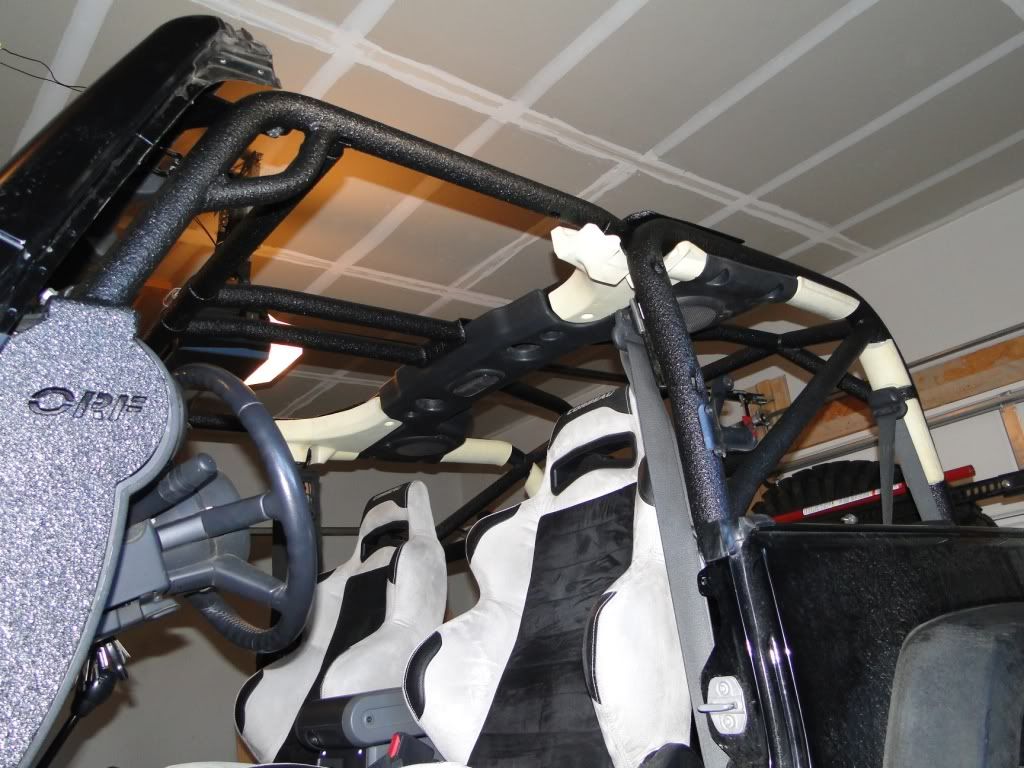
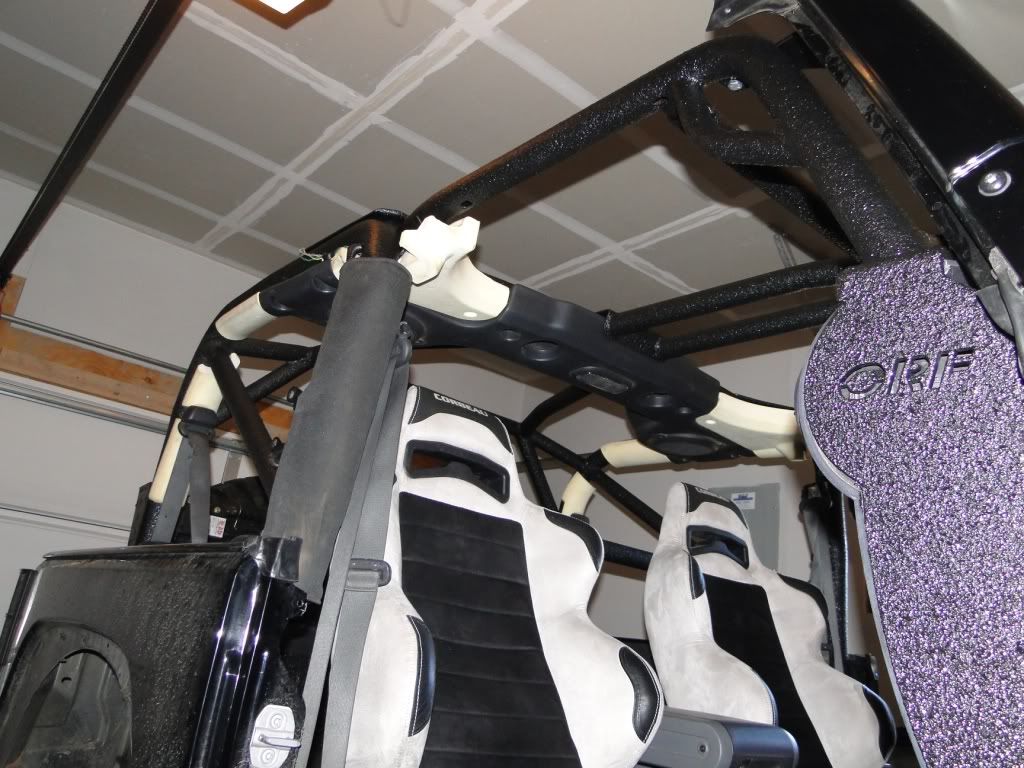
Then re-installed them.
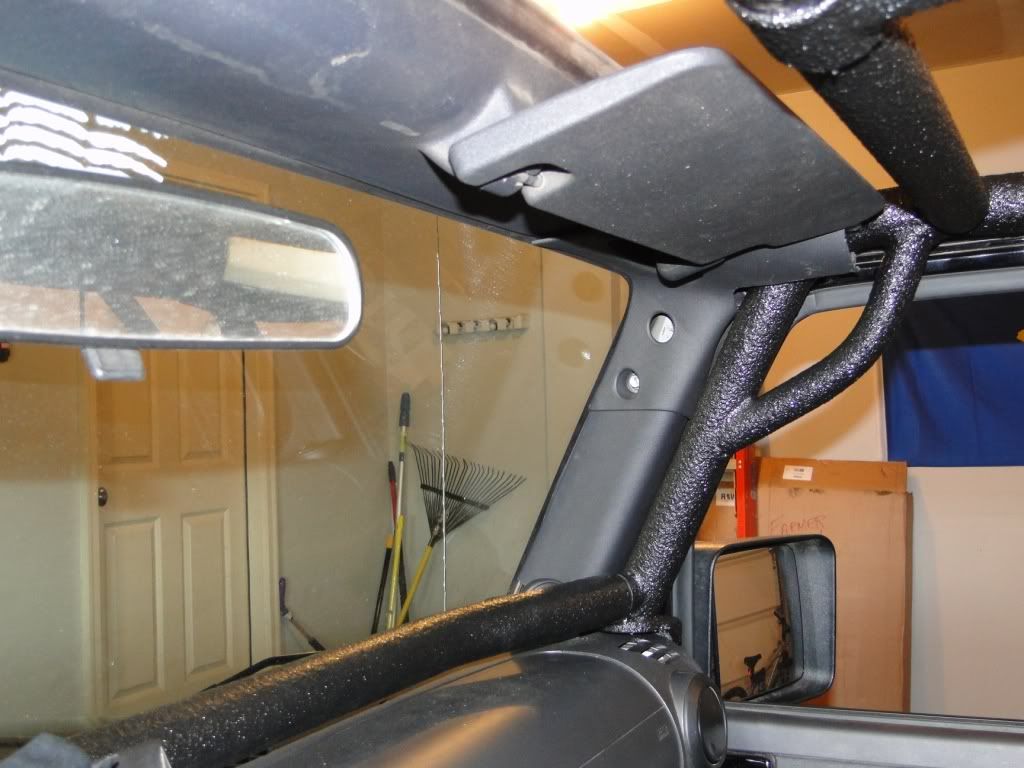
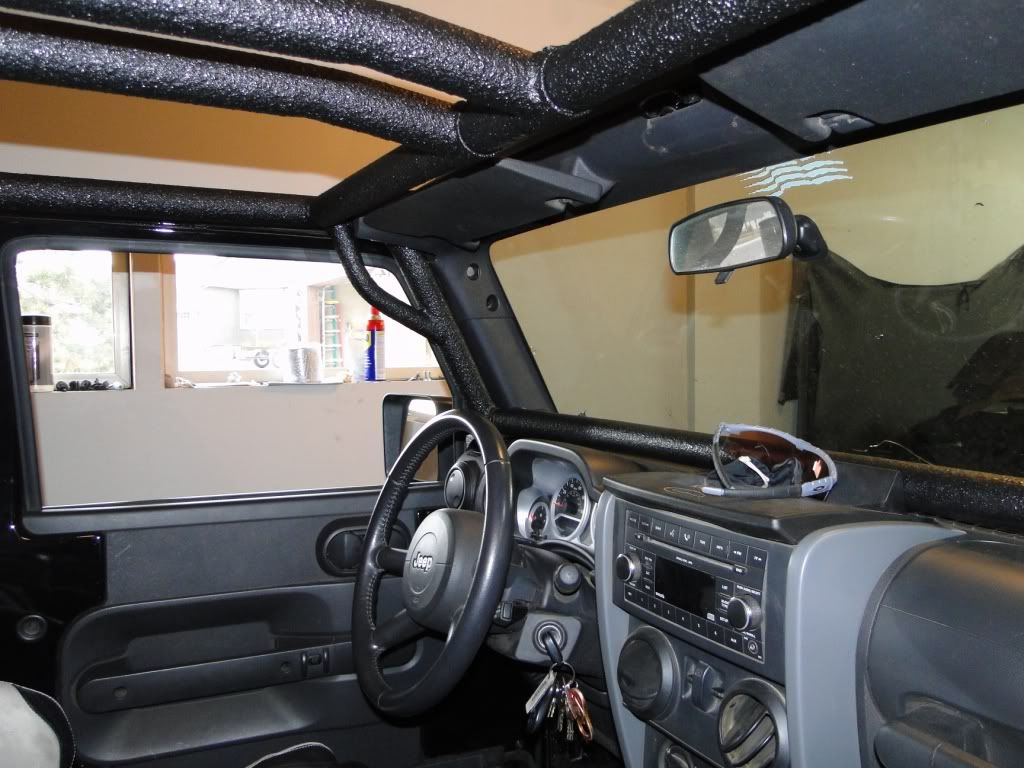
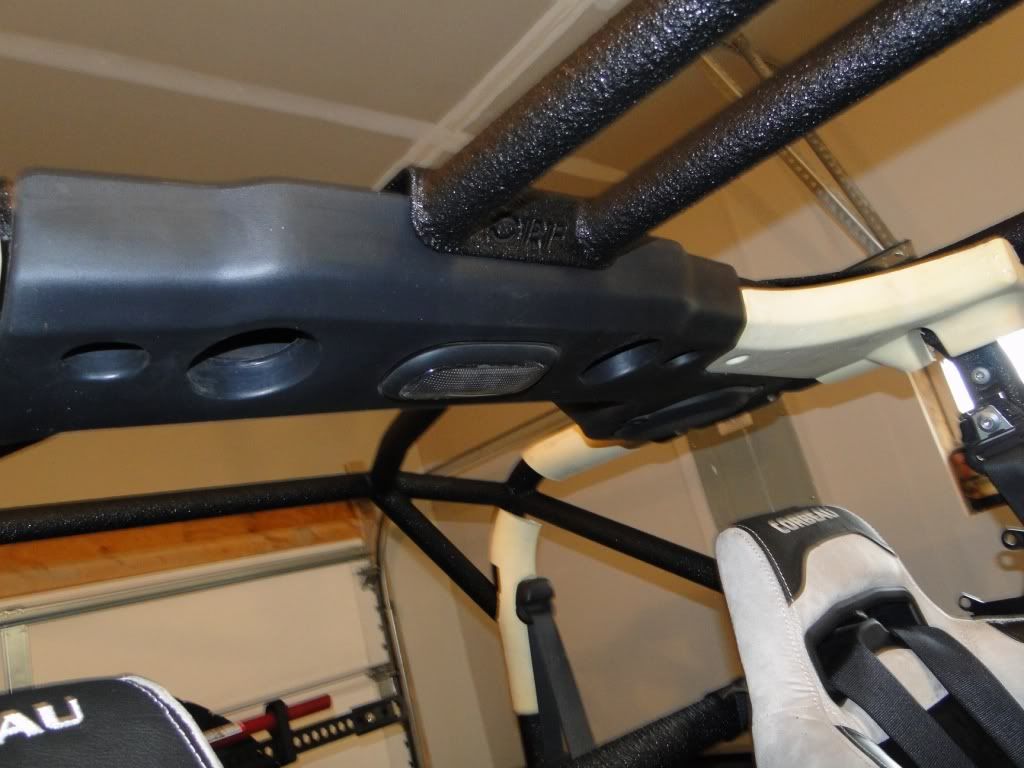
I did have to trim the back of the sound bar for the weld in cage
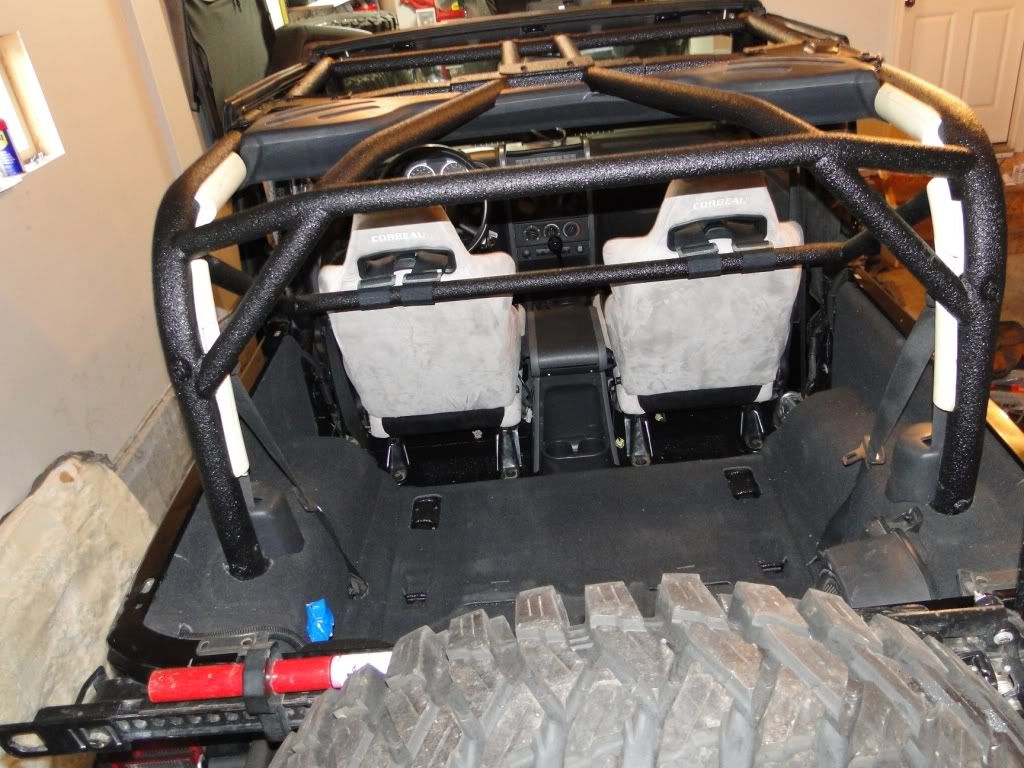
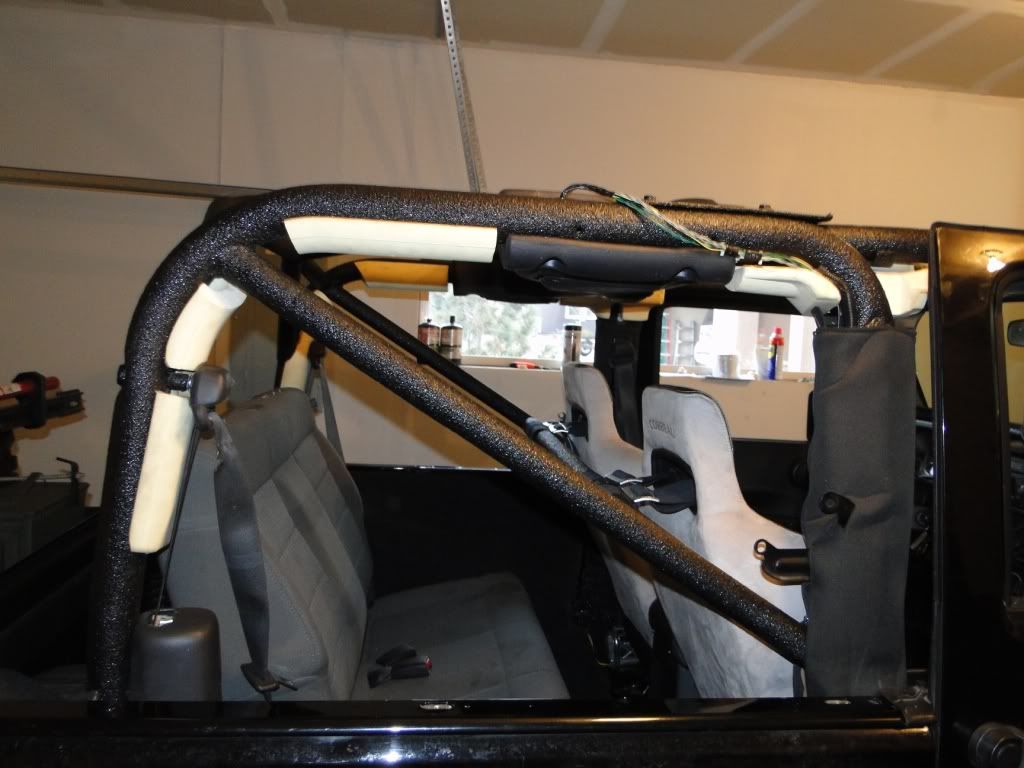
This install was easier than the tire carrier install but you will need to pay attention to the small details�.Where and how much to cut, measure, measure, and re-measure. I am really pleased with the cage and hope the pictures help you with your install!!!
I did have to trim the back of the sound bar for the weld in cage
This install was easier than the tire carrier install but you will need to pay attention to the small details�.Where and how much to cut, measure, measure, and re-measure. I am really pleased with the cage and hope the pictures help you with your install!!!
Trending Topics
 02-10-2010, 09:52 PM
#10
JK Freak
Thread Starter
The bedliner added ALOT more work to an already complex project but I agree, it tied it together and cleaned up the interior. Can't wait for the warm days to arrive so I can get some pics of it outside and with the interior finished.