When you click on links to various merchants on this site and make a purchase, this can result in this site earning a commission. Affiliate programs and affiliations include, but are not limited to, the eBay Partner Network.
JK TalkGeneral discussion forum regarding thoughts, opinions and rumors about the Jeep JK Wrangler or related subjects that don't quite fit in the Modified, Stock or Electronics forums.
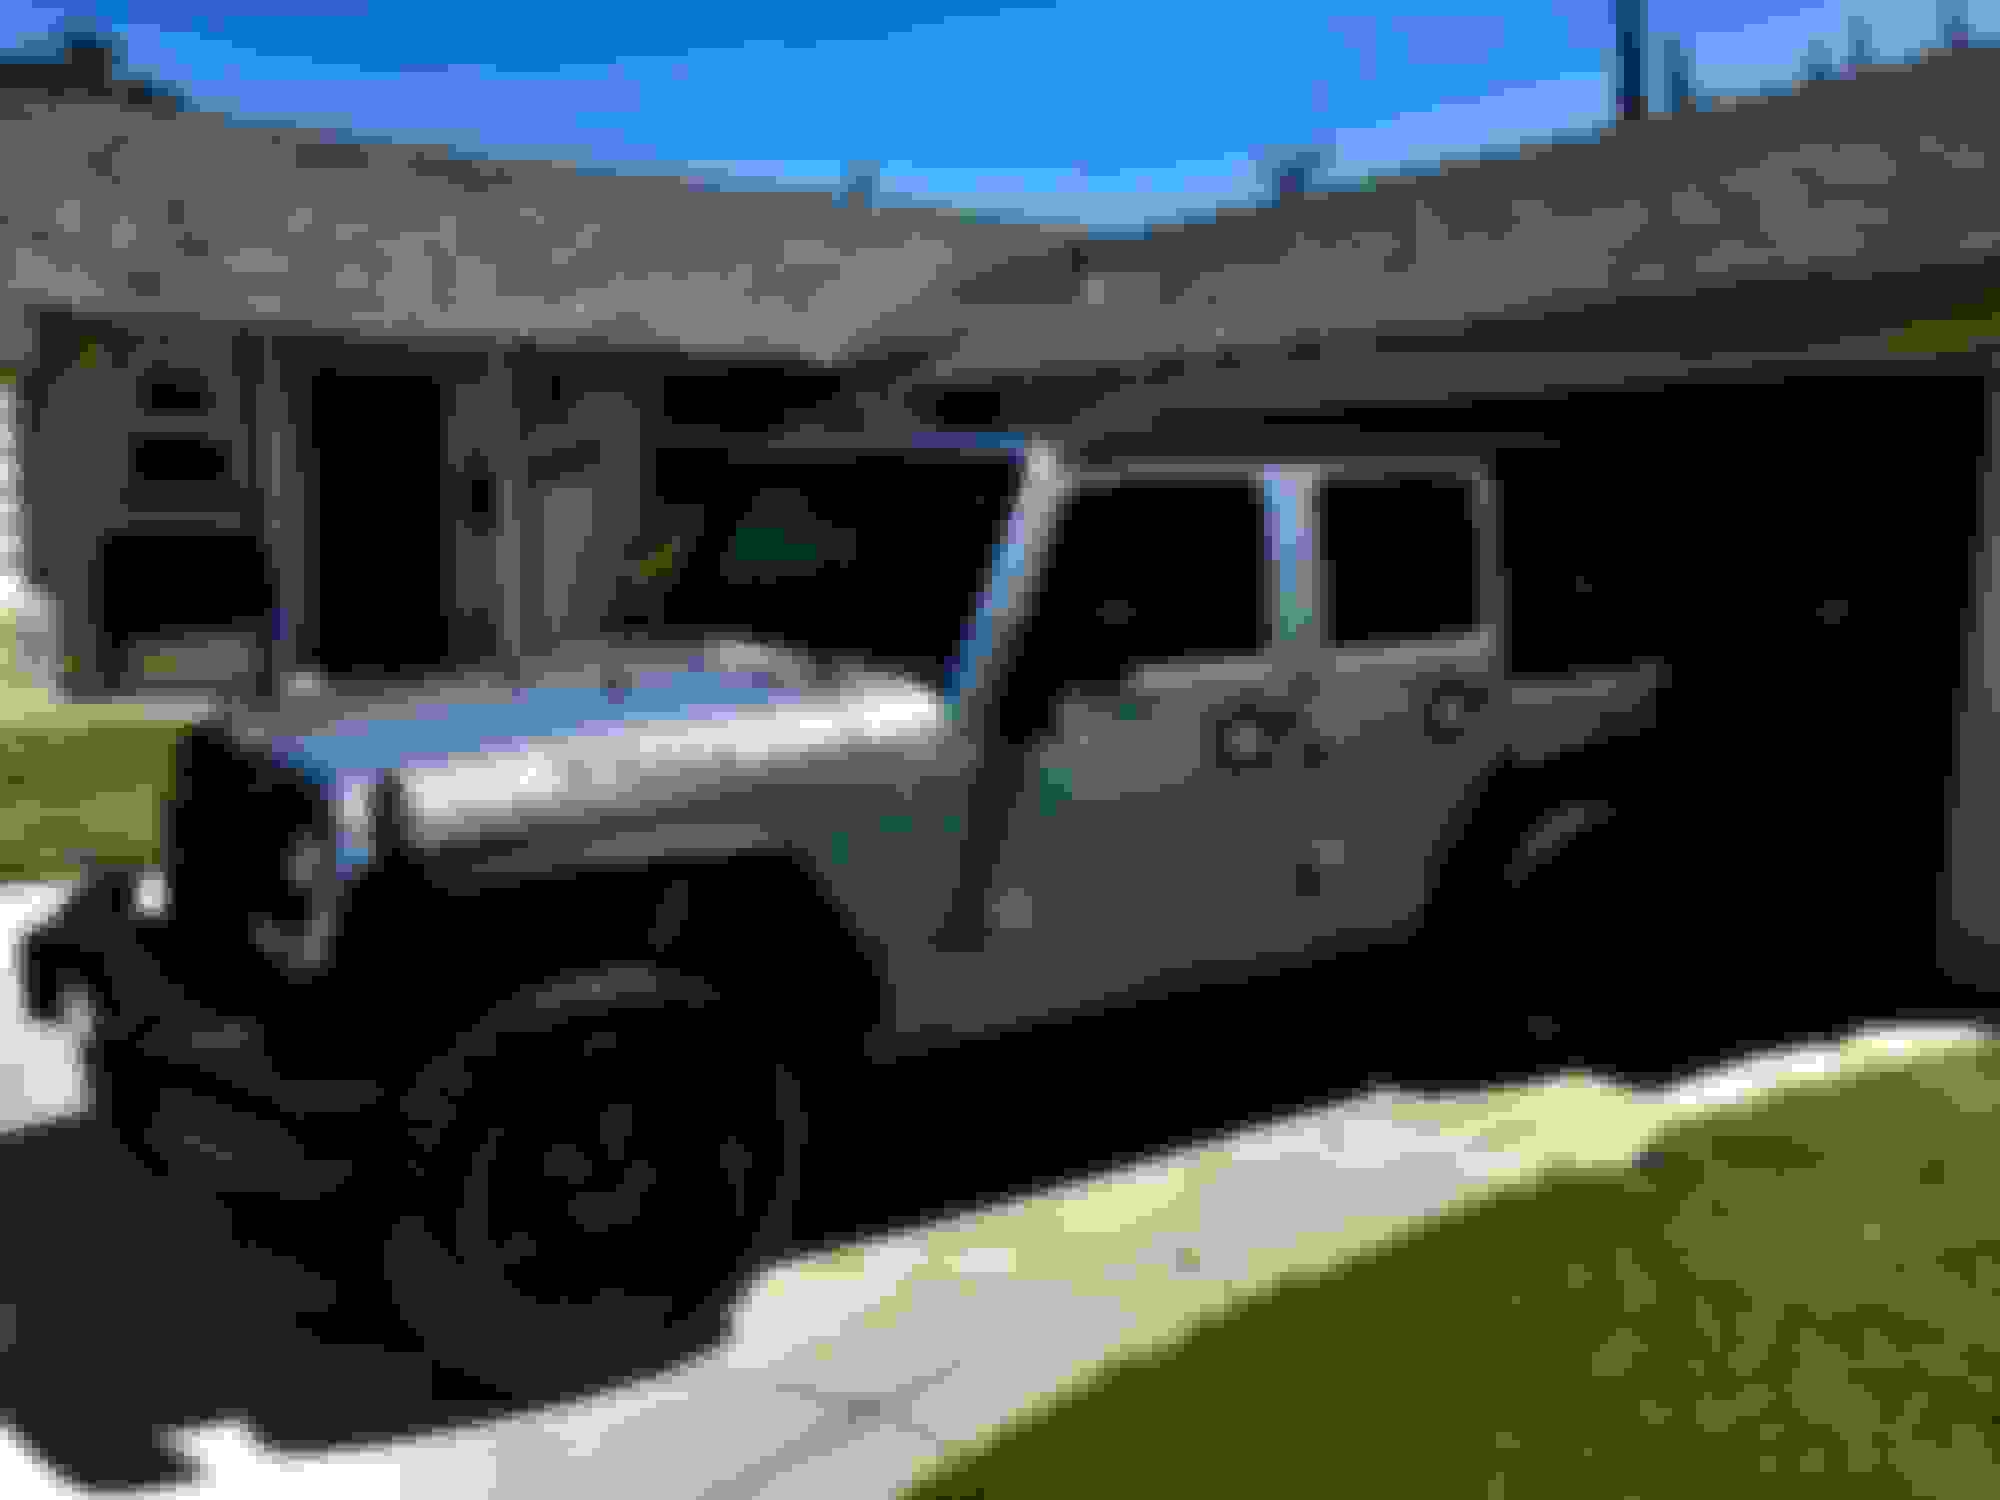
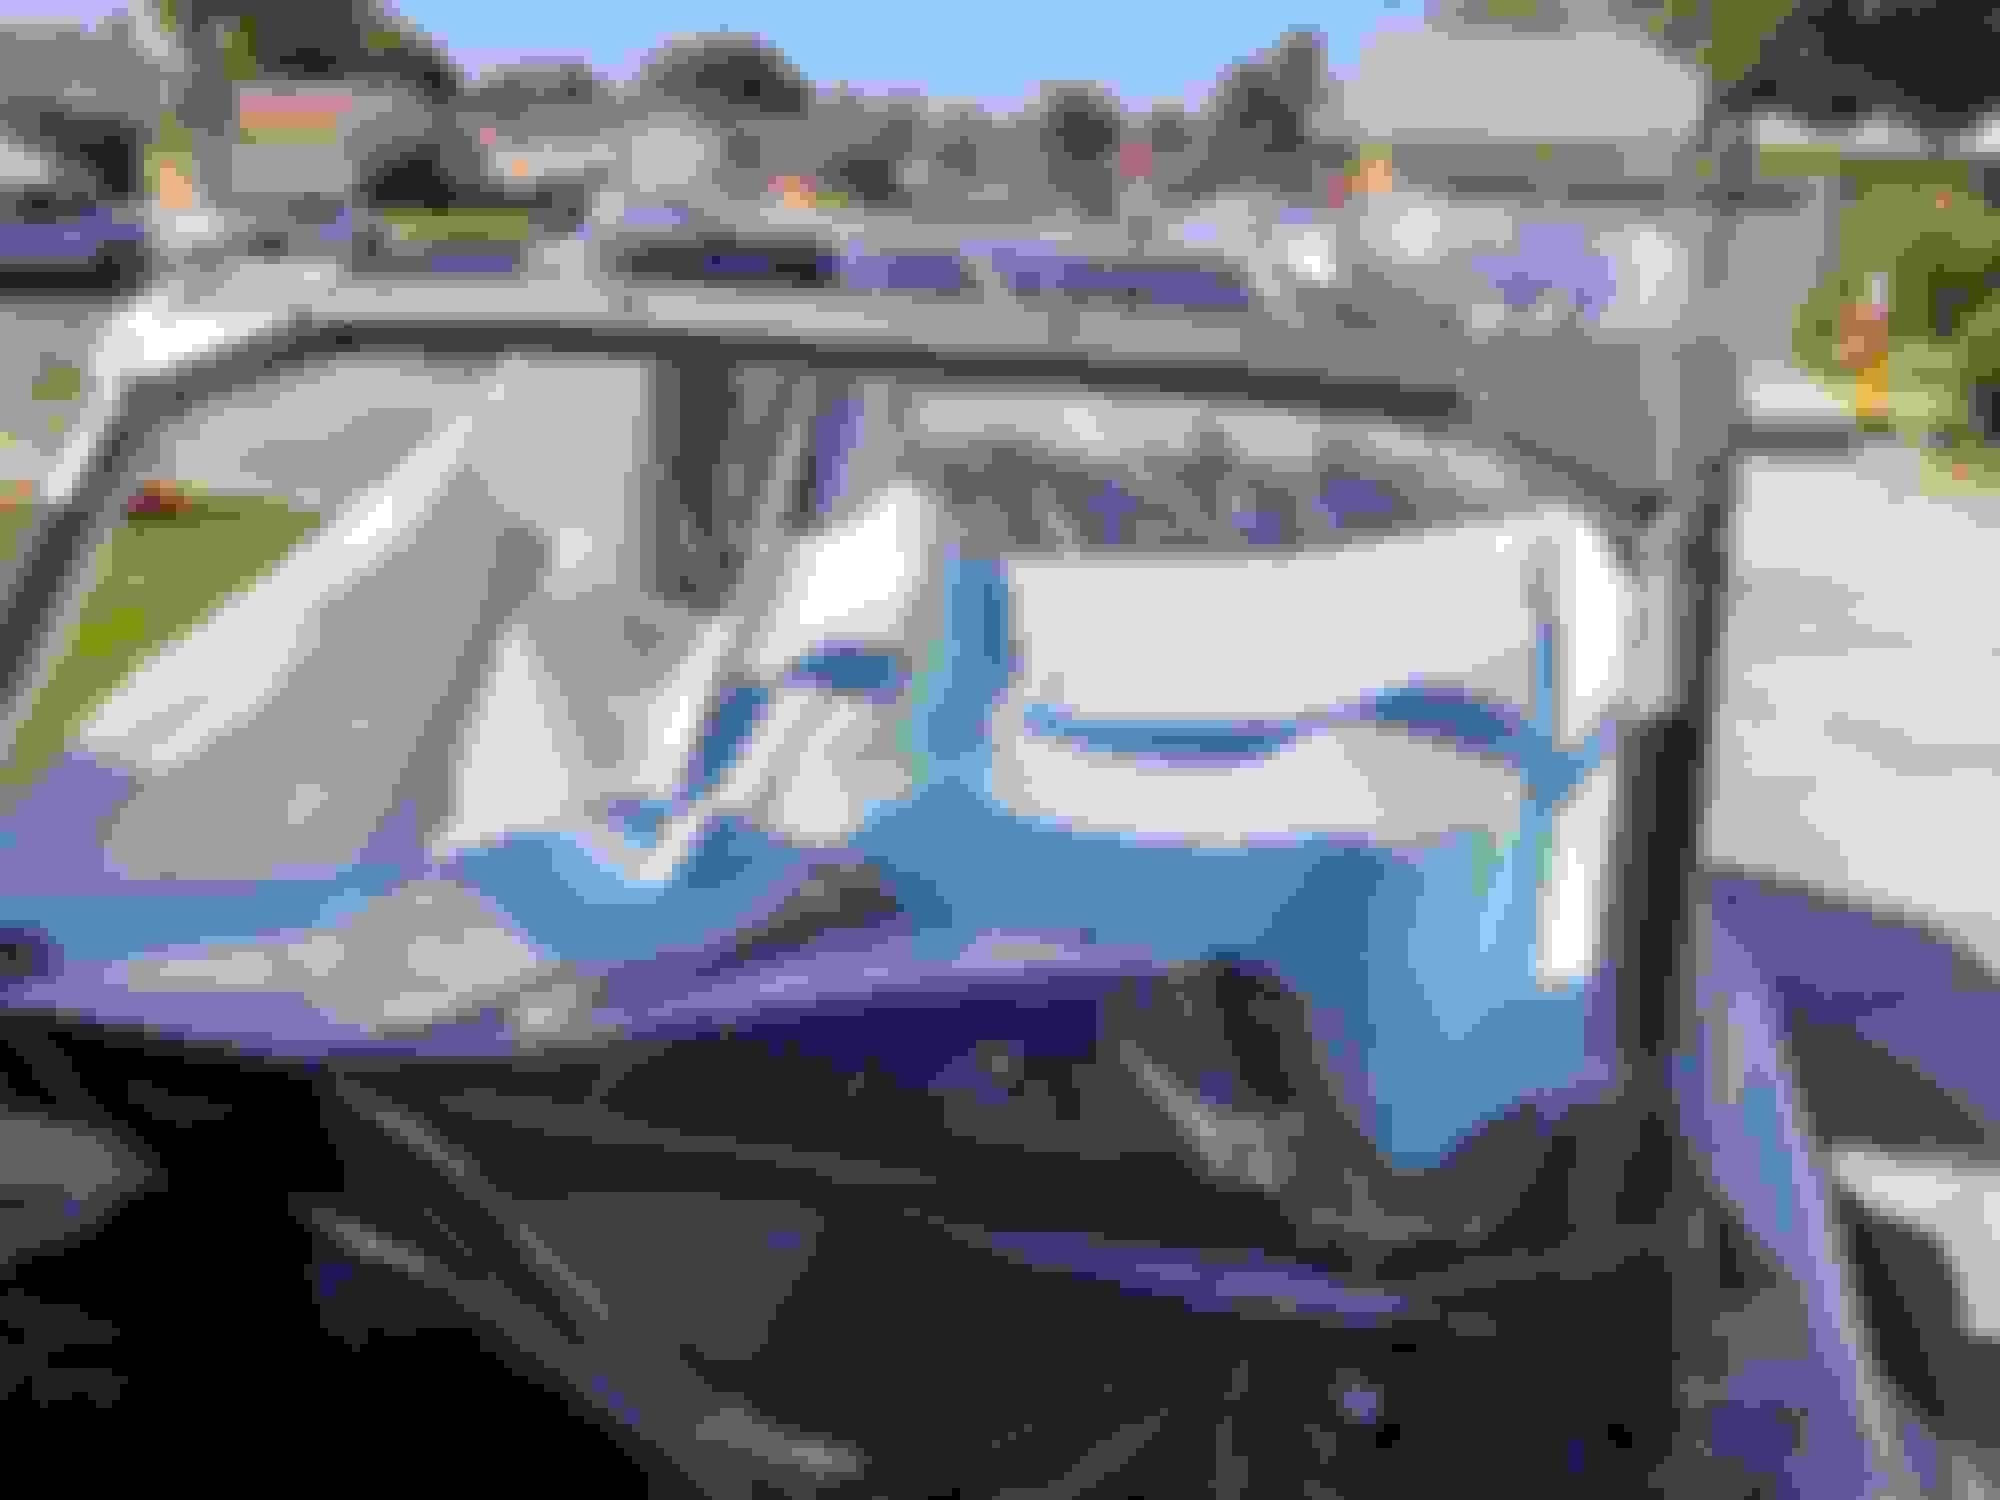
I pulled the rest of my padding off about a week ago. It all comes off easily enough, you have to undo the seat belt bolts and the sound bar but that's no big deal. I'm getting ready for a little extra roll cage and I doubt I'll ever put the padding back on. But then I like that stripped down look. I just went out and took some photos. The wiring running up is mine, I extended everything up across the roll bar a few years about to get it out of the tub. Now I'll be putting it back i guess..
Looks good that way. I have all the padding off mine as well. Like the classic bare metal look. Come to think of it, the only things plastic left in mine are the dash and center console. 👍
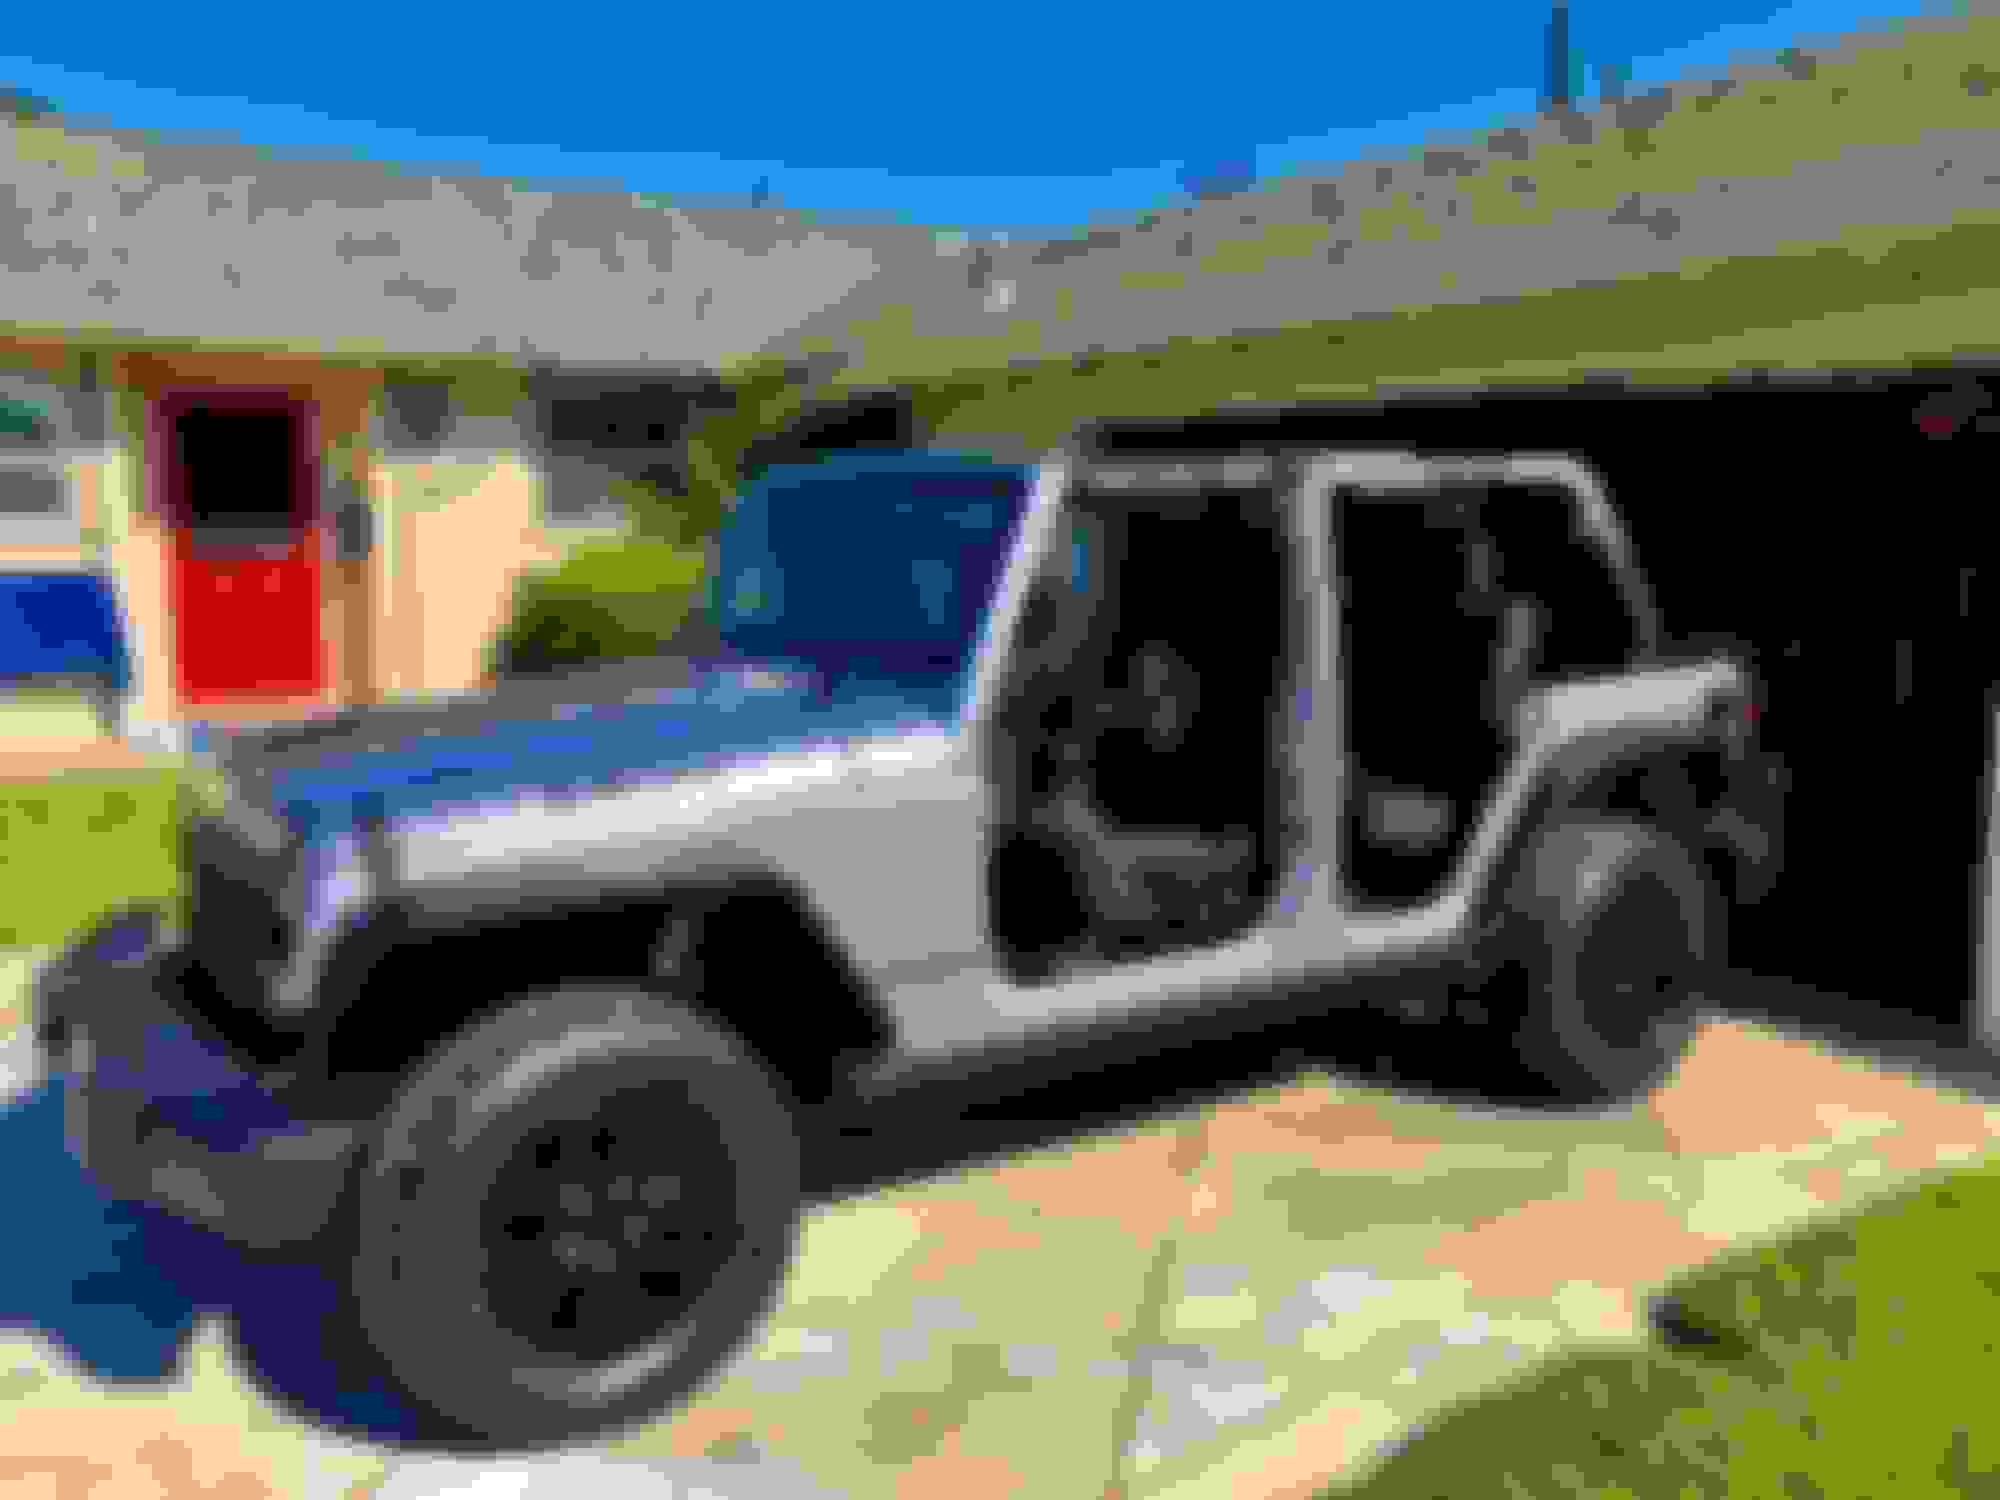
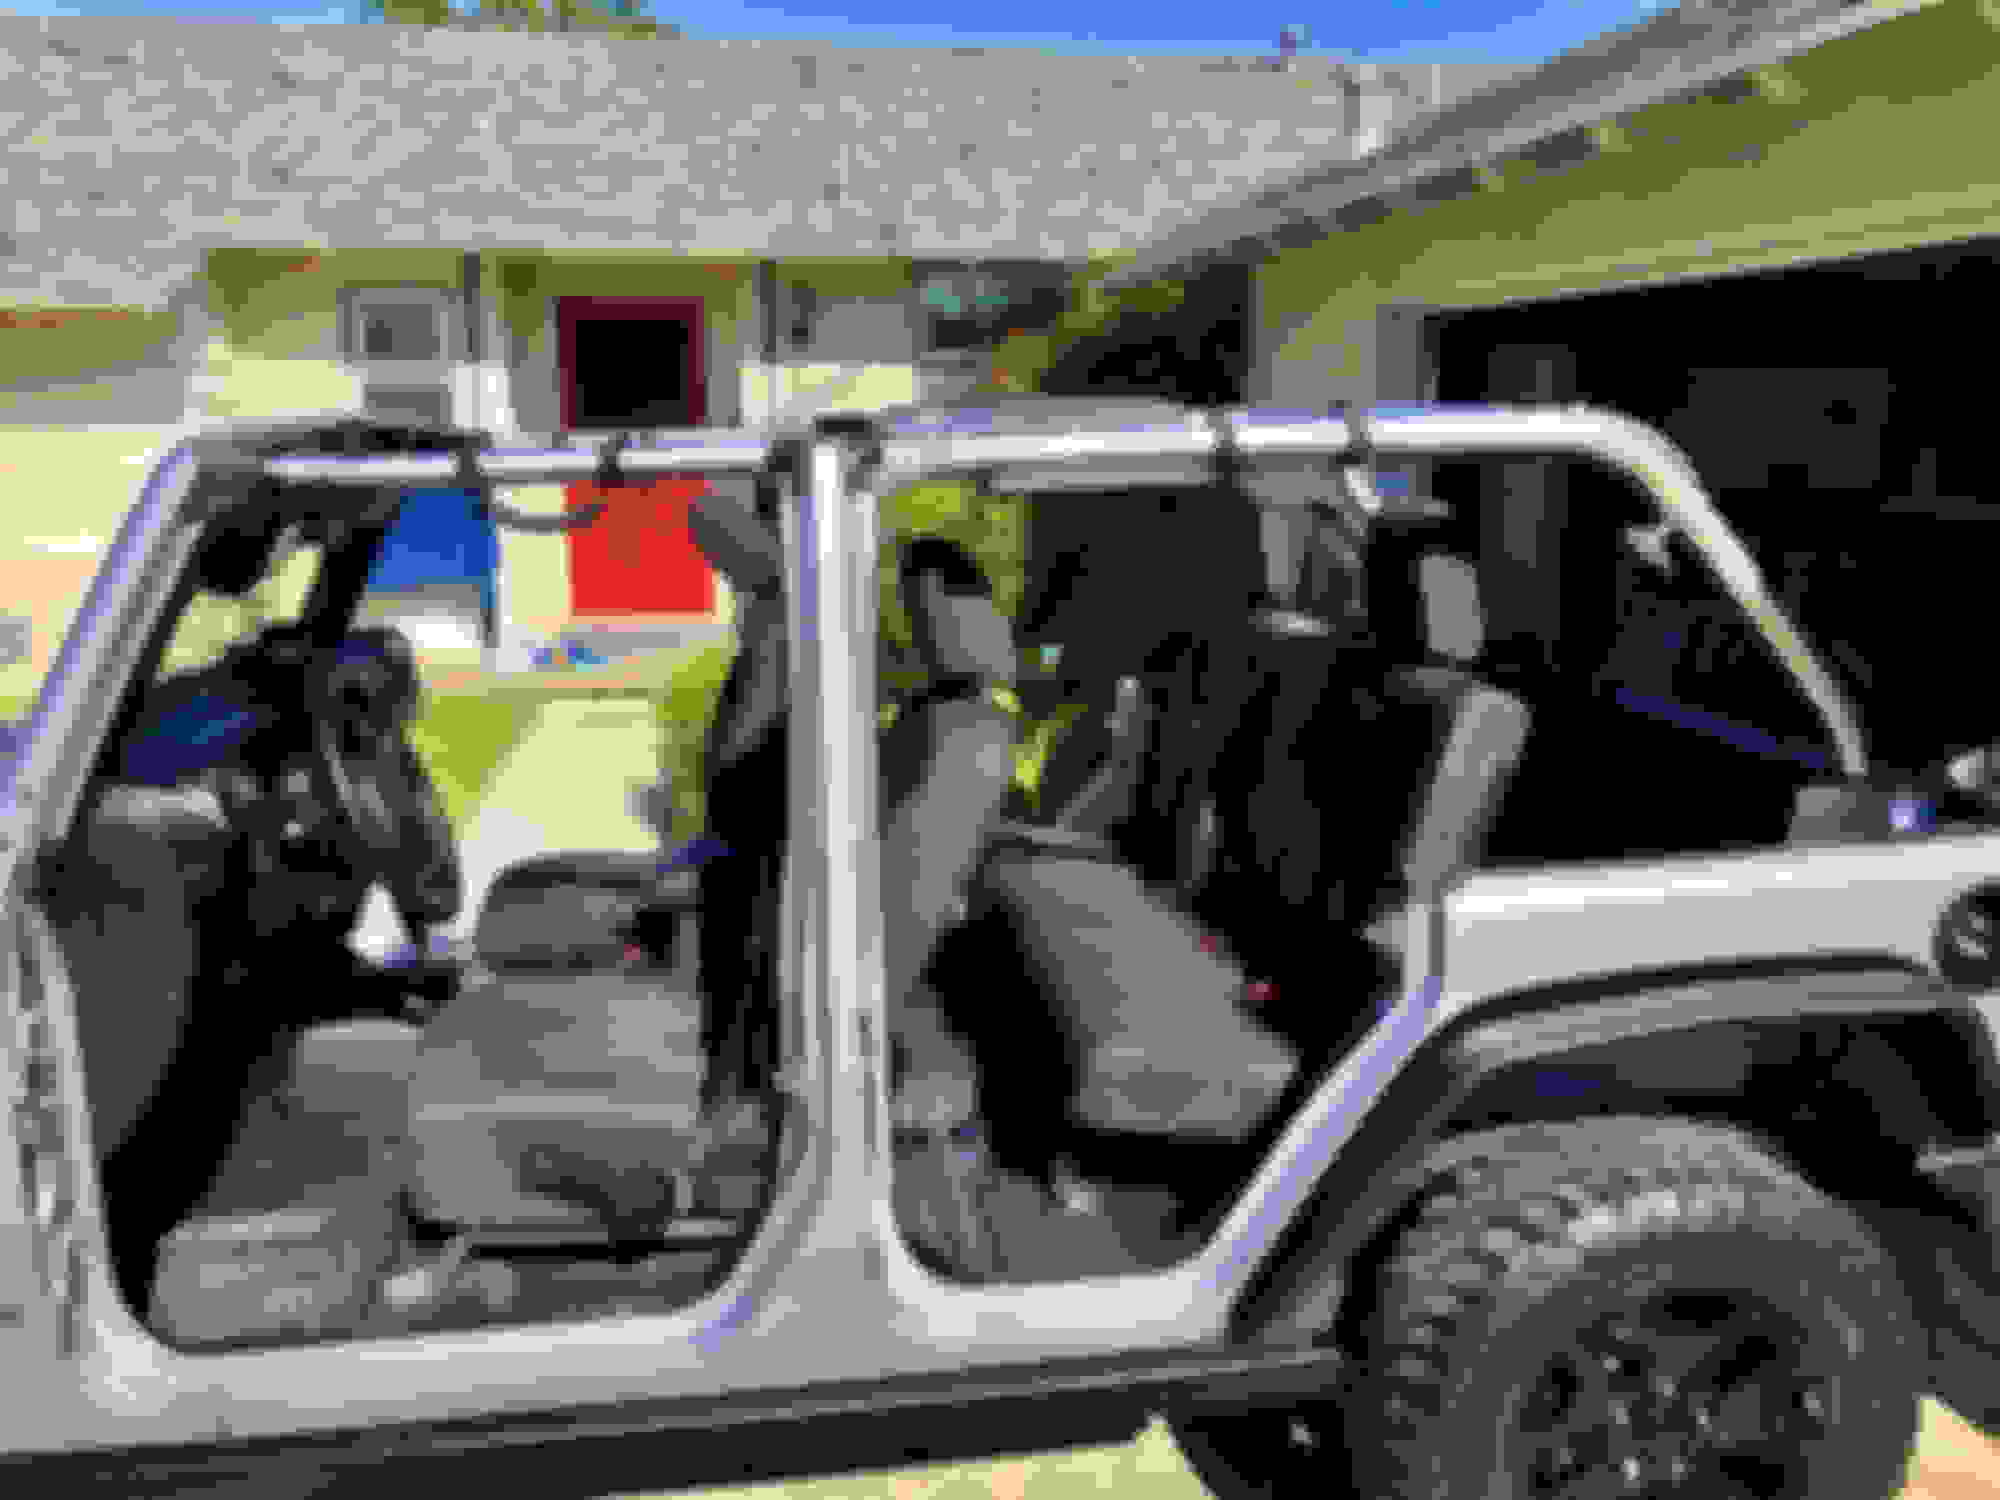
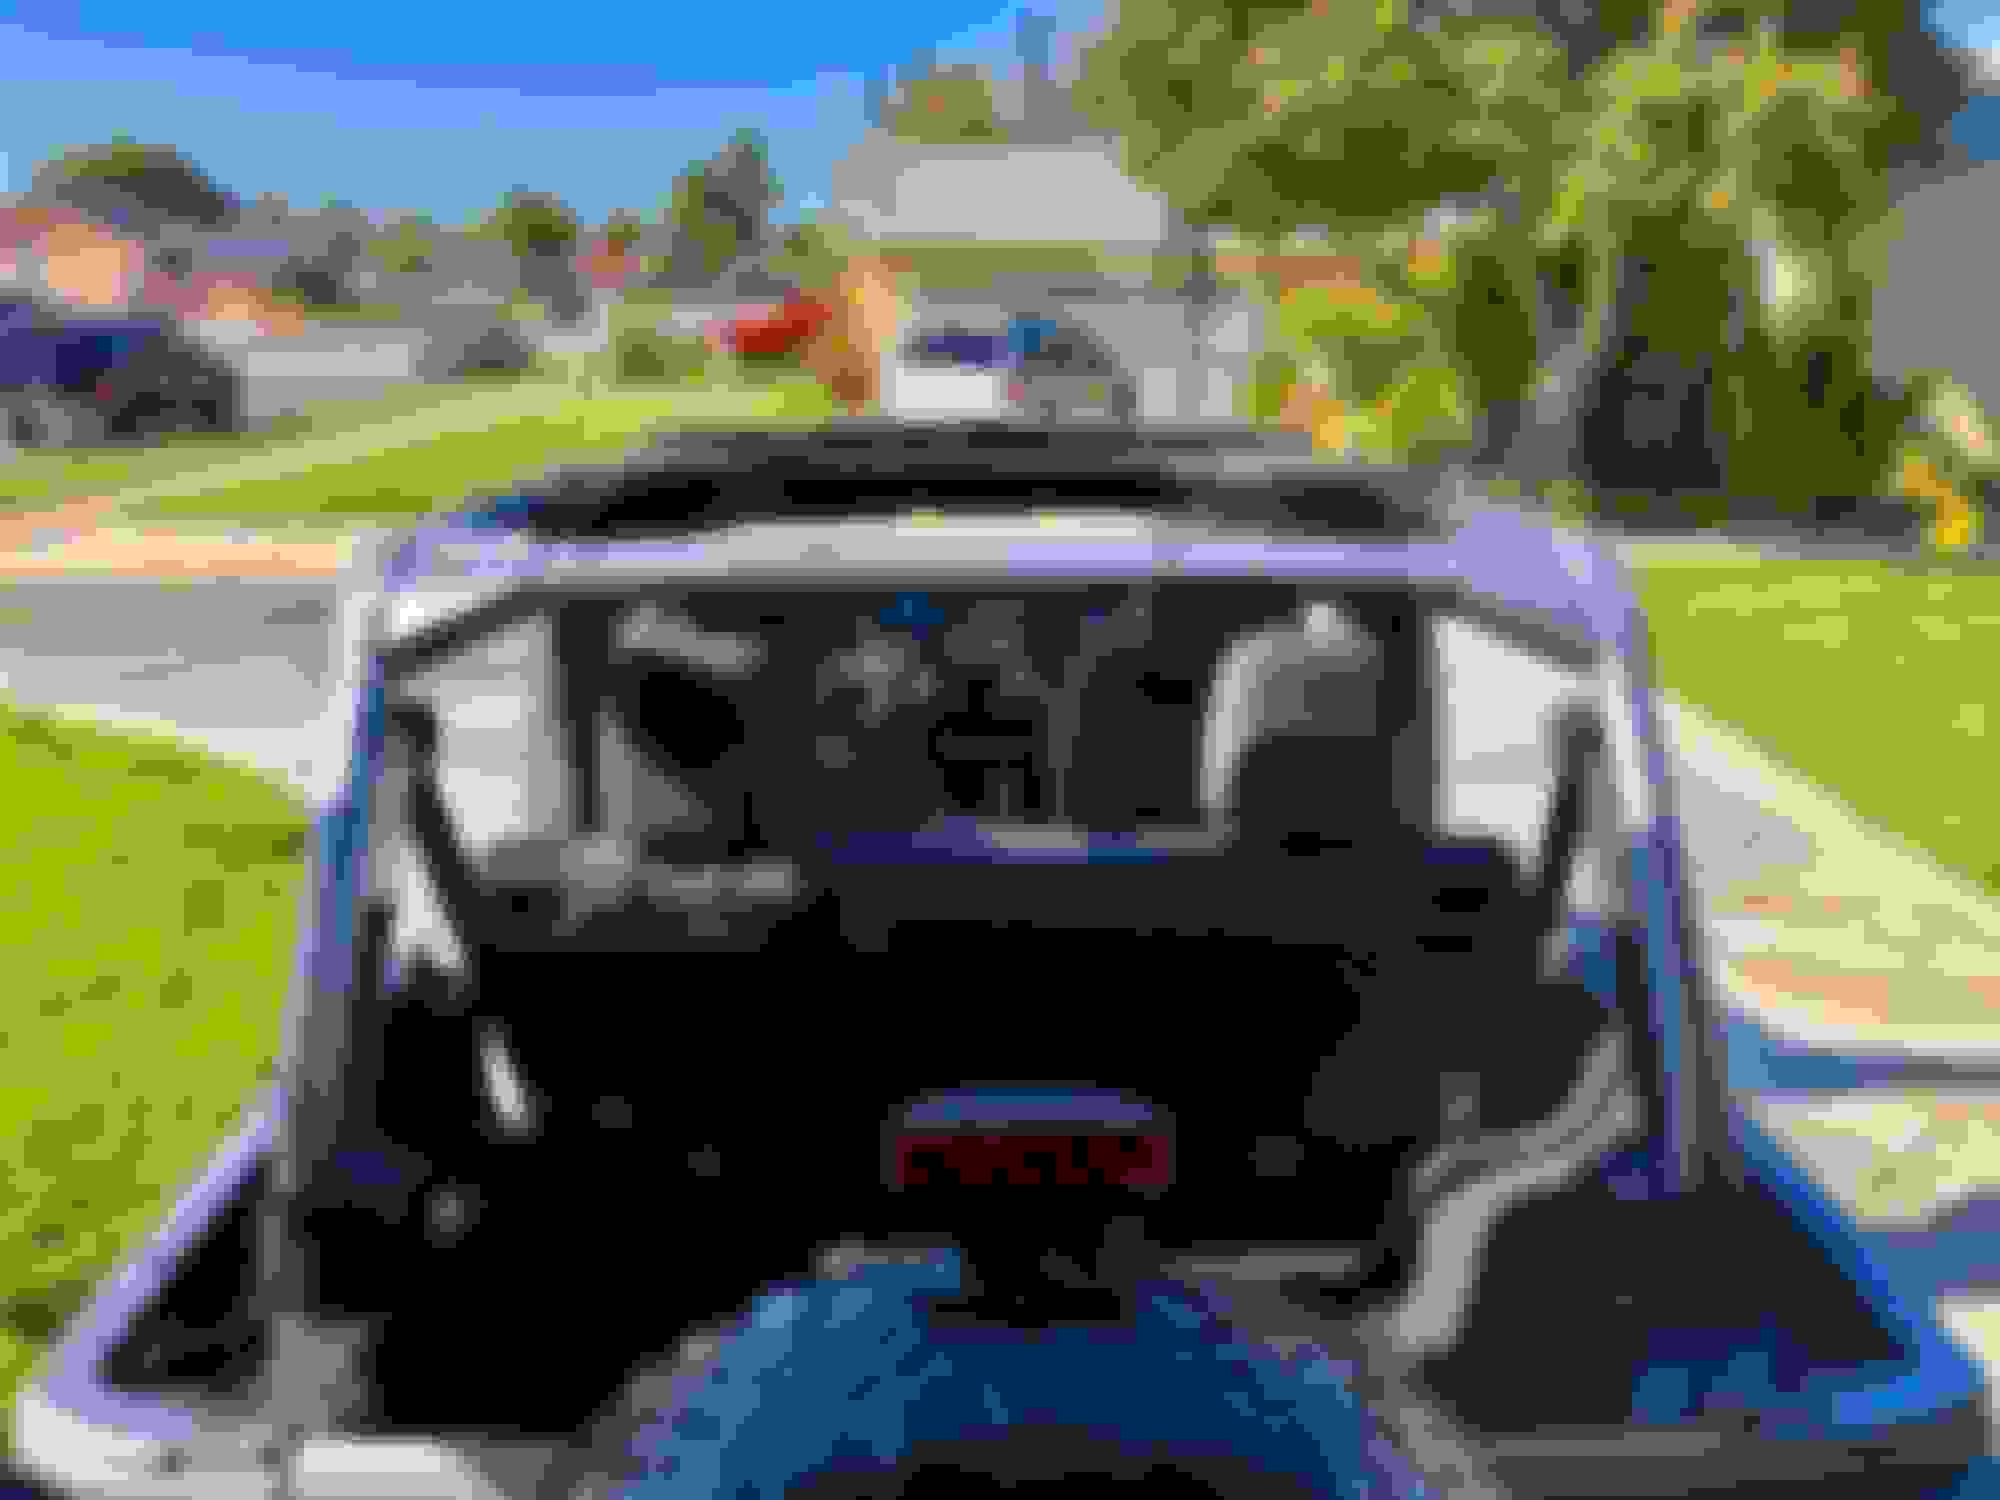
Took all of my padding and covers off today. Really happy with the results.
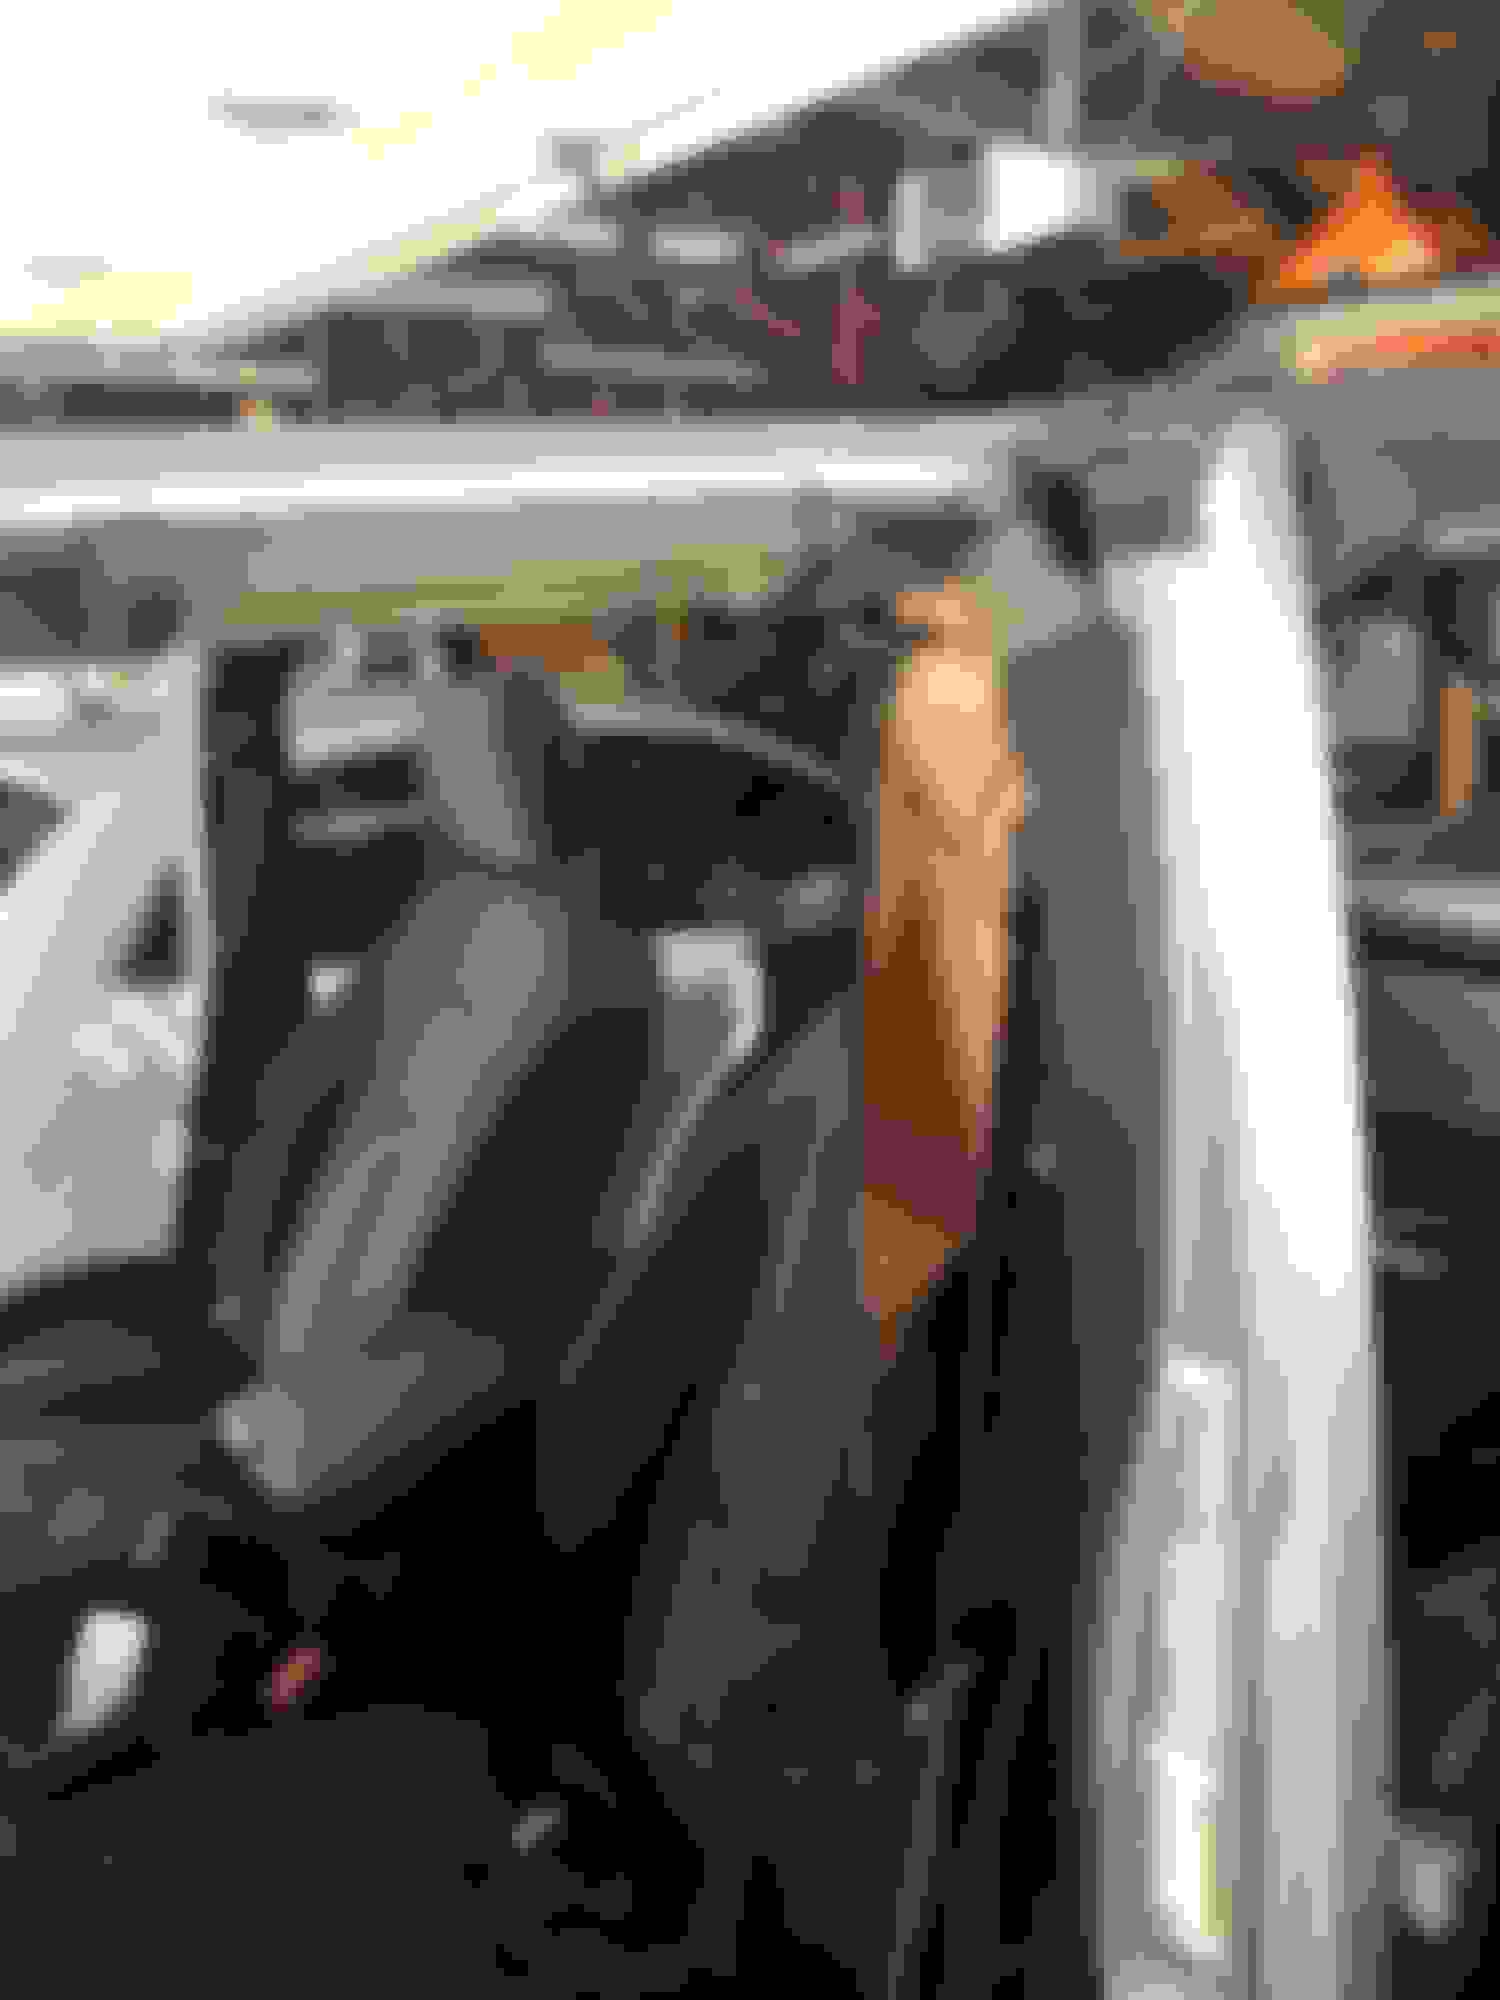
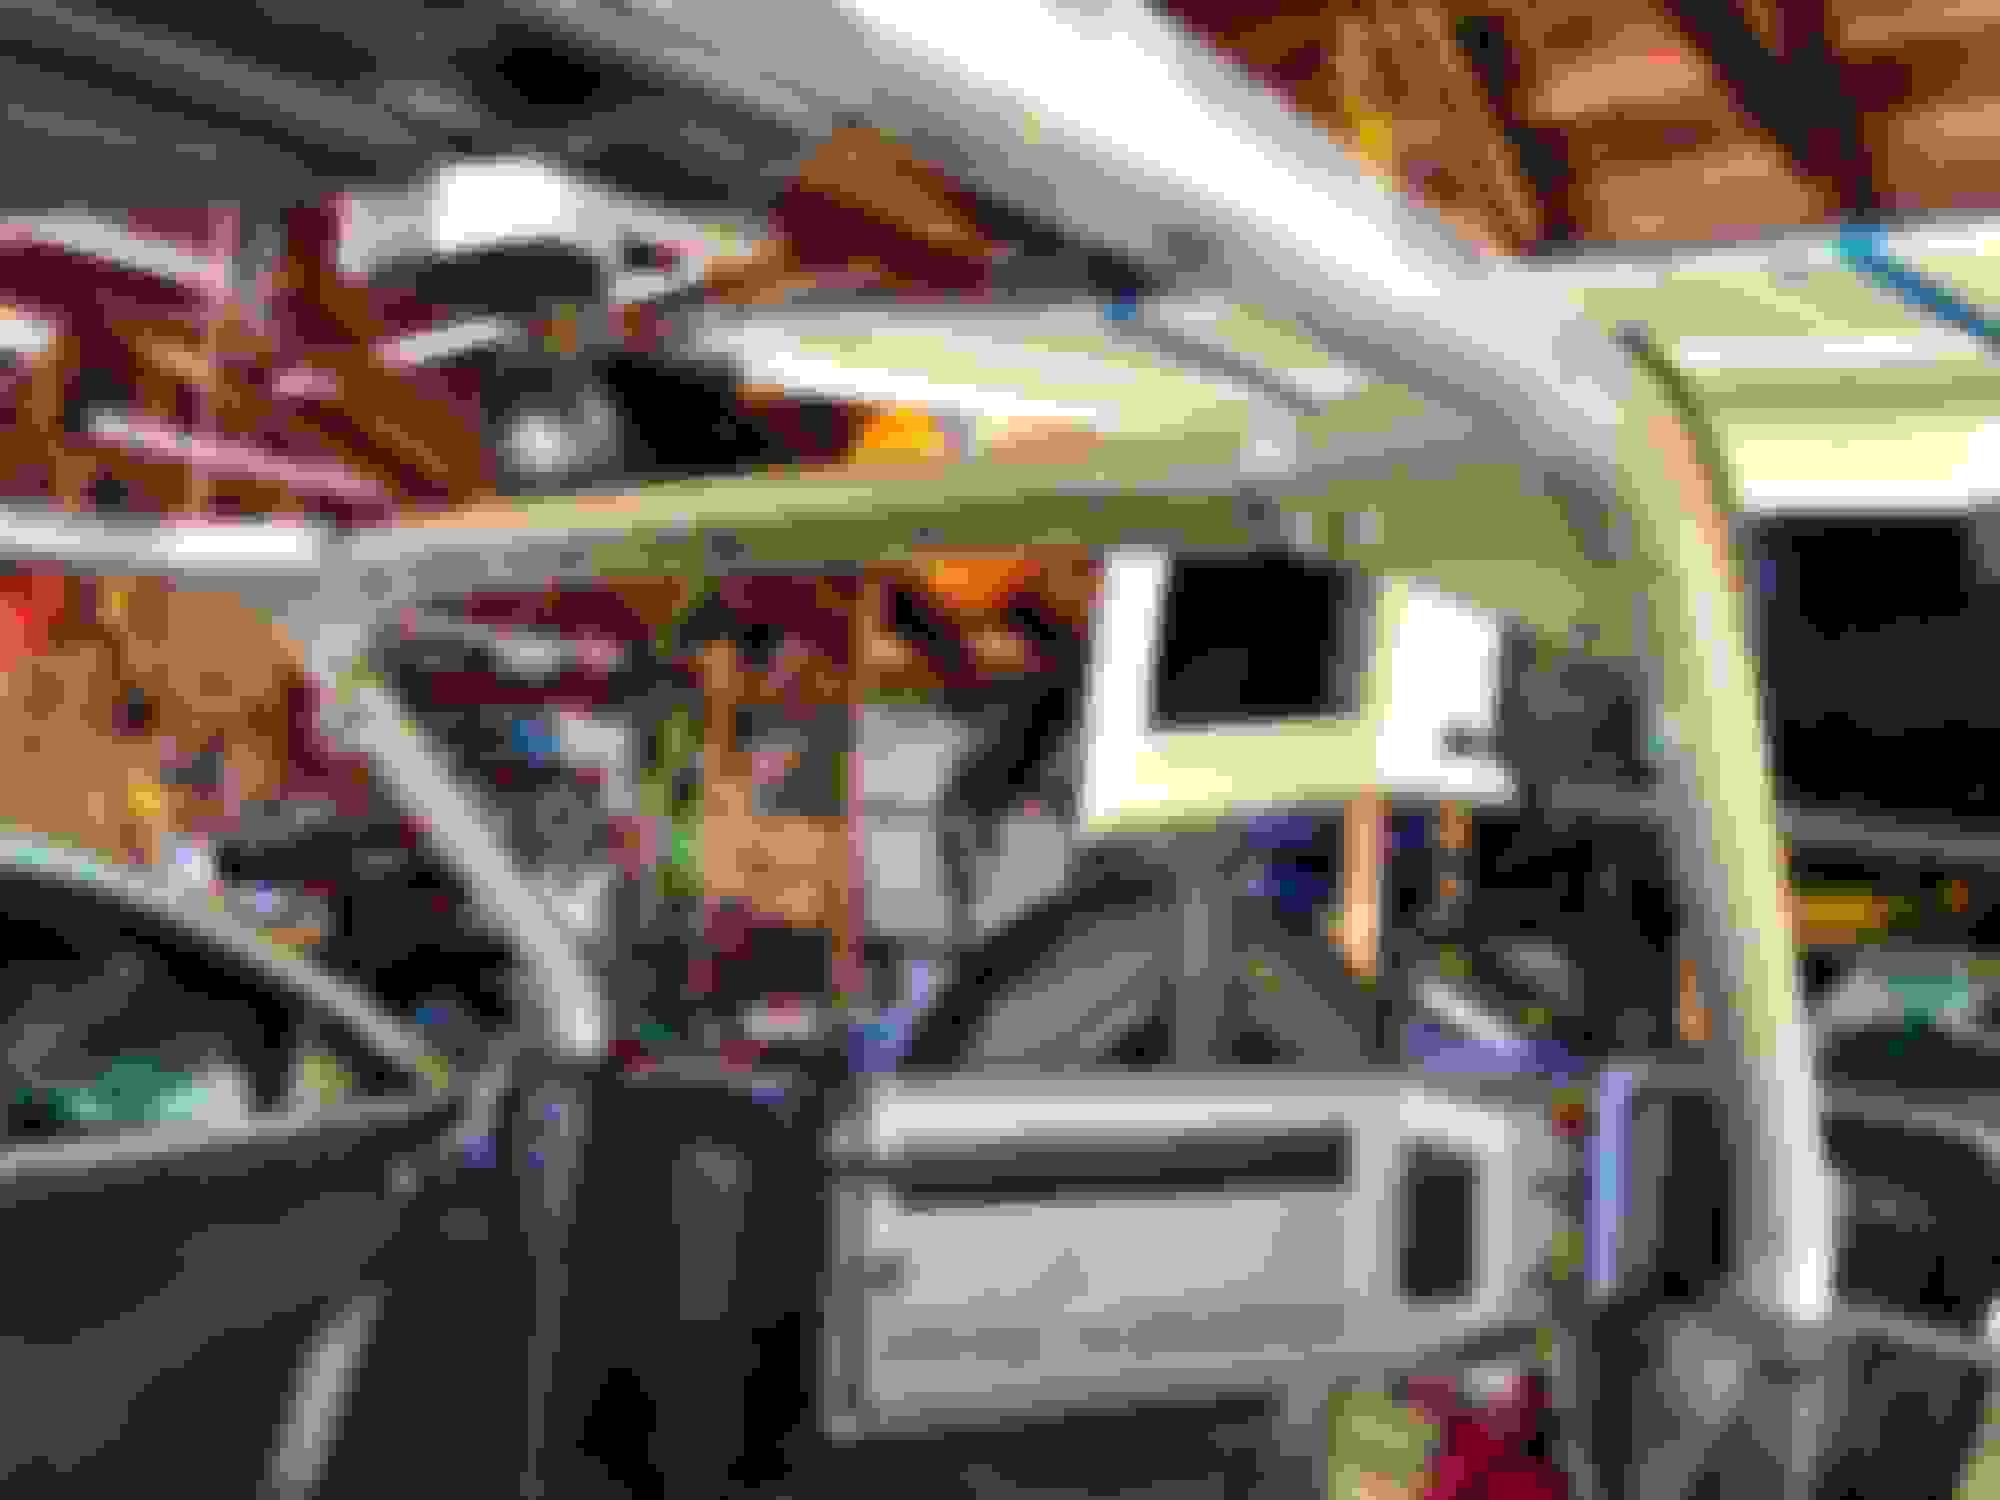
Took longer than I had anticipated. You have to remove the rear seat belts unless you simply cut the covers (kind of a hassle since you have to break the thread lock they applied at the factory). Removed the rear dome light. Slightly re-routed the wiring harness coming out of the passenger B pillar and into the overhead speaker console so it is less visible. While doing that, I added additional conduit and even hit a few spots like where the wires enter the connector box with spray-on liquid electrical tape since everything is way more exposed to the elements without the padding/covers in place.
Was surprised that most of my rollbar actually was painted during production (just seems to lack clearcoat), Regardless, having the whole Jeep painted and tub lined this winter, so the rollbar will get repainted at that time.
My brother had a CJ5 back in the '70s. In those days, we just put foam pipe insulation around the rollbar and wrapped it with electrical tape. It was a great DIY look. Not sure why nobody does that anymore. Of course, in those days, the rollbar was completely round with no electrical wires running on it, no dome lights, no seat belt attachments that I can recall, no speakers... Made it pretty easy to apply foam insulation and wrap with tape.
You did the right thing. Looks great! If you're concerned about the mismatch in rollbar color, use rattle can and cardboard. I personally don't care about it. Its a Jeep not a range rover lol.
Well, I know this is an old thread, however I imagine there will be other, like me, who will come across it in Google. So I'll post my go at taking off the roll bar covering on my JKU.
It was super easy. I watched this video just to get an idea of what I was in for (
) As he points out, you will need to paint the rear roll bar, as it's not color matched from the factory. Also, as he points out, the rear dome light housing doesn't look great just hanging out. I ended up just taking it down. I'll probably just install it down in the storage section so I don't have to run wires or anything, but can still load/unload in the dark. I'm including pics of the process, as well as after pics.
One thing I can say. I am VERY happy that I did it. I think it looks so much better. Do the thing!!
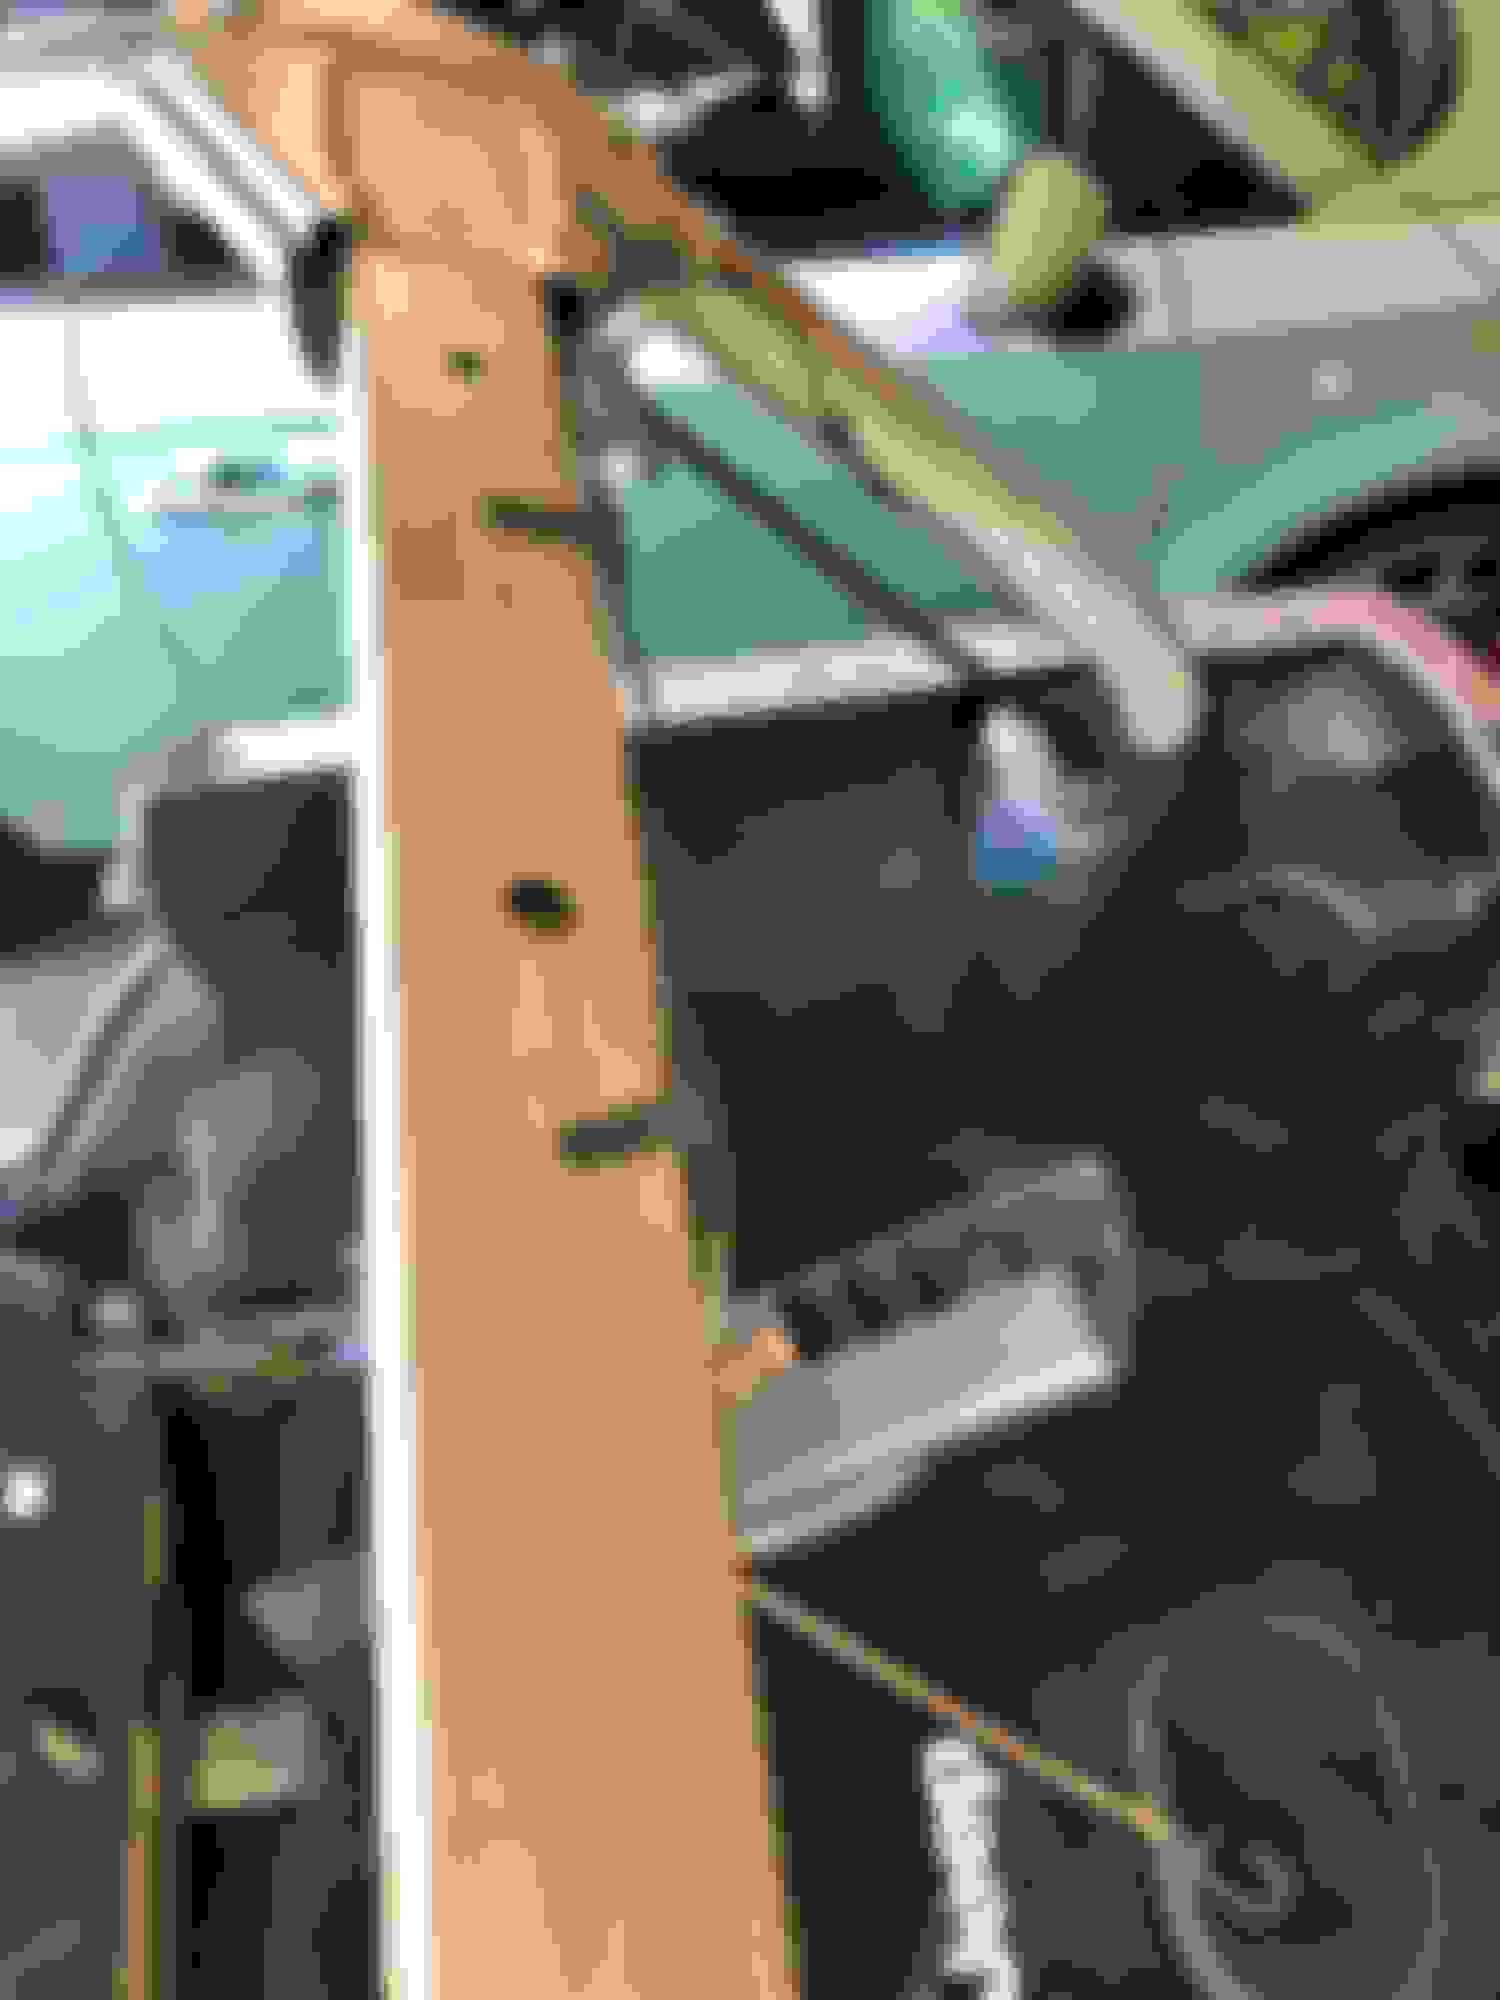
I turned off notifications on this thing, so if you have any questions, feel free to email me: suprdave89@aol.com These little foam things just pull right off. This whole section isn't color matched. This whole section isn't color matched. Excess hospital supplies FTW! You don't HAVE to take the seat belts off to paint, but I am not good enough at taping to attempt with them on.
Also, as he points out, the rear dome light housing doesn't look great just hanging out. I ended up just taking it down. I'll probably just install it down in the storage section so I don't have to run wires or anything, but can still load/unload in the dark.
I pulled my cargo light and padding long ago. I used that factory wiring and put a cheap/thin LED strip light that runs along the inside of the cargo tub rail there on the passenger side. It's been plenty of light for the cargo area and is indeed better than complete darkness back there. It's also non-intrusive and you don't notice it when not illuminated.
I did that and I hate it. They were getting moldy and dry rotted. I am currently trying to find replacements with no luck.
What do you hate about it? New covers wouldn't be the problem as much as the foam padding. I'd think the only option that could make sense would be to find a totalled JK and see if you could salvage the rollbar padding for a small price. Even then though, the new covers are usually over $300 for a set.
I prefer mine with no covers and padding, but my top is off most the year and the Texas sun just eats that crap up. Bare metal works better for me.

 08-18-2016, 12:23 AM