
What was done to your JK this week?


 03-12-2008, 05:47 PM
#932
JK Enthusiast
Join Date: Sep 2007
Location: Redmond, WA
Posts: 284
Likes: 0
Received 0 Likes
on
0 Posts

Great job!!!
03-12-2008, 06:23 PM
#933
JK Freak
Join Date: Dec 2007
Location: 07424
Posts: 874
Likes: 0
Received 0 Likes
on
0 Posts
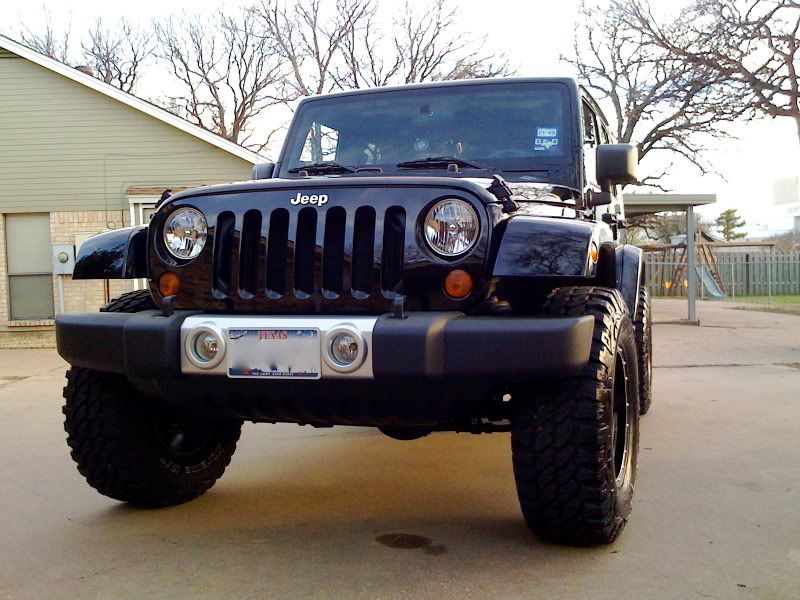
I got a take off hood from, to replace my current "hole filled" hood and it was kinked on both sides. Then I received my hypertech programmer that isn't working properly.... Hopefully tomorrow will be better!
03-12-2008, 06:38 PM
#934
JK Jedi
Join Date: Aug 2007
Location: Kenai Peninsula, Alaska
Posts: 5,813
Likes: 0
Received 0 Likes
on
0 Posts
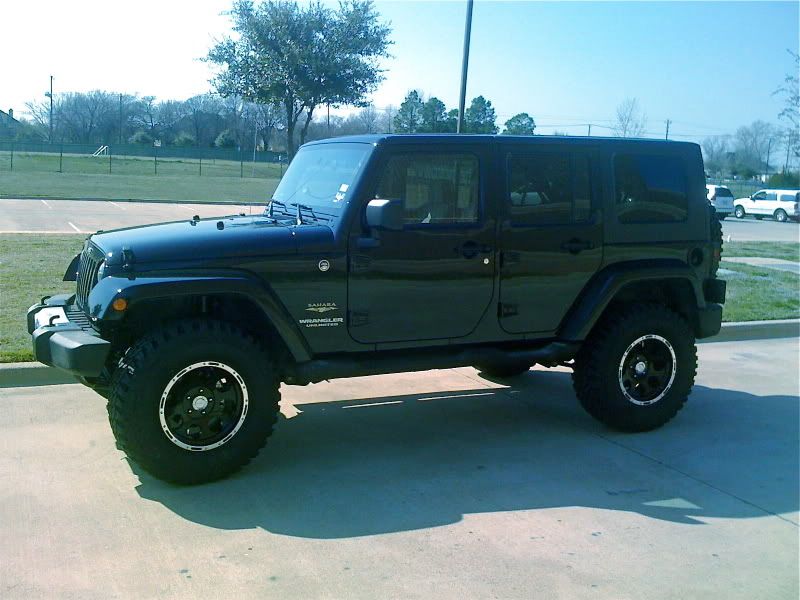
Installed the "speed/cruise" control. Pretty darn easy I must say....air bag was indeed the hardest part.
One of the better CCs I've used.....even if it is on the steering wheel.
My poor old knee loves it!!!
One of the better CCs I've used.....even if it is on the steering wheel.
My poor old knee loves it!!!
 03-13-2008, 11:38 AM
#937
JK Junkie
Join Date: Feb 2007
Location: Central Georgia
Posts: 2,326
Likes: 0
Received 0 Likes
on
0 Posts
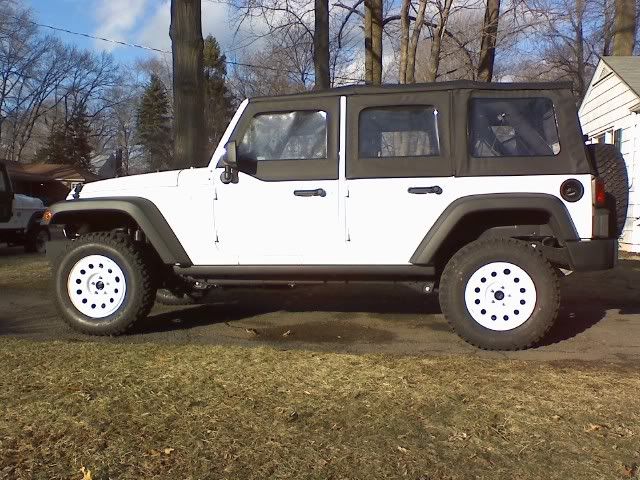
While brousing or surfing or something, we stumbled upon the "winter and off-road rims" offered by Mopar for the JK. Not wanting to scuff our pretty aluminum rims, we thought the steels were a perfect choice for wheelin' the JK. So we bought 5-- thanks to Butler jeep for getting them for us! They seem to be the modern equivalent of the Wagon Wheel. I'm pretty sure these are the same rims used on the Skunkworks JT.
They come only in black. We felt the black was going to make the Jeep look too heavy. So, bucking the modern trend of black wheels, we painted them white.
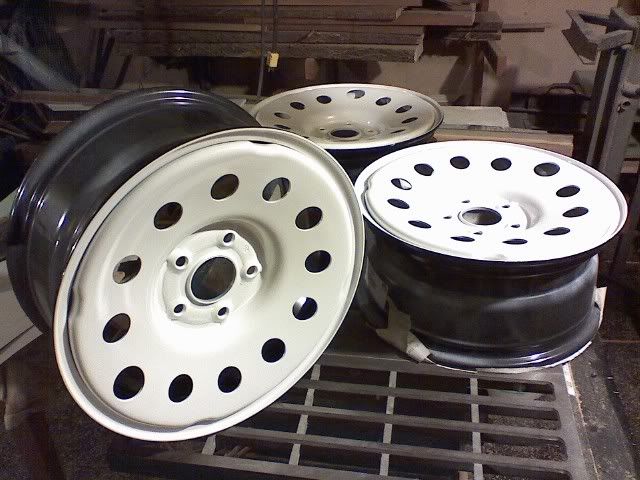
I got them over to my source of a tire machine and moutned and balanced the OEM BF Goodrich Mud Terrains onto them. So here it sits, with the Teraflex 2.5 and the Mopar Steelies-- We really like the way it looks.
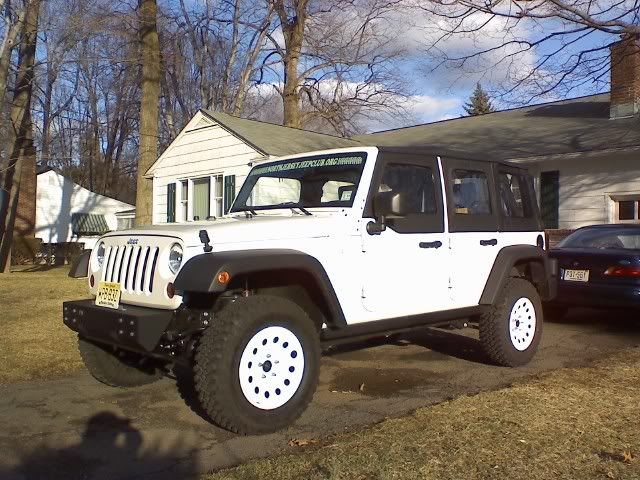
(these are camera-phone pics-- sorry for the blow-out on the white)
NOTE - when I installed the Budget Boost, I did NOT install the OEM rear spring pads, just the Teraflex spacers. It sits alittle more level this way.
`
They come only in black. We felt the black was going to make the Jeep look too heavy. So, bucking the modern trend of black wheels, we painted them white.
I got them over to my source of a tire machine and moutned and balanced the OEM BF Goodrich Mud Terrains onto them. So here it sits, with the Teraflex 2.5 and the Mopar Steelies-- We really like the way it looks.
(these are camera-phone pics-- sorry for the blow-out on the white)
NOTE - when I installed the Budget Boost, I did NOT install the OEM rear spring pads, just the Teraflex spacers. It sits alittle more level this way.
`
Actually, the JT's wheels have no holes. Looks good though.
 03-13-2008, 04:31 PM
#938
JK Newbie
Join Date: Jan 2008
Location: Tacoma, WA
Posts: 99
Likes: 0
Received 0 Likes
on
0 Posts
I relocated my evap can with Woods kit. Don't mind all that caked on sand, stuff is like concrete to get off.
Before:

After:

I really need a new rear driveshaft...that one is so tiny...
Above the rear axle:

Before:
After:
I really need a new rear driveshaft...that one is so tiny...
Above the rear axle:
03-13-2008, 07:33 PM
#939
JK Newbie

Join Date: Feb 2008
Location: Freehold, NJ
Posts: 53
Likes: 0
Received 0 Likes
on
0 Posts
Although I've done a few minor things that I haven't listed on here, I finally did a larger project that I think is cool and worth mentioning. I installed a backup camera!
First let me say that I have the LockPick with AV cable installed already (one of my earlier, minor projects). I bought the camera on eBay for $0.01 GBP (plus shipping) so all for around $25.00 US. It is a night vision, wide angle camera. Here's the ebay link for one that is ending shortly, but the seller has a ton of them available. I bought three:
<A HREF="http://cgi.ebay.com/ws/eBayISAPI.dll?ViewItem&item=200207489964">Wide Angle Night Vision Camera</A>
My biggest challenge was where and how to mount it. I didn't want to drill into my bumper and I didn't want the camera mounted in my spare tire because I like my wheel cover. I also wanted the flexibility of being able to either move the camera to the front on occasion (off road occasion that is) and security of locking the camera inside to prevent theft while parked at the beach.
My solution: I went to Home Depot and Radio Shack and picked up a few parts. See pics below for Heavy gauge aluminum light box and cover, foam insulation for box, rubber spray paint, heavy duty magnets, gorilla glue, hook-up wire, wire taps, electrical tape and an male-male video cable.
Basically, I built a fully waterproof superhard shell enclosure for the camera, then Gorilla glued magnets to the bottom of it. I added enough extra wire to allow me to move the box and place it on either the front or rear bumper. I spray painted the whole thing with a rubber paint to make it black and seal out moisture.
Since I can't figure out how to reduce my pic size to the appropriate size for the forum, I've uploaded all the pics to my Web Gallery. All of the photos were taken with my iPhone, so it was easy to just send right to the net. Here's the link.
http://gallery.mac.com/aarancio#100148
I've also added pics showing the quality of the camera. Unbelievable bargain at $25.00 compared to the $129 camera originally bought from Coastal and have since returned.
Enjoy. Hope you like it!
Last edited by digitalex; 03-13-2008 at 07:37 PM.
