
What was done to your JK this week?

 07-31-2011, 06:09 PM
JK Jedi

Join Date: Oct 2009
Location: Fresno, California, United States
Posts: 4,760
Likes: 0
Received 0 Likes
on
0 Posts


 07-31-2011, 07:57 PM
JK Enthusiast
Join Date: Dec 2009
Location: Fort Stewart, GA
Posts: 120
Likes: 0
Received 0 Likes
on
0 Posts
I got rid of this.

And I replaced it with this. It is From ACE Engineering.


Oh, I did the other side too.
They were super easy to install. The first one took me about two and a half hours because I used a Dremel to grind down the washers. You only have to take 1/16th of an inch off of each side, but it takes FOREVER with a Dremel. Then I realized that I had a circular saw and a metal cutting blade. I braced the saw and used it like a bench grinder. It took me about a beer to finish the other side.
And I replaced it with this. It is From ACE Engineering.
Oh, I did the other side too.
They were super easy to install. The first one took me about two and a half hours because I used a Dremel to grind down the washers. You only have to take 1/16th of an inch off of each side, but it takes FOREVER with a Dremel. Then I realized that I had a circular saw and a metal cutting blade. I braced the saw and used it like a bench grinder. It took me about a beer to finish the other side.
07-31-2011, 08:02 PM
JK Junkie
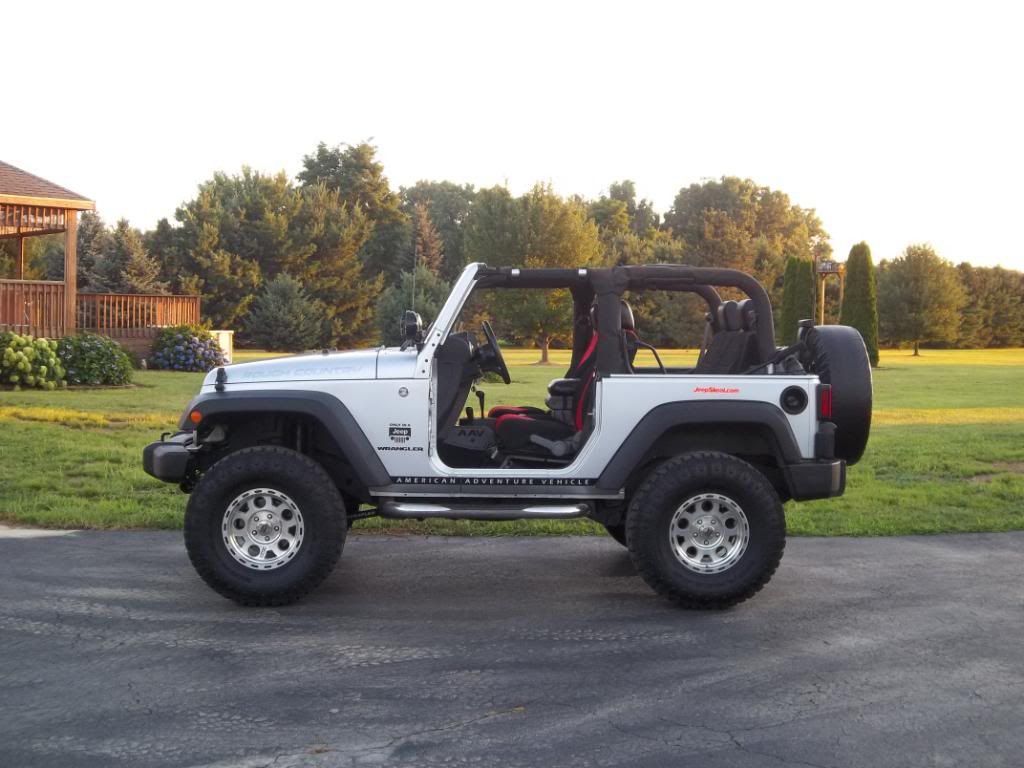
Today, with the help of Badpumpkin, we added some Rubicon shocks to my Jeep. went on with difficulty 
Now not only do my shocks have far less than 70,000 miles, but the red accents are just kinda working out perfectly right?
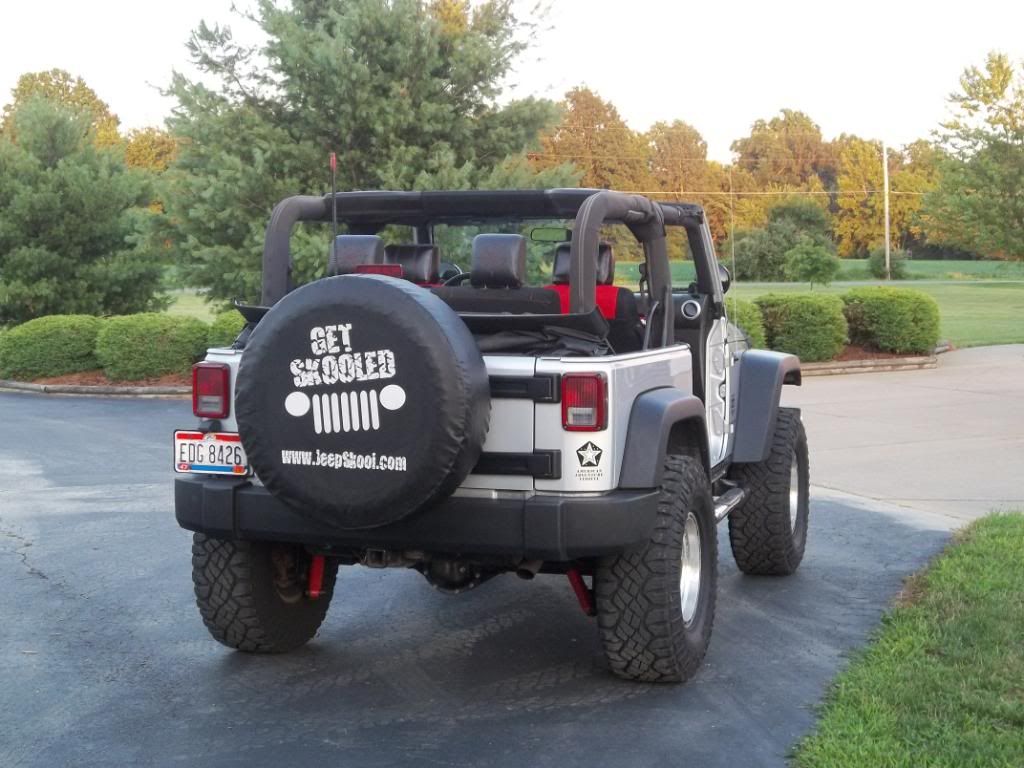
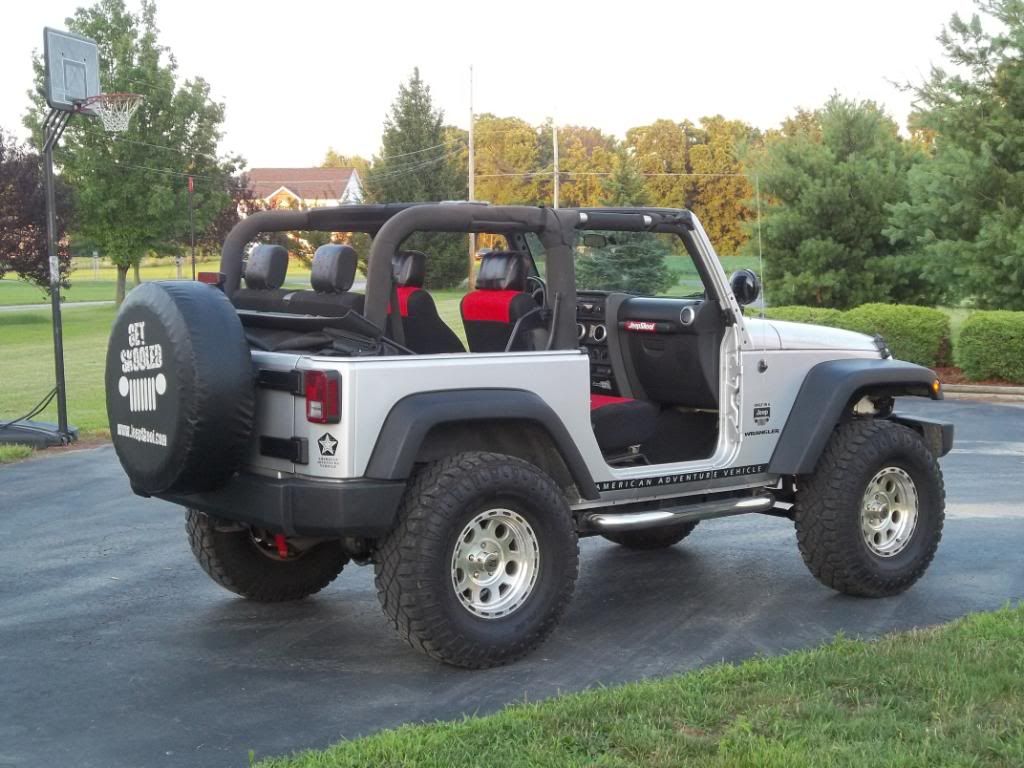
and Yesterday i added 3/4" daystar spacers to the front and rear, i also got to replace my rear brake pads again
Before:
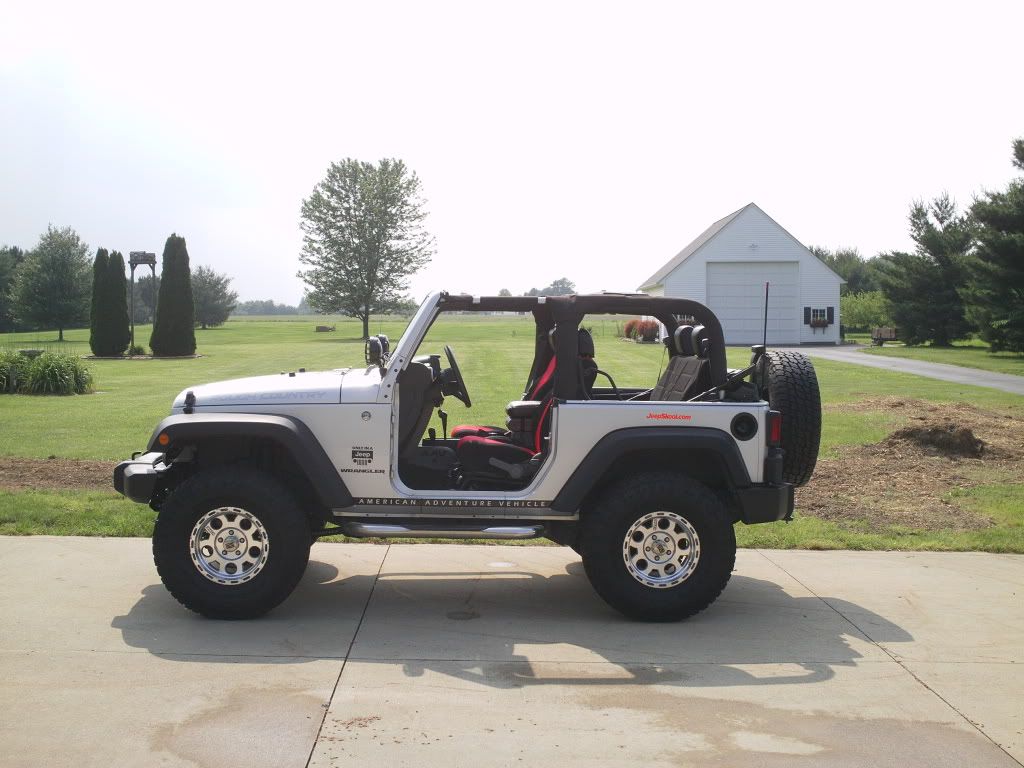
After
Now not only do my shocks have far less than 70,000 miles, but the red accents are just kinda working out perfectly right?
and Yesterday i added 3/4" daystar spacers to the front and rear, i also got to replace my rear brake pads again
Before:
After
Last edited by Yamaha90; 07-31-2011 at 08:05 PM.
07-31-2011, 08:15 PM
JK Enthusiast
Join Date: Dec 2009
Location: Fort Stewart, GA
Posts: 120
Likes: 0
Received 0 Likes
on
0 Posts

 08-01-2011, 11:52 AM
JK Newbie

Join Date: Oct 2010
Location: Atlanta, GA
Posts: 10
Likes: 0
Received 0 Likes
on
0 Posts
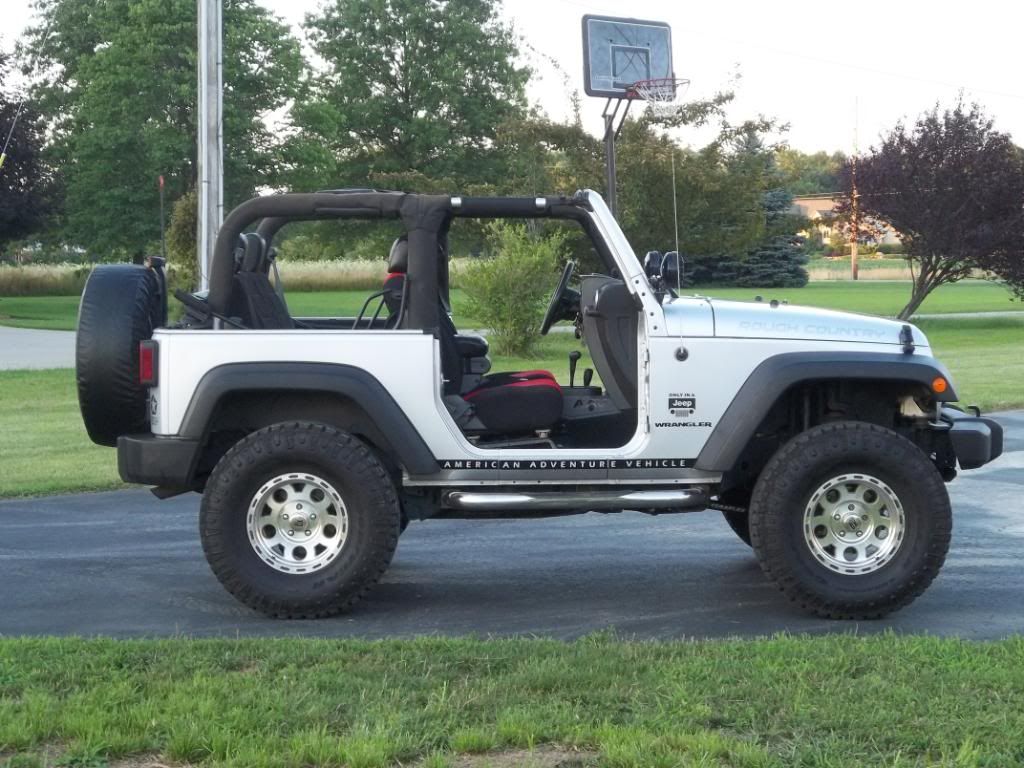
I wrote some instructions for jk-forum in case anyone else around here is looking for pointers with this kit. Here's the finish pose:

