
TOTL Innovations Build Thread - A Retrospect
 10-31-2013, 08:35 AM
#1
Former Vendor
Thread Starter

I bought my JK new back in 2008 and begin building it up shortly there after but I never got the chance to post my build here I JKF so I thought it would be fun to do a retrospect of how my JK has progressed from a bone stock Rubi to what it is today. Everything is no particular order but first lets start with the suspension.
 10-31-2013, 08:36 AM
#2
Former Vendor
Thread Starter
When choosing my suspension system, I tried to choose a lift that really matched what I used my JK for. I spend a lot more time on the road then off so I wanted a long arm kit that was light weight and had a lower center of gravity. I chose the Rock Krawler 3.5� Triple Threat Pro Long Arm system with 2.5� springs. Since, I got the lower springs, I did not get the drag link flip as part of my kit.
I really can�t say enough about Jeremy from Rock Krawler. He answered countless questions and even met with me in Denver on his way to the Pomona Off road Expo to deliver my kit. Jeremy you are the man
I went to Jarrett of HD Customs for the install. The man is absolutely ridiculous at what he does. His welds are perfect and his attention to detail is just insane. Just as an example, he measured the distance between the clamps on the shocks to make sure they were symmetrical on both sides. Jarrett�s level of customer service is just as high. He trailered the Jeep down to the muffler shop in ~40 mph winds (no exaggeration).
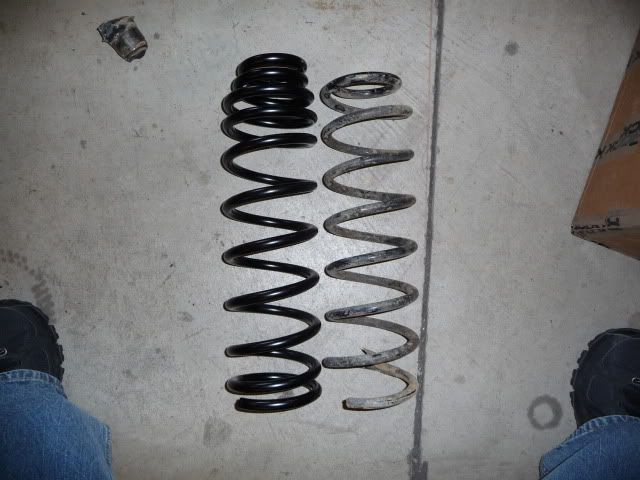
Lets get to some pictures. These first ones are just some comparison shots between the stock parts and what came with my kit.
Front springs:
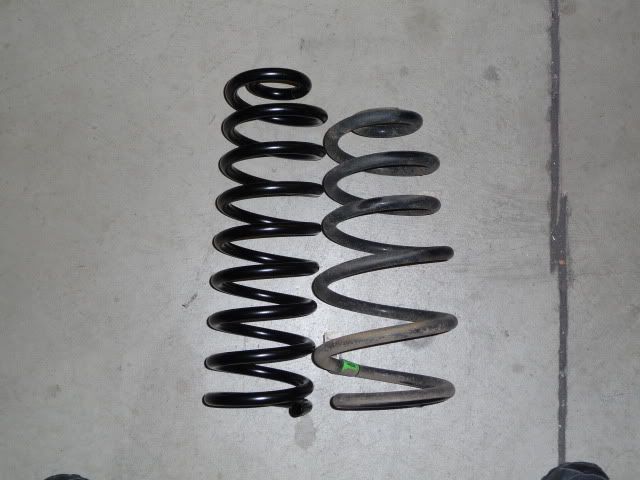
Rear springs:
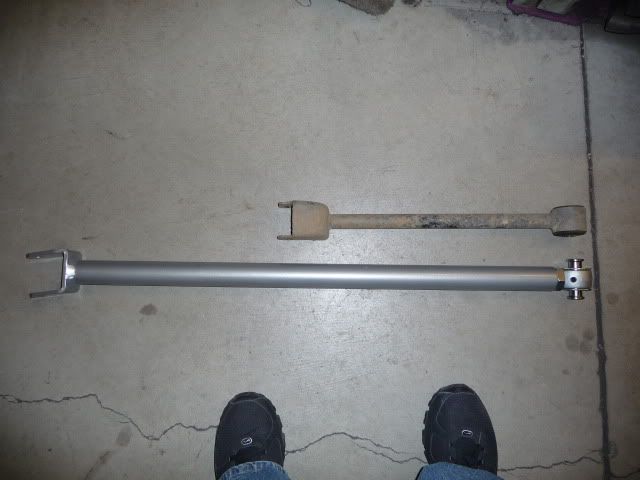
Front upper control bars:
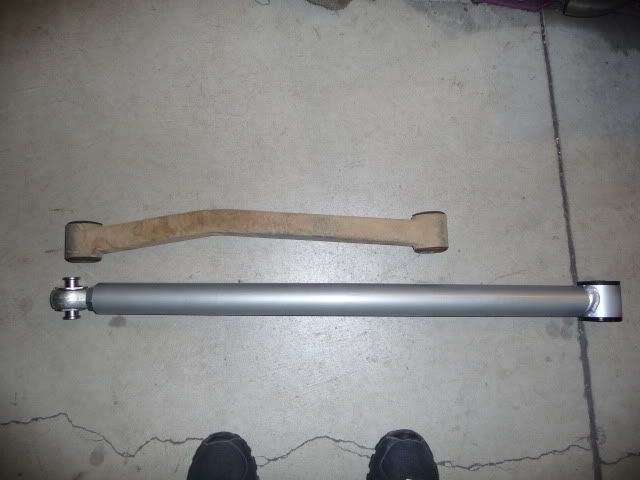
Front lower control bars:
Started off looking like this:

I really can�t say enough about Jeremy from Rock Krawler. He answered countless questions and even met with me in Denver on his way to the Pomona Off road Expo to deliver my kit. Jeremy you are the man
I went to Jarrett of HD Customs for the install. The man is absolutely ridiculous at what he does. His welds are perfect and his attention to detail is just insane. Just as an example, he measured the distance between the clamps on the shocks to make sure they were symmetrical on both sides. Jarrett�s level of customer service is just as high. He trailered the Jeep down to the muffler shop in ~40 mph winds (no exaggeration).
Lets get to some pictures. These first ones are just some comparison shots between the stock parts and what came with my kit.
Front springs:
Rear springs:
Front upper control bars:
Front lower control bars:
Started off looking like this:
10-31-2013, 08:36 AM
#3
Former Vendor
Thread Starter
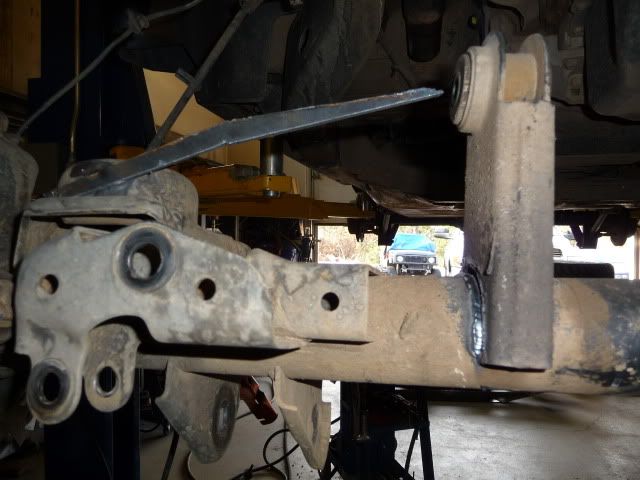
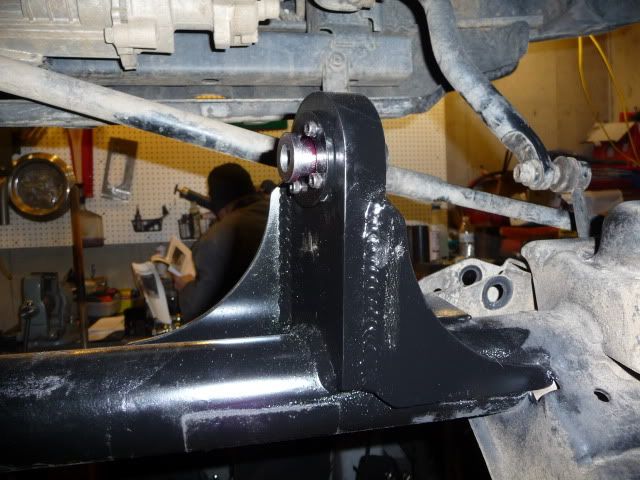
So Jarrett started by getting rid of the stock brackets up front and welding in the new ones:
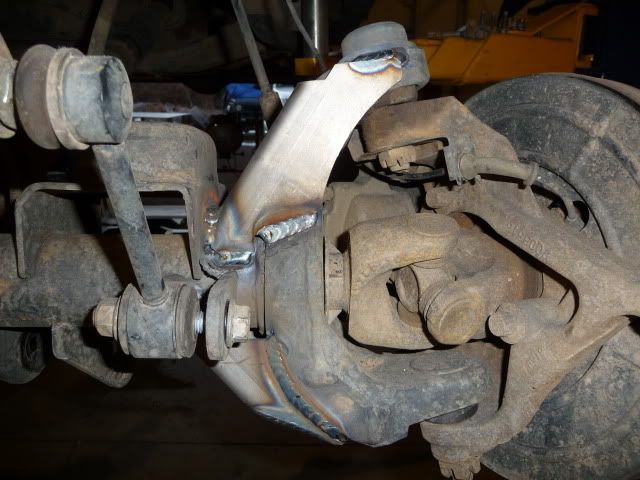
The mount on the axle for the passenger side upper arm gets replaced with this kit. To have a reference point, Jarrett tacked in some scrap:
The piece was actually dead center in the hole of the bracket. It just doesn�t look that way in the picture because I snapped it half way through the removal process.
Jarrett wanted to use some of his own gussets just because :
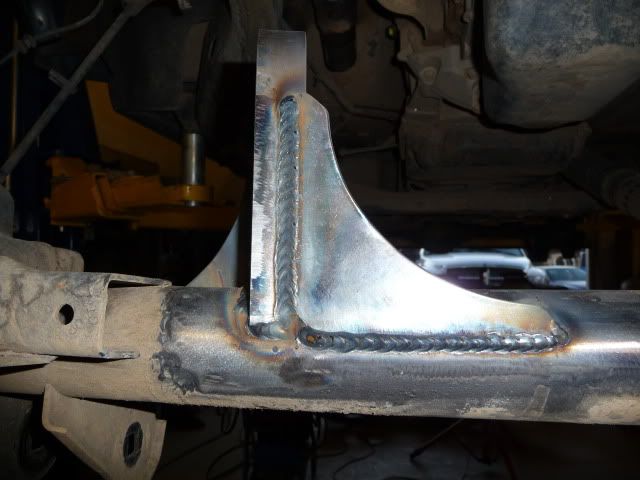
While we were at it, Jarrett welded in some Poly C-Gussets:
Here is what it looked like all cleaned up:

Jarrett has OCD in a good way. He grinded the areas down with two different grip grinding pads and then actually fine grit sanded the area. You cant even tell the original brackets were there to begin with.
On to the rear, I missed most of this because of other commitments so a few less pics � sorry.
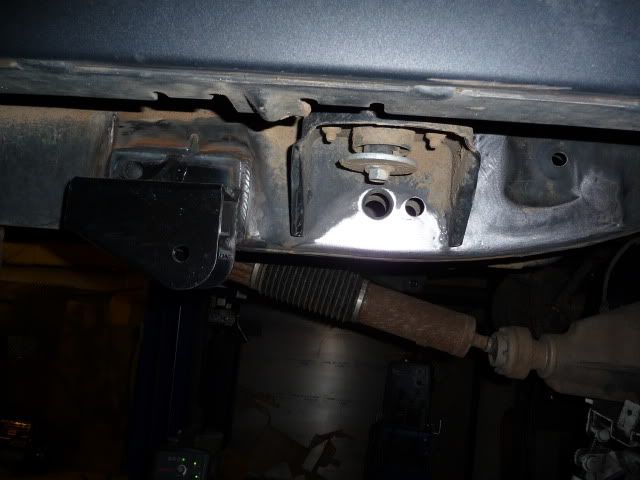
Here is the new lower control arm bracket welded in and the old one removed:
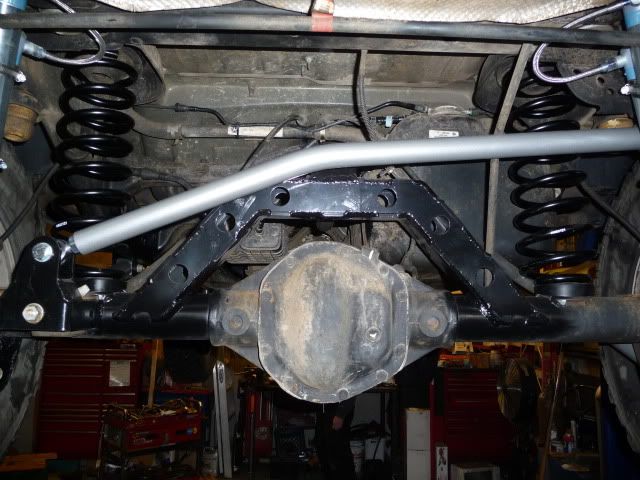
Rear almost all buttoned up:
The mount on the axle for the passenger side upper arm gets replaced with this kit. To have a reference point, Jarrett tacked in some scrap:
The piece was actually dead center in the hole of the bracket. It just doesn�t look that way in the picture because I snapped it half way through the removal process.
Jarrett wanted to use some of his own gussets just because :
While we were at it, Jarrett welded in some Poly C-Gussets:
Here is what it looked like all cleaned up:
Jarrett has OCD in a good way. He grinded the areas down with two different grip grinding pads and then actually fine grit sanded the area. You cant even tell the original brackets were there to begin with.
On to the rear, I missed most of this because of other commitments so a few less pics � sorry.
Here is the new lower control arm bracket welded in and the old one removed:
Rear almost all buttoned up:
10-31-2013, 08:37 AM
#4
Former Vendor
Thread Starter
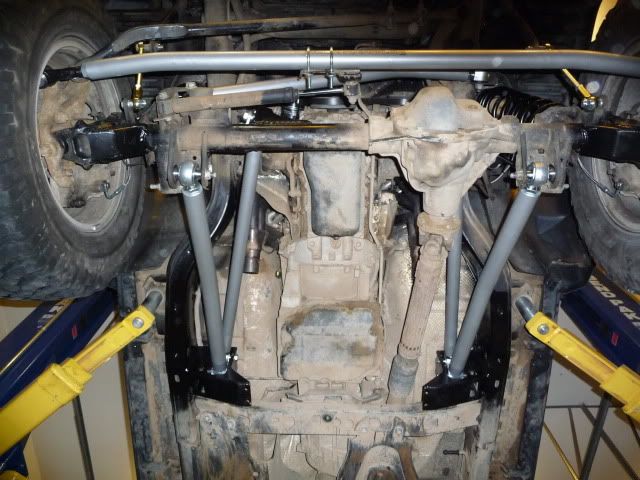
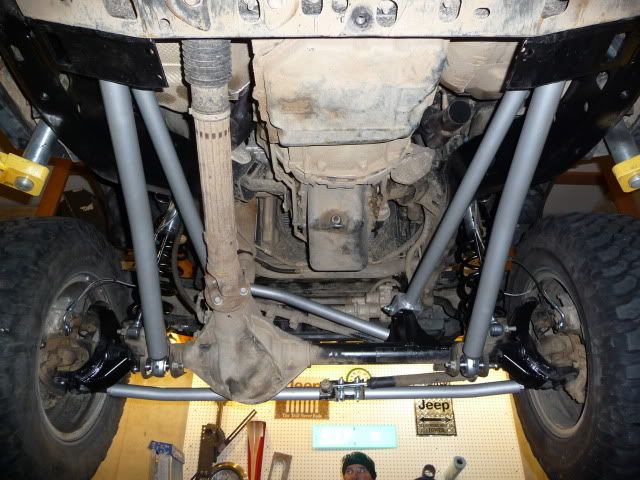
For shocks, I went with Bilstein 5160s:
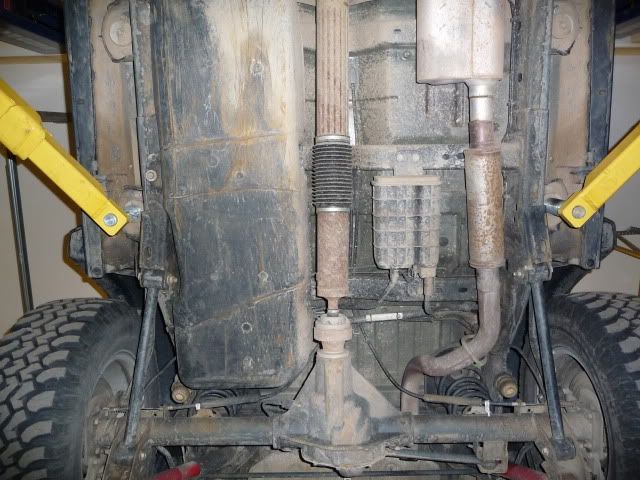
Up front, I convinced Jarrett to not follow the install instructions and mount the reservoir on the rear side. The instructions call for it to be mounted on the front (spring side):

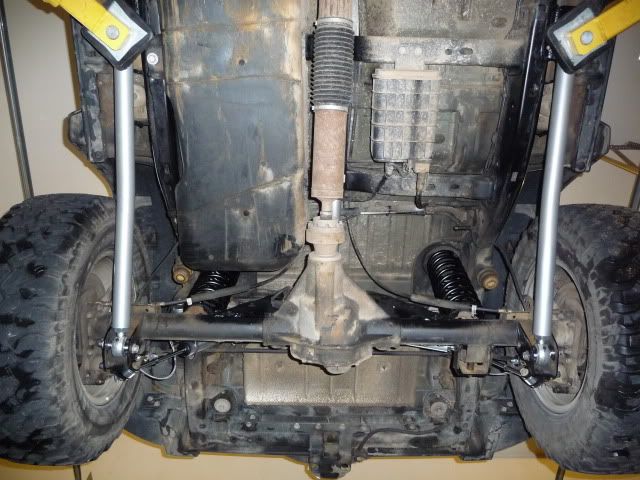
In the rear Jarrett, tucked the reservoirs in front of the shock body to protect them:
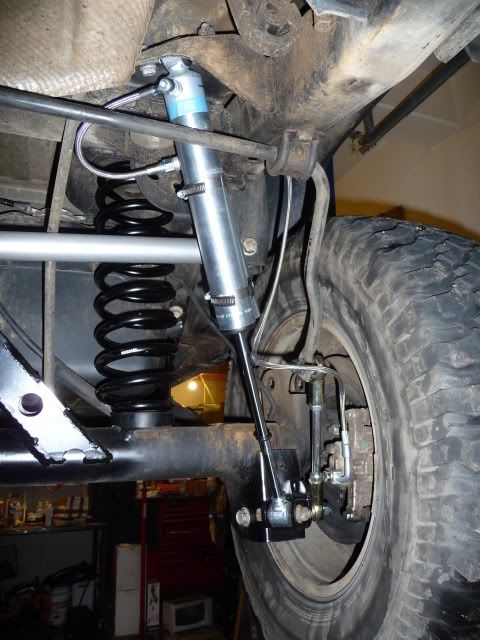
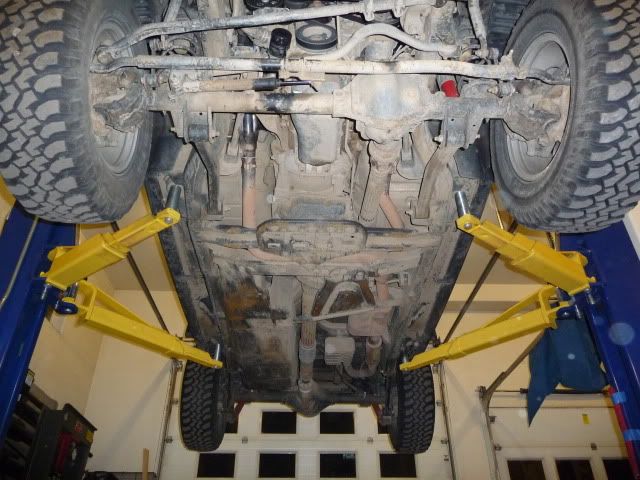
Here is what it looks like all done:

Up front, I convinced Jarrett to not follow the install instructions and mount the reservoir on the rear side. The instructions call for it to be mounted on the front (spring side):
In the rear Jarrett, tucked the reservoirs in front of the shock body to protect them:
Here is what it looks like all done:
10-31-2013, 08:38 AM
#5
Former Vendor
Thread Starter
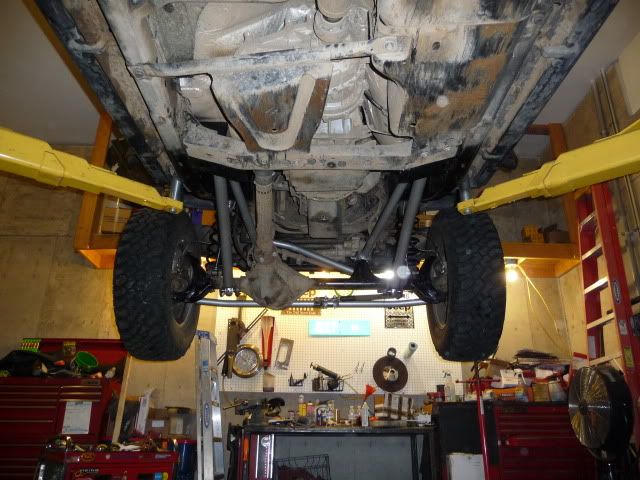
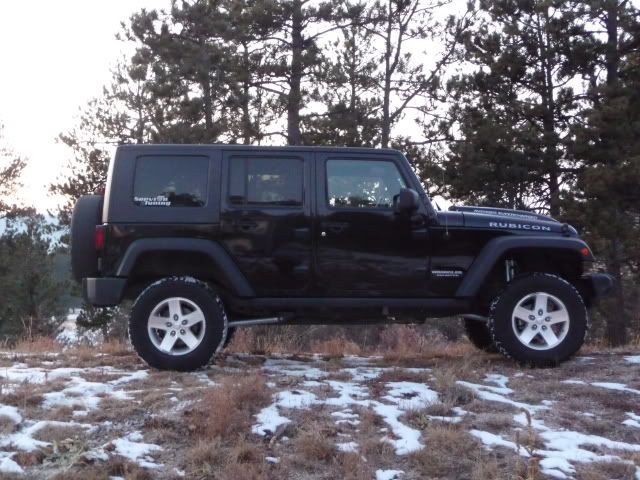
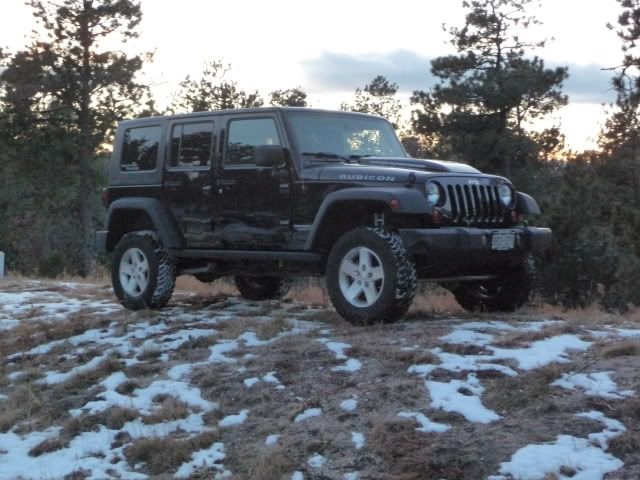
And of course posing:

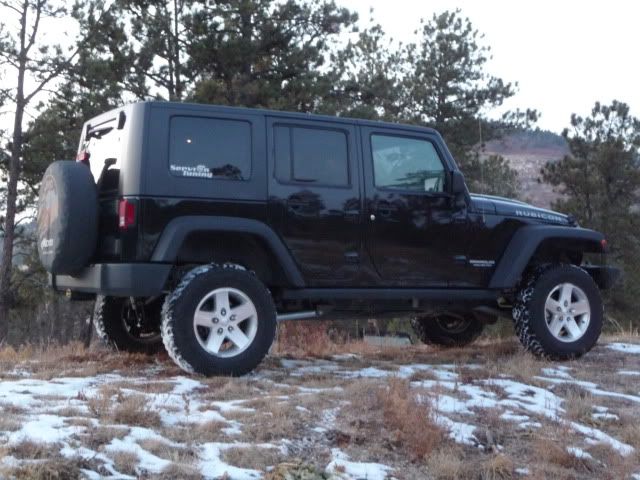
You will notice that my exhaust system is not present in the pictures. The y-pipe from the Borla exhaust had to be completely hacked up so it went to muffler masters after the install.
You will notice that my exhaust system is not present in the pictures. The y-pipe from the Borla exhaust had to be completely hacked up so it went to muffler masters after the install.
10-31-2013, 08:39 AM
#6
Former Vendor
Thread Starter
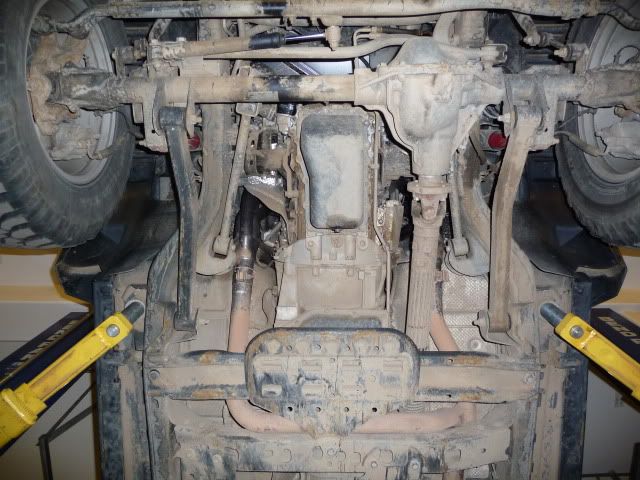
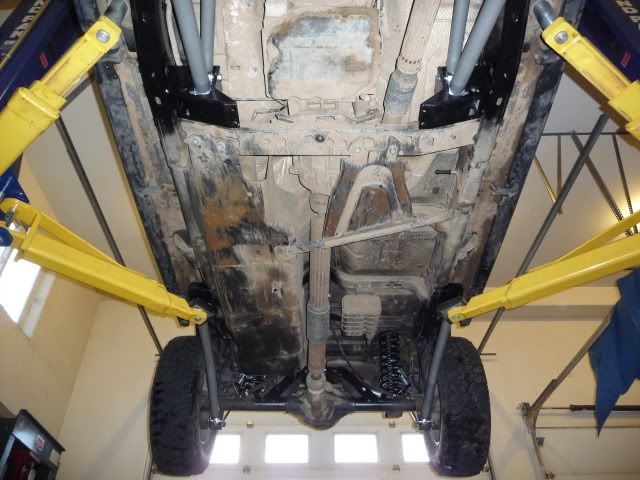
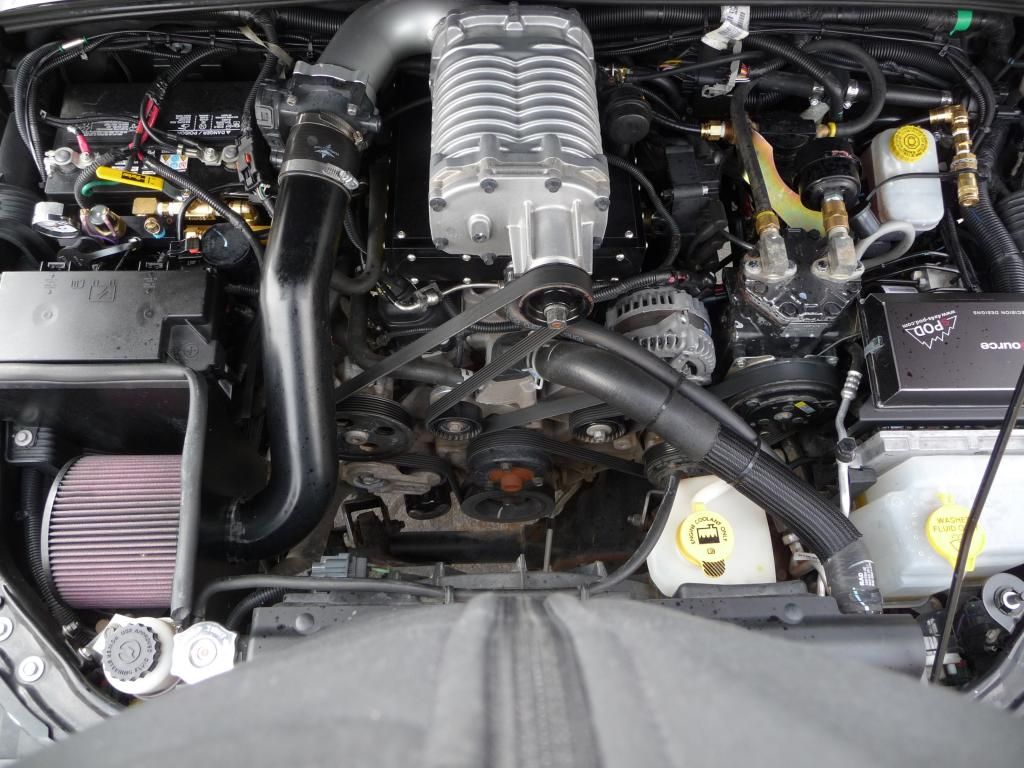
This is how I had my exhaust ran:
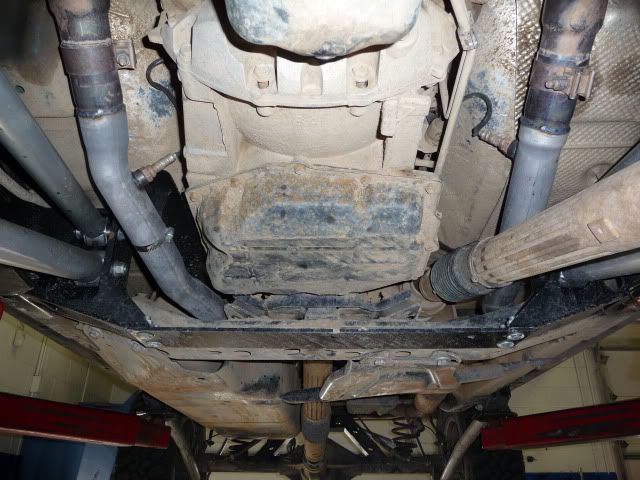
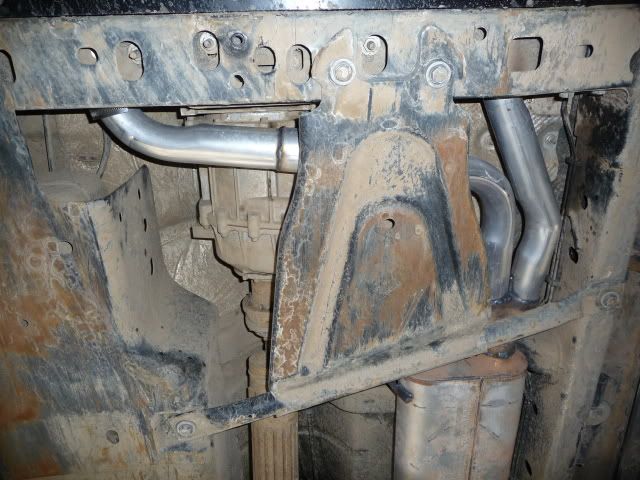
As you can see, I had the passenger side pipe ran behind the cross member and bell housing and then under the trans to the drivers side to meet up with the rest of the exhaust.
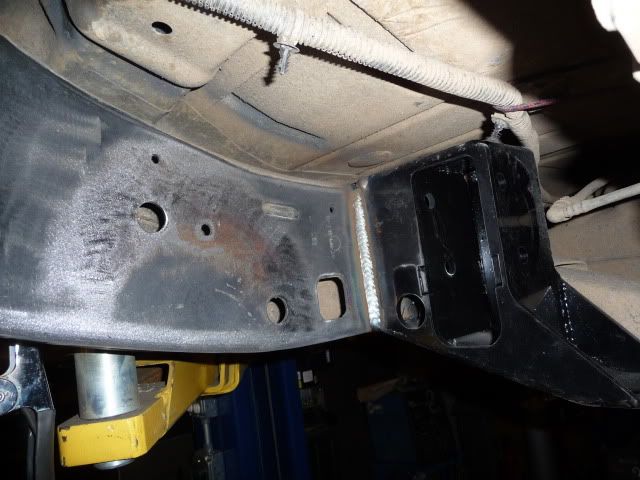
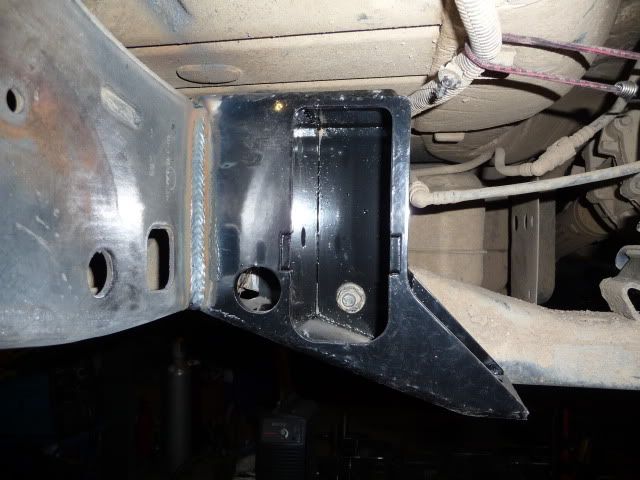
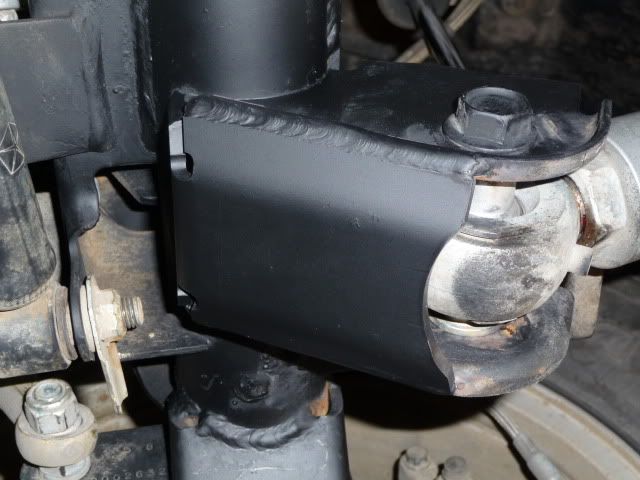
On the passenger side, the pipe sits under the fuel line and even though there was PLENTY of room, I felt a little worried so Jarrett fabbed up a custom heat shield:
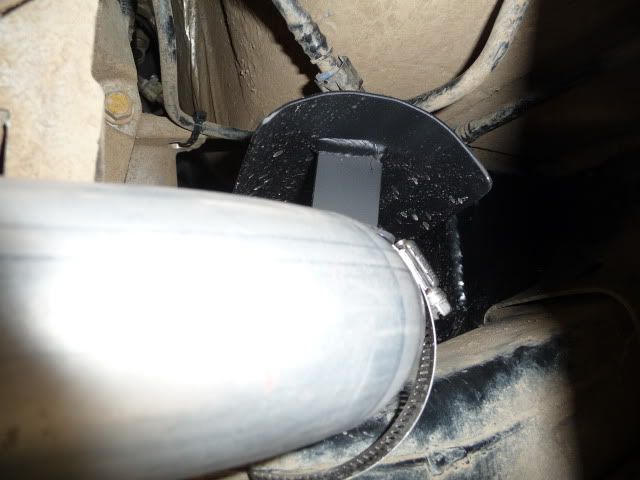
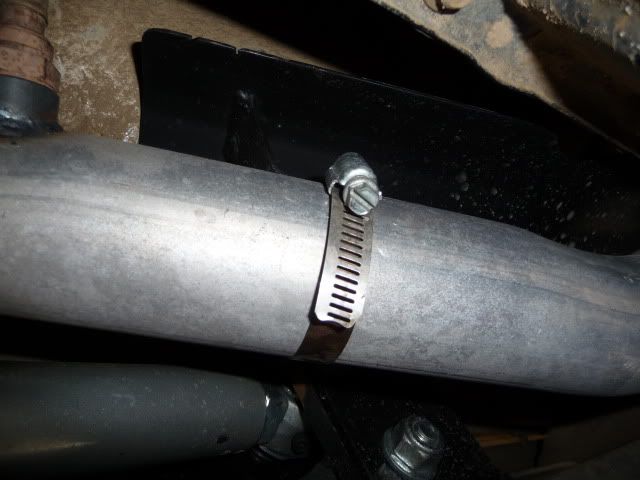
(I dont believe Jarrett has any plans to sell this shield yet )
)
As you can see, I had the passenger side pipe ran behind the cross member and bell housing and then under the trans to the drivers side to meet up with the rest of the exhaust.
On the passenger side, the pipe sits under the fuel line and even though there was PLENTY of room, I felt a little worried so Jarrett fabbed up a custom heat shield:
(I dont believe Jarrett has any plans to sell this shield yet
)
10-31-2013, 08:40 AM
#7
Former Vendor
Thread Starter
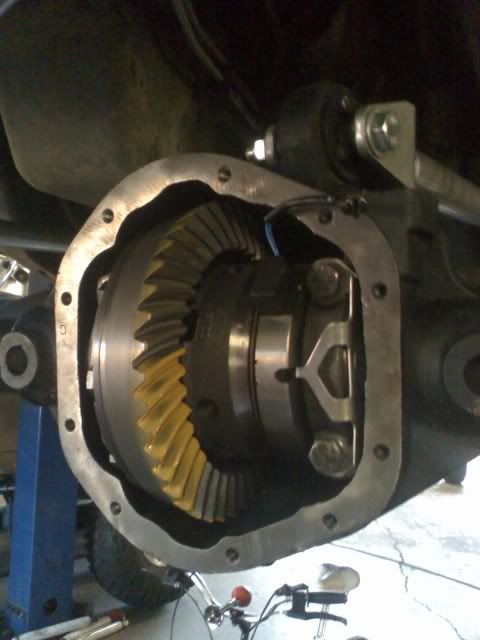
Next up were gears and some odds and ends
Yukon 5.13s thick cut:
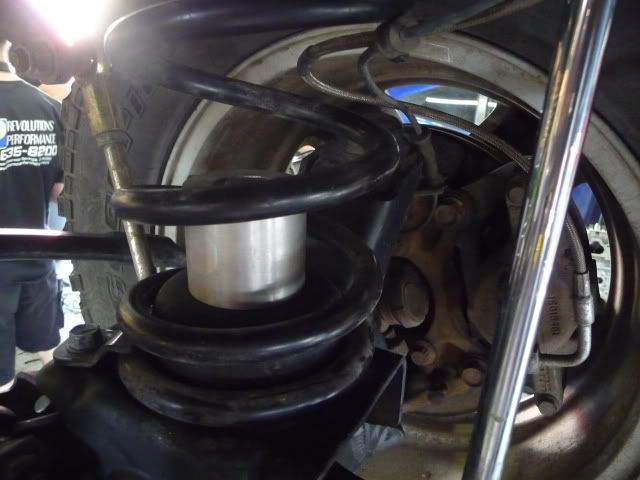
Added some Rock Krawler aluminum bump stop extensions. I got the 2 inch ones:
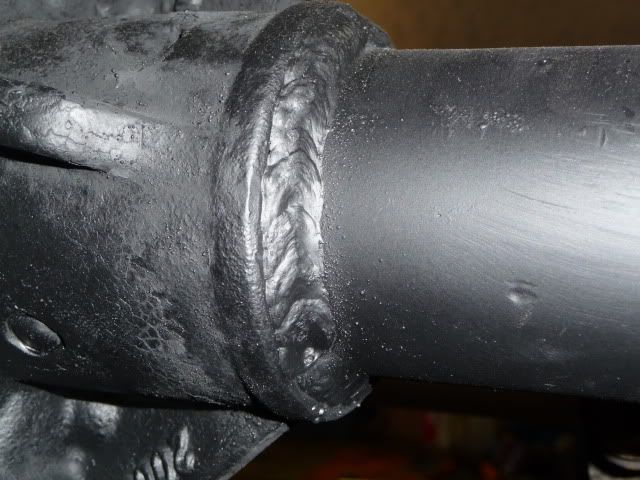
Added a little strength to the front axle with Poly performance inner sleeves, lower control arm skids and had the tubes welded to the pumpkin (C-gussets were already in from before):
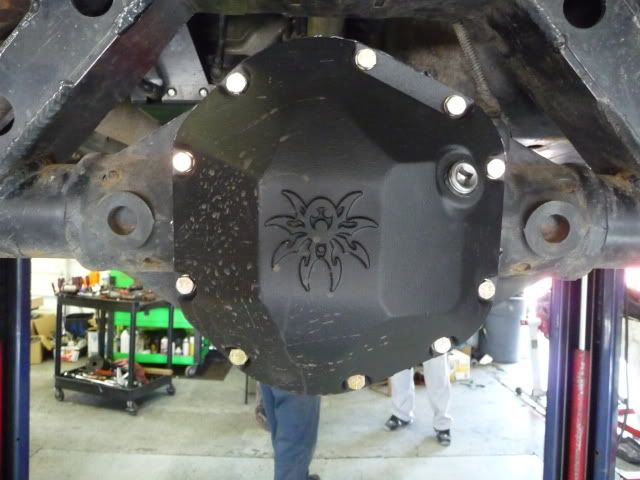
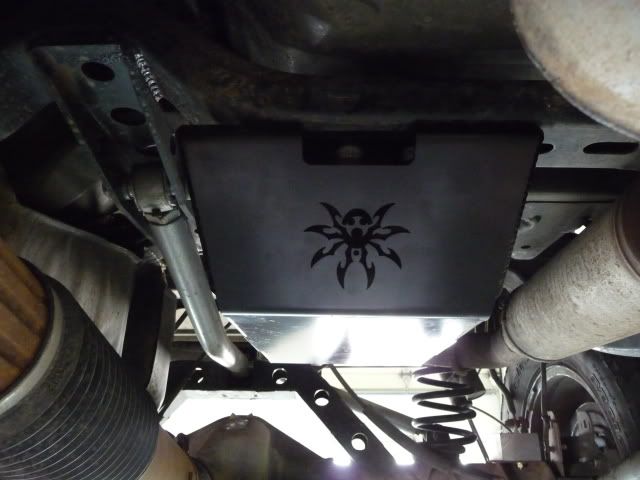
Finished everything off with some Poison Spyder sexiness � diff covers and Evap skid:
Yukon 5.13s thick cut:
Added some Rock Krawler aluminum bump stop extensions. I got the 2 inch ones:
Added a little strength to the front axle with Poly performance inner sleeves, lower control arm skids and had the tubes welded to the pumpkin (C-gussets were already in from before):
Finished everything off with some Poison Spyder sexiness � diff covers and Evap skid:
Trending Topics
10-31-2013, 08:44 AM
#8
Former Vendor
Thread Starter
Next up were 37" MTRs on 17" Walker beadlocks:
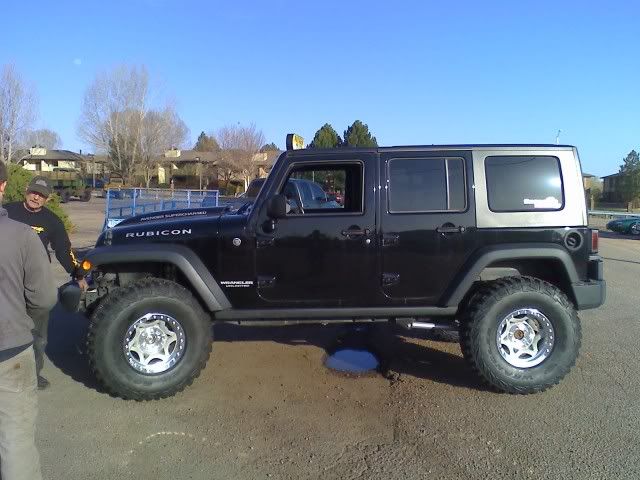
I ran it fenderless for a while:
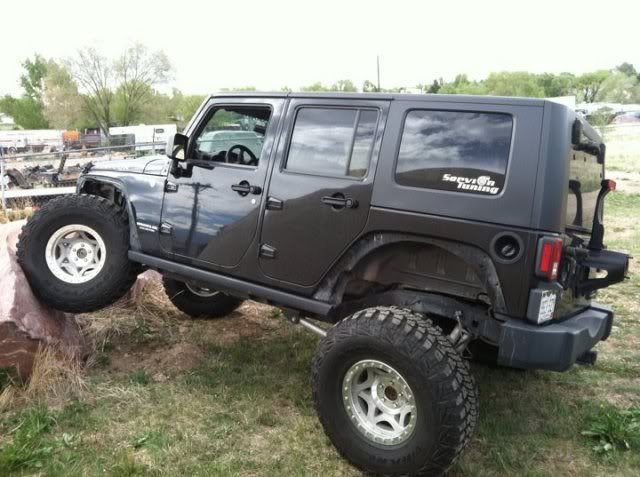
But ultimately, I have it riding around with chopped fenders now. Looks like this:

I ran it fenderless for a while:
But ultimately, I have it riding around with chopped fenders now. Looks like this:
 10-31-2013, 08:50 AM
#10
Former Vendor
Thread Starter
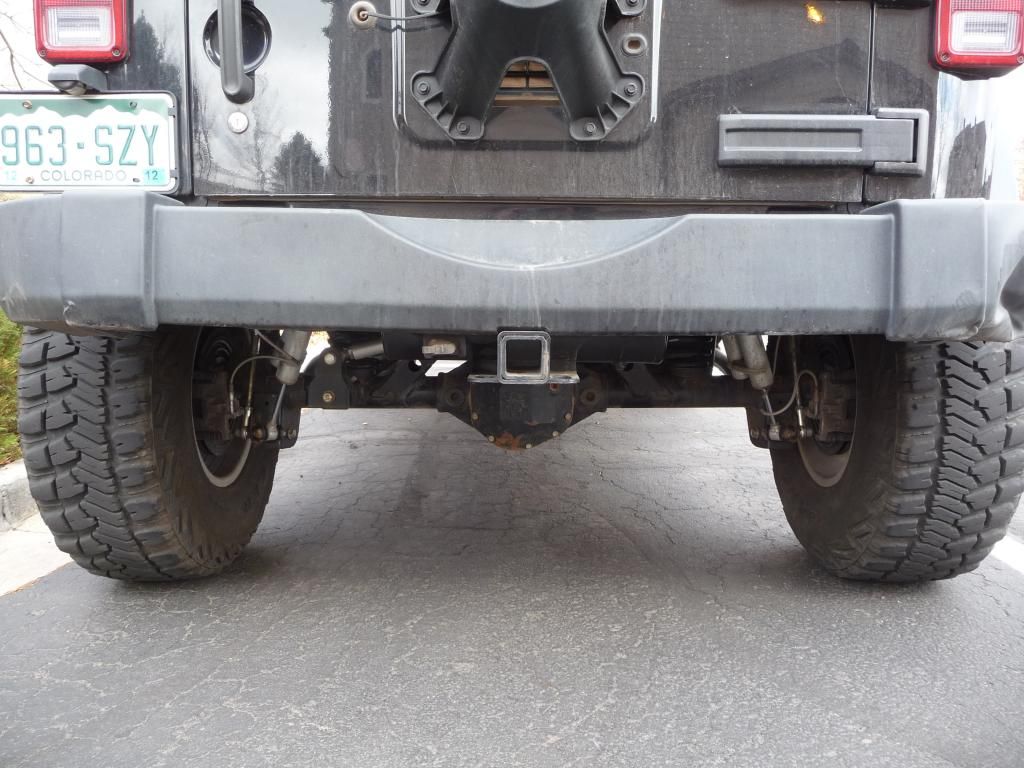
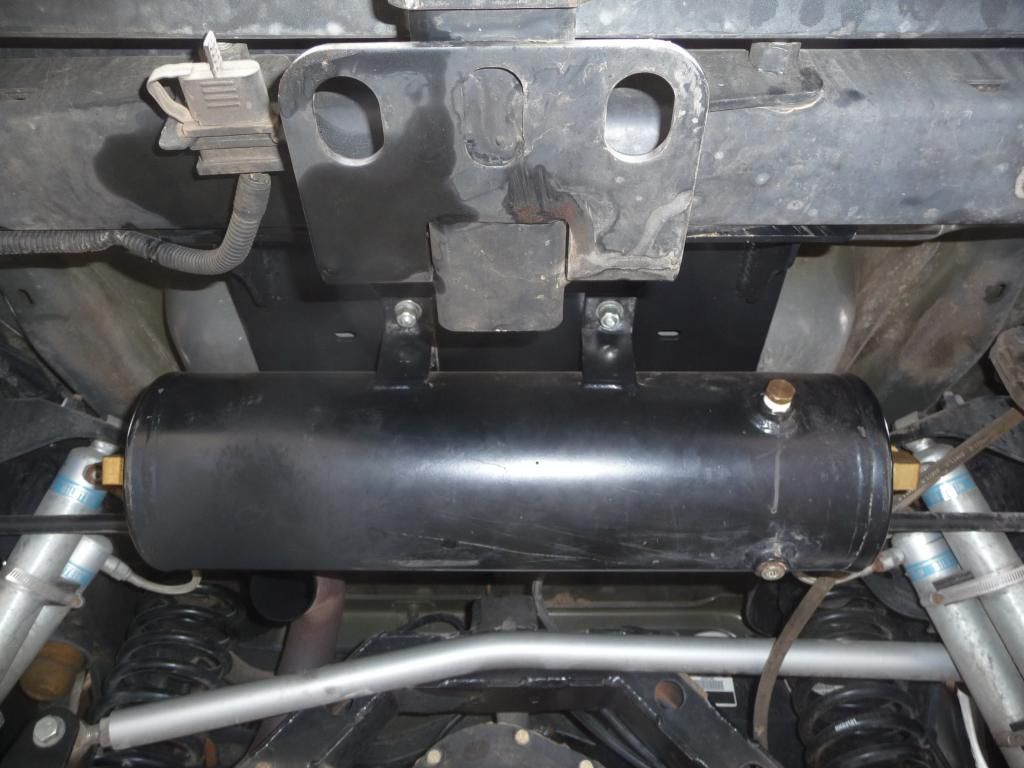
A few details on the OBA:
Air tank mounted in the factory muffler location because I had a flowmaster 44 placed under the driver's seat area:
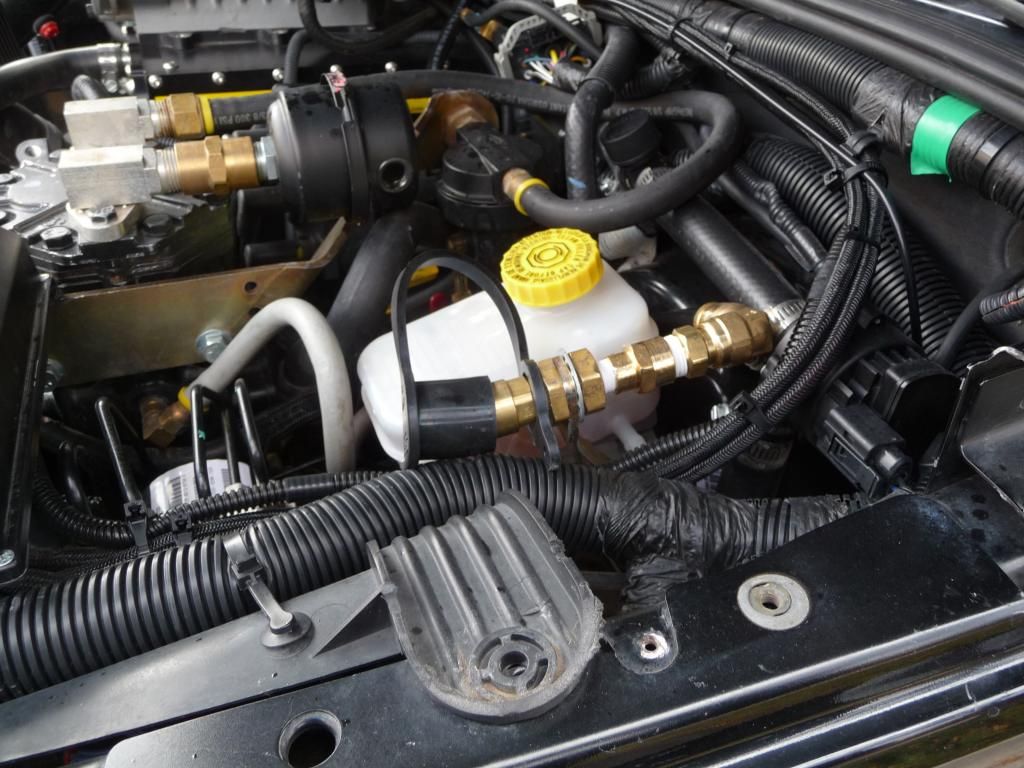
Instead of using the rubber hoses supplied with the kit, we decided to go with the snap in type fittings used on Semis for their brake system. The line has a 900 psi burst rating. We mounted a cupler on the distribution block and added a valve to the line running out to the tank. This way, if anything were to happen to the system, I can shut the valve and still run air off of the cupler on the block.
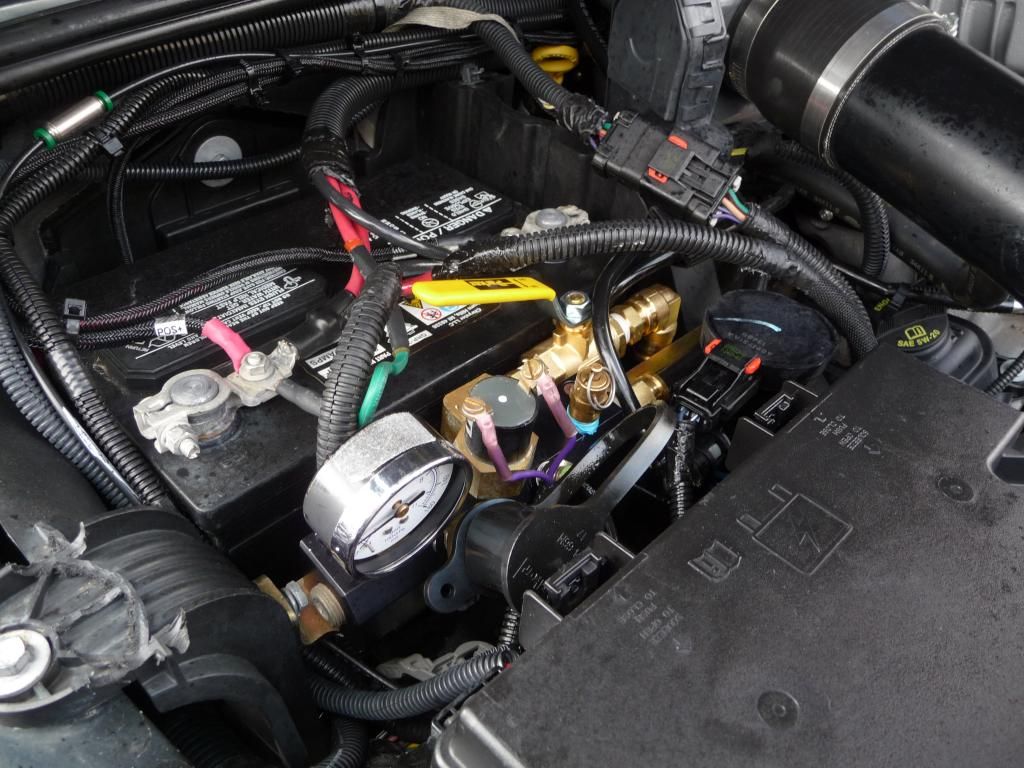
Lastly, there is a line that runs back from the tank to a second cupler on the driver�s side. We got the wrong size fitting and the store was closed on the weekend so that�s why you see a little more brass on there than was really needed to adapt everything:
Air tank mounted in the factory muffler location because I had a flowmaster 44 placed under the driver's seat area:
Instead of using the rubber hoses supplied with the kit, we decided to go with the snap in type fittings used on Semis for their brake system. The line has a 900 psi burst rating. We mounted a cupler on the distribution block and added a valve to the line running out to the tank. This way, if anything were to happen to the system, I can shut the valve and still run air off of the cupler on the block.
Lastly, there is a line that runs back from the tank to a second cupler on the driver�s side. We got the wrong size fitting and the store was closed on the weekend so that�s why you see a little more brass on there than was really needed to adapt everything: