
Tanimal/Limitless 2008 2D JK Build Thread!
 09-02-2013, 05:32 PM
#71
JK Enthusiast
Thread Starter
Join Date: May 2012
Location: Chicago, IL
Posts: 114
Likes: 0
Received 0 Likes
on
0 Posts
Thanks and that's what it's here for! Glad it helped.
Thanks buddy, I wish I had the cash for a RIPP, I'd love to have one. Thanks to both of you for dropping in.
Thanks buddy, I wish I had the cash for a RIPP, I'd love to have one. Thanks to both of you for dropping in.
 09-15-2013, 09:17 PM
#72
JK Enthusiast
Thread Starter
Join Date: May 2012
Location: Chicago, IL
Posts: 114
Likes: 0
Received 0 Likes
on
0 Posts
I've been so busy but as promised here is the light output on the Rigid Industries Dually that I had mounted for a rear backup light. Sorry it isn't the best picture:
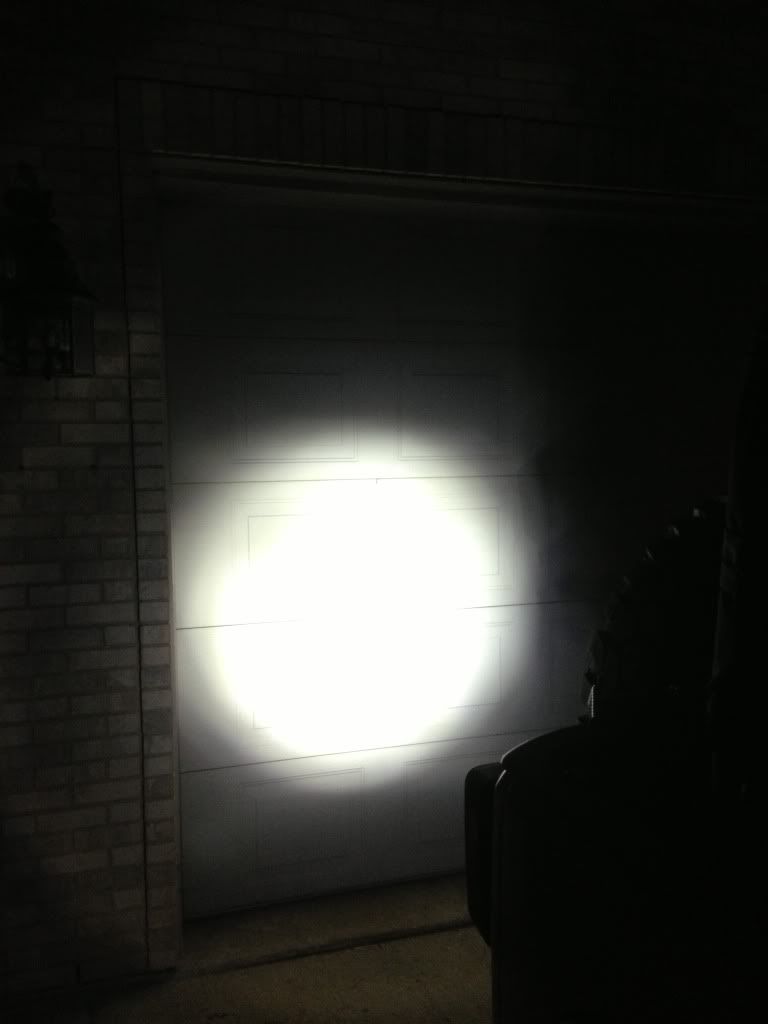
I think I wasn't very impressed with it as a backup light because it looks to be a "spot" pattern. I've replaced it with Olympus Off Road's 1 LED pod light that is flood/spot combo and it surprisingly throws more light off to the sides and that's what I needed as a backup light. I want to try that "diffused" pattern though:
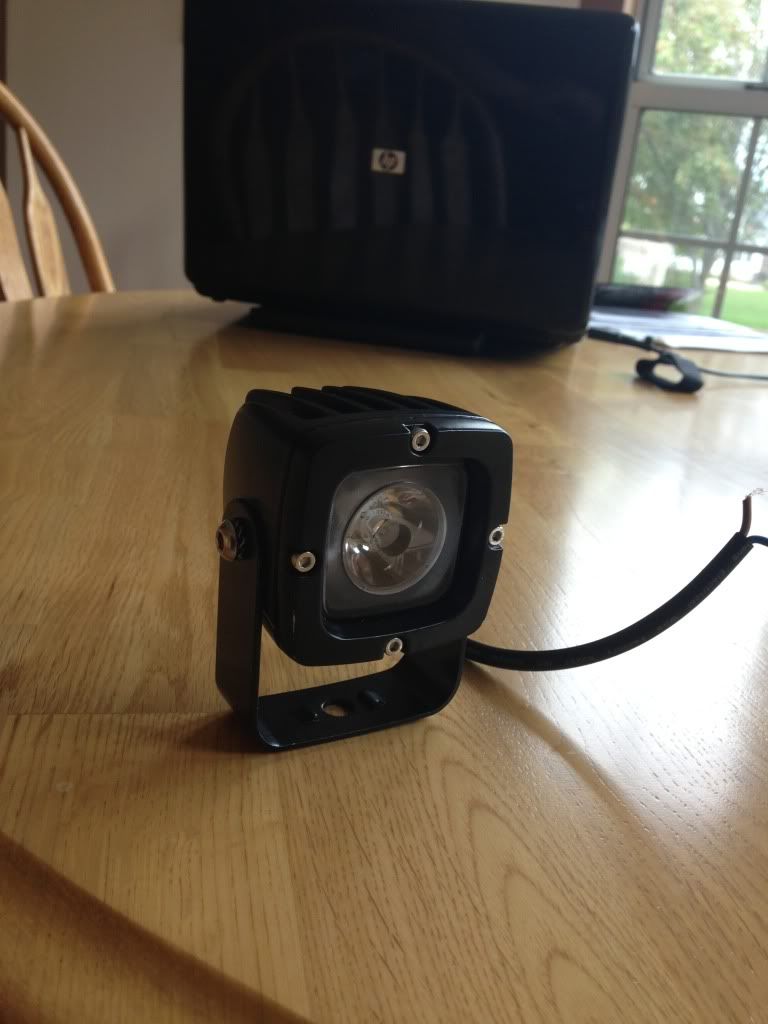
That's what it looks like. I'll get some pictures of it mounted on the Teraflex carrier and light output. Sorry not a ton of pictures but it's late and I'm exhausted.
 11-03-2013, 02:18 PM
#74
JK Enthusiast
Join Date: Feb 2012
Location: Jackson, MS
Posts: 490
Likes: 0
Received 0 Likes
on
0 Posts
11-04-2013, 10:44 AM
#75
JK Enthusiast
Thread Starter
Join Date: May 2012
Location: Chicago, IL
Posts: 114
Likes: 0
Received 0 Likes
on
0 Posts
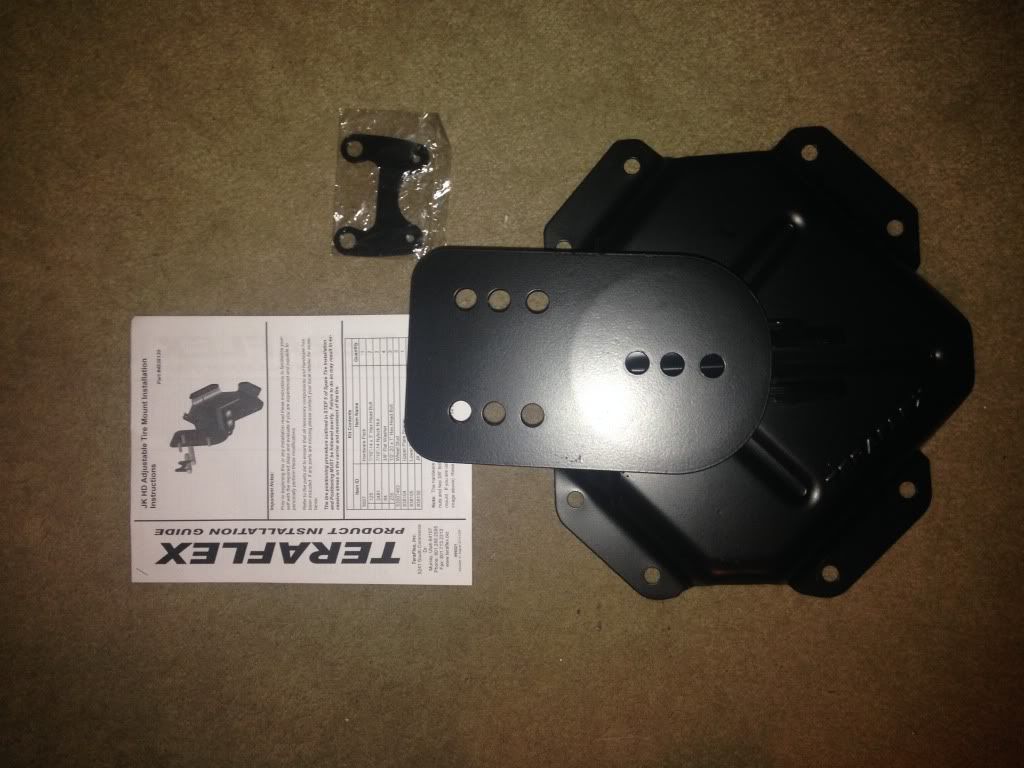
I got the Teraflex adjustable carrier installed in conjunction with my already installed Teraflex hinge mount. Really excited with the improvement over the stock carrier and all the adjustable options I have now. On with the pictures!
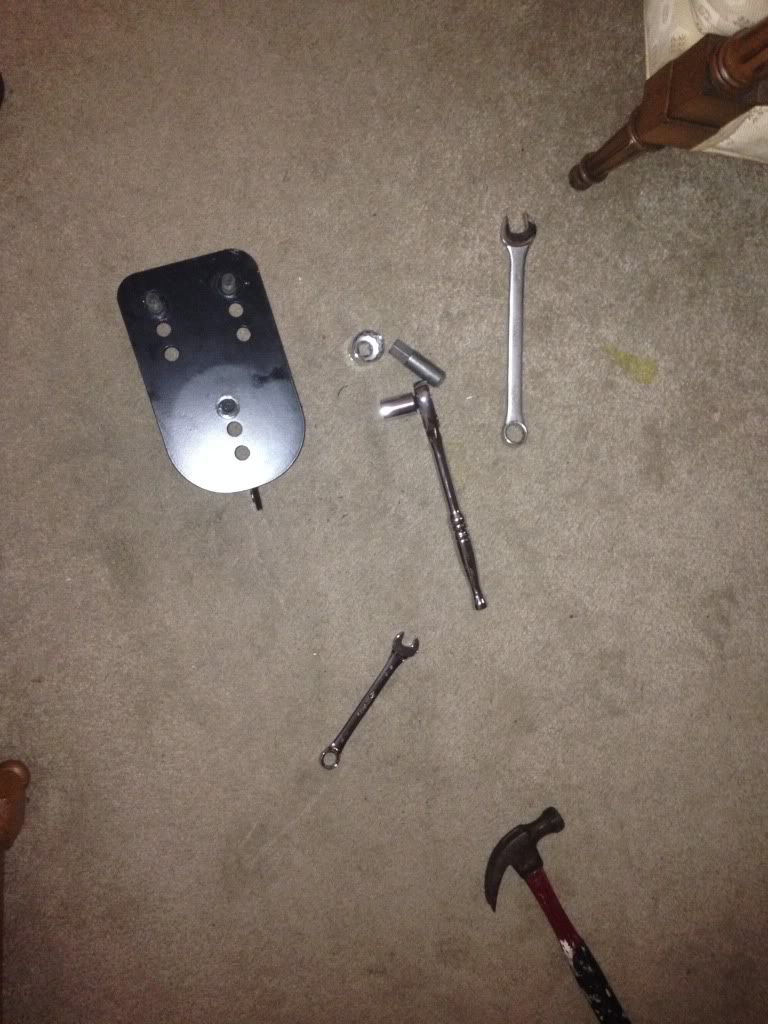
For part of the install you have to press the tire stud mounts into the Teraflex mount and it would have went a lot smoother if I didn't just have hand tools so this was the hardest part for me. Got creative though and it worked out:
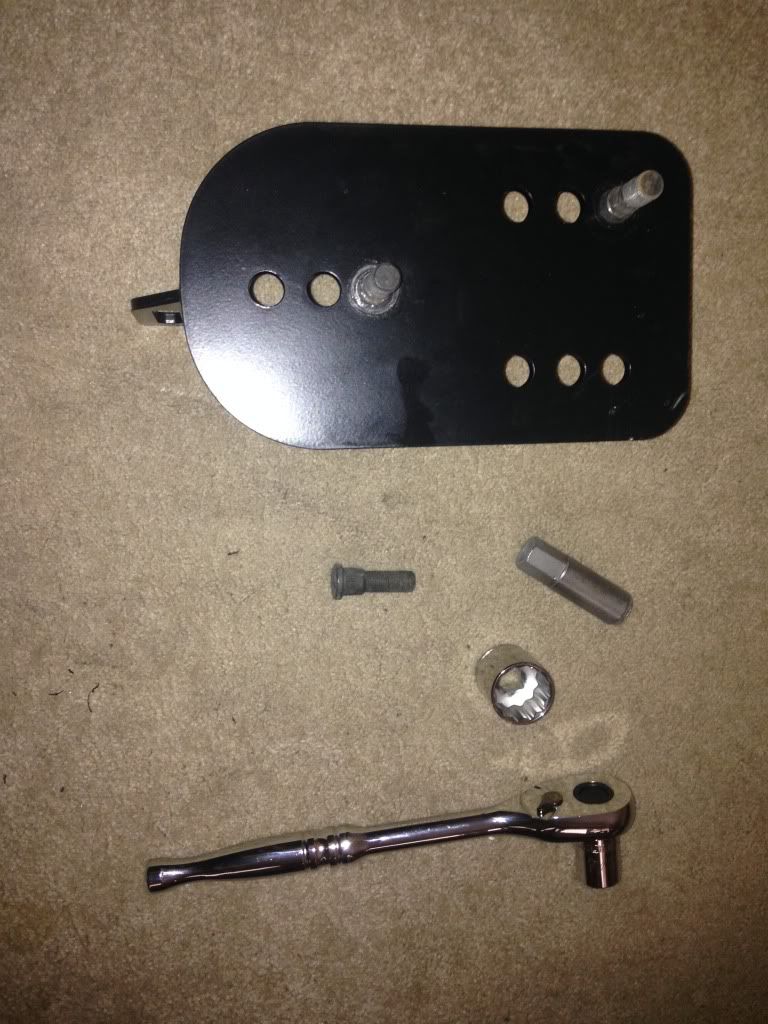
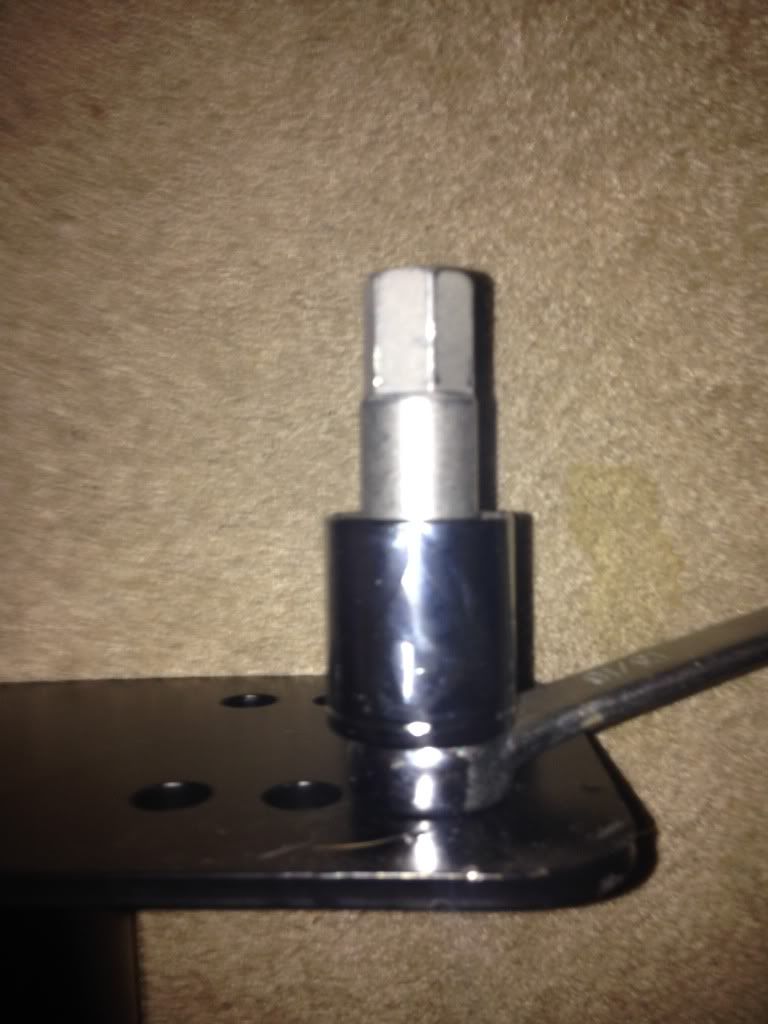
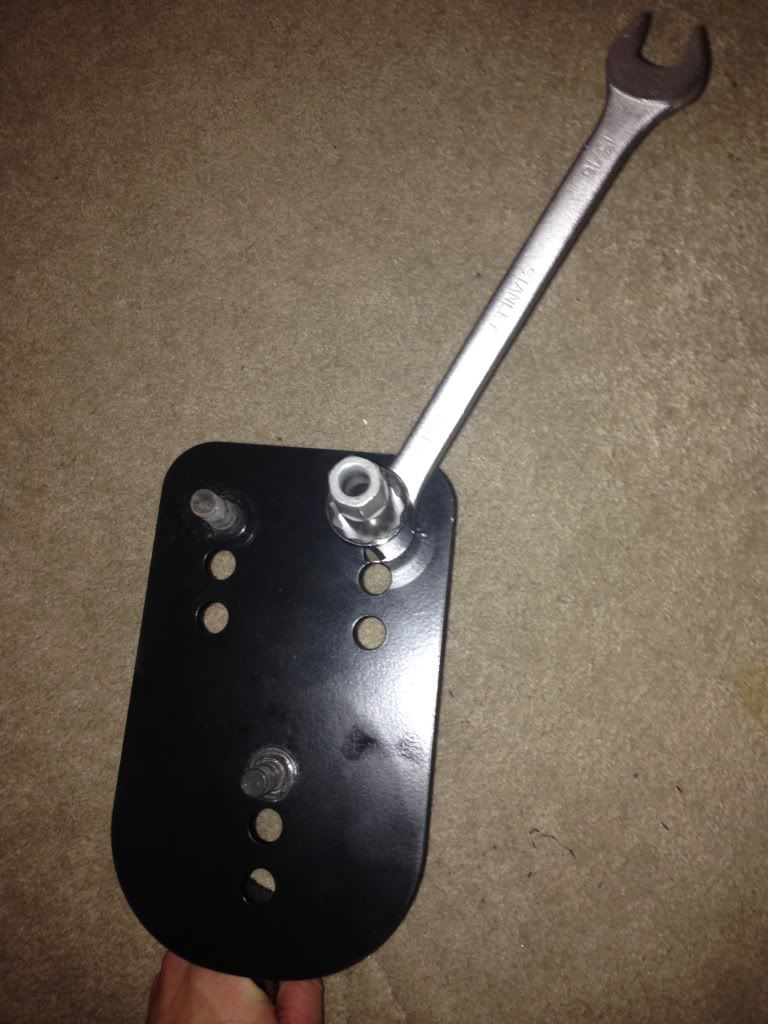
Used a socket and a wrench as a spacer and used one of the supplied bolts to thread the studs in. It was a pain but it worked. Here's my victory photo :
As you can see I mounted the studs at the highest possible setting (for a 37inch tire) Even though I have a "35" KM2 I wanted to gain as much height as I could for a better departure angle.
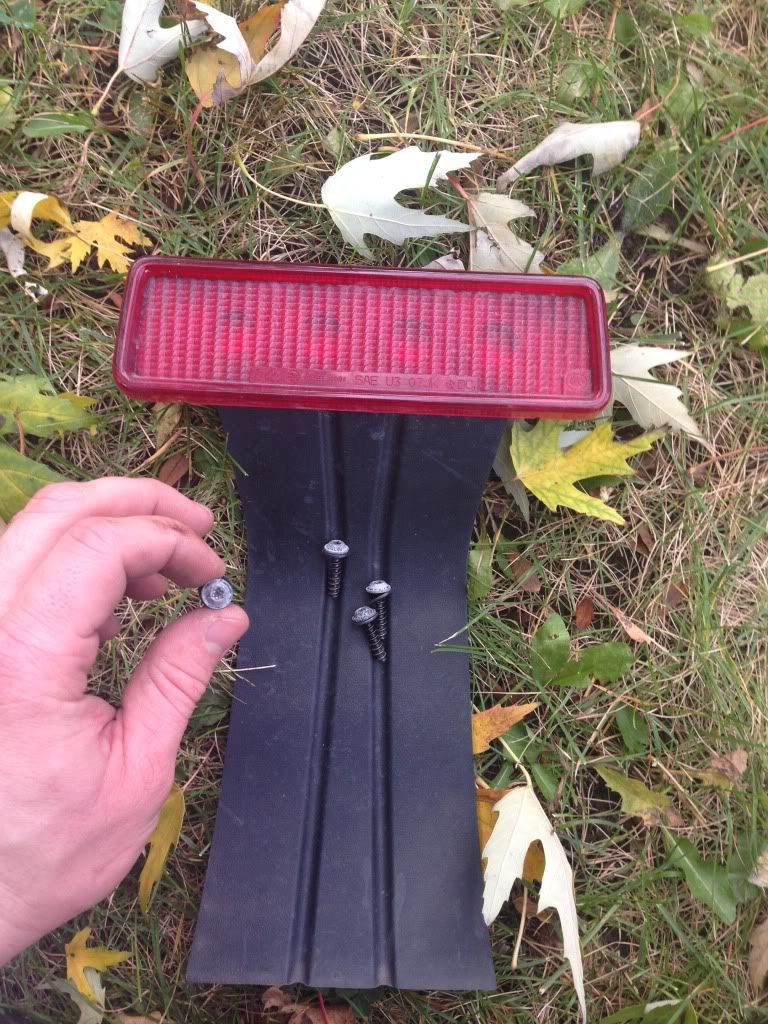
Make sure you have a T20 to remove the 3rd brake light from it's housing because you'll be reusing it:
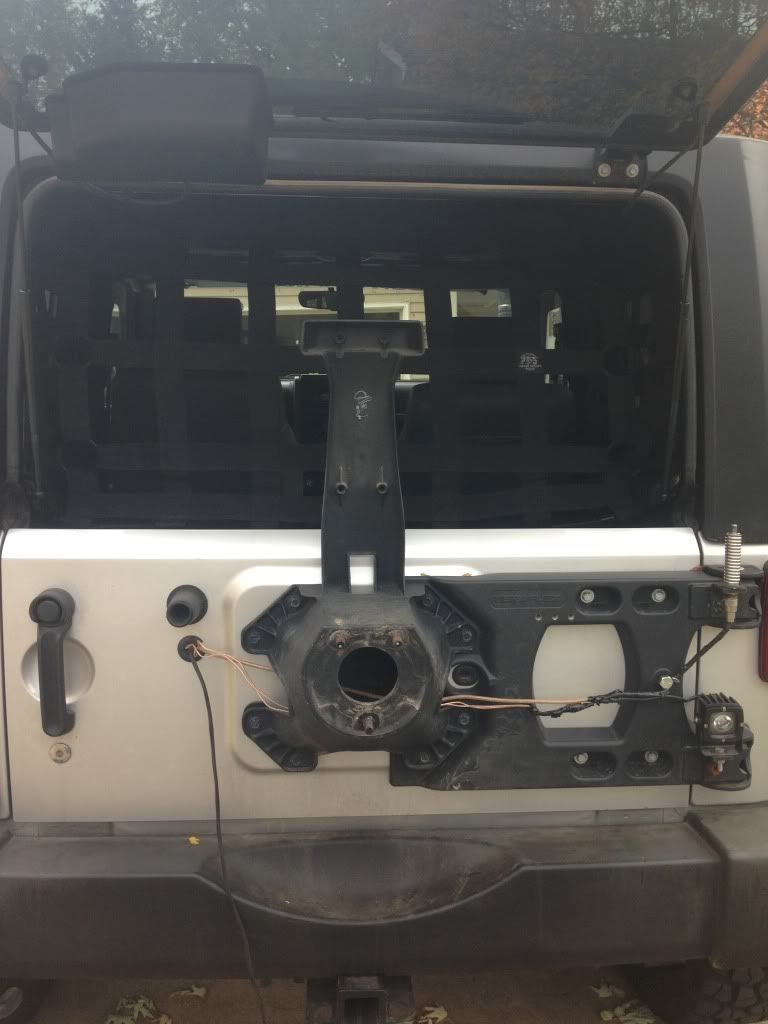
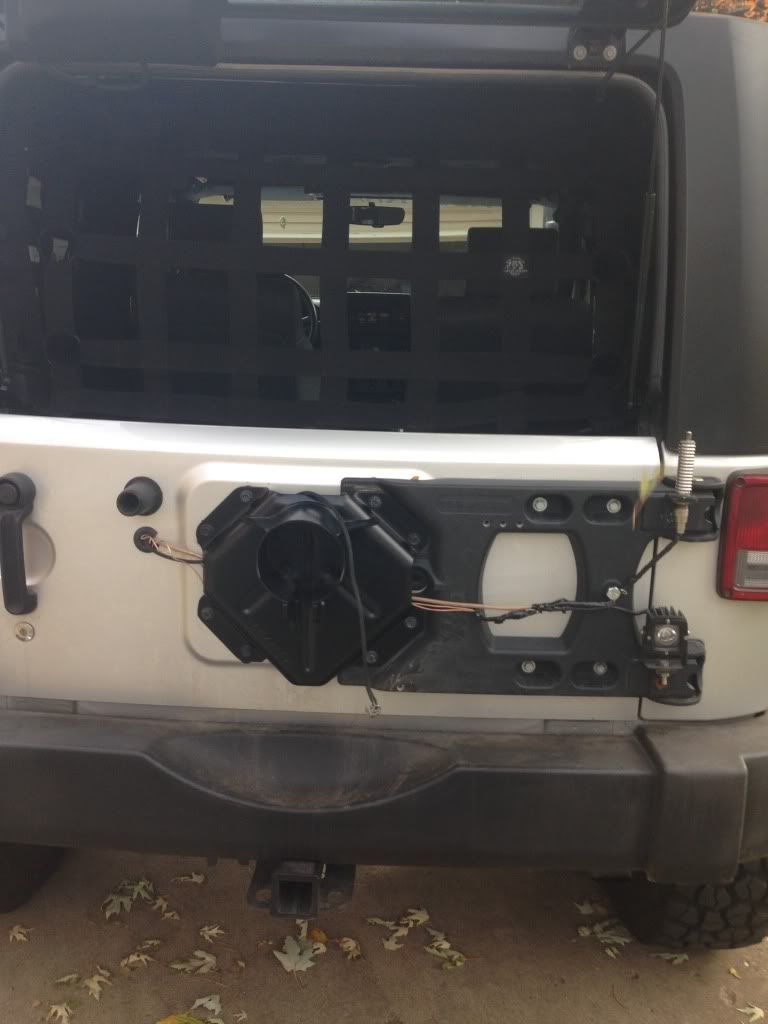
Mounted up the adjustable mount:
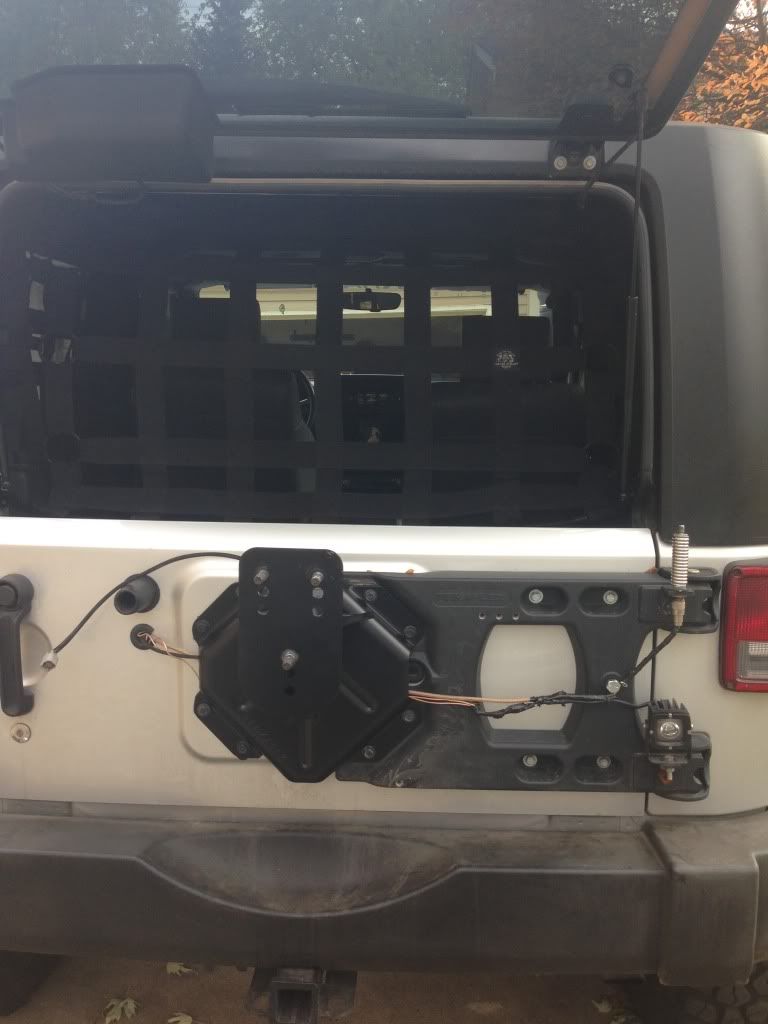
and slid in the actual part that you mount the spare to (this is also adjustable depth wise, so you can have it sit out from the tailgate as far as it will go or pull it in nice and tight)
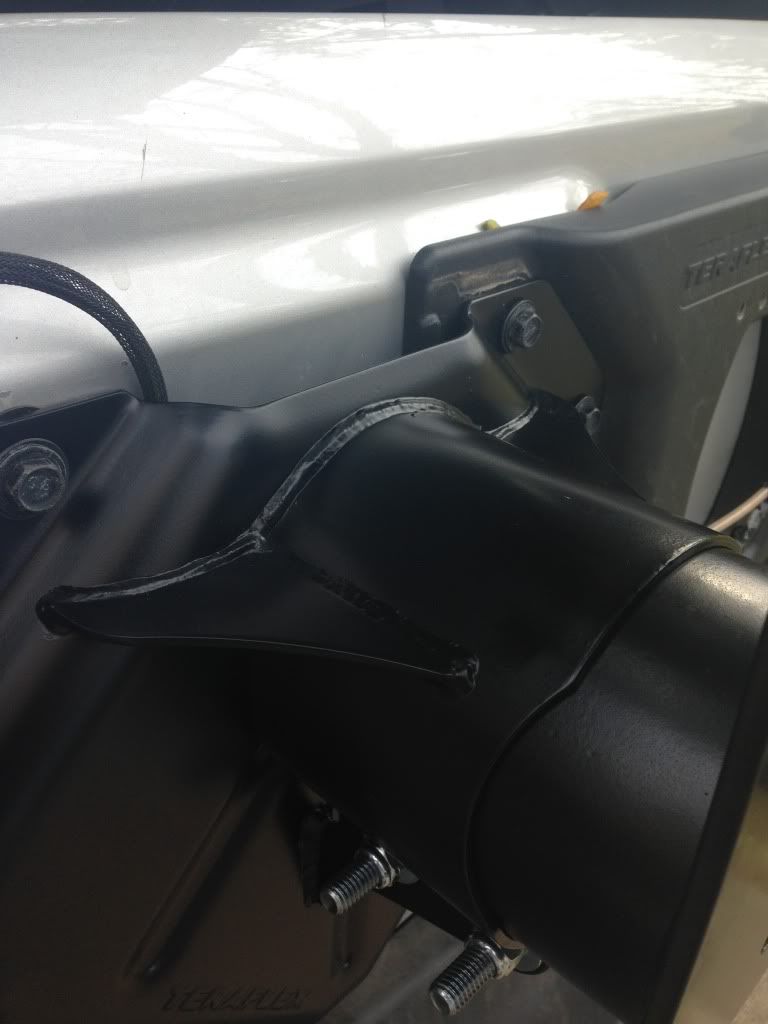
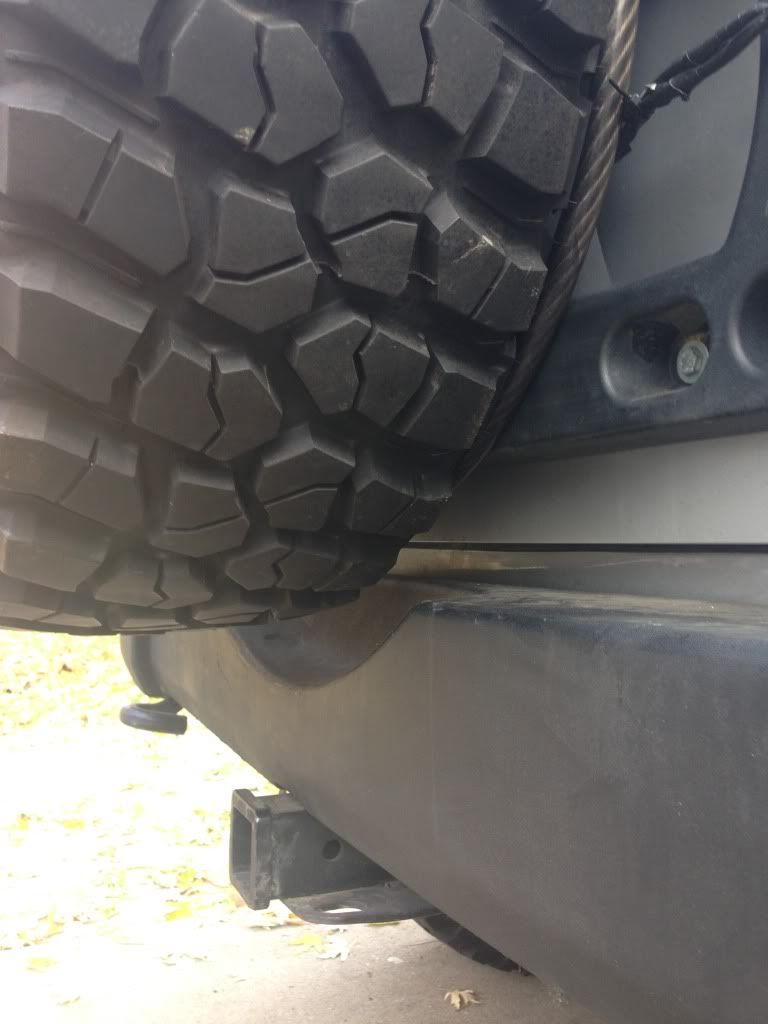
I remember when I was reading into getting the adjustable mount I saw some threads with people have problems with the weld cracking. Looks like Teraflex reinforced this with some beefy gussets and also at the bottom of this picture you can kind of see how it slides and theres 2 bolts at the bottom to tighten it in the spot you choose:
All finished :
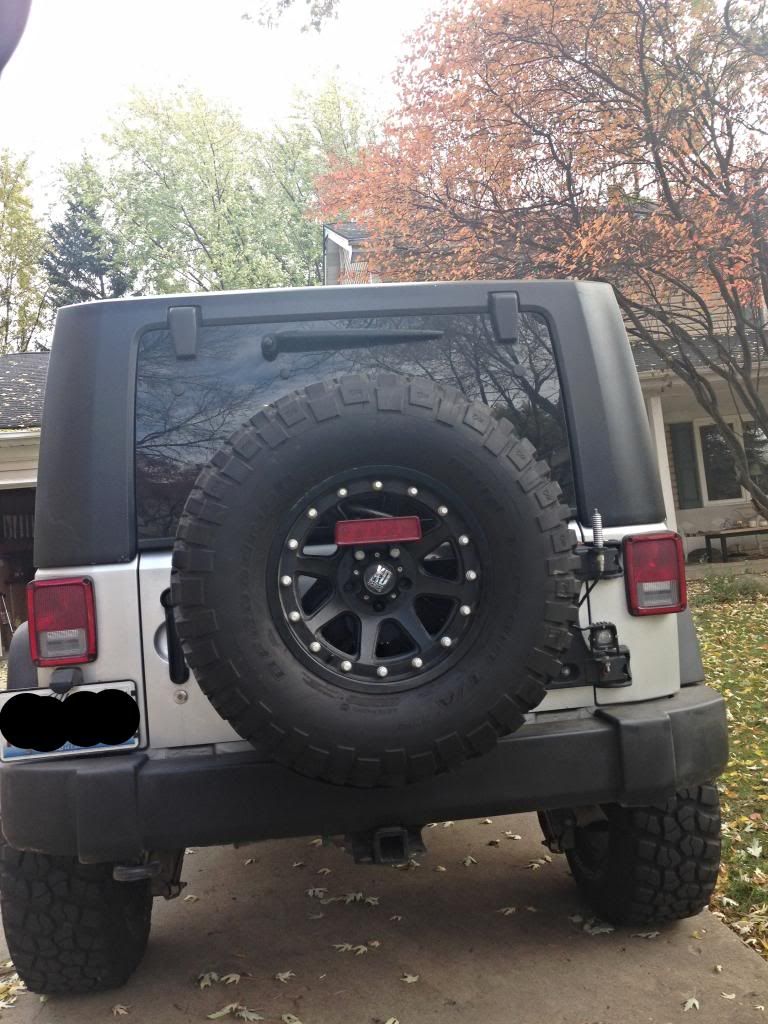
Side shot (I pulled it in as close as possible with my rims backspacing and I actually have it up against the rubber bumpstop: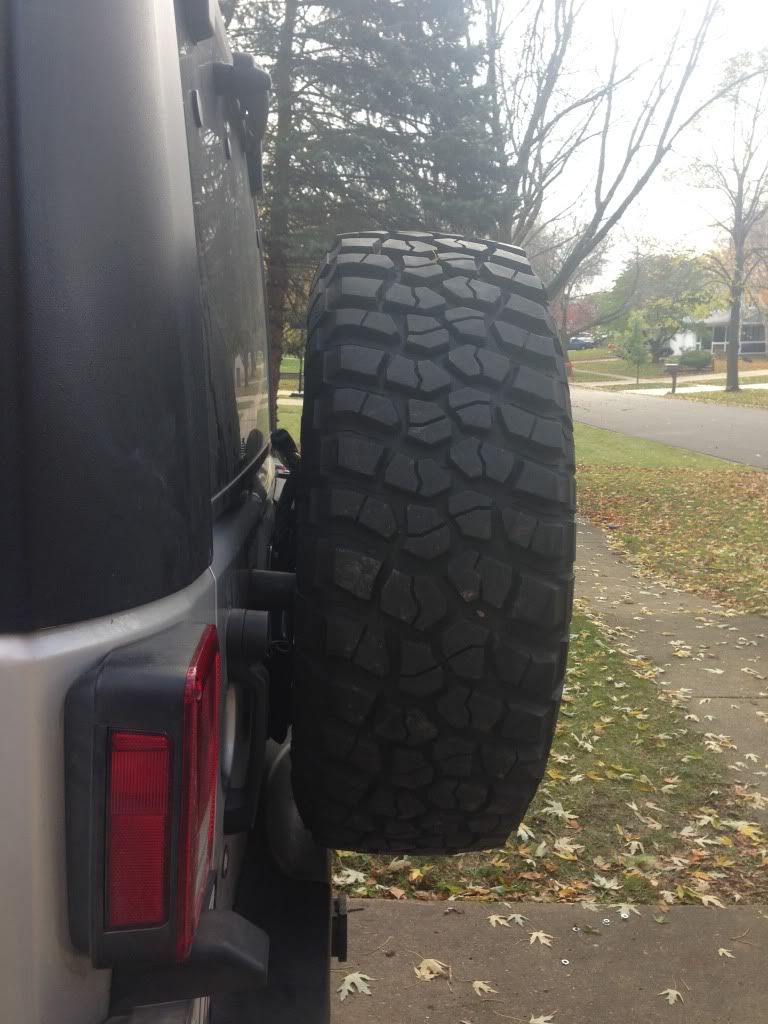
My tire use to sit on my bumper and I gained 2 inches of height :
Hope you enjoyed!
For part of the install you have to press the tire stud mounts into the Teraflex mount and it would have went a lot smoother if I didn't just have hand tools so this was the hardest part for me. Got creative though and it worked out:


Used a socket and a wrench as a spacer and used one of the supplied bolts to thread the studs in. It was a pain but it worked. Here's my victory photo :

As you can see I mounted the studs at the highest possible setting (for a 37inch tire) Even though I have a "35" KM2 I wanted to gain as much height as I could for a better departure angle.
Make sure you have a T20 to remove the 3rd brake light from it's housing because you'll be reusing it:


Mounted up the adjustable mount:

and slid in the actual part that you mount the spare to (this is also adjustable depth wise, so you can have it sit out from the tailgate as far as it will go or pull it in nice and tight)

I remember when I was reading into getting the adjustable mount I saw some threads with people have problems with the weld cracking. Looks like Teraflex reinforced this with some beefy gussets and also at the bottom of this picture you can kind of see how it slides and theres 2 bolts at the bottom to tighten it in the spot you choose:

All finished :

Side shot (I pulled it in as close as possible with my rims backspacing and I actually have it up against the rubber bumpstop:

My tire use to sit on my bumper and I gained 2 inches of height :

Hope you enjoyed!
12-06-2013, 09:49 PM
#76
JK Enthusiast
Thread Starter
Join Date: May 2012
Location: Chicago, IL
Posts: 114
Likes: 0
Received 0 Likes
on
0 Posts
Update: Pulled the trigger on Poison Spyder front (narrow) and rear crusher fenders, hopefully will be installed and painted before Xmas. Stay tuned.
12-11-2013, 09:45 PM
#77
JK Enthusiast
Thread Starter
Join Date: May 2012
Location: Chicago, IL
Posts: 114
Likes: 0
Received 0 Likes
on
0 Posts
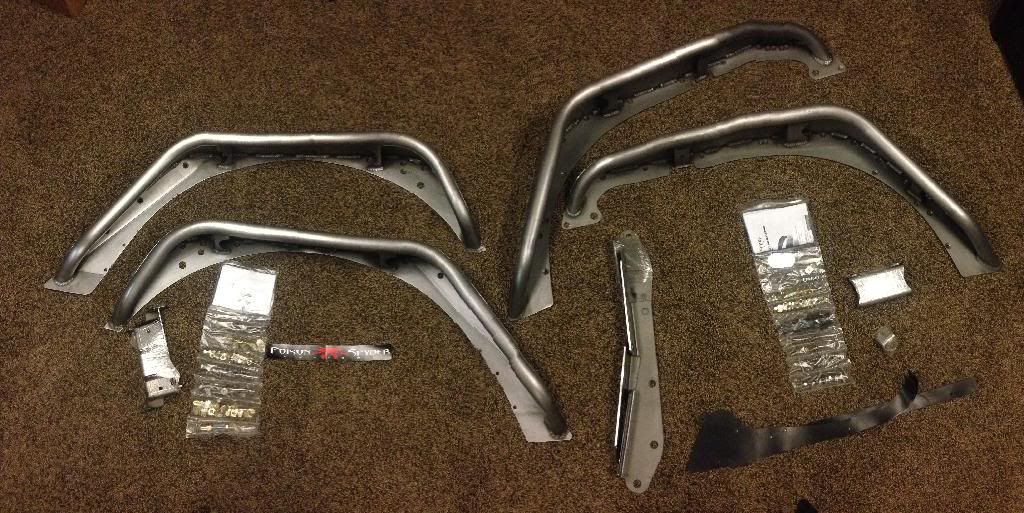
Poison Spyder narrow fenders arrived! Even though I won't be installing for a bit I had to unbox them. Brought them up to my bedroom also, they're sleeping with me until installed ....
 12-19-2013, 09:46 AM
#78
JK Enthusiast
Thread Starter
Join Date: May 2012
Location: Chicago, IL
Posts: 114
Likes: 0
Received 0 Likes
on
0 Posts
Got my dads storage unit all set up for fenders painting!
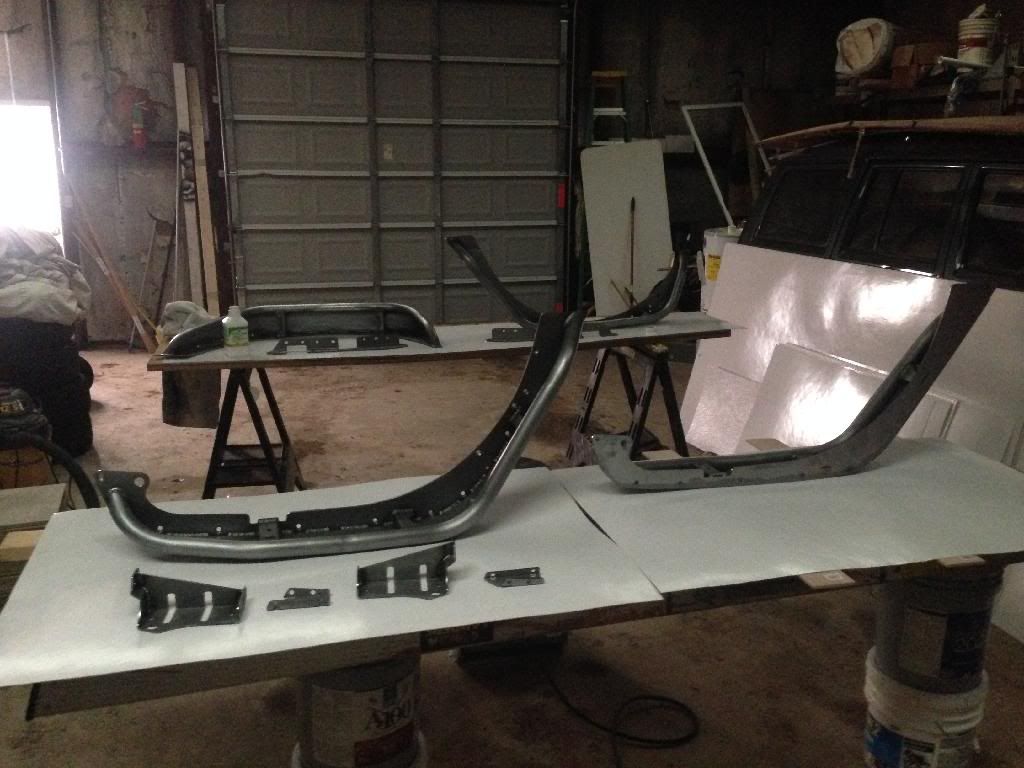
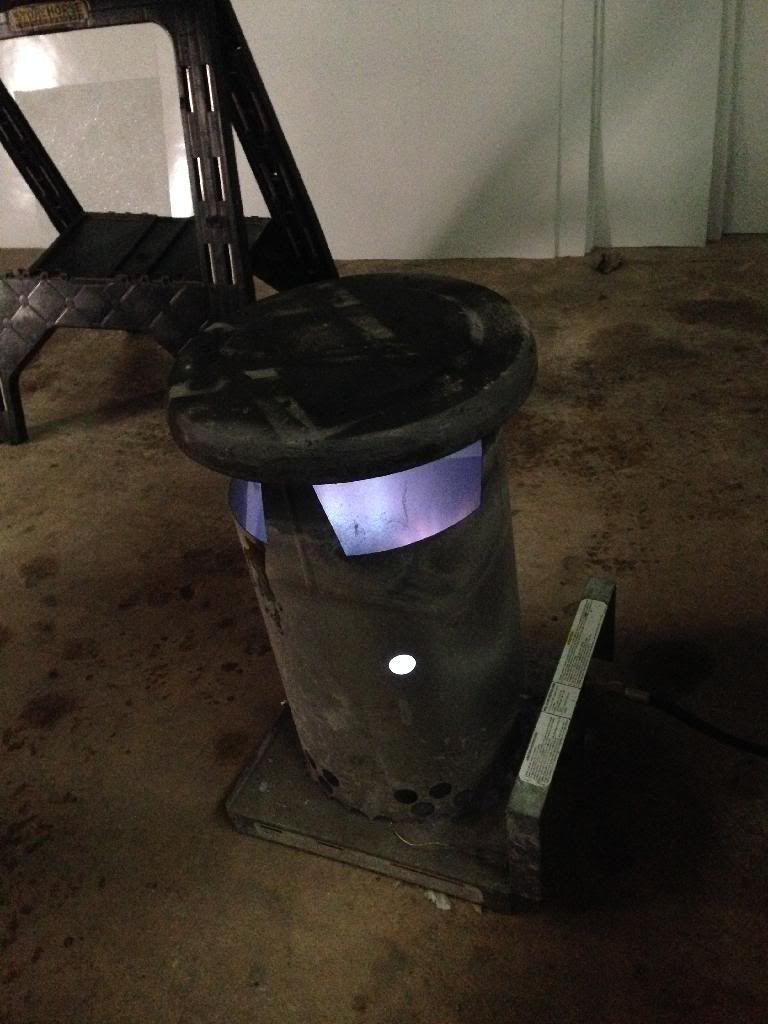
Unfortunately it doesn't have electricity so we are using a propane heater:
Fenders are all primed:


Hopefully will be doing the paint tomorrow. Been reading a lot on what people like to use and my buddy suggested this stuff:
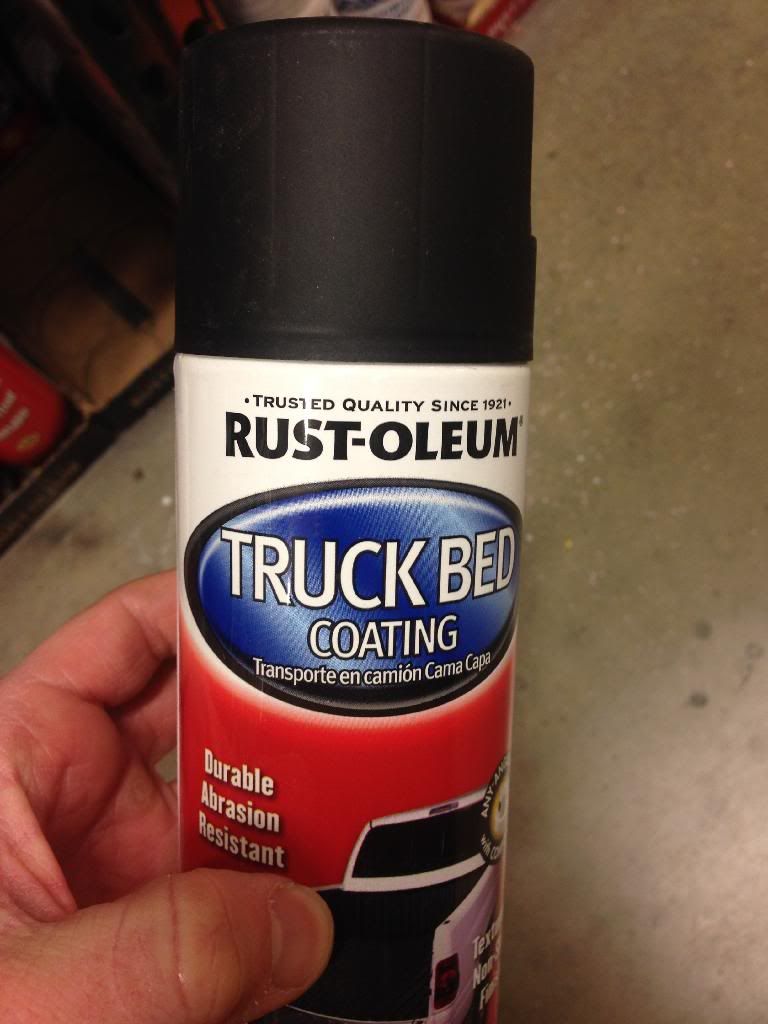
I've also heard just Rustoleum textured, Duplicolor bed coating, and everything else. Suggestions ?

Unfortunately it doesn't have electricity so we are using a propane heater:

Fenders are all primed:


Hopefully will be doing the paint tomorrow. Been reading a lot on what people like to use and my buddy suggested this stuff:

I've also heard just Rustoleum textured, Duplicolor bed coating, and everything else. Suggestions ?
12-19-2013, 01:39 PM
#79
JK Enthusiast
Join Date: Jul 2012
Location: Chantilly, VA
Posts: 456
Likes: 0
Received 0 Likes
on
0 Posts
I'm usually a rustoleum guy, so when it came time to do my PSC brawler lite and fenders I went with their etching primer and textured black. Unfortunately, the results turned out really poorly on my bumper so I switched to dupicolor etching primer and bed liner. I noticed a significant difference with duplicolor, I had much better results and extremely happy with how it turned out.
12-19-2013, 01:50 PM
#80
JK Enthusiast
Join Date: Jan 2013
Location: United States
Posts: 174
Likes: 0
Received 0 Likes
on
0 Posts
I just painted my brawler lite with duplicolor self etching primer and duplicolor bed armor. I would not recommend the bed armor. I have had better experience with the duplicolor bedliner. If the temperature is cold at all the bed armor just spits out of the can. Also if you got the skid plate as well, my bolts that are below the frame rail mounting points were in the way and had to be removed. Just FYI. ..would have saved me a lot of headaches!