Tanimal/Limitless 2008 2D JK Build Thread!
 12-27-2012, 07:50 PM
#1
JK Enthusiast
Thread Starter
Join Date: May 2012
Location: Chicago, IL
Posts: 114
Likes: 0
Received 0 Likes
on
0 Posts
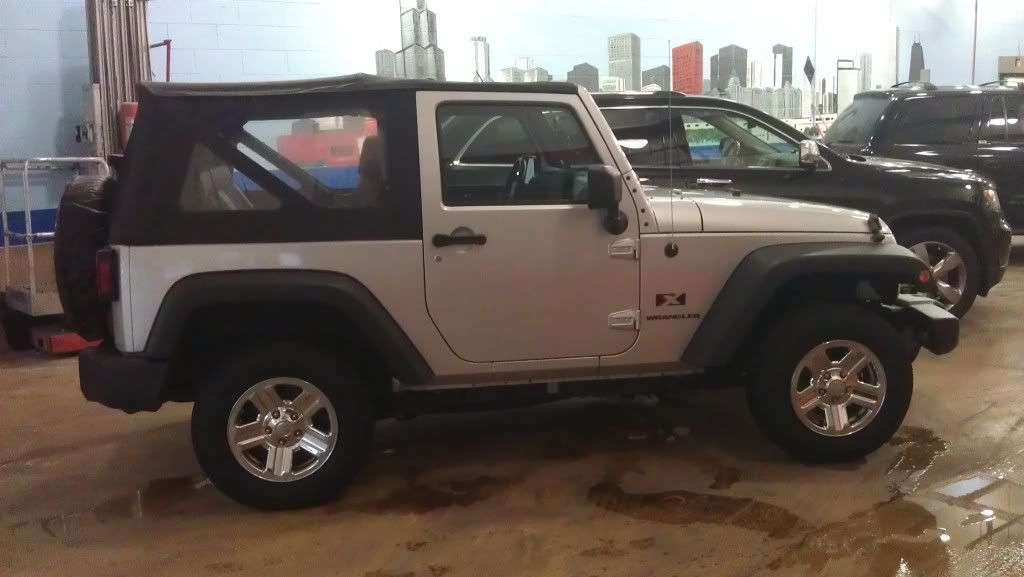
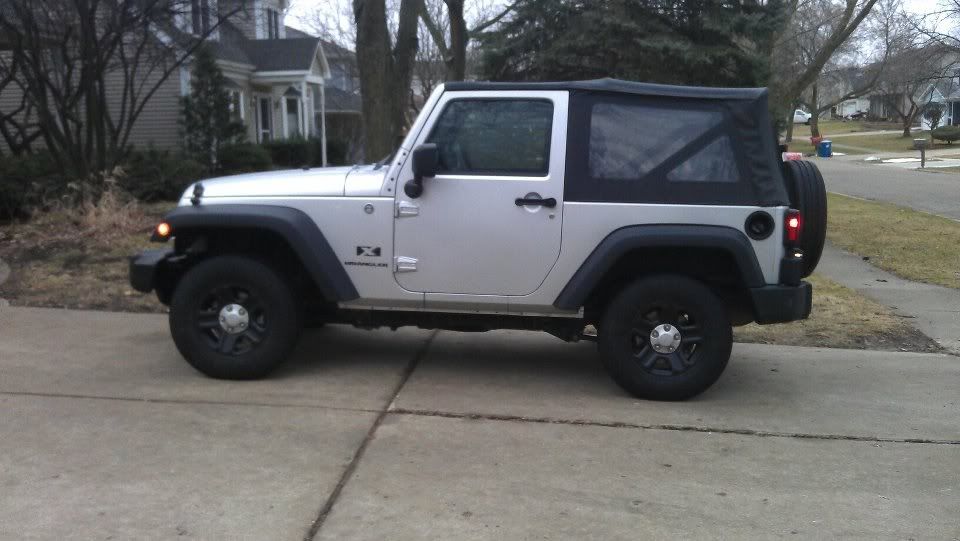
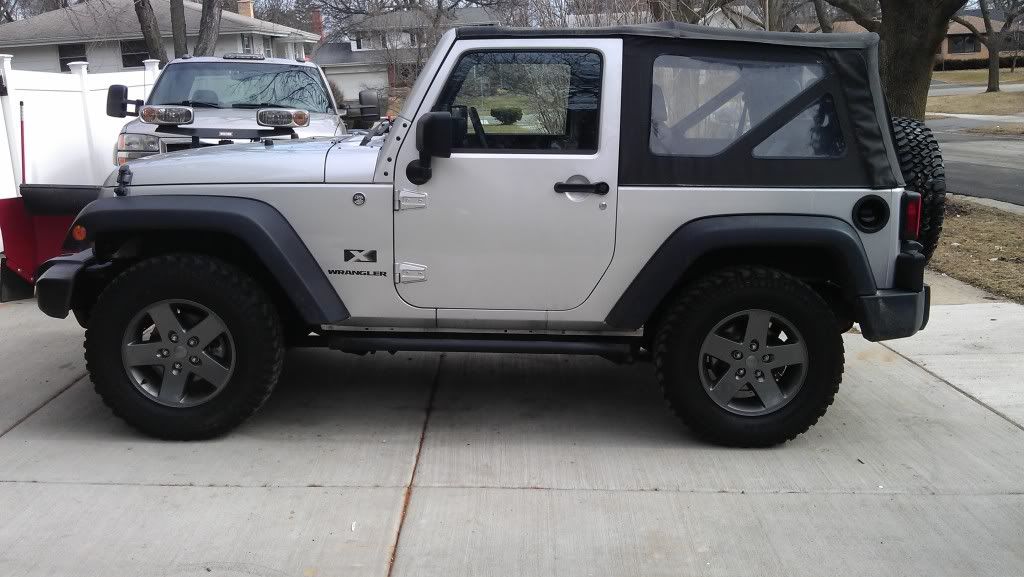
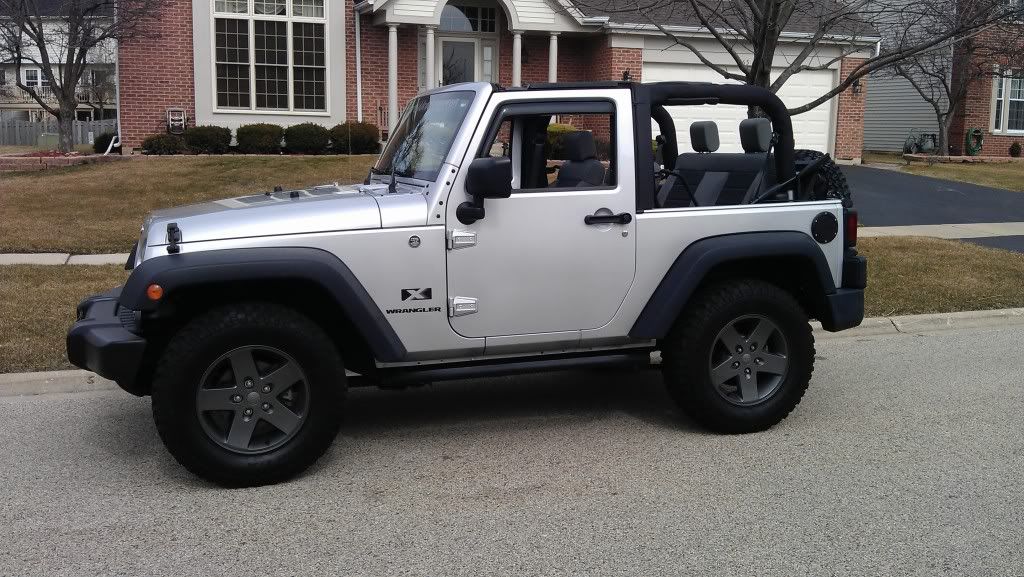
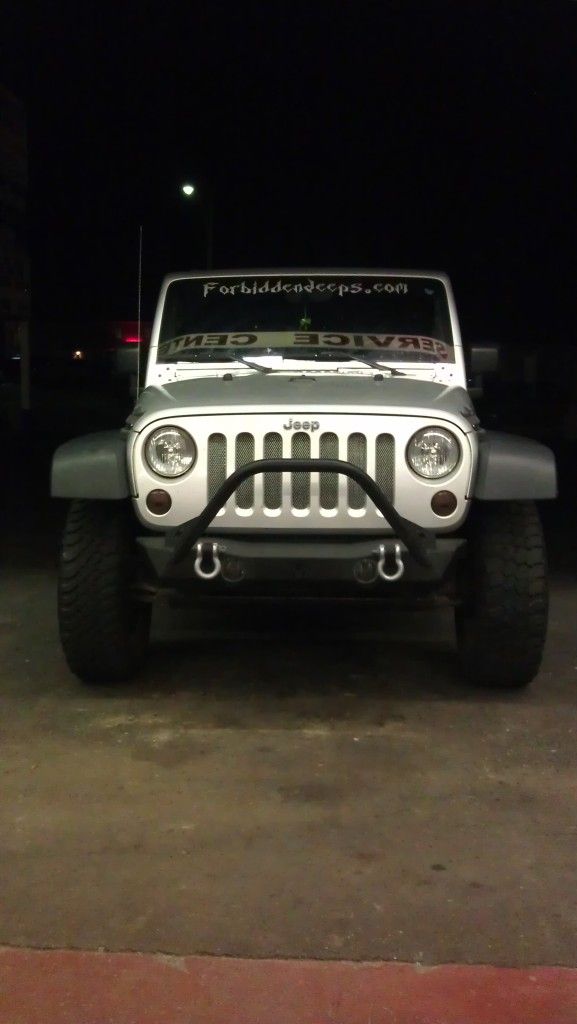
Hello all and welcome to my build thread! Here's a picture on day one when I just picked it up. (1-23-2012...gfs birthday hahaha) (and please mods if I am in violation of anything please let me know, tried to read all the rules but my head started to spin)
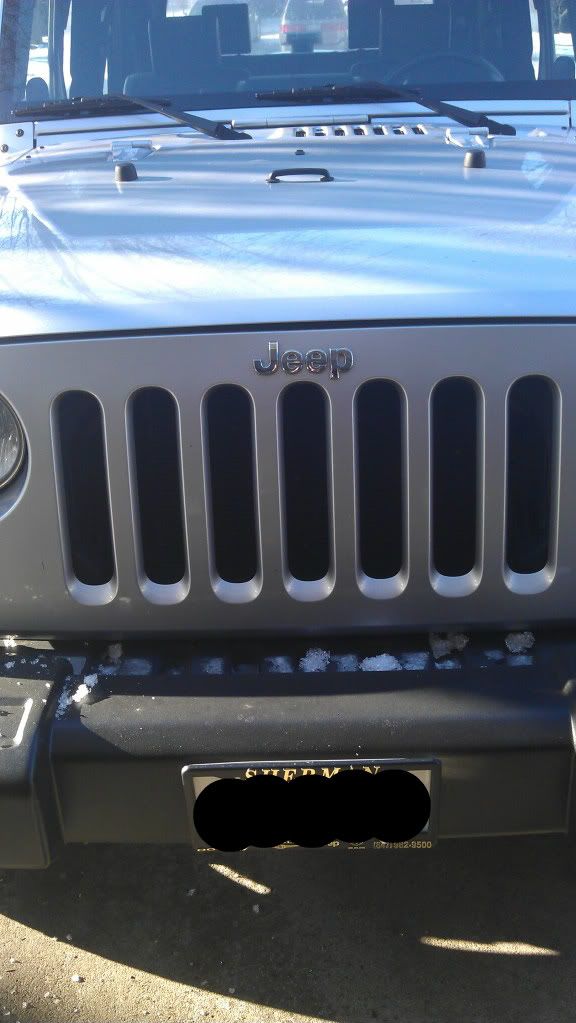
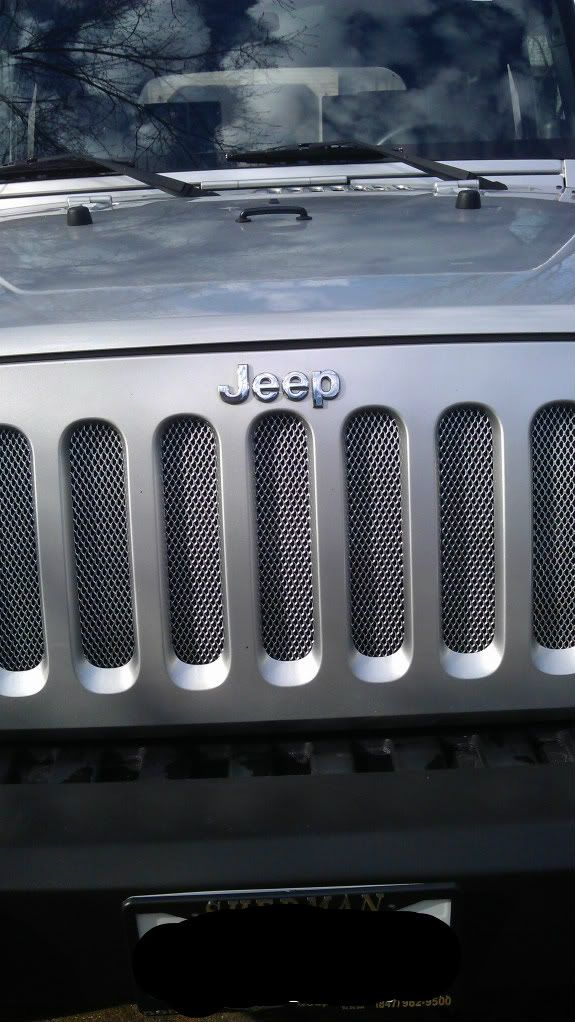
Decided to do the easy mod, new homemade grill!
Before:
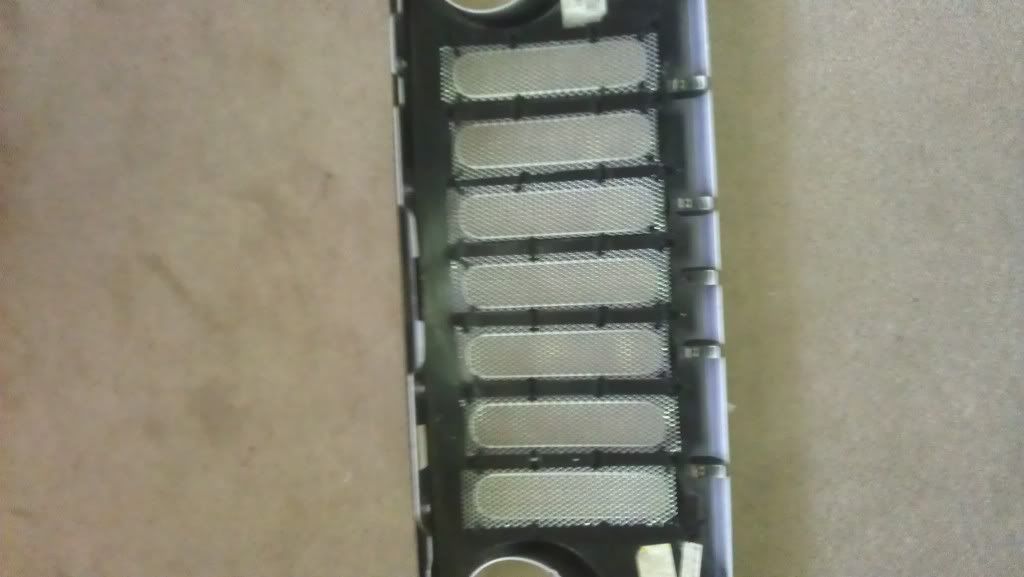
During:
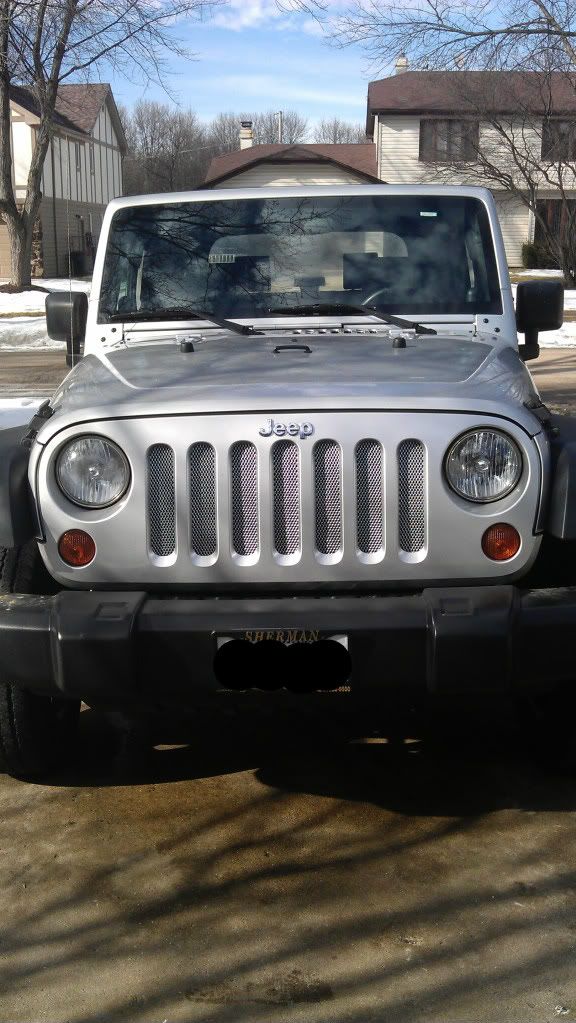
After:
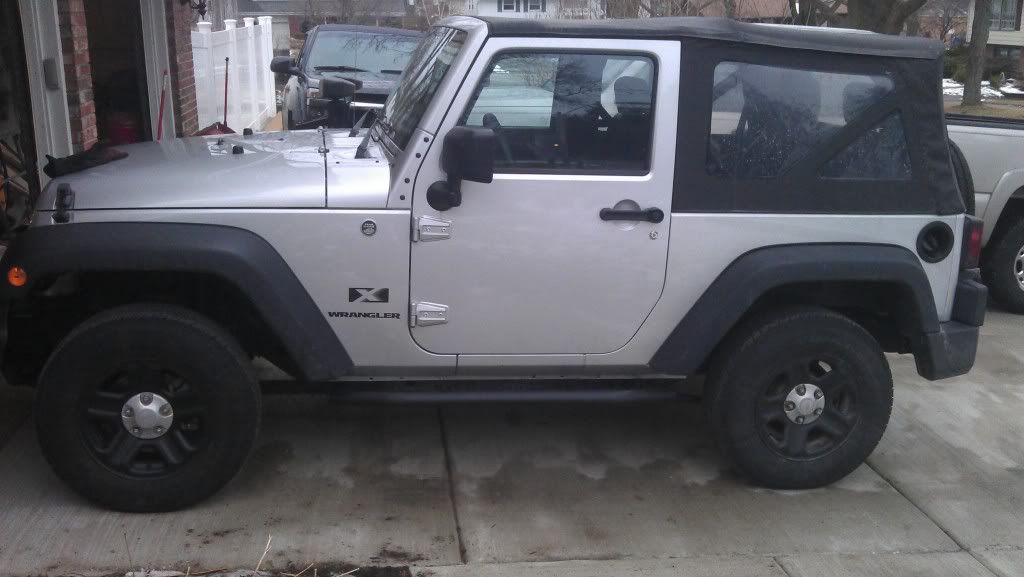
Took it offroad and tore the wheels and hub caps up pretty good so just painted them black with the rattle can:
Tossed on my first "big mod" ACE rock sliders! Love them!

Picked up a set of Moutain Edition takeoffs with the mineral gray wheels for $450 bucks for all 5! :
During:
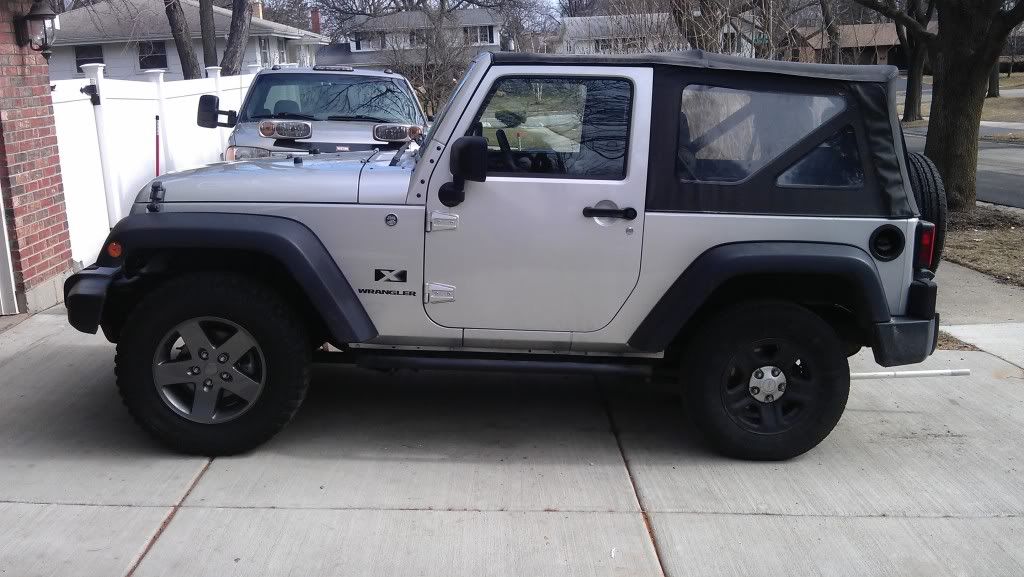
After:

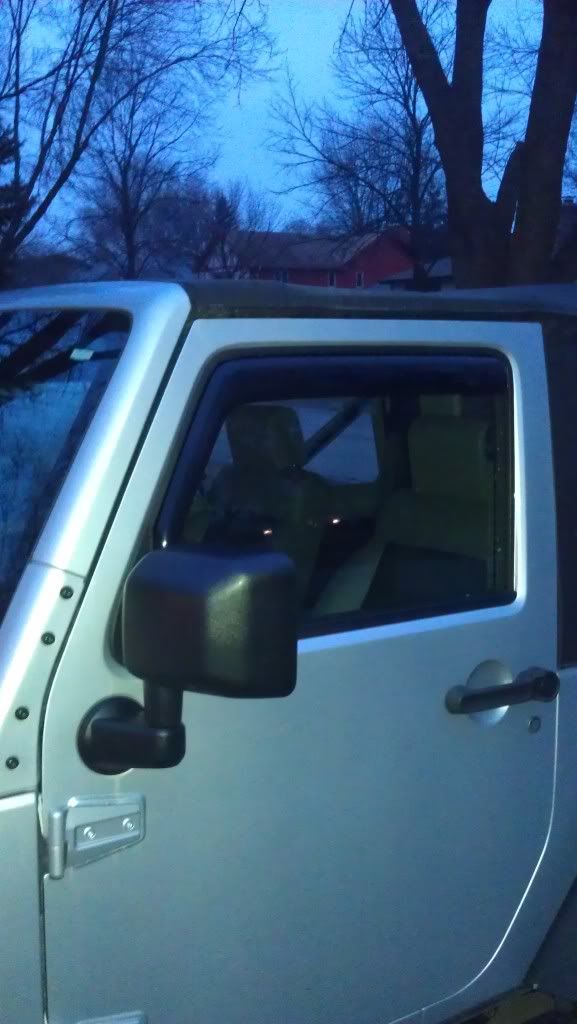
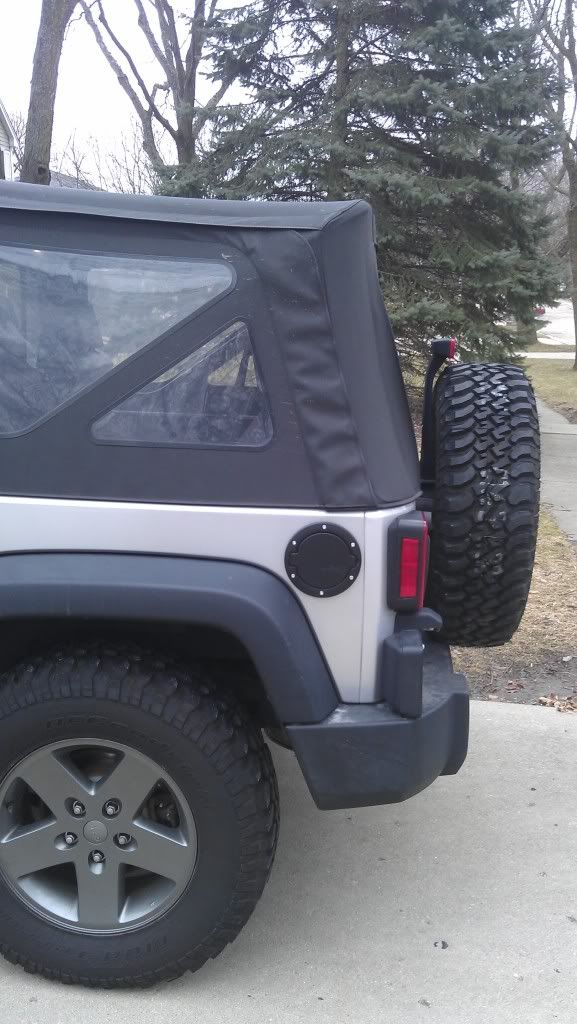
Grabbed some more small things and did the in channel wind guards and the black gas tank cap:
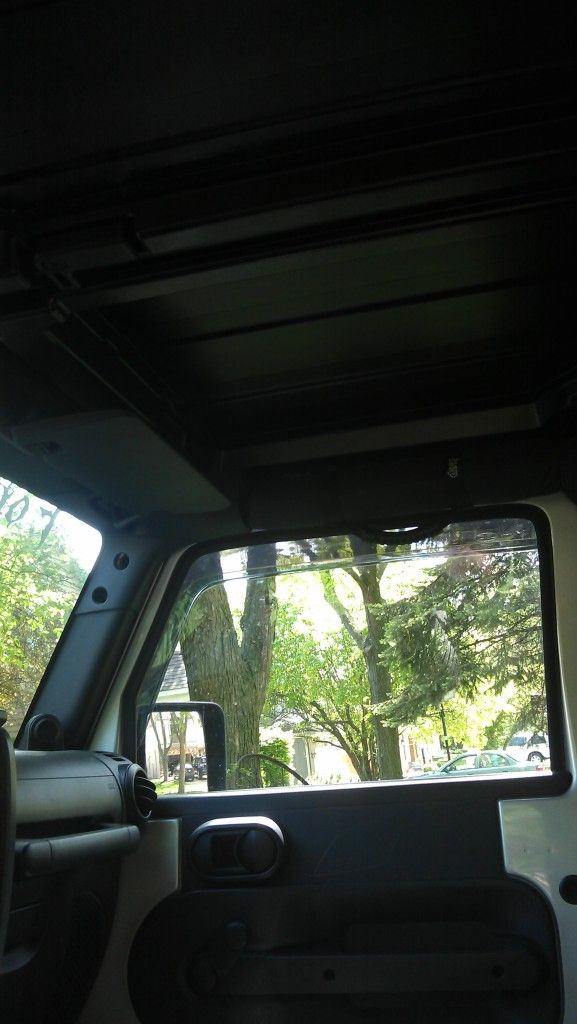
Ripped the top off finally :
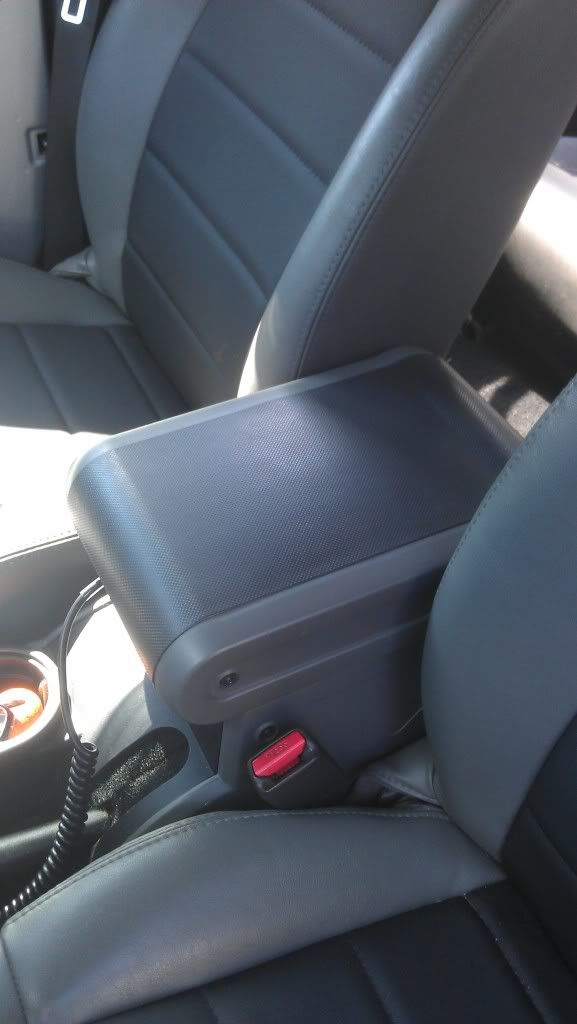
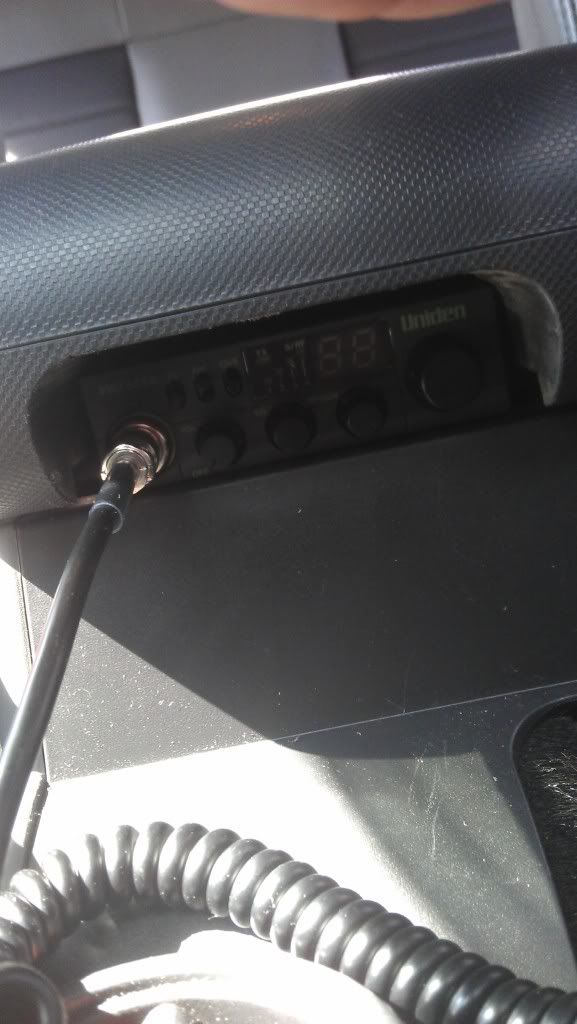
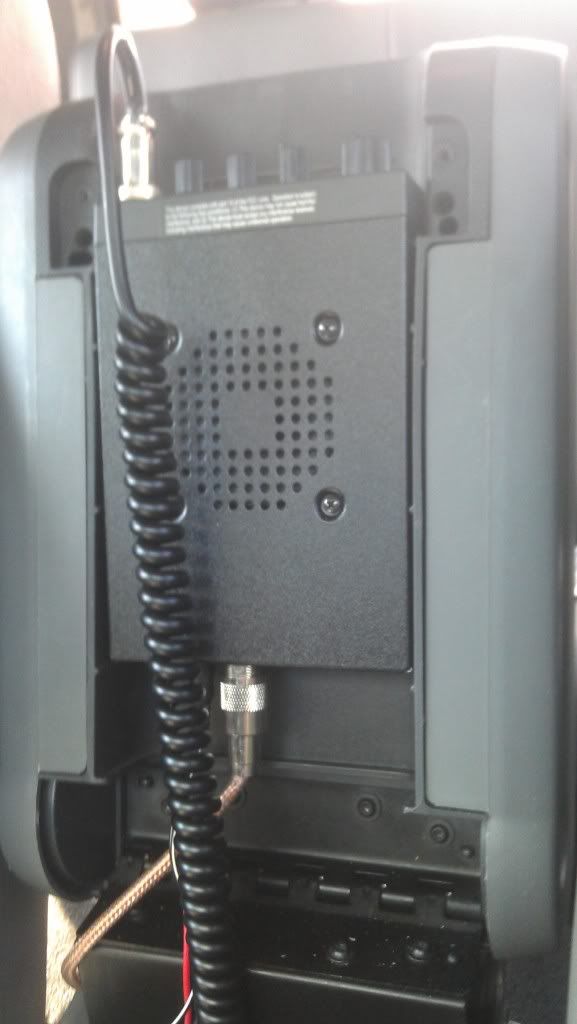
Installed a CB radio, went with the Uniden Pro 520xl and you'll love where I mounted it! :
Firestik antenna:
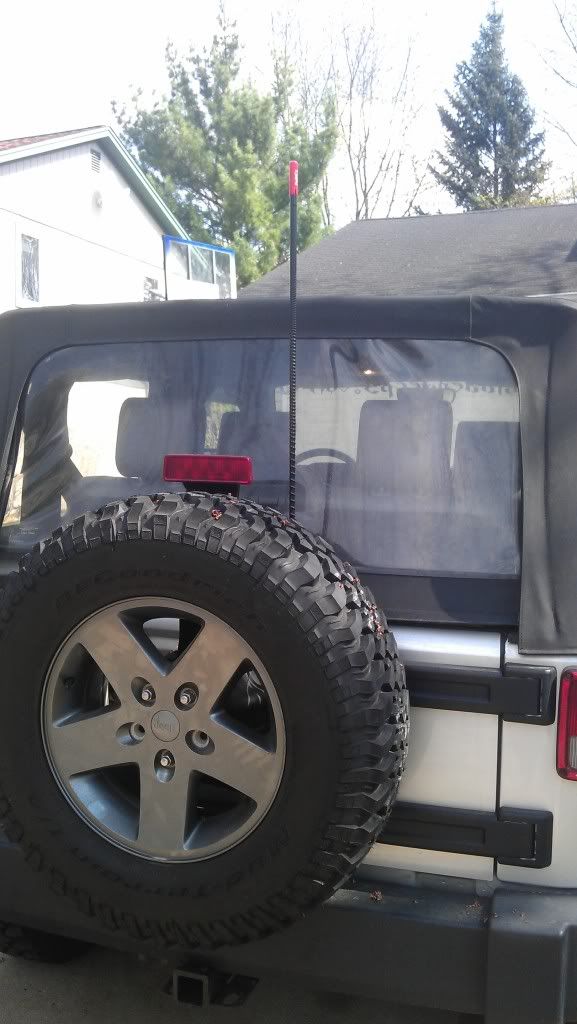
Made my own bracket for the antenna mount for $3 dollars..:
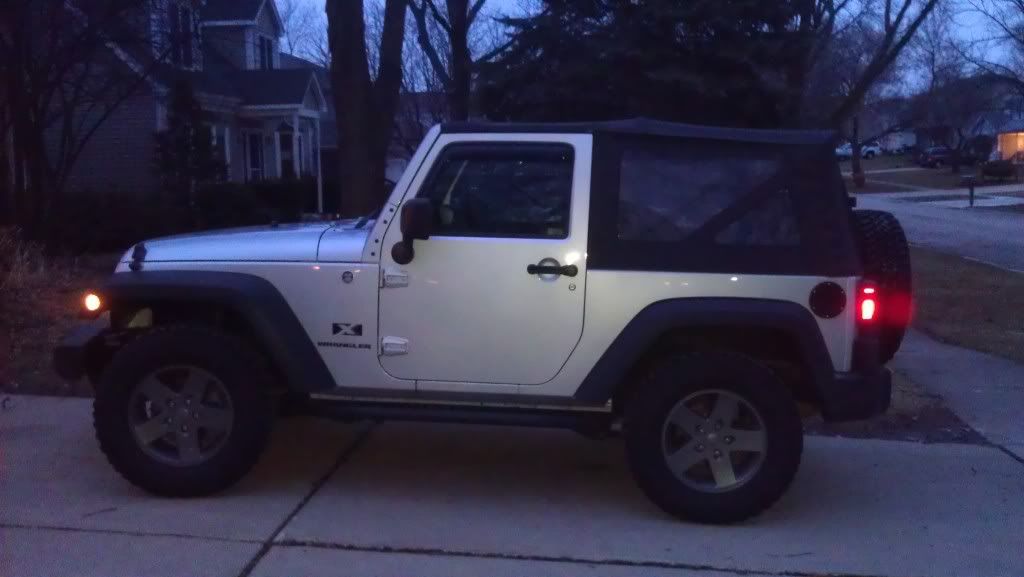
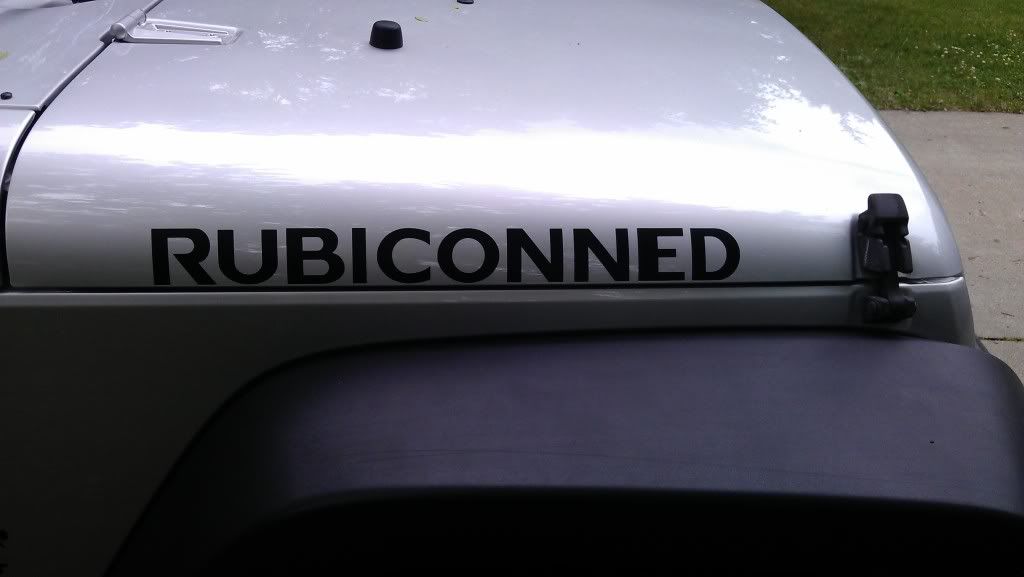
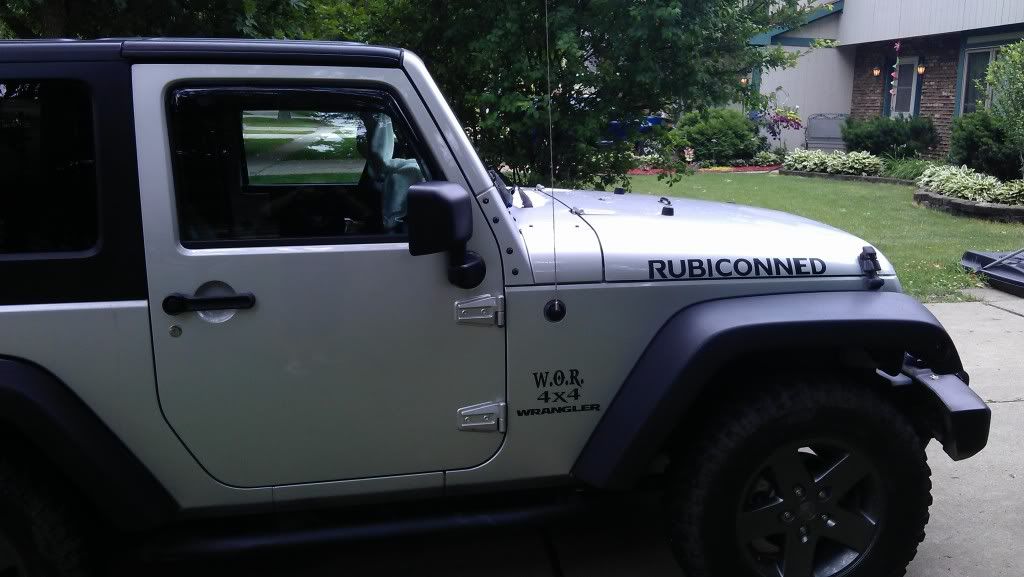
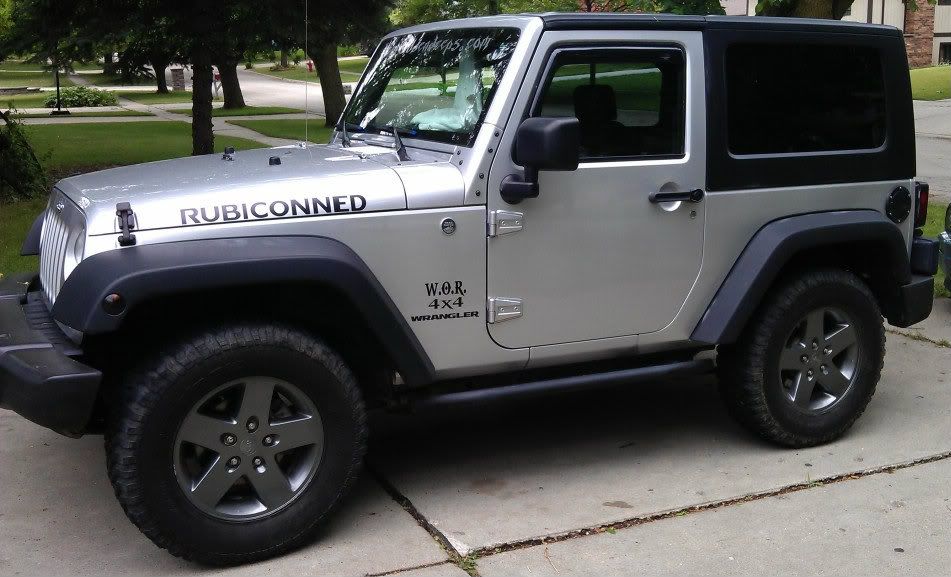
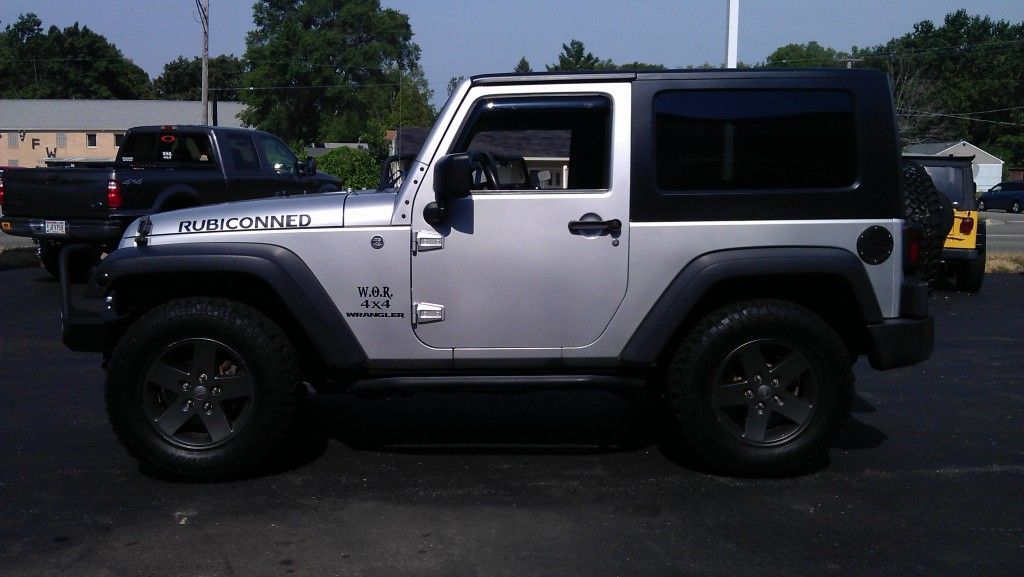
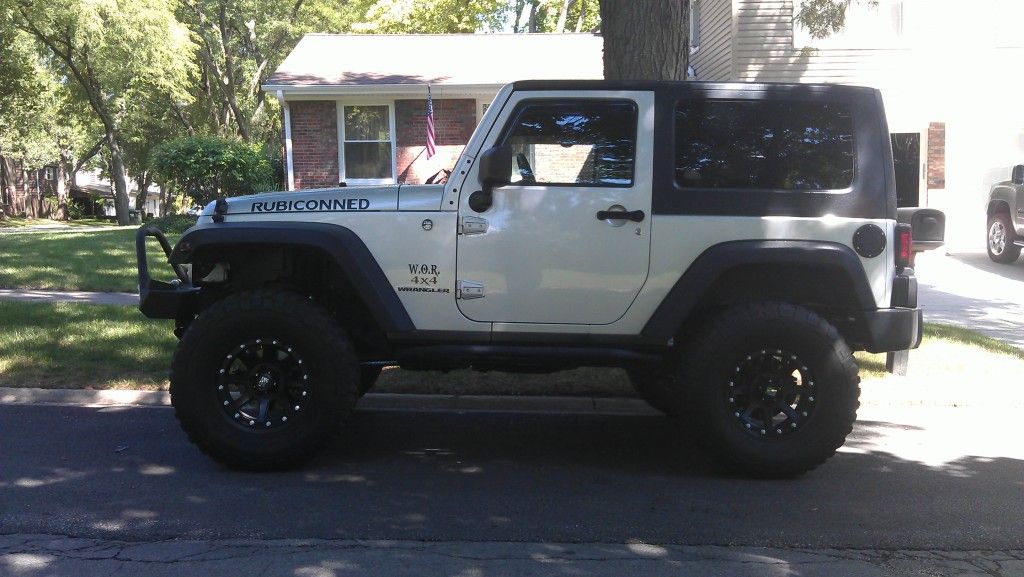
Badged my Jeep, "RUBICONNED" and pealed that "X" logo off and also blacked my markers out with some VHT night shade and got a hardtop and sold that softtop for good:
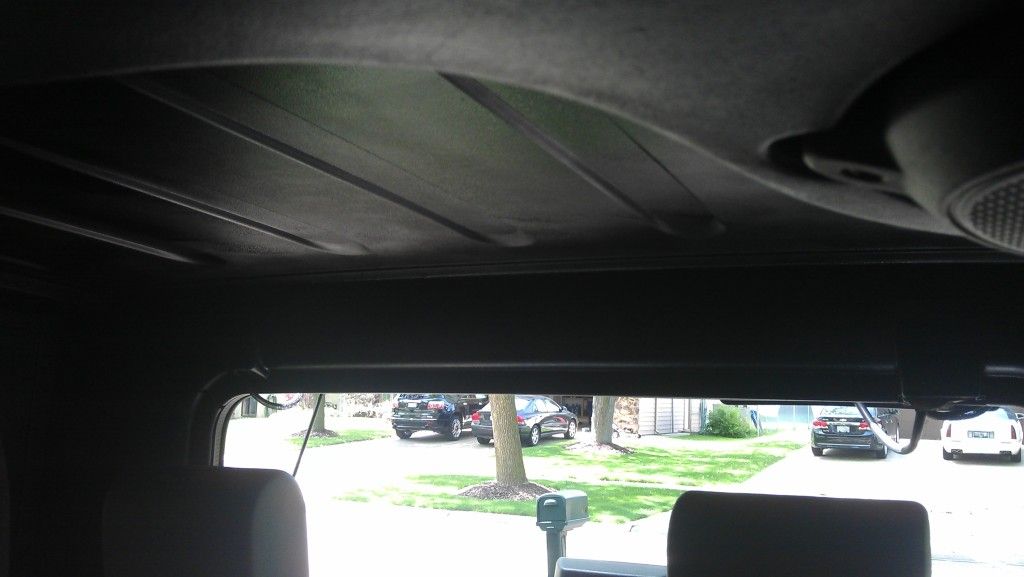
Painted the inside of my hardtop black! Krylon Fushion made for Plastic, used Satin and it came out awesome:

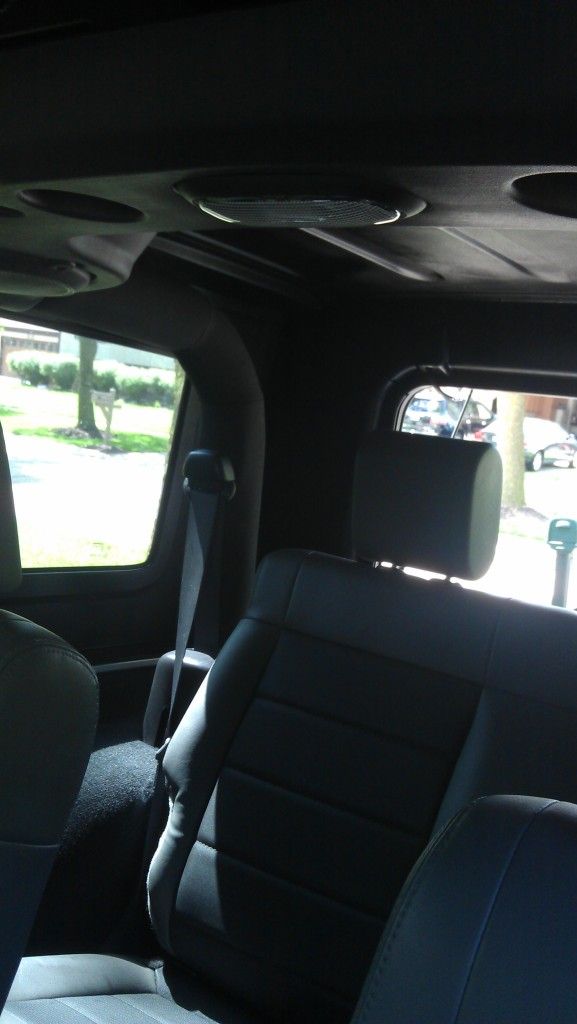
Also if you noticed those seats were reupholstered to vinyl...So easy to just whipe clean
Now time for the good stuff.....
Decided to do the easy mod, new homemade grill!
Before:
During:
After:
Took it offroad and tore the wheels and hub caps up pretty good so just painted them black with the rattle can:
Tossed on my first "big mod" ACE rock sliders! Love them!
Picked up a set of Moutain Edition takeoffs with the mineral gray wheels for $450 bucks for all 5! :
During:
After:
Grabbed some more small things and did the in channel wind guards and the black gas tank cap:
Ripped the top off finally :
Installed a CB radio, went with the Uniden Pro 520xl and you'll love where I mounted it! :
Firestik antenna:
Made my own bracket for the antenna mount for $3 dollars..:
Badged my Jeep, "RUBICONNED" and pealed that "X" logo off and also blacked my markers out with some VHT night shade and got a hardtop and sold that softtop for good:
Painted the inside of my hardtop black! Krylon Fushion made for Plastic, used Satin and it came out awesome:
Also if you noticed those seats were reupholstered to vinyl...So easy to just whipe clean
Now time for the good stuff.....
Last edited by Limitless; 12-28-2012 at 08:33 AM. Reason: .
 12-27-2012, 07:50 PM
#2
JK Enthusiast
Thread Starter
Join Date: May 2012
Location: Chicago, IL
Posts: 114
Likes: 0
Received 0 Likes
on
0 Posts
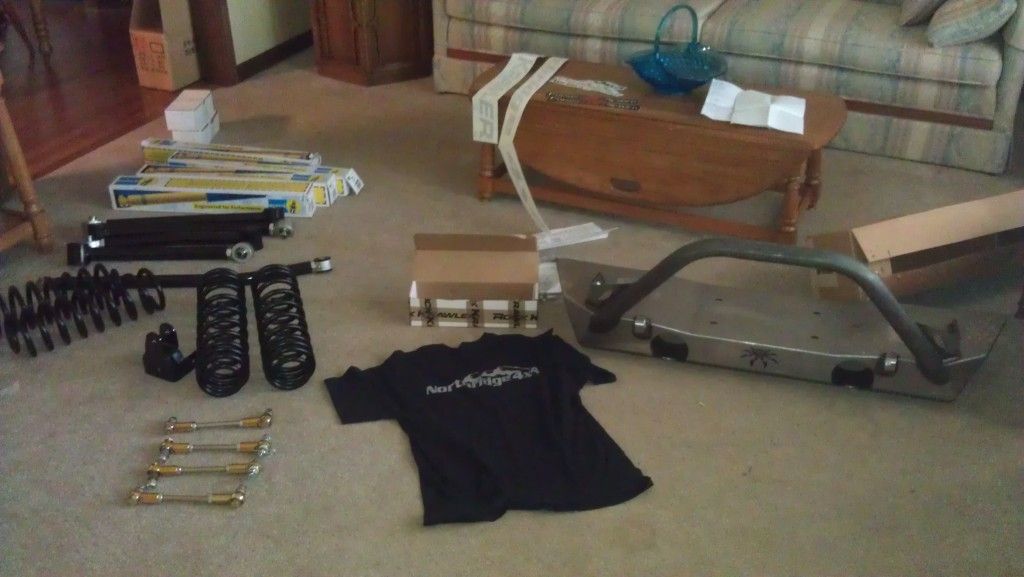
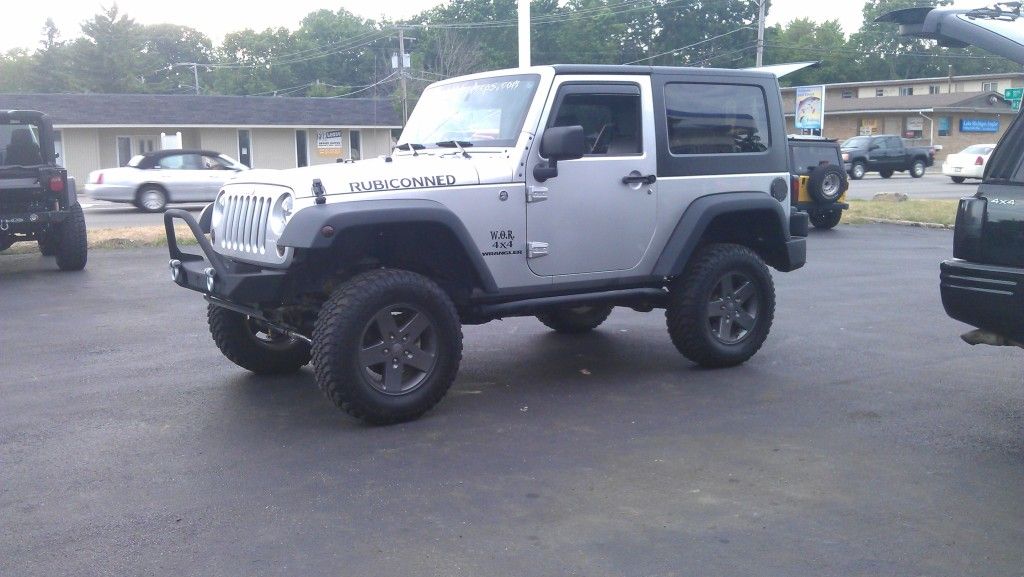
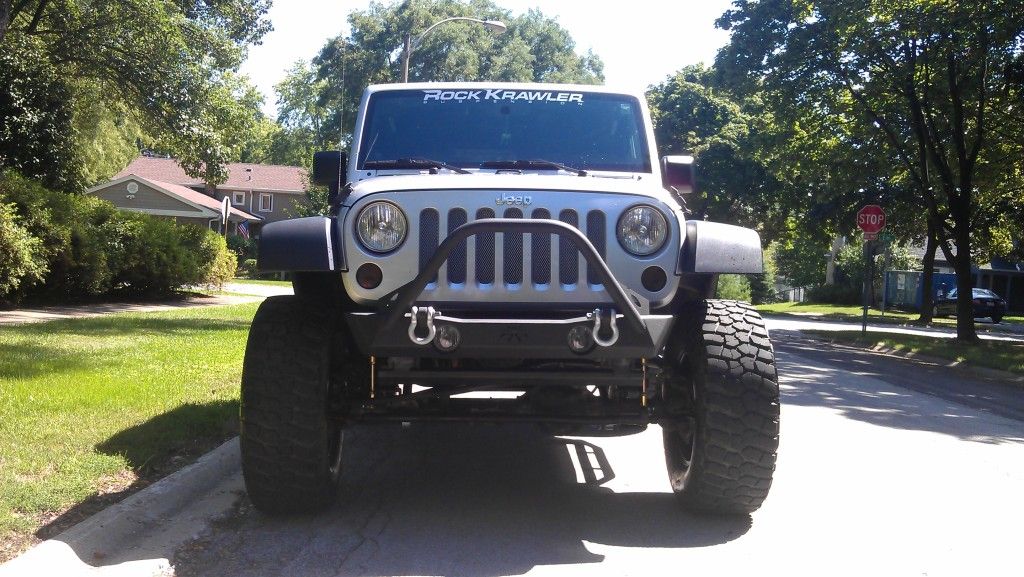
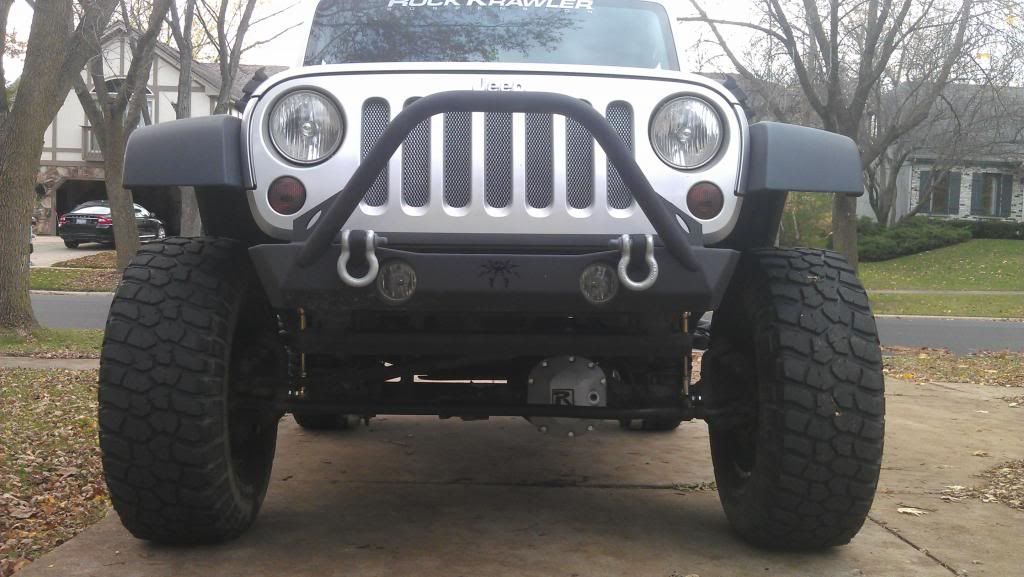
RK 2.5 max travel system and Posion Spyder front bumper:
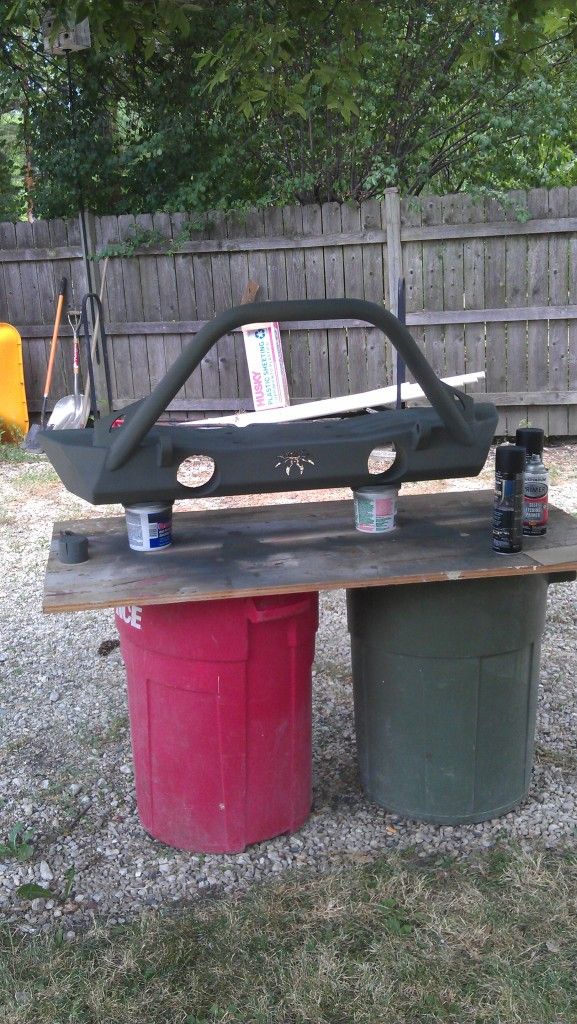
Primed bumper:
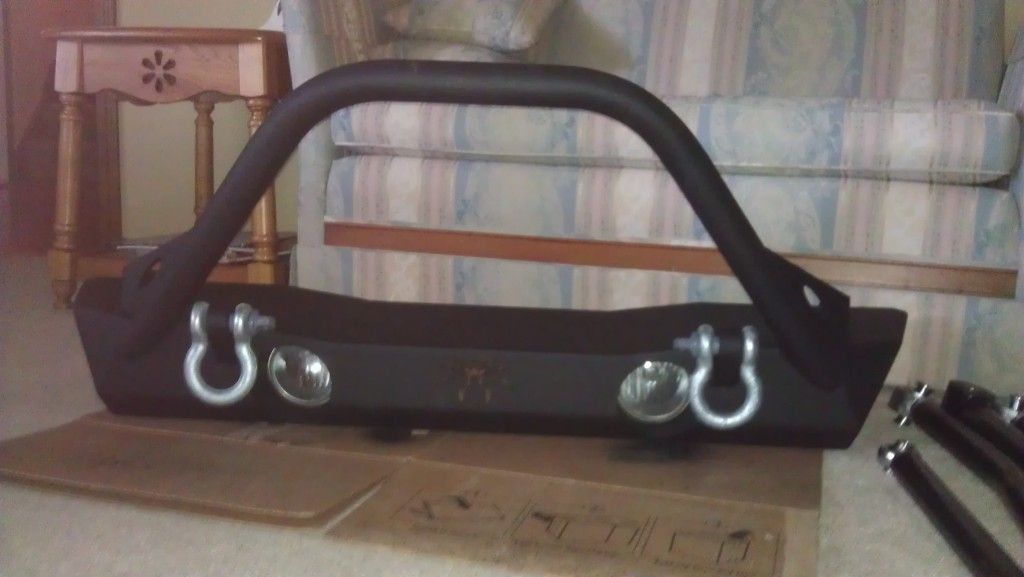
Painted with Duplicolor bed armor, ARB D-rings, factory fog lights I picked up off the forum for the cost of shipping! :
Installed front bumper:
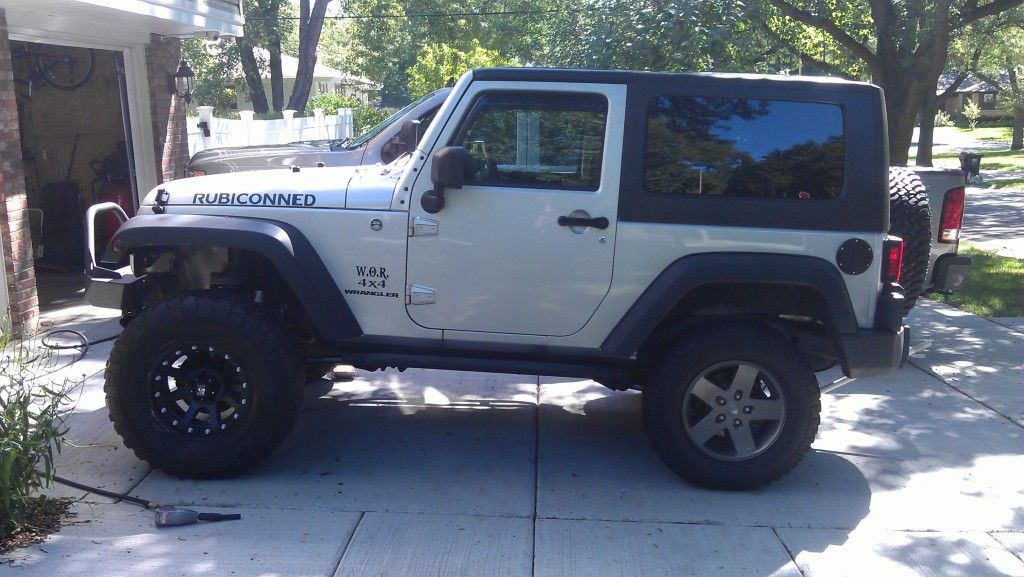
Sitting stock before the RK 2.5 :
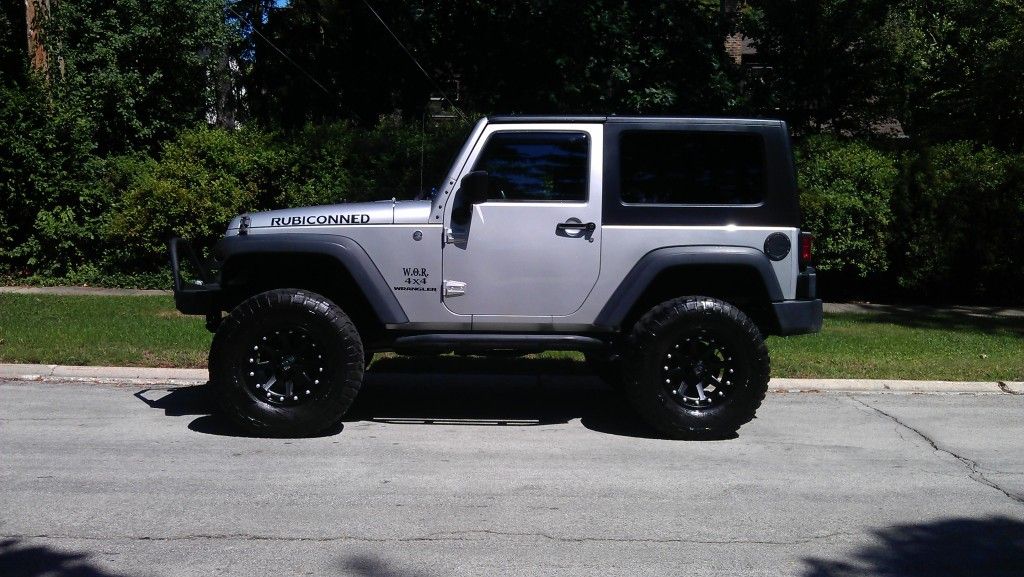
After lift:
Still in the works....35s, diff covers, extended breather lines, snorkel, regear, lockers, rear tire carrier, raptor line the tube, and more small things I can't think of right now. Hope you enjoyed! :cheers2::2thumbsup:
Primed bumper:
Painted with Duplicolor bed armor, ARB D-rings, factory fog lights I picked up off the forum for the cost of shipping! :
Installed front bumper:
Sitting stock before the RK 2.5 :
After lift:
Still in the works....35s, diff covers, extended breather lines, snorkel, regear, lockers, rear tire carrier, raptor line the tube, and more small things I can't think of right now. Hope you enjoyed! :cheers2::2thumbsup:
12-27-2012, 07:51 PM
#3
JK Enthusiast
Thread Starter
Join Date: May 2012
Location: Chicago, IL
Posts: 114
Likes: 0
Received 0 Likes
on
0 Posts
Stretched it out a bit on my buddies 37s with a 4.5 lift. Looks like a still had some more room. Yes I know the swaybar links aren't zip tied up! I was lazy!
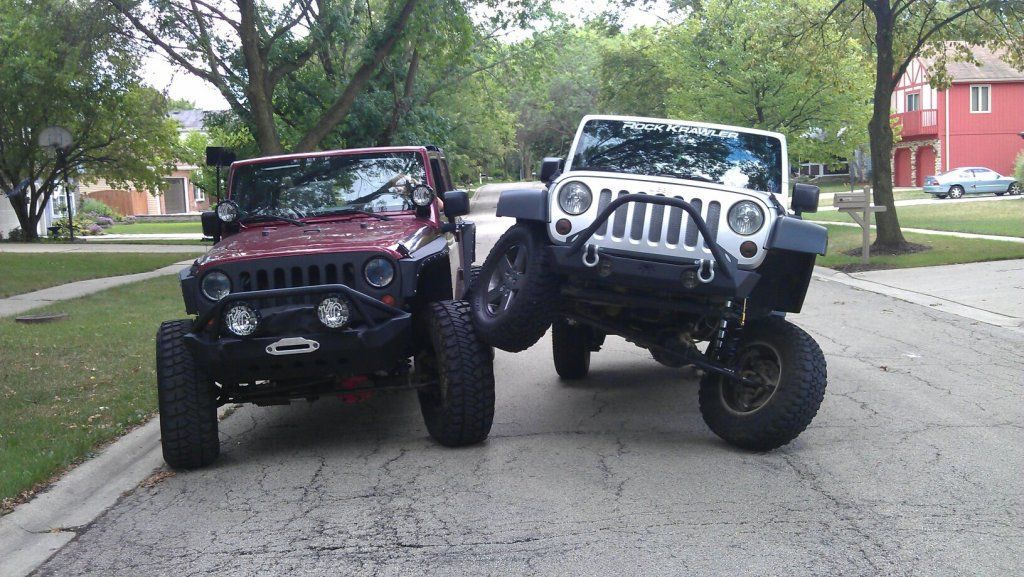
:cheers2:
GF got my some Surprise Straps! They're Black and Silver. Sorry for the crappy pics..
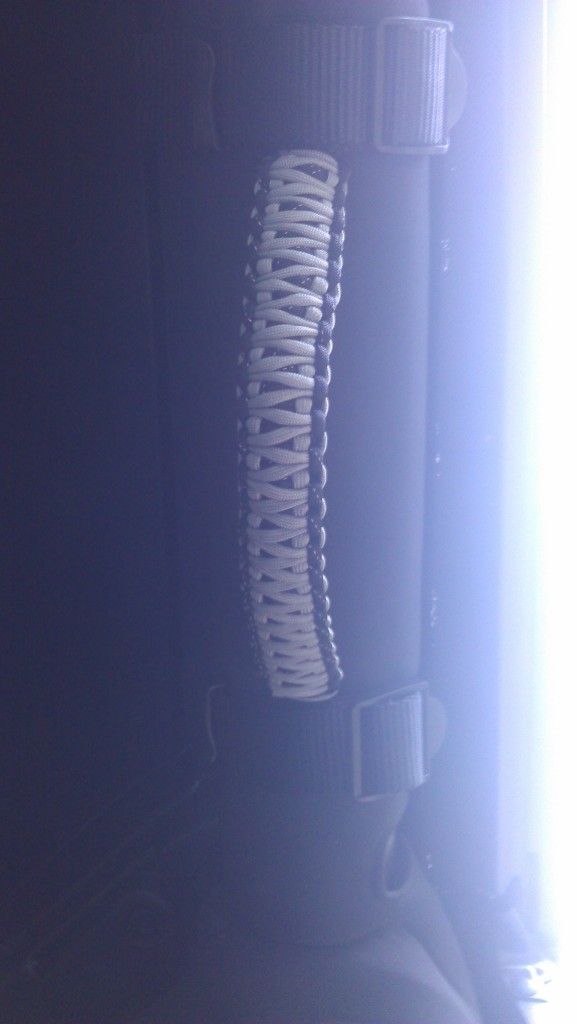
Also finally took a picture of my Posion Spyder Evap Canister skid....yes it's dirty..
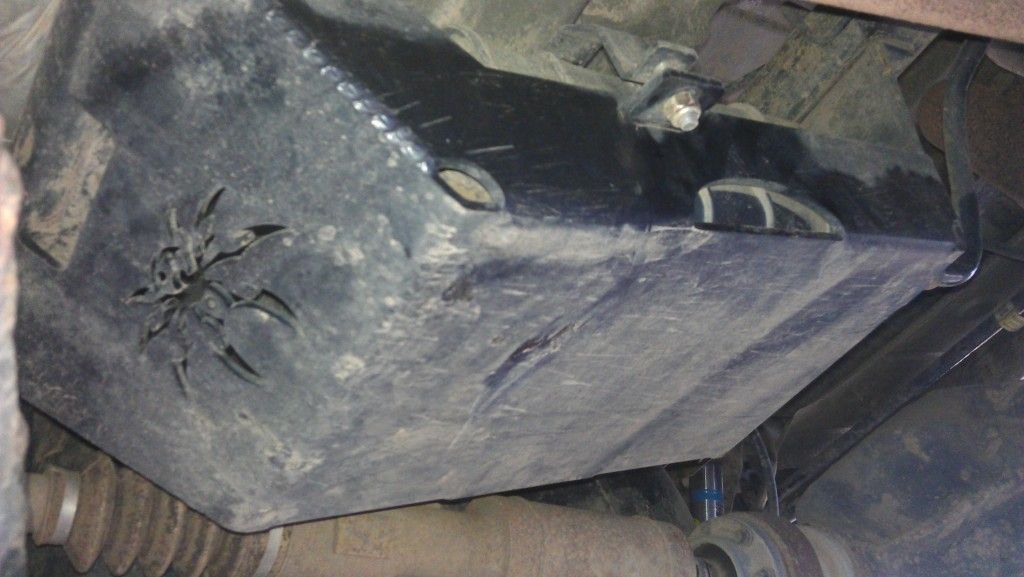
:cheers2:
GF got my some Surprise Straps! They're Black and Silver. Sorry for the crappy pics..
Also finally took a picture of my Posion Spyder Evap Canister skid....yes it's dirty..
 12-27-2012, 07:52 PM
#5
JK Enthusiast
Thread Starter
Join Date: May 2012
Location: Chicago, IL
Posts: 114
Likes: 0
Received 0 Likes
on
0 Posts
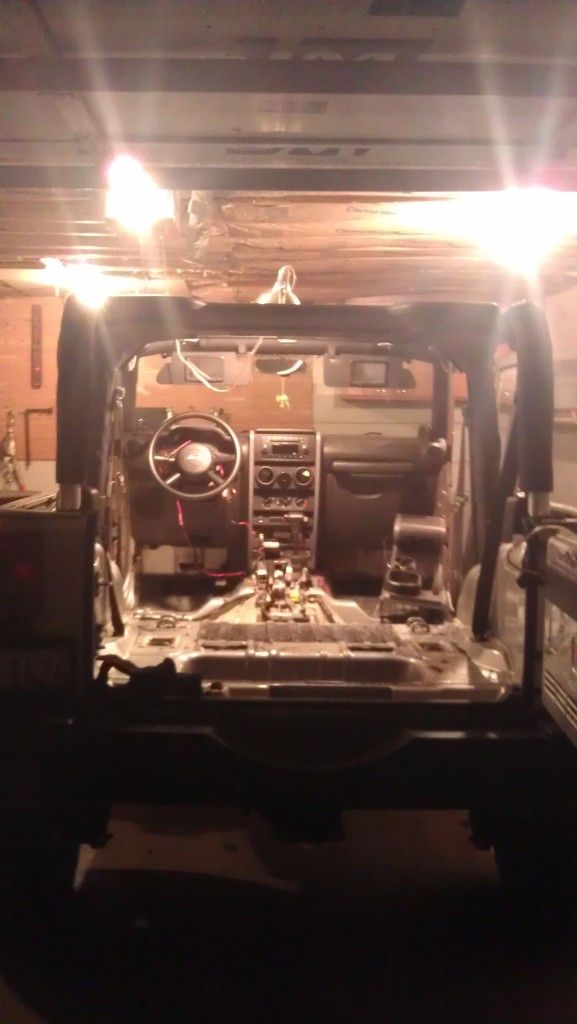
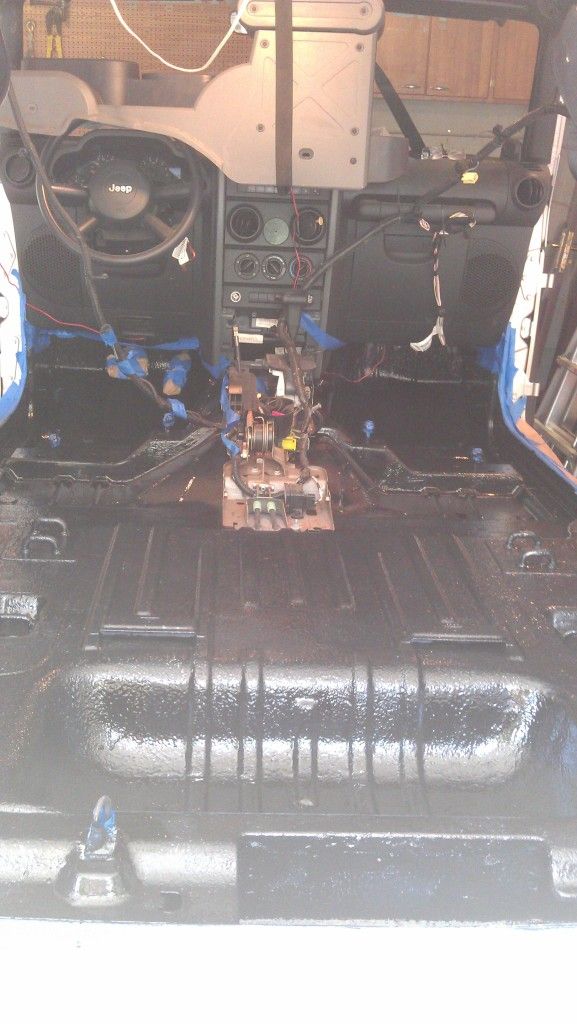
Update: In the process of lining my tub with Monstaliner! So right now the Jeep is completely tore down and prepped just waiting for the kit to arrive. Here's a littler teaser shot...
Lined the tub with Monstaliner, raised my front and rear diff breathers, bedlined
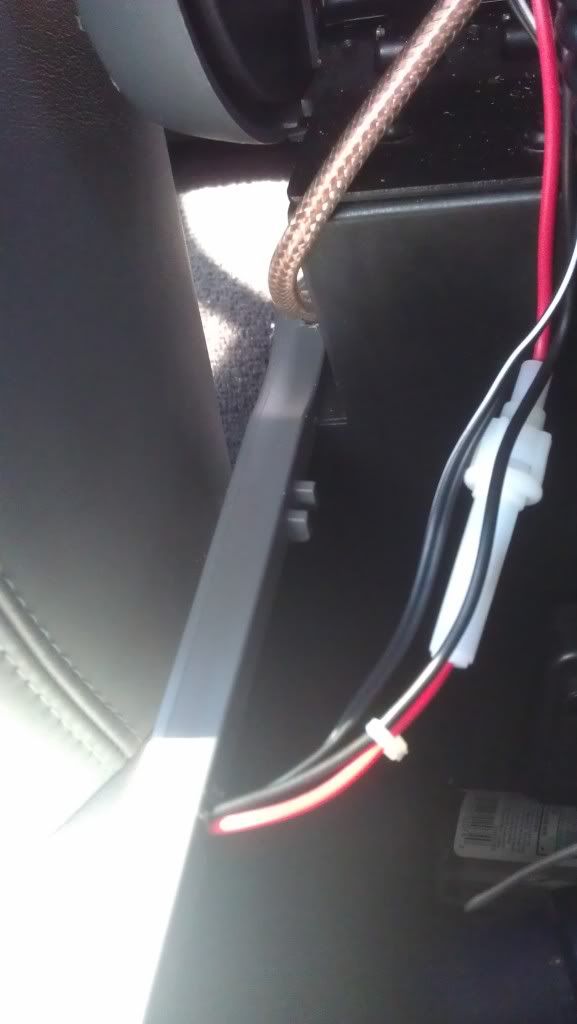
my door hinges with Duplicolor bedarmor and also painted underneath the door hinges with Monstaliners chasis saver. Also fixed my transfer case cable under the center console because the crappy plastic bushing broke so I have a permanent metal replacement in the pics below. Enjoy
Monstaliner full tub pic:
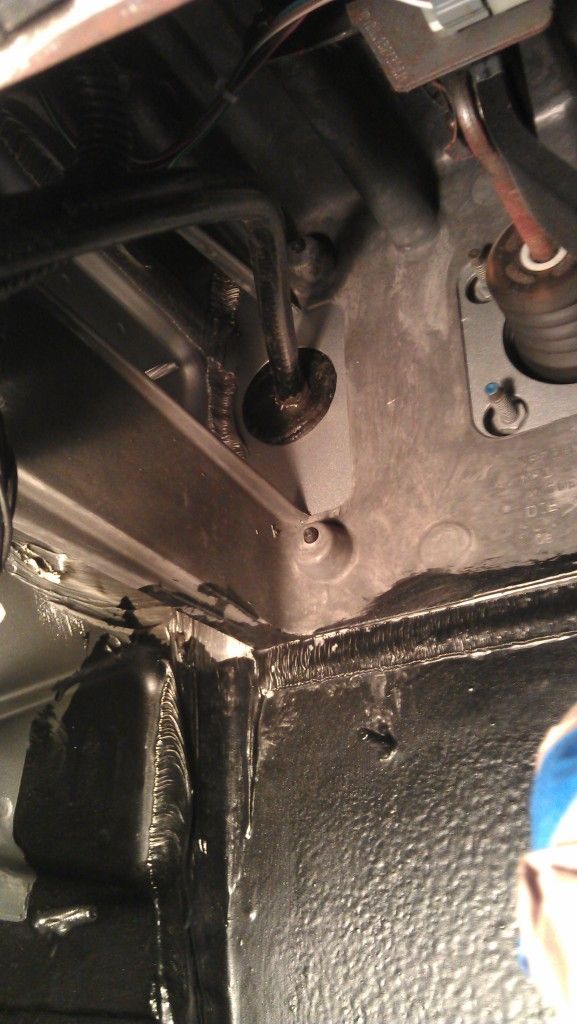
Picture of the transfer case cable link fixed.

I used this for the new bushing from Autozone:

and I also used a hitch pin to keep it in place. It's pretty solid now. Got some extra parts to do the linkage on the underside of the Jeep when it decides to go.
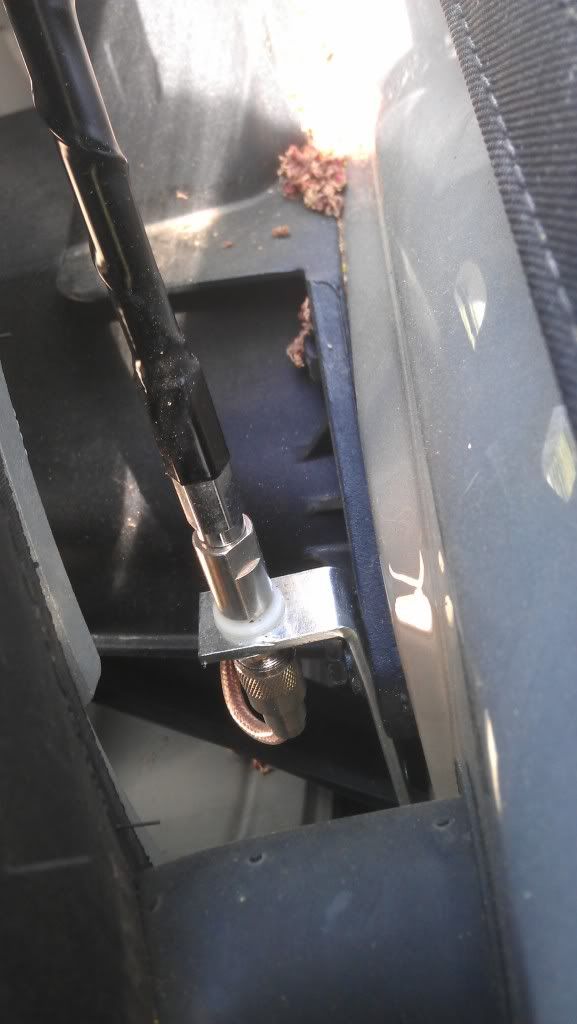
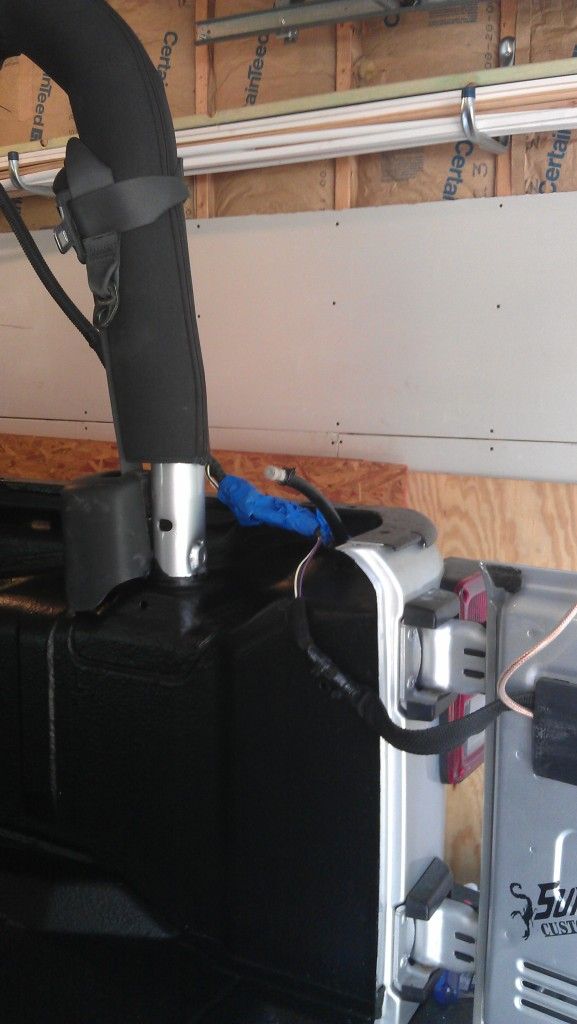
Rear breather was extended up through the passenger side tail light and into the tub:
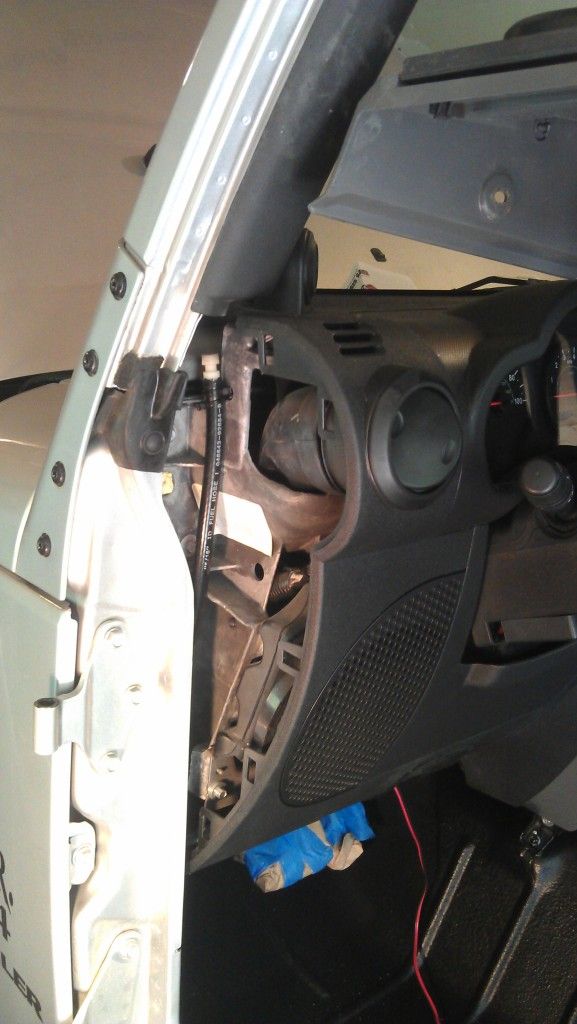
Front breather was pushing through the rubber grommet in the drivers side footwell:
I then ran it up the dash and the cover fits right over the top of it:
Monstaliners Chasis Saver on the underside of the door hinges:

Here's some pics of the hinges, I also did the hood hinges:

I painted over the hinges as they were attached to the door with the Duplicolor Bedarmor just to "seal" the bolts in place, I really like how they came out and don't have to worry about rust anymore.
Lined the tub with Monstaliner, raised my front and rear diff breathers, bedlined
my door hinges with Duplicolor bedarmor and also painted underneath the door hinges with Monstaliners chasis saver. Also fixed my transfer case cable under the center console because the crappy plastic bushing broke so I have a permanent metal replacement in the pics below. Enjoy
Monstaliner full tub pic:
Picture of the transfer case cable link fixed.
I used this for the new bushing from Autozone:
and I also used a hitch pin to keep it in place. It's pretty solid now. Got some extra parts to do the linkage on the underside of the Jeep when it decides to go.
Rear breather was extended up through the passenger side tail light and into the tub:
Front breather was pushing through the rubber grommet in the drivers side footwell:
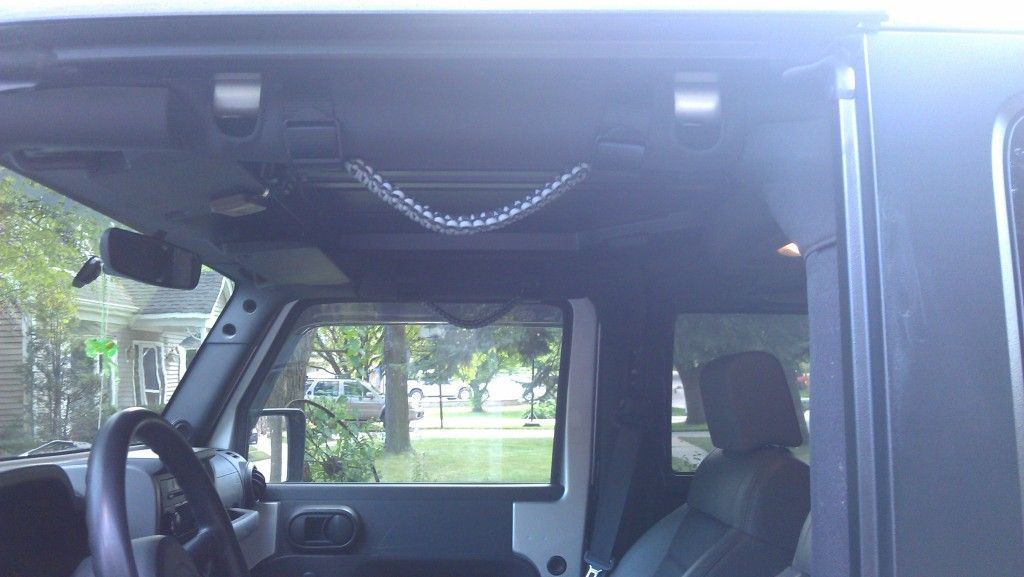
I then ran it up the dash and the cover fits right over the top of it:
Monstaliners Chasis Saver on the underside of the door hinges:
Here's some pics of the hinges, I also did the hood hinges:
I painted over the hinges as they were attached to the door with the Duplicolor Bedarmor just to "seal" the bolts in place, I really like how they came out and don't have to worry about rust anymore.
12-27-2012, 07:53 PM
#7
JK Enthusiast
Thread Starter
Join Date: May 2012
Location: Chicago, IL
Posts: 114
Likes: 0
Received 0 Likes
on
0 Posts
My Riddler diff covers came that my GF ordered for my upcoming birthday! Here's a teaser picture for you all with them painted. Also got some Lubelockers and picked up 4 quarts of mobil 1 synthetic 75w90 gear oil. These hopefully will be installed Monday!

Here's a couple pics of my front and rear Riddler covers installed!
Rear:
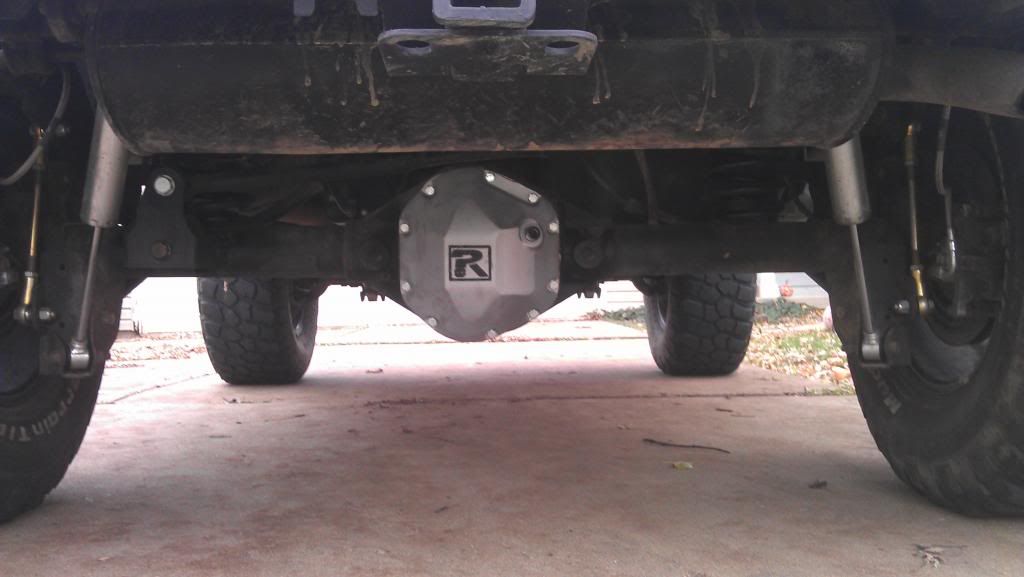
Front:
Seems like the silver gets dirty fairly easy but I still like the look of it! I will be getting a tire carrier very soon...debating between the Teraflex carrier or a bumper/carrier option, hmmm! Stay tuned!
Here's a teaser picture for you guys .. Teraflex carrier:
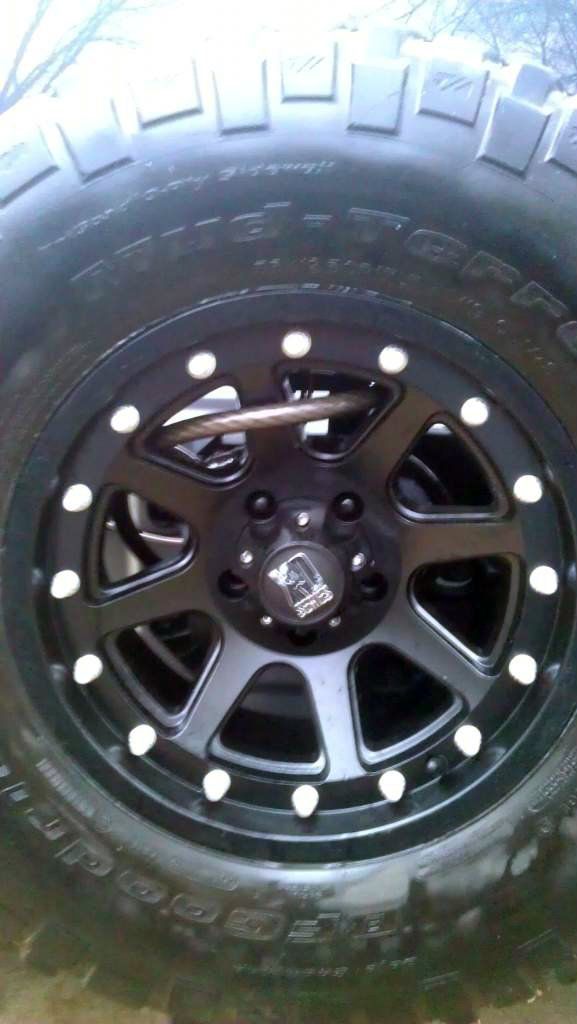
Really easy install of the carrier and it is BEEFY. Currently without the spare on it the gate stays open while even on a downward incline so I don't have to worry about it smacking into me anymore. Make sure you have some red Loctite for the install because the directions want you to coat the T50 bolts with it and was kind of aggravated it didn't just come with a small bottle of it considering you are paying 500 bucks for this thing. I was very hesitant on purchasing this thing because I did not feel like it would be able to support a 35-37inch tire but after unwrapping this thing from its packaging and installing it I am 110% confident. I only got the carrier and not the adjustable spare tire mounting kit, I run a 35x12.5R17 BFG KM2 and a xD Addict rim with I believe 4.5inches of backspacing and was told by Northridge4x4 I would not need the adjustable spare tire mounting kit at this time. I have my tire and am currently waiting on my rim so you will all be getting more pictures soon! Another thing I should mention is there are 4 bolt holes on the carrier and I will be using my $3
L bracket that I made and using one of those bolt holes to mount it!
Here's a couple pics of my front and rear Riddler covers installed!
Rear:
Front:
Seems like the silver gets dirty fairly easy but I still like the look of it! I will be getting a tire carrier very soon...debating between the Teraflex carrier or a bumper/carrier option, hmmm! Stay tuned!
Here's a teaser picture for you guys .. Teraflex carrier:
Really easy install of the carrier and it is BEEFY. Currently without the spare on it the gate stays open while even on a downward incline so I don't have to worry about it smacking into me anymore. Make sure you have some red Loctite for the install because the directions want you to coat the T50 bolts with it and was kind of aggravated it didn't just come with a small bottle of it considering you are paying 500 bucks for this thing. I was very hesitant on purchasing this thing because I did not feel like it would be able to support a 35-37inch tire but after unwrapping this thing from its packaging and installing it I am 110% confident. I only got the carrier and not the adjustable spare tire mounting kit, I run a 35x12.5R17 BFG KM2 and a xD Addict rim with I believe 4.5inches of backspacing and was told by Northridge4x4 I would not need the adjustable spare tire mounting kit at this time. I have my tire and am currently waiting on my rim so you will all be getting more pictures soon! Another thing I should mention is there are 4 bolt holes on the carrier and I will be using my $3
L bracket that I made and using one of those bolt holes to mount it!
Trending Topics
12-27-2012, 07:53 PM
#8
JK Enthusiast
Thread Starter
Join Date: May 2012
Location: Chicago, IL
Posts: 114
Likes: 0
Received 0 Likes
on
0 Posts
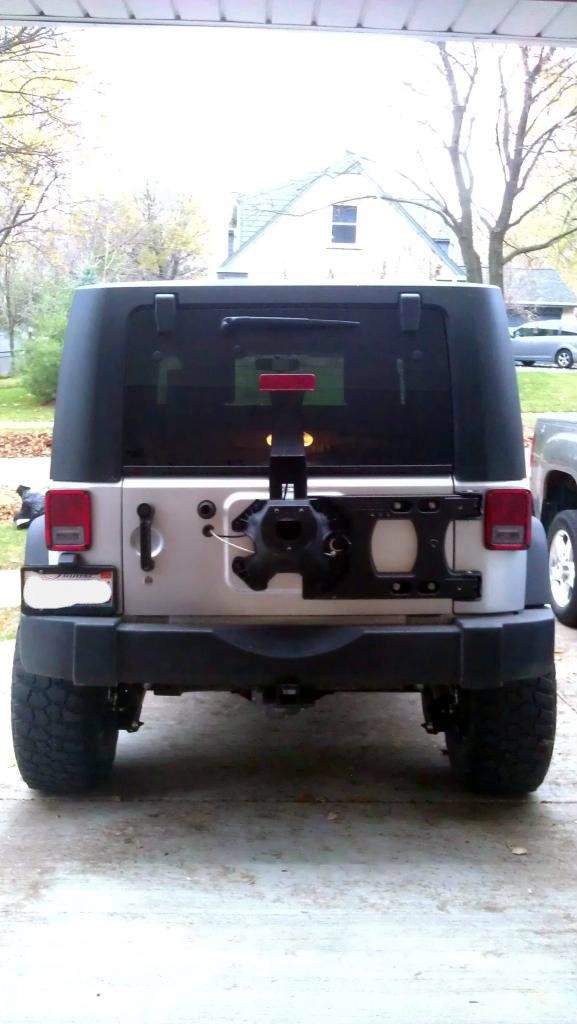
My wheel finally came so I went and got it mounted and balanced. Slapped it on and it fits like a glove! Also you can still see my 3rd brake light. Here's some pictures and also note my driveway is on a slight upward incline. Enjoy
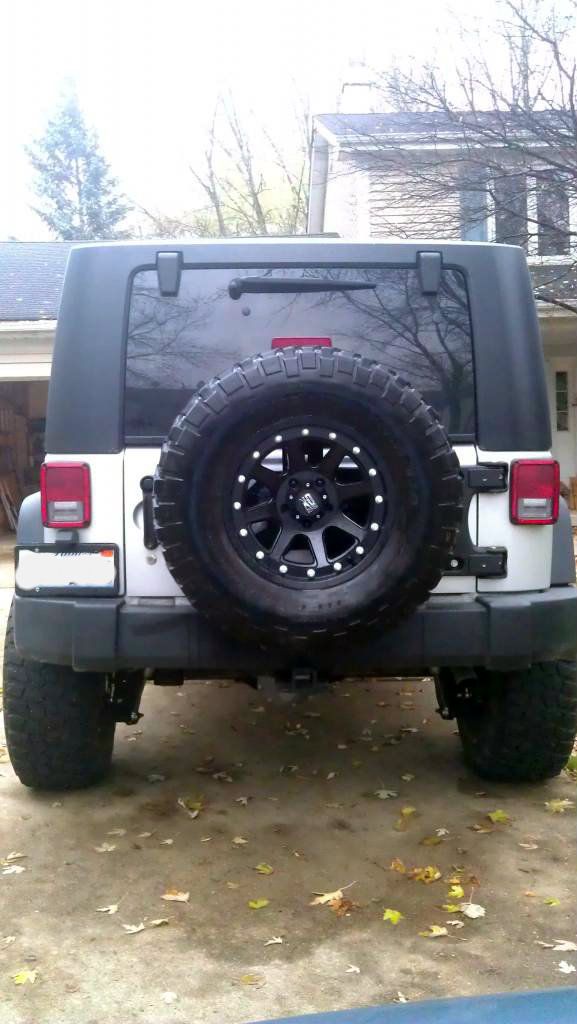
Side view of how close it sits to the tailgate:
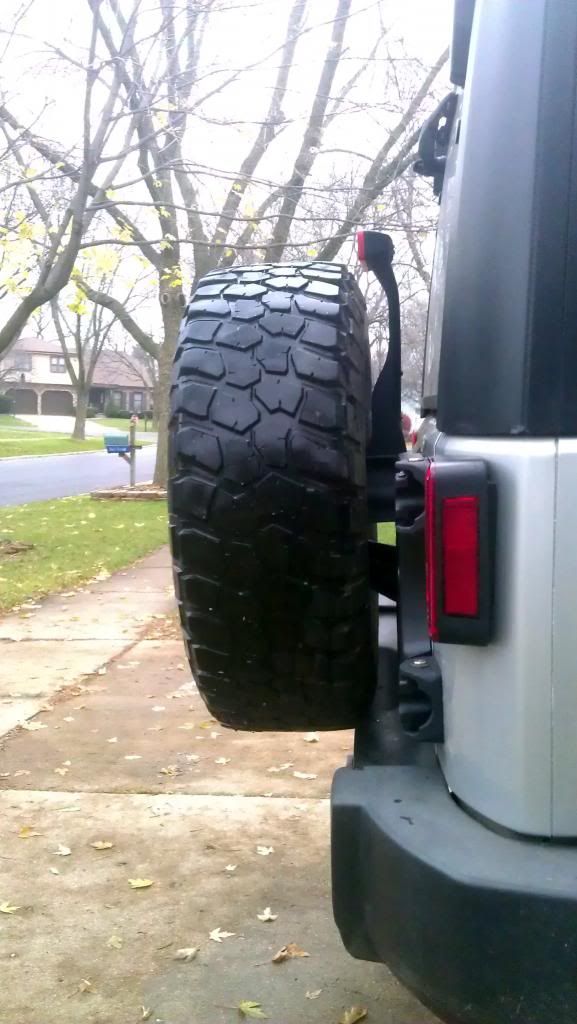
Gate open...this thing is solid:
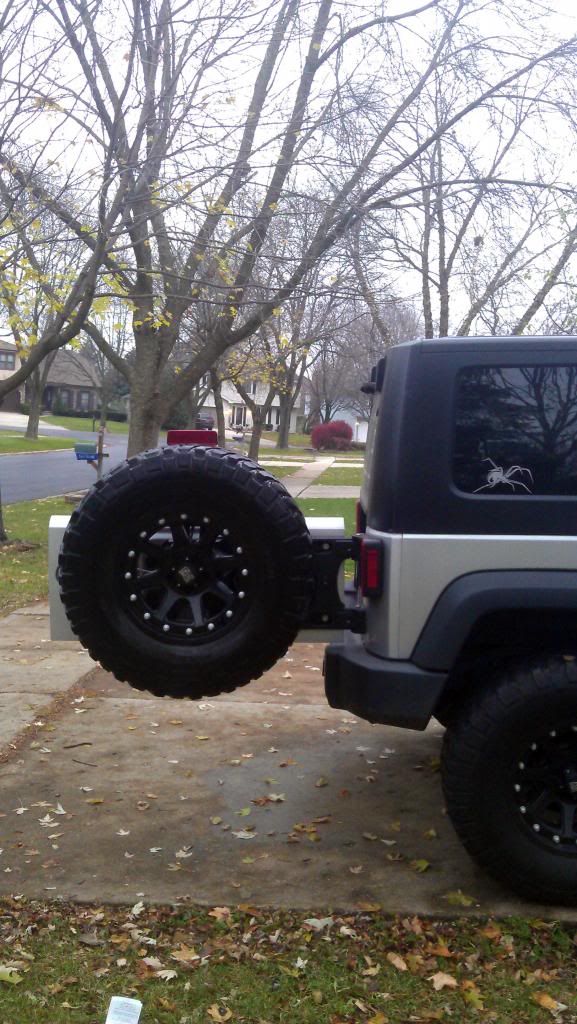
I still live pretty close to Chicago so I not only have Gorilla locks but now this added safety feature:
Side view:

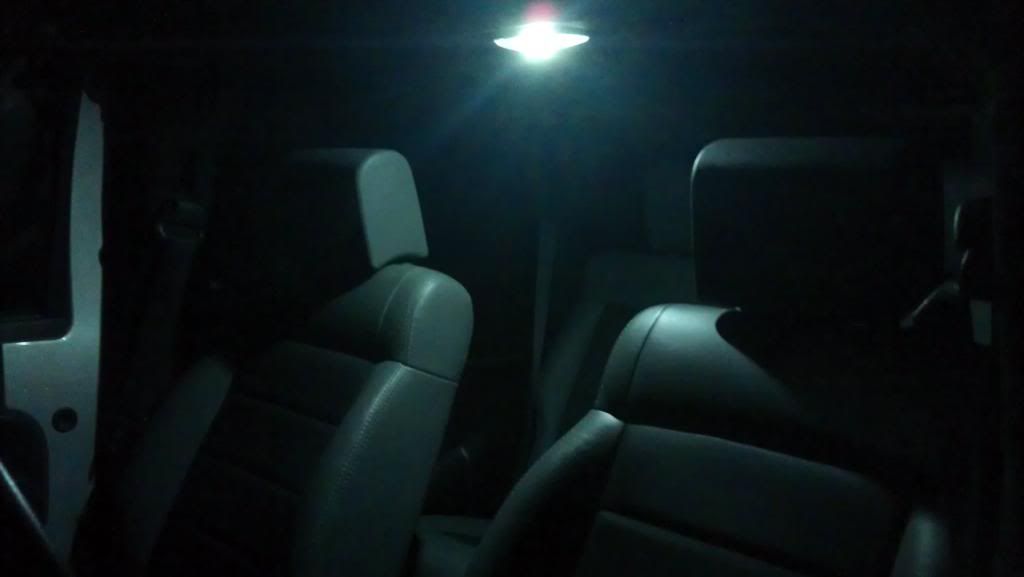
Northridge 4x4 LED interior dome light replacement upgrade. Got this as a birthday gift from the GF and thought it was just going to be a minor light upgrade but it was a MAJOR light output upgrade. The pictures don't do this thing justice at all but you can see it is more of a bright white instead of a dull yellow like the factory. For $15-20 I think this upgrade is well worth it and the install was 5min tops.
Here's the comparison of the two:

Old dull yellow dome light:
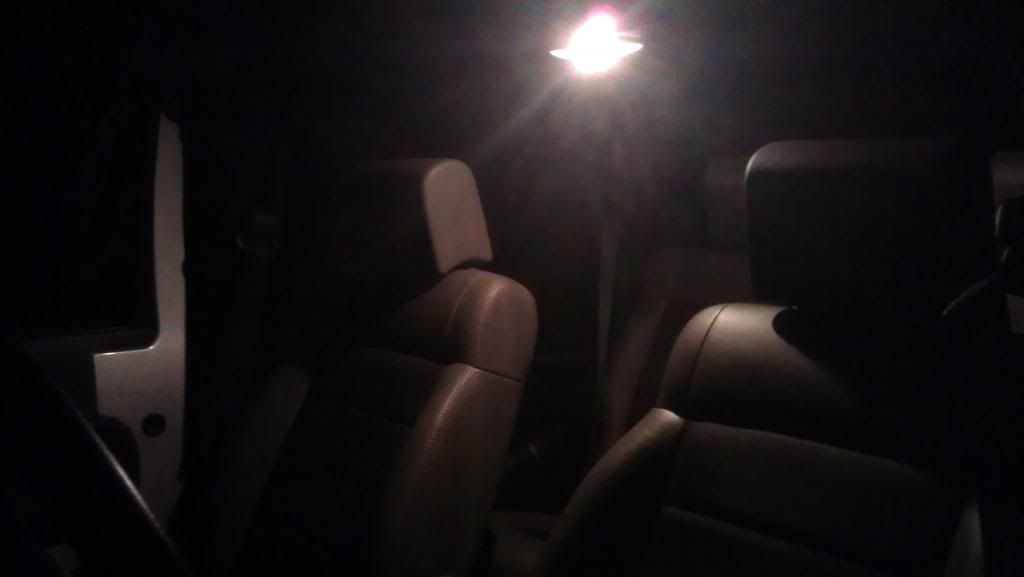
New bright white dome light:
Side view of how close it sits to the tailgate:
Gate open...this thing is solid:
I still live pretty close to Chicago so I not only have Gorilla locks but now this added safety feature:
Side view:
Northridge 4x4 LED interior dome light replacement upgrade. Got this as a birthday gift from the GF and thought it was just going to be a minor light upgrade but it was a MAJOR light output upgrade. The pictures don't do this thing justice at all but you can see it is more of a bright white instead of a dull yellow like the factory. For $15-20 I think this upgrade is well worth it and the install was 5min tops.
Here's the comparison of the two:
Old dull yellow dome light:
New bright white dome light:
12-27-2012, 07:54 PM
#9
JK Enthusiast
Thread Starter
Join Date: May 2012
Location: Chicago, IL
Posts: 114
Likes: 0
Received 0 Likes
on
0 Posts
Hit 40,000 miles today! Not to bad for a 2008:

Also put this Smittybilt tailgate G.E.A.R panel on with bags and honestly for $54 bucks off Amazon this thing is worth every penny. The big bag to the left in the picture fits cans of spray paint, WD-40, silicone spray, and much more without issue and the bag on the right is going to be filled with medical supplies. I might even get crafty and put a "red cross" patch on it Some of the reviews on Amazon were complaining about the crappy self tap screws that Smittybilt included so I bought some better ones and didn't even have to pre-drill the holes like Smittybilt recommends in the instructions. It took longer to hang the bags then to run the 10 screws in.

Also put this Smittybilt tailgate G.E.A.R panel on with bags and honestly for $54 bucks off Amazon this thing is worth every penny. The big bag to the left in the picture fits cans of spray paint, WD-40, silicone spray, and much more without issue and the bag on the right is going to be filled with medical supplies. I might even get crafty and put a "red cross" patch on it
Some of the reviews on Amazon were complaining about the crappy self tap screws that Smittybilt included so I bought some better ones and didn't even have to pre-drill the holes like Smittybilt recommends in the instructions. It took longer to hang the bags then to run the 10 screws in.
12-27-2012, 07:56 PM
#10
JK Enthusiast
Thread Starter
Join Date: May 2012
Location: Chicago, IL
Posts: 114
Likes: 0
Received 0 Likes
on
0 Posts