
Scorpicon's Bolt-On Build Thread
 04-24-2013, 06:45 PM
#11
JK Super Freak
Join Date: May 2011
Location: North County San Diego, California
Posts: 1,000
Likes: 0
Received 0 Likes
on
0 Posts
 A lot cleaner. What did you use to paint?
 04-26-2013, 04:52 AM
#12
JK Enthusiast
Thread Starter

Join Date: Sep 2011
Location: USA
Posts: 429
Likes: 0
Received 0 Likes
on
0 Posts
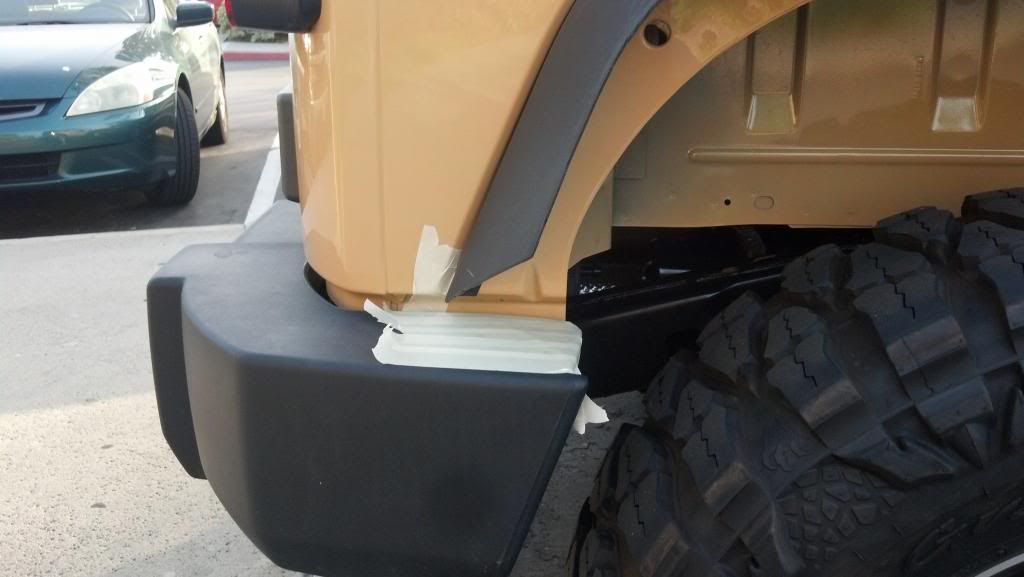
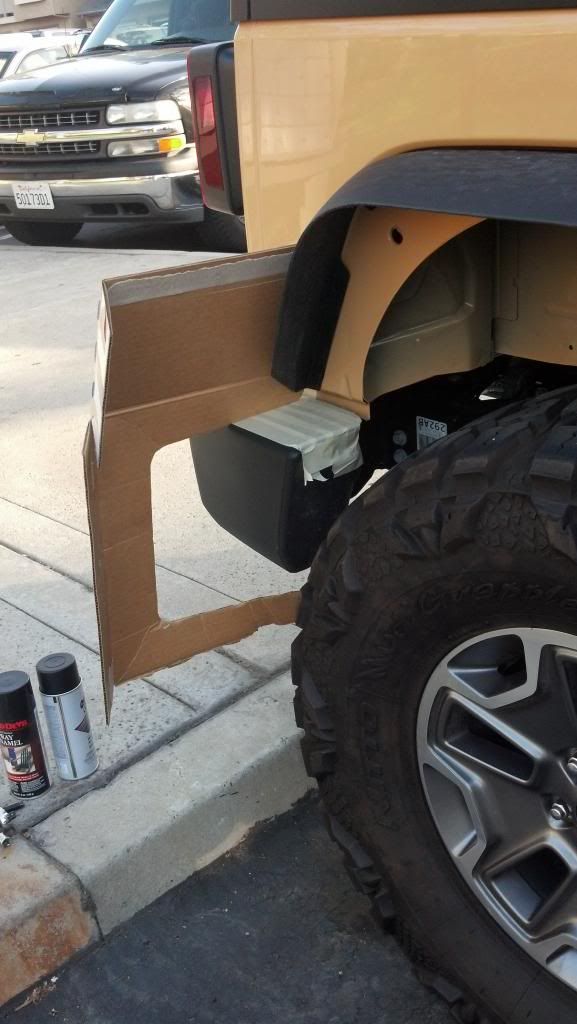
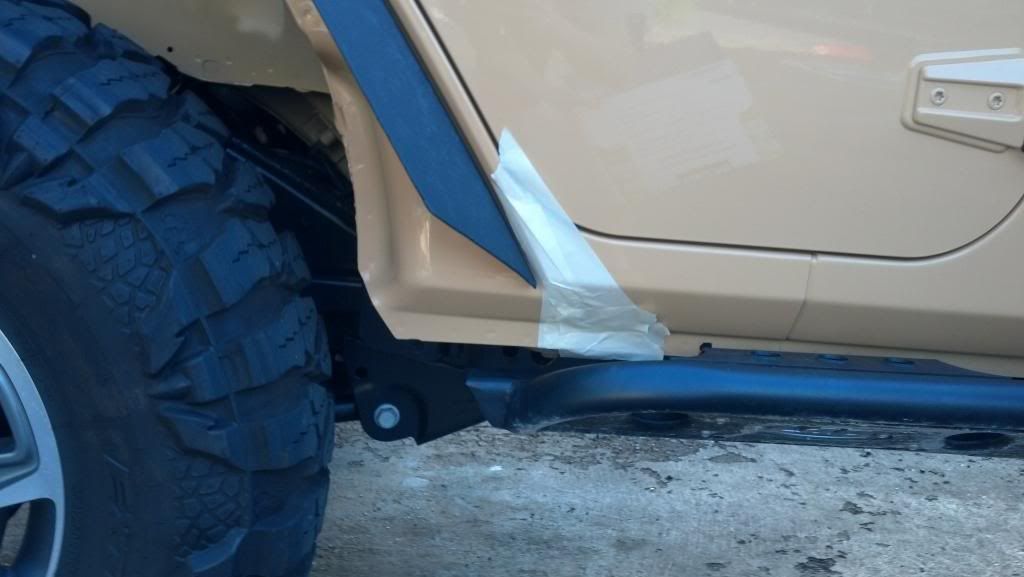
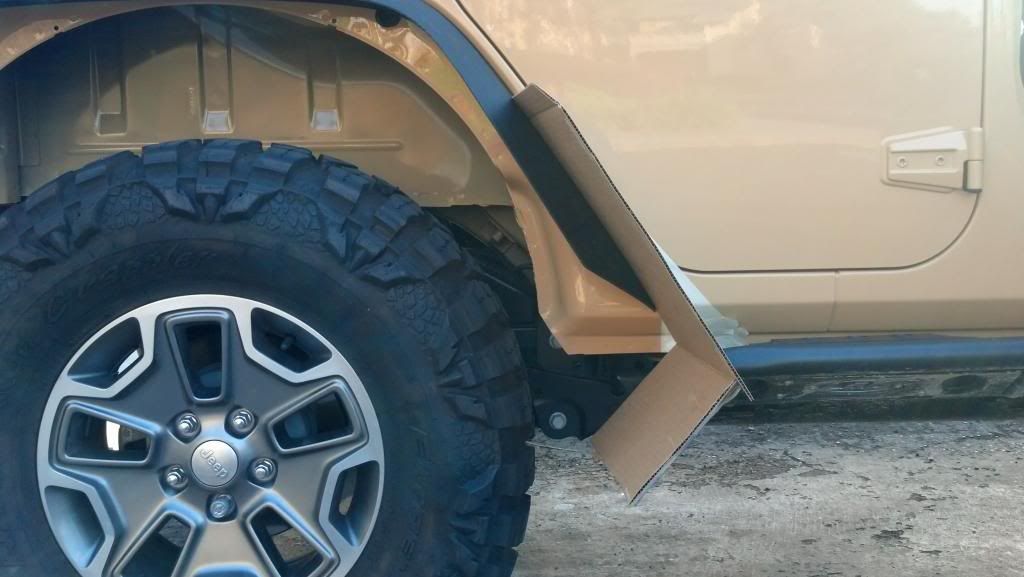
I used rustoleum matte black rattle can. It went on pretty well, and is pretty forgiving paint. I did some thick(probably too thick IMHO) but didn't have any problems with running etc. I will say that one of my taped edges wasn't completely sealed where the body contour is at the pinch seam. Im kind of ticked at myself for missing that and having a slight underspray that made it past that and not a perfect line.
04-26-2013, 10:22 AM
#13
JK Super Freak
Join Date: May 2011
Location: North County San Diego, California
Posts: 1,000
Likes: 0
Received 0 Likes
on
0 Posts
I used rustoleum matte black rattle can. It went on pretty well, and is pretty forgiving paint. I did some thick(probably too thick IMHO) but didn't have any problems with running etc. I will say that one of my taped edges wasn't completely sealed where the body contour is at the pinch seam. Im kind of ticked at myself for missing that and having a slight underspray that made it past that and not a perfect line.
05-13-2013, 03:50 AM
#14
JK Enthusiast
Thread Starter
Join Date: Sep 2011
Location: USA
Posts: 429
Likes: 0
Received 0 Likes
on
0 Posts
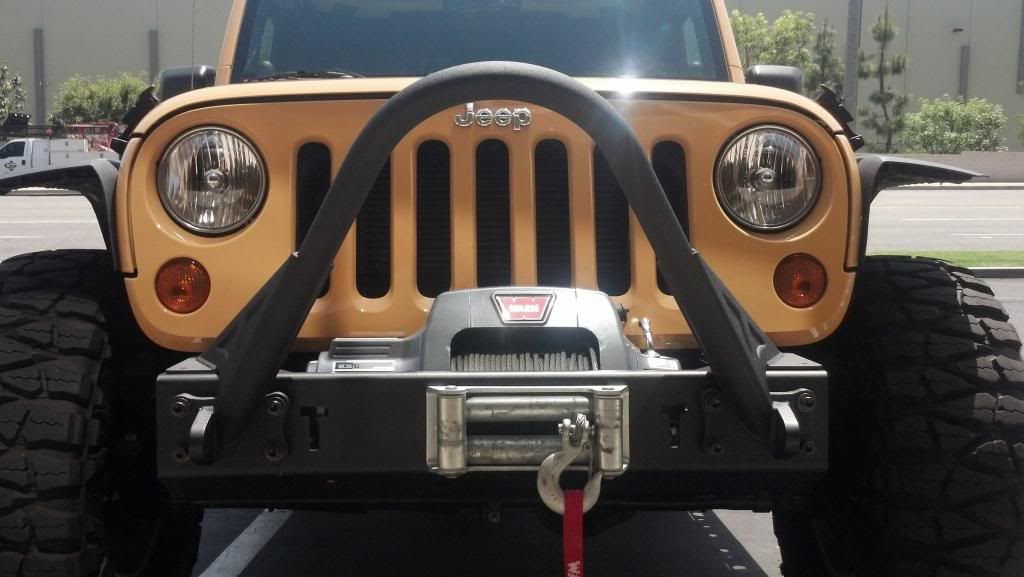
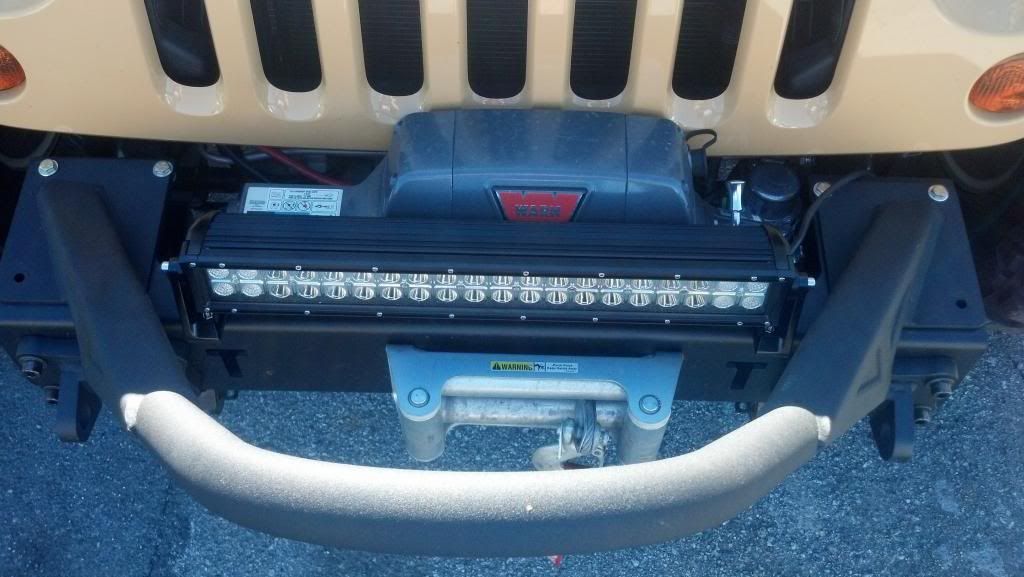
So here is a pic of my Sterling Tow Master Tow Bar base plate/mount on my EVO 1/4 Pounder front bumper. No signs of any stress from the move/tow. Im very happy with how stout this bumper is!

This is after moving my JK from Orange Co to San Fran in my most recent move.

This is after moving my JK from Orange Co to San Fran in my most recent move.
Last edited by StrizzyChris; 05-13-2013 at 03:55 AM. Reason: pic added
05-13-2013, 04:07 AM
#15
JK Enthusiast
Thread Starter
Join Date: Sep 2011
Location: USA
Posts: 429
Likes: 0
Received 0 Likes
on
0 Posts
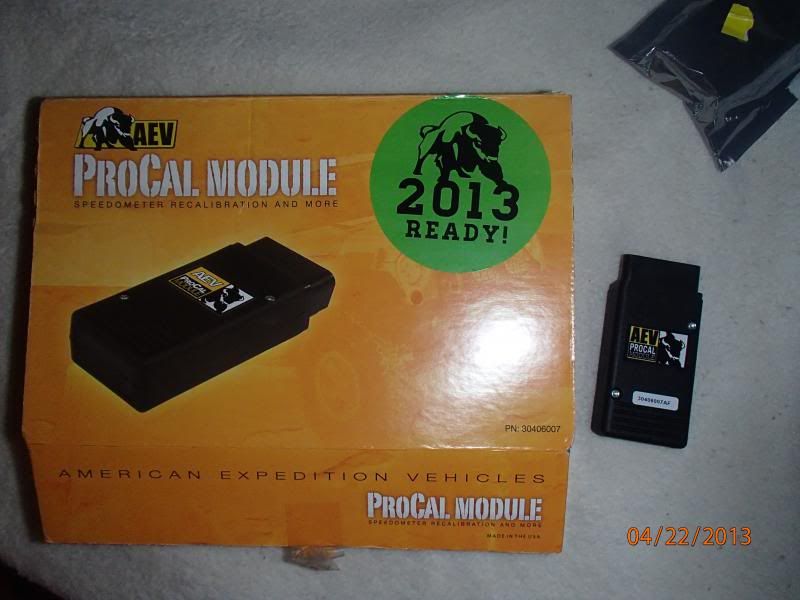
Installed the 2013 compatible Procal. Honestly couldn't tell a difference in shift points or "feel" while driving but did it ever help my MPG!!! Finally disabling the TPMS was nice as well!
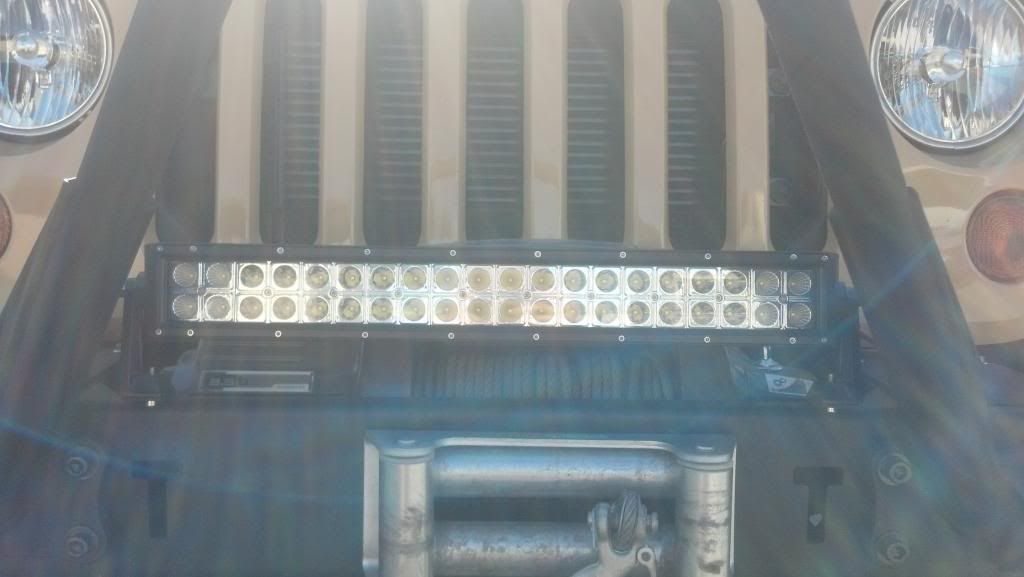
Also Picked up a 20" spot/flood combo LED light bar as well as two 2x2 pillar mount spots. Just need to figure out my mounting solution for them.

Also Picked up a 20" spot/flood combo LED light bar as well as two 2x2 pillar mount spots. Just need to figure out my mounting solution for them.
05-14-2013, 12:18 AM
#16
JK Enthusiast
Thread Starter
Join Date: Sep 2011
Location: USA
Posts: 429
Likes: 0
Received 0 Likes
on
0 Posts
So trying to get a feel for the size and mounting of the 20" LEDs. I may look for a piece of thick steel bent a few times to bolt to the bumper if there isnt a reasonably priced bracket available.
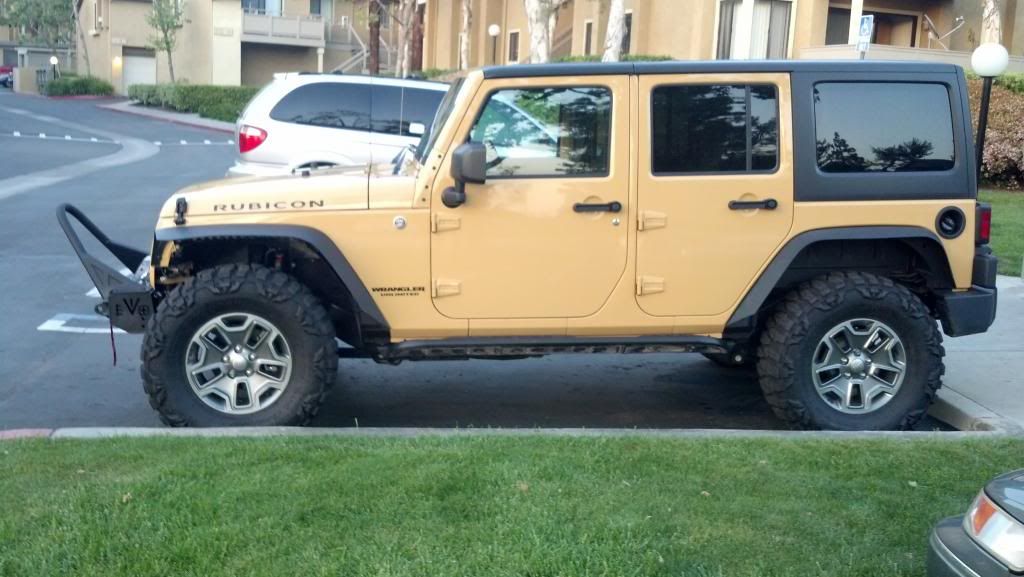
Also installed a 1.75" front spacer to help compensate for the factory rake, bumper/stinger and winch weight as well as the extra rise from running no spare or rear carrier right now. It was dark when I finished the install so no pics until the morning but It looks like I still have a slight rake. I have a 3/4" rear spacer that I thought I would use in combo, but may not even need it.
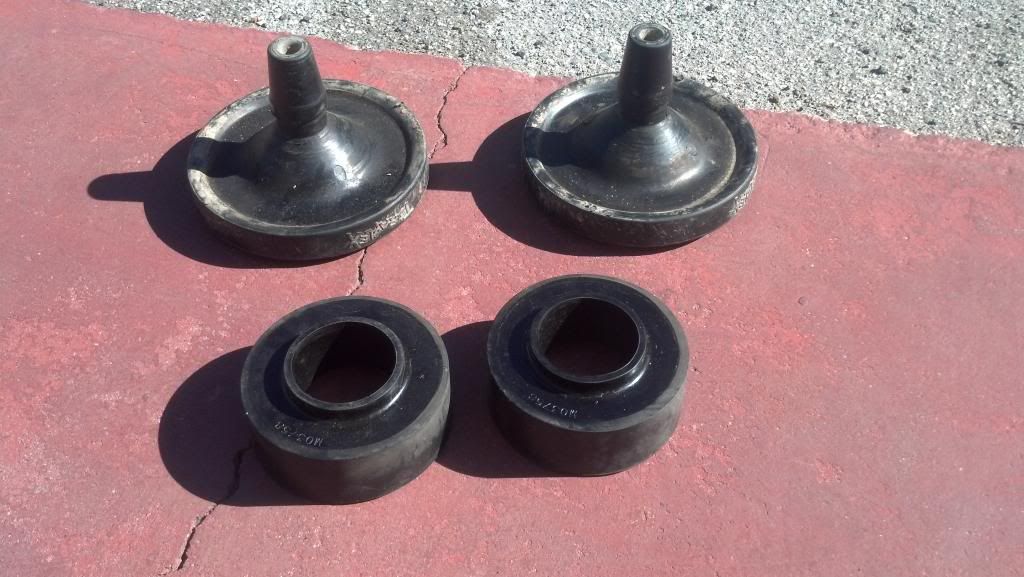
Also installed a 1.75" front spacer to help compensate for the factory rake, bumper/stinger and winch weight as well as the extra rise from running no spare or rear carrier right now. It was dark when I finished the install so no pics until the morning but It looks like I still have a slight rake. I have a 3/4" rear spacer that I thought I would use in combo, but may not even need it.
05-14-2013, 02:49 AM
#17
Looking good!
So, the procal actualy made you get a little better mileage? Tell me its true.
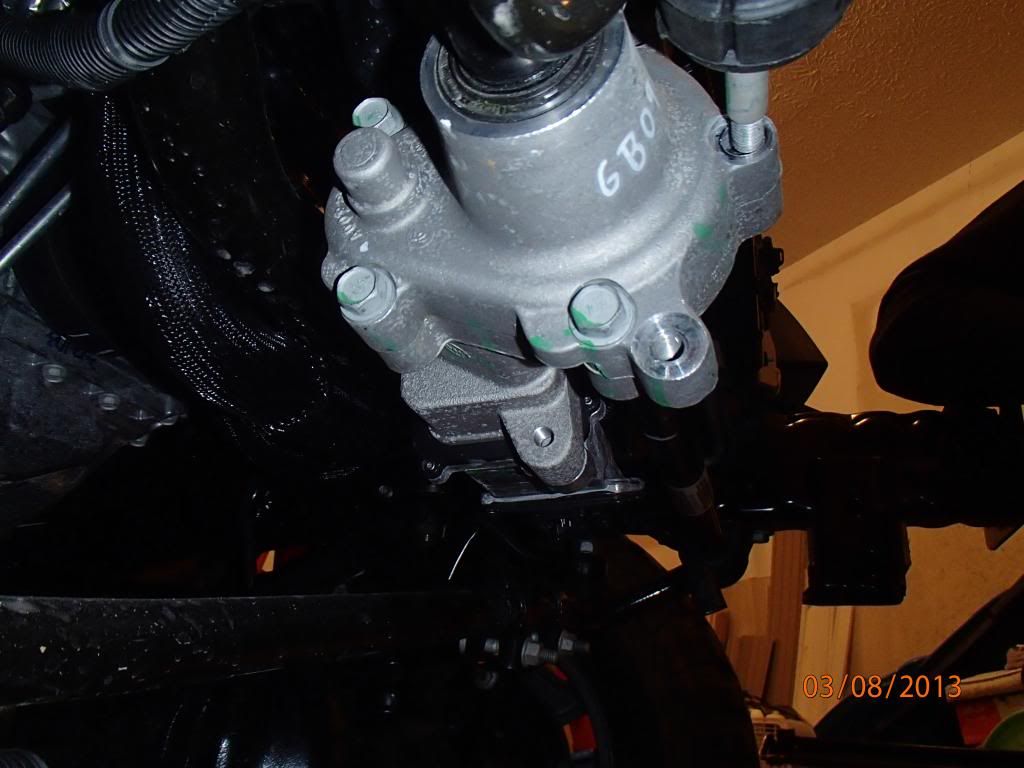
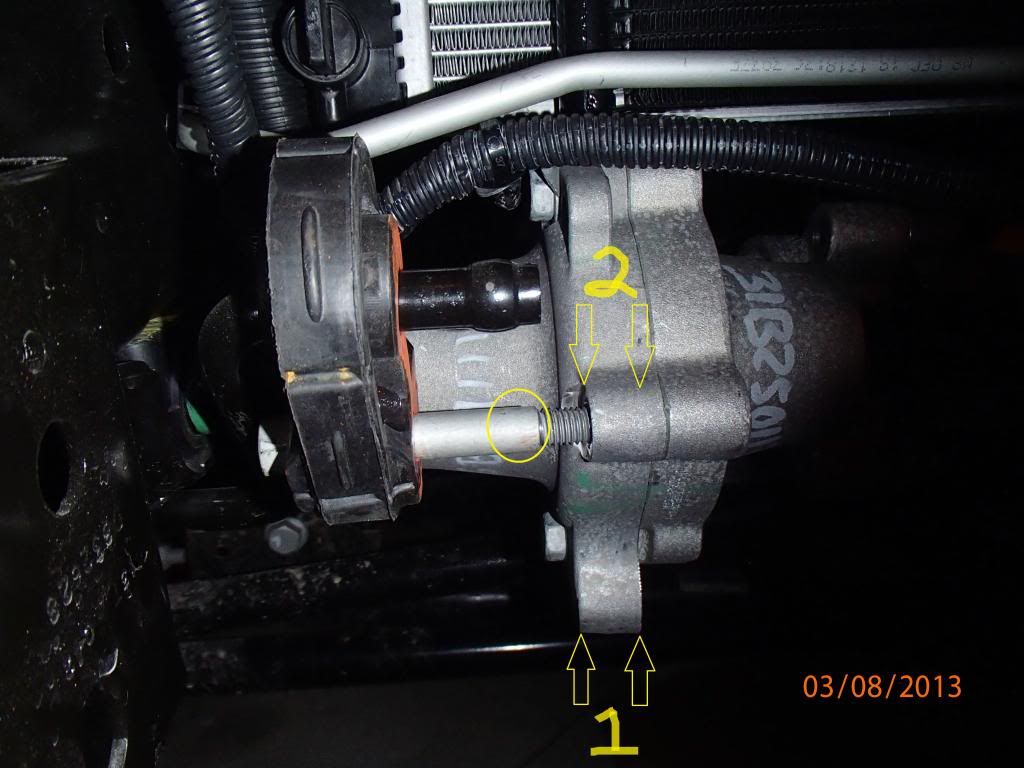
Also, the e-sway bar spin, is it actually secured in the new location or is the bolt just stuffed into the new hole you drilled out? Here is the pic I am questioning...
So, the procal actualy made you get a little better mileage? Tell me its true.
Also, the e-sway bar spin, is it actually secured in the new location or is the bolt just stuffed into the new hole you drilled out? Here is the pic I am questioning...

 05-14-2013, 06:24 AM
#19
JK Enthusiast
Thread Starter
Join Date: Sep 2011
Location: USA
Posts: 429
Likes: 0
Received 0 Likes
on
0 Posts
Last edited by StrizzyChris; 05-14-2013 at 08:57 PM. Reason: I spell like a 4 year old with a traumatic brain injury
05-14-2013, 08:51 PM
#20
JK Enthusiast
Thread Starter
Join Date: Sep 2011
Location: USA
Posts: 429
Likes: 0
Received 0 Likes
on
0 Posts
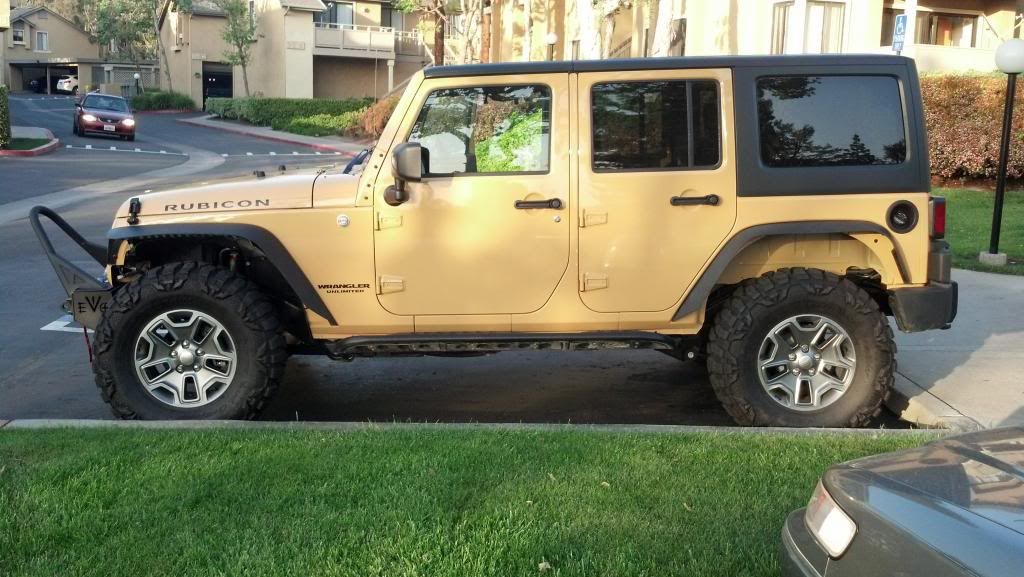
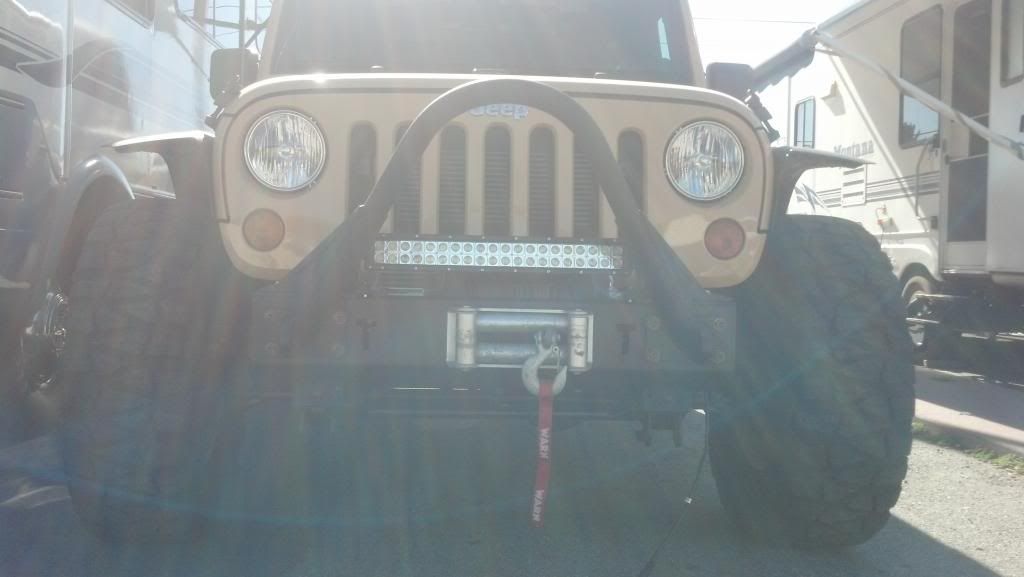
So here she is, in daylight, after installing Front 1.75" spacers only.

There's still a slight rake, but I think mounting the rear carrier and spare will level it. If it then sags too much under that weight, I will then install the rear 3/4" spacers to then raise it to be more level.
There's still a slight rake, but I think mounting the rear carrier and spare will level it. If it then sags too much under that weight, I will then install the rear 3/4" spacers to then raise it to be more level.