
Fabbing Bumper ... any advice
 03-11-2009, 07:15 PM
#11
JK Newbie

Join Date: Dec 2008
Location: Evansville, IN.
Posts: 63
Likes: 0
Received 0 Likes
on
0 Posts
I always start by looking for mounting points. Use as many as you can. I've only done tube bumpers so far but would like to do a plate bumper.
Here is the last bumper I made.
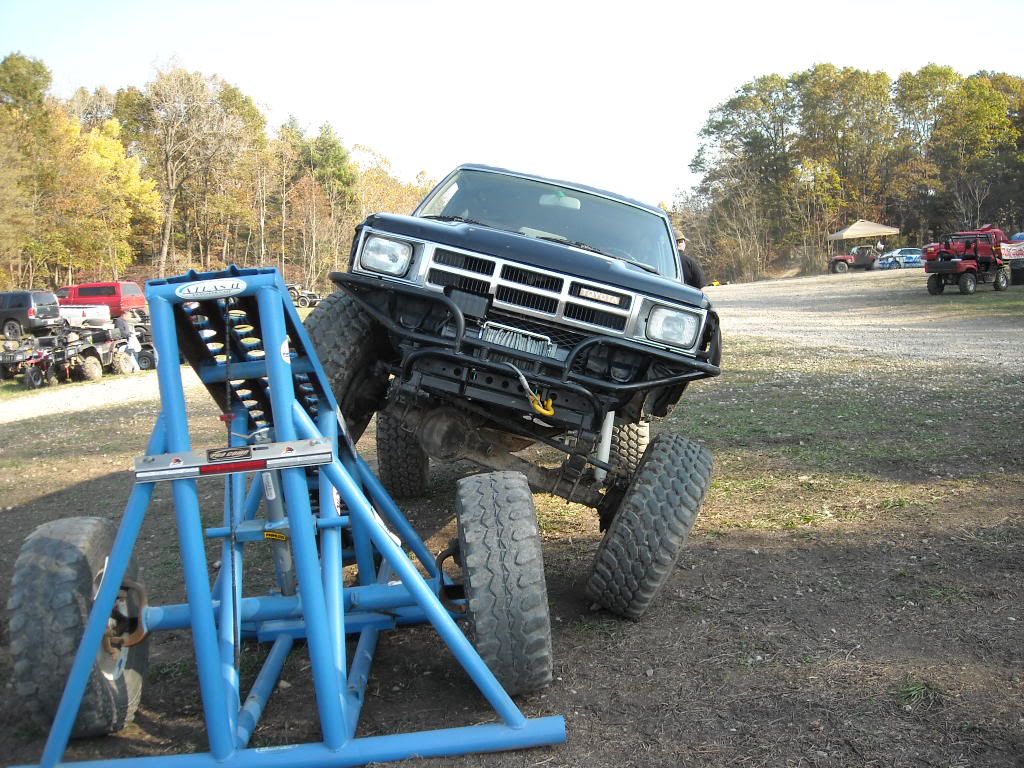
Here is the last bumper I made.
 03-11-2009, 07:53 PM
#12
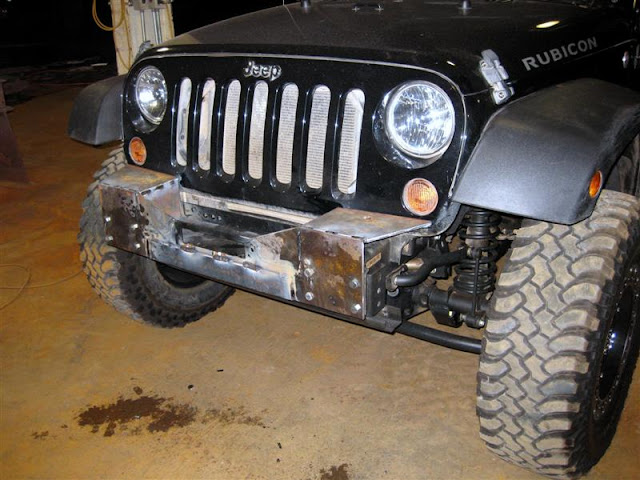
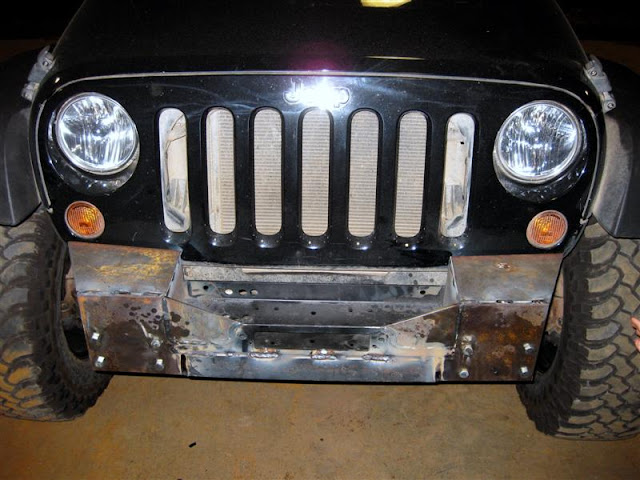
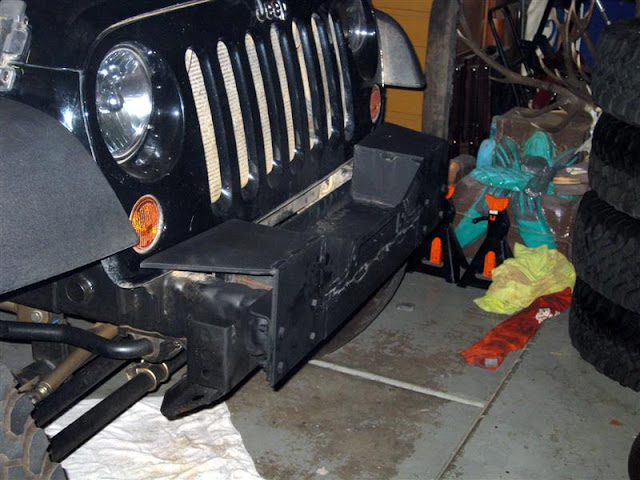
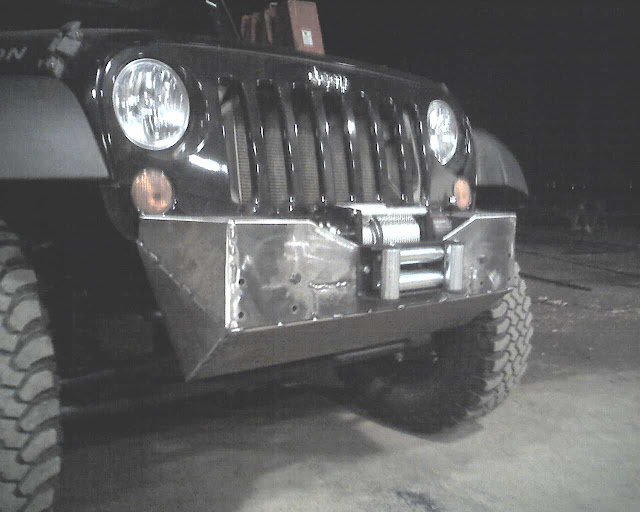
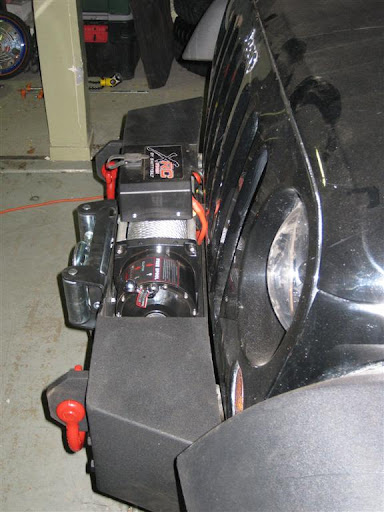
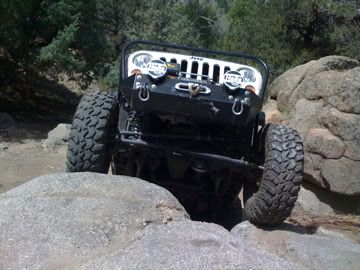
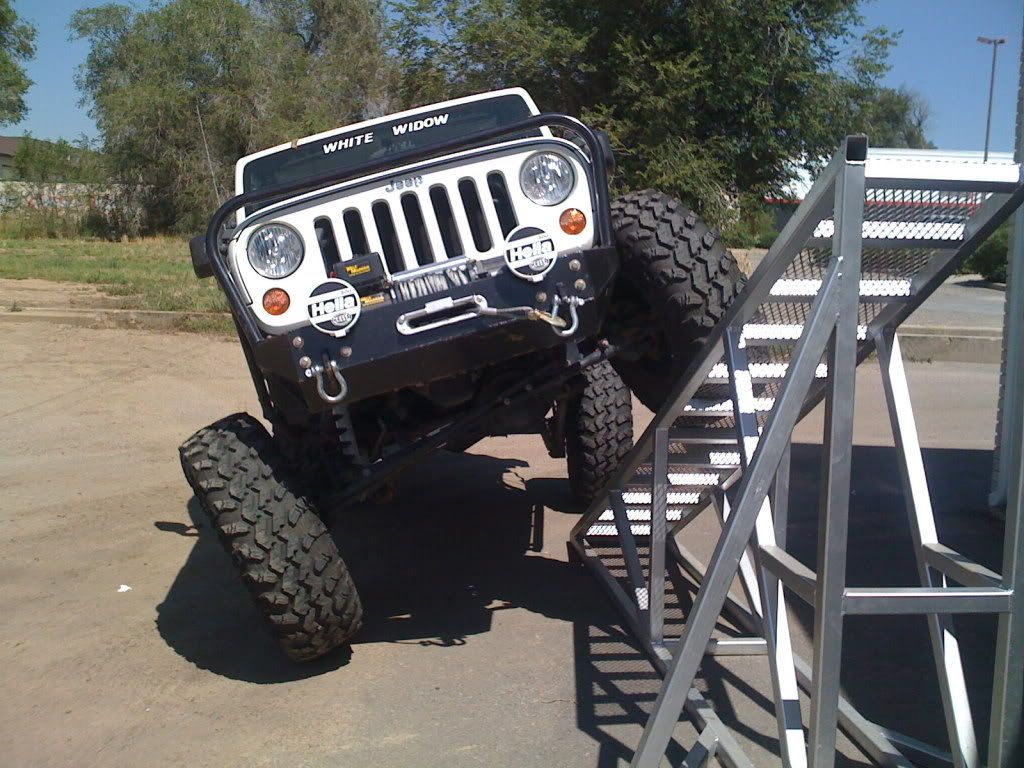
There are a couple of great looking bumpers on here! I'll attach a couple of pics of mine in the process in case it can help you design. I was kind of particular about the height of mine. I wanted it to be no lower, and stick out no further than the bottom edge of the front frame rails. But, I also wanted it to come up high enough so there would not be a gap between the top of the bumper and the bottom of the grill. Also, if you are doing a winch mount, there is a great little notch on the insides of both of the frame rails that can be used to support some weight of a winch mount. I found it easiest to start the framework, and get the "foundation" mounted up... then I worked on adding panels and finishing it off. Each "panel" was measured and cut to fit where it would go. I did find things not to be completely symmetrical on the Jeep so this at least made it look like it is. Good luck, and I hope these can help you...

03-11-2009, 07:56 PM
#13
Oh yeah... I would use 3/16" as the thinnest steel to be considered. 1/4" if you want it to be bullet proof (I even have parts that are 3/8" but that is total overkill). Also, dont worry about rust... Put a good flapper wheel on your grinder and grind it all down before a good coating of a rust preventative/sealer...
03-12-2009, 12:09 PM
#14
JK Enthusiast
Thread Starter
Join Date: Feb 2008
Location: Mansfield /OH
Posts: 174
Likes: 0
Received 0 Likes
on
0 Posts
These are sweet bumpers! Has anyone seen a full width homemade? This is what I'm thinking of going with, possibly a modular type that way I know the angles will be the same on the ends.
03-13-2009, 01:16 PM
#15
JK Newbie
Join Date: Mar 2009
Location: ontario
Posts: 21
Likes: 0
Received 0 Likes
on
0 Posts
nice to see a lot of help here so i'll add my 0.02 cents. as said before, keep in mind that you only want to build it once and for all the right way. what i did is scan to web for ideas and give it my own style. don't be shy on gussets and the quality of the steel. if you 'r thinkin of making a tube style bumper, i would get the bends done my a mandrell bender rather than do what i did and cut triangles out of tubing and weld them together to make a bend, the more you weld the more you weaken the steel because of heat. and once you finished your product, paint it with POR ( paint on rust ) paint. its almost un-chippable and will keep your creation looking like new for those who may want you to build another for them.

 03-20-2009, 08:21 PM
#18
JK Newbie

Join Date: Apr 2008
Location: Indiana
Posts: 62
Likes: 0
Received 0 Likes
on
0 Posts
Someone was asking about a homebuilt fullwidth:

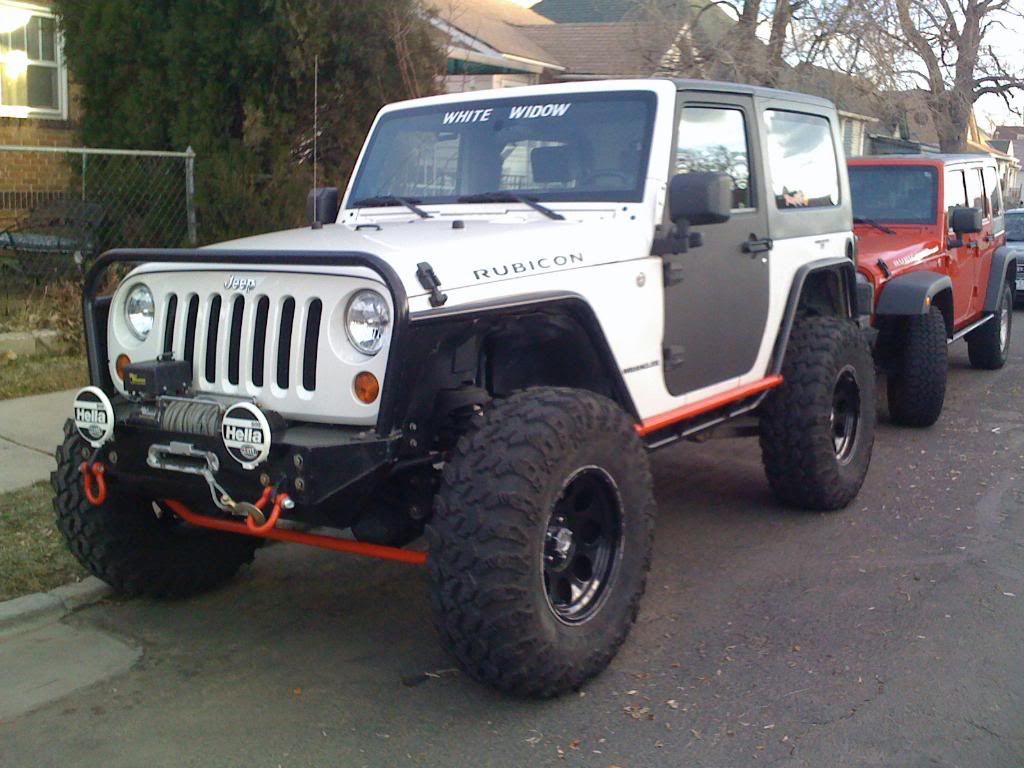
It was my first attempt at a bumper, its nice, but not nice enough. the tubes are 1.5" dia, which is too small to look right, winch area & hook area aren't great.
Oh, there was $75 worth of material in this one, not including painting.
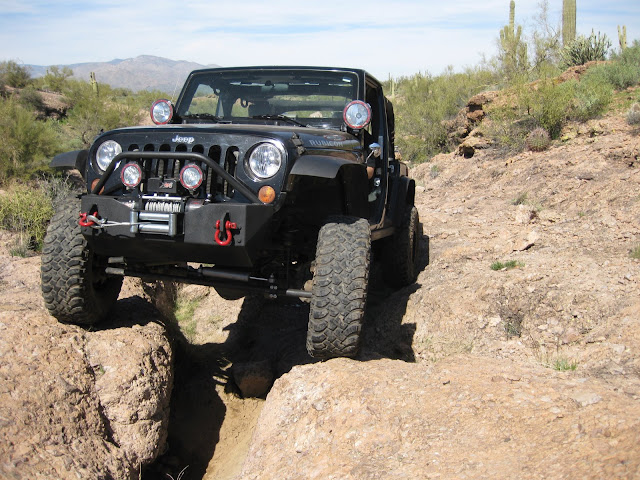
My second one will be more like LoDs:

It will be a mid-width, using the stock fogs & backed with a 1/4" winch plate. Recovery points are laminated 1/4", that will be TIG welded, once the electrician shows up to run service for the new welder.
Bumper face is 7ga (.179").....there are a few kinks to work out, but the weather has broken just enough to really sort them out.
It was my first attempt at a bumper, its nice, but not nice enough. the tubes are 1.5" dia, which is too small to look right, winch area & hook area aren't great.
Oh, there was $75 worth of material in this one, not including painting.
My second one will be more like LoDs:
It will be a mid-width, using the stock fogs & backed with a 1/4" winch plate. Recovery points are laminated 1/4", that will be TIG welded, once the electrician shows up to run service for the new welder.
Bumper face is 7ga (.179").....there are a few kinks to work out, but the weather has broken just enough to really sort them out.
07-01-2009, 08:32 PM
#20
JK Enthusiast
Thread Starter
Join Date: Feb 2008
Location: Mansfield /OH
Posts: 174
Likes: 0
Received 0 Likes
on
0 Posts
Hope this works


The squares represent the shackles and the circles are the fog lights they are in different positions and the hoop is angled forward and backward... let me know what you think
The squares represent the shackles and the circles are the fog lights they are in different positions and the hoop is angled forward and backward... let me know what you think