
Custom modular JK hardtop
 06-12-2017 | 09:33 AM
#1611
JK Enthusiast
Joined: Apr 2012
Posts: 468
Likes: 4
From: Austin, TX
Great information as always, thanks. It seems my damage is mostly surface- I could epoxy the interior and exterior shells together again, and just sand and fill the parts that cracked on the edges. I have a Gobi rack shipping to me soon, so I won't ever be putting weight on the hard top any more.
06-13-2017 | 09:05 AM
#1612

Thread Starter
JK Super Freak
Joined: Jul 2012
Posts: 1,556
Likes: 37
From: Elmira, NY
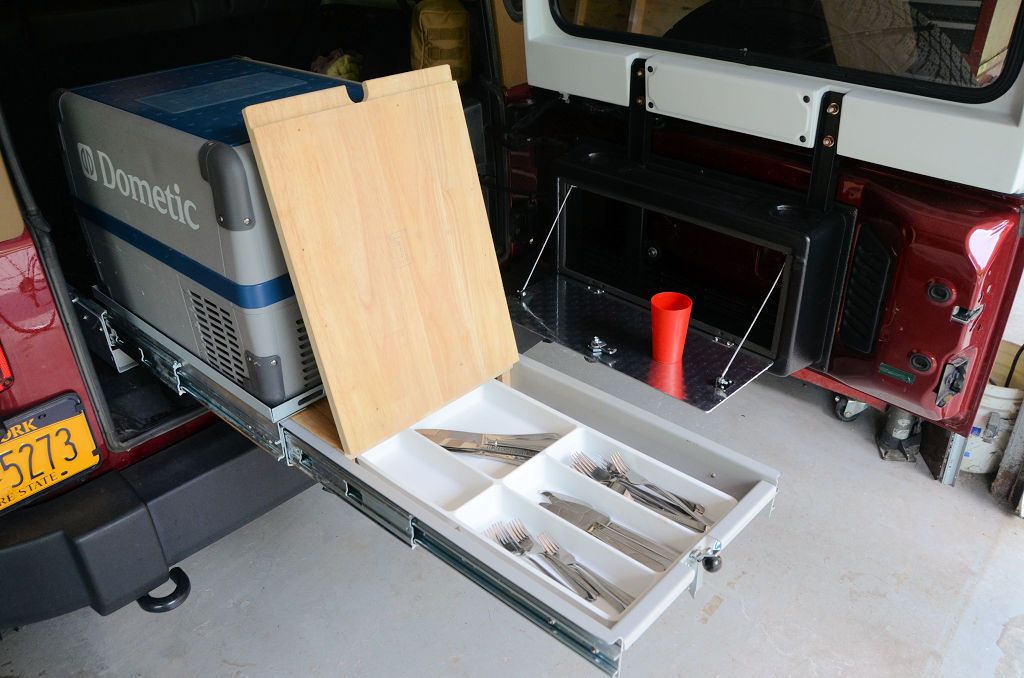
This morning in between steps in the rear flat fender project I added a table to the fridge drwer. The tabletop is flush with the top edges of the drawer. I hinged the tabletop with flush-mount hinges so they don't interfere with anything set on the table.
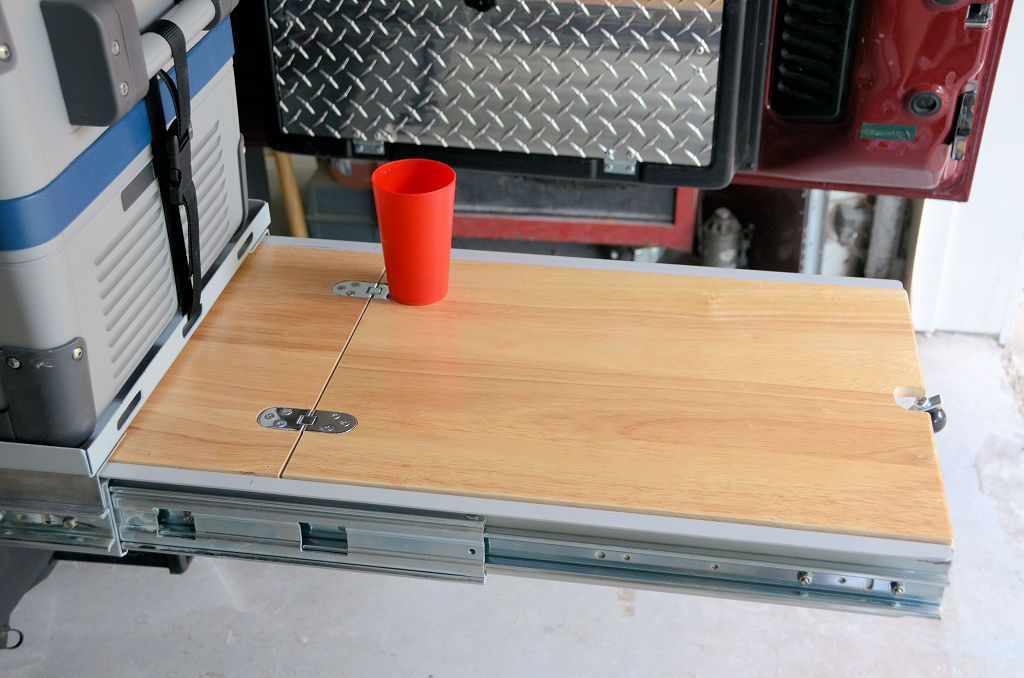
A video of it in operation:
http://www.youtube.com/watch?v=64UYpkqGiDg More to come, I plan a fold-down table to attach the the side of the slide and a mount alongside the fridge for a Rubican/Rotopax for dispensing water.
A video of it in operation:
http://www.youtube.com/watch?v=64UYpkqGiDg More to come, I plan a fold-down table to attach the the side of the slide and a mount alongside the fridge for a Rubican/Rotopax for dispensing water.
06-14-2017 | 08:19 AM
#1613
Thread Starter
JK Super Freak
Joined: Jul 2012
Posts: 1,556
Likes: 37
From: Elmira, NY
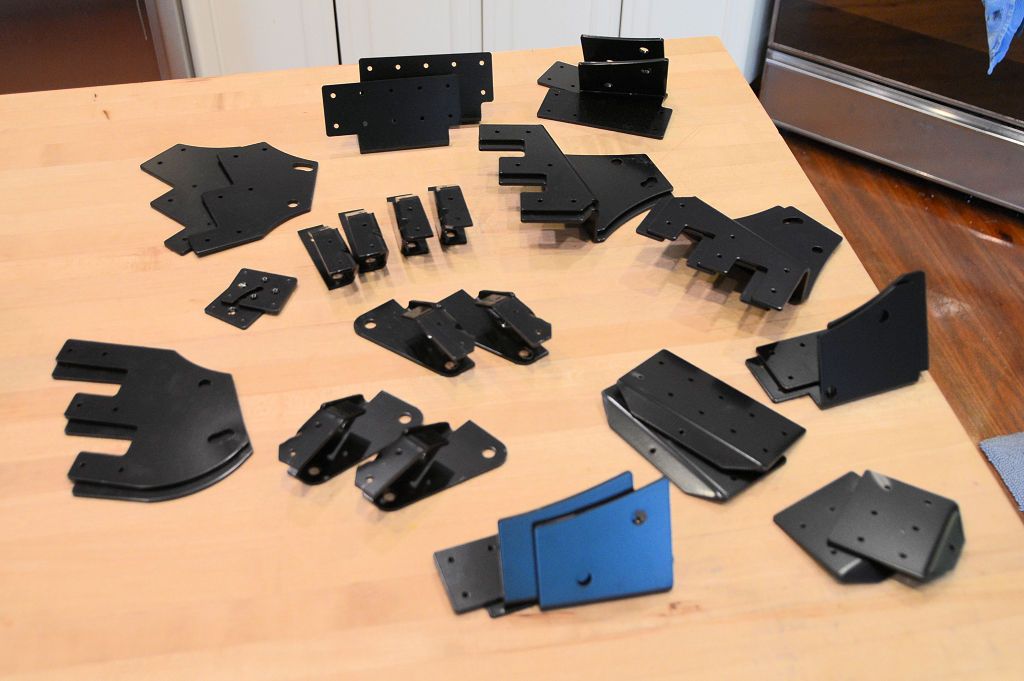
Something else got added to my to-do list for this week - a few weeks ago I got the first set of pre-production mounting brackets for the MultiPod LED system. A few minor adjustments were needed to some of the parts, and I just received another set with all the changes made. Assuming these fit as intended, they're ready for production. I'll have to install them all over the next few days to verify them.
06-15-2017 | 03:14 AM
#1614
Thread Starter
JK Super Freak
Joined: Jul 2012
Posts: 1,556
Likes: 37
From: Elmira, NY
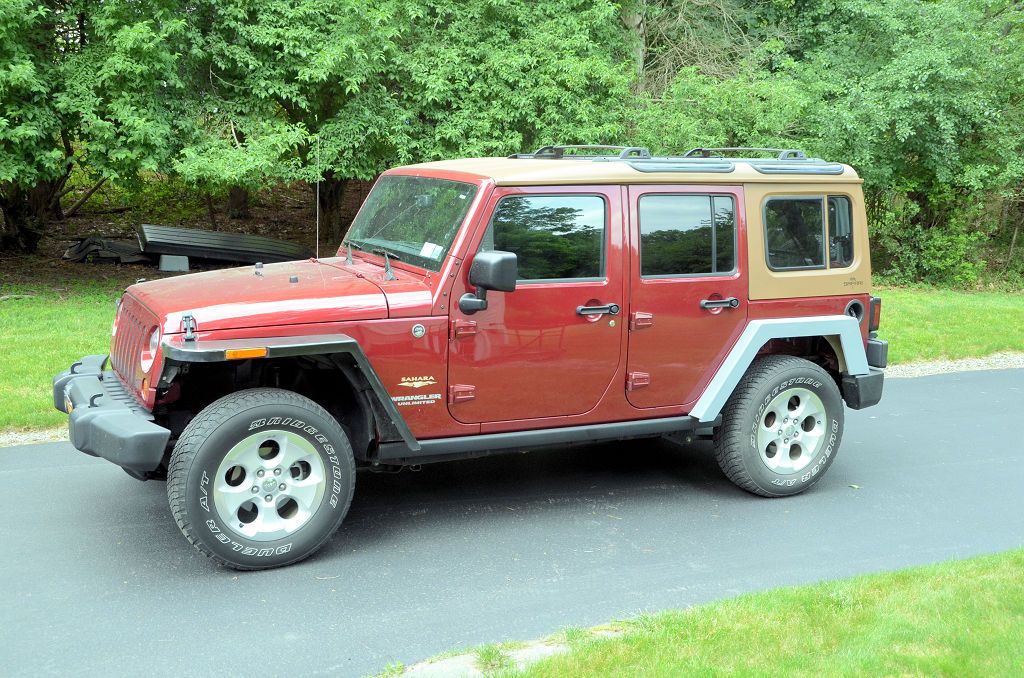
Last week I posted this illustration of the cardboard mockup fenders showing some possible ways the back leading edges of the rear flat fenders might be trimmed after they come out of the mold.
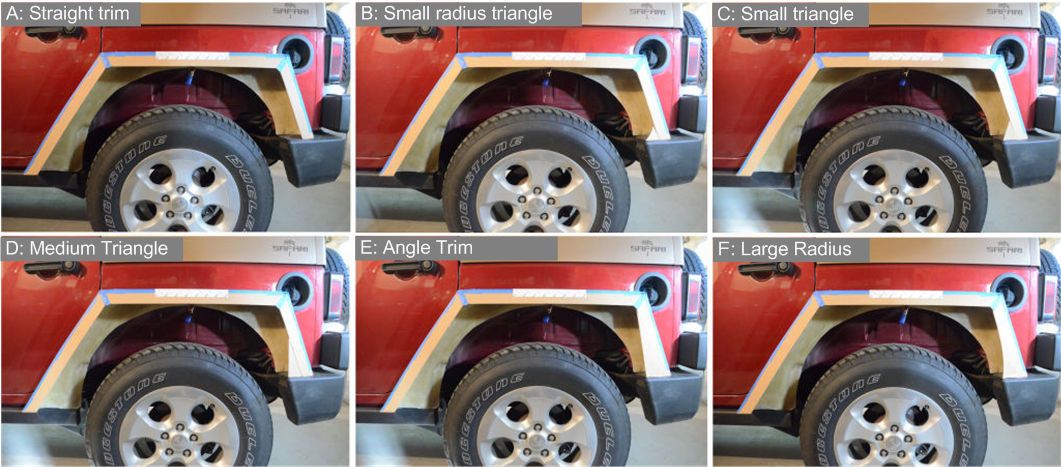
I've been working on the mold masters for the fenders for the past few days, during that process yet another trimming option occurred to me, here's a concept drawing. Basically the leading edge of the back of the fender would be trimmed in a straight line, but parallel to the back of the fender, resulting in a wider section in the back. Since the options abover are A-F, I'll call this one option "G":

All of the trimming options above will be possible with the molds that will be made from these masters.
The mold masters should be in shape to take some photos to post later today.
I've been working on the mold masters for the fenders for the past few days, during that process yet another trimming option occurred to me, here's a concept drawing. Basically the leading edge of the back of the fender would be trimmed in a straight line, but parallel to the back of the fender, resulting in a wider section in the back. Since the options abover are A-F, I'll call this one option "G":
All of the trimming options above will be possible with the molds that will be made from these masters.
The mold masters should be in shape to take some photos to post later today.
06-15-2017 | 02:35 PM
#1615
Thread Starter
JK Super Freak
Joined: Jul 2012
Posts: 1,556
Likes: 37
From: Elmira, NY
I'm making progress on the mold masters for the rear flat fenders, here are a few photos.
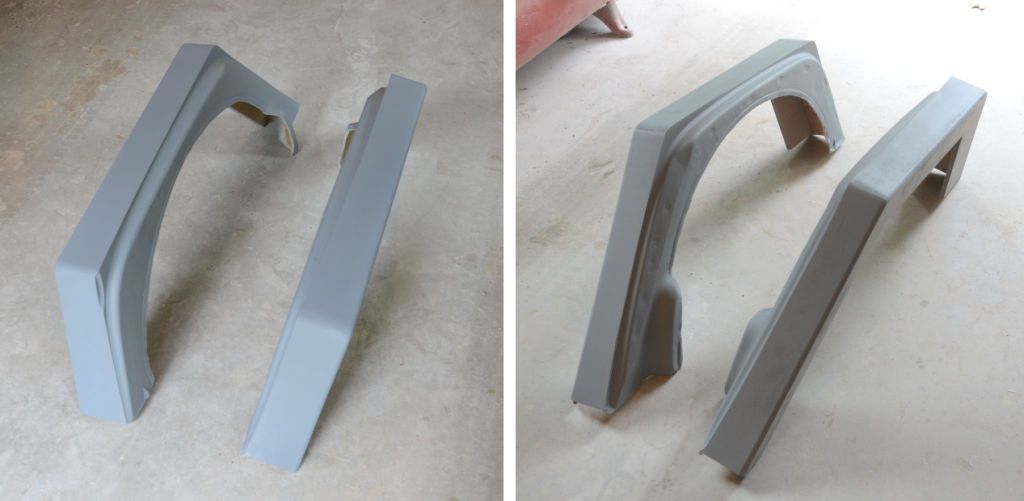
Because these are mold masters, the dimensions are a bit different than the actual fenders will be once they're out of the mold and trimmed, for example the vertical face is wider than its final trim width. The masters are in preliminary primer in the photos below, they'll be bodyworked and a nice finish applied before the molds are made from them.

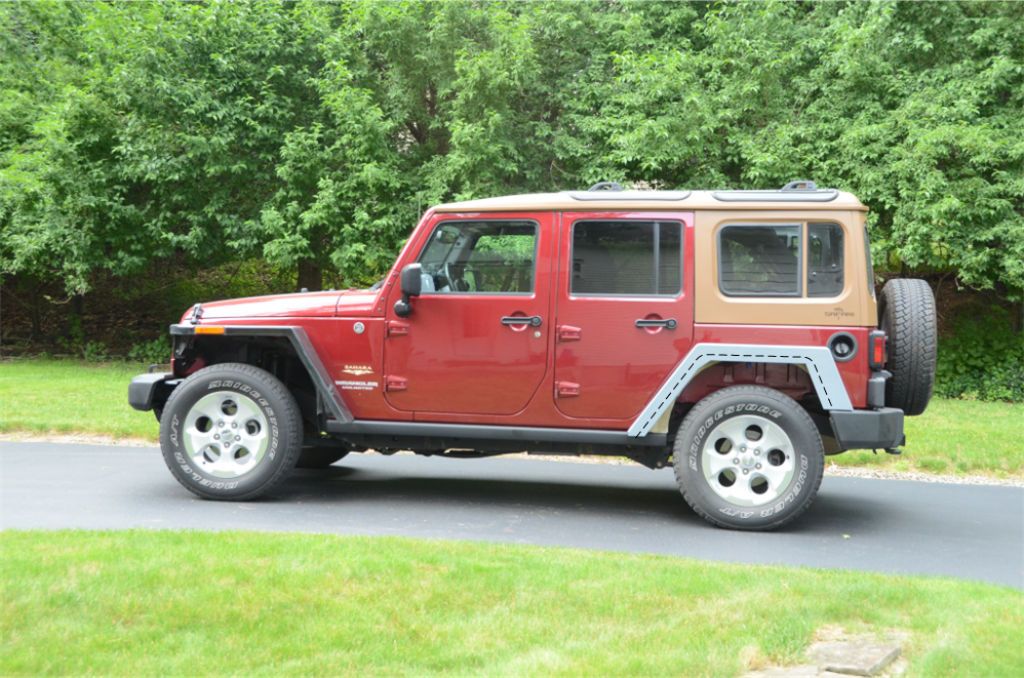
In this photo I've drawn a trim line for trim option G that I posted earlier today. All of the trimming options in today's earlier post will be possible with the molds that will be made from these masters.
Because these are mold masters, the dimensions are a bit different than the actual fenders will be once they're out of the mold and trimmed, for example the vertical face is wider than its final trim width. The masters are in preliminary primer in the photos below, they'll be bodyworked and a nice finish applied before the molds are made from them.
In this photo I've drawn a trim line for trim option G that I posted earlier today. All of the trimming options in today's earlier post will be possible with the molds that will be made from these masters.
 06-16-2017 | 03:37 AM
#1617
Thread Starter
JK Super Freak
Joined: Jul 2012
Posts: 1,556
Likes: 37
From: Elmira, NY
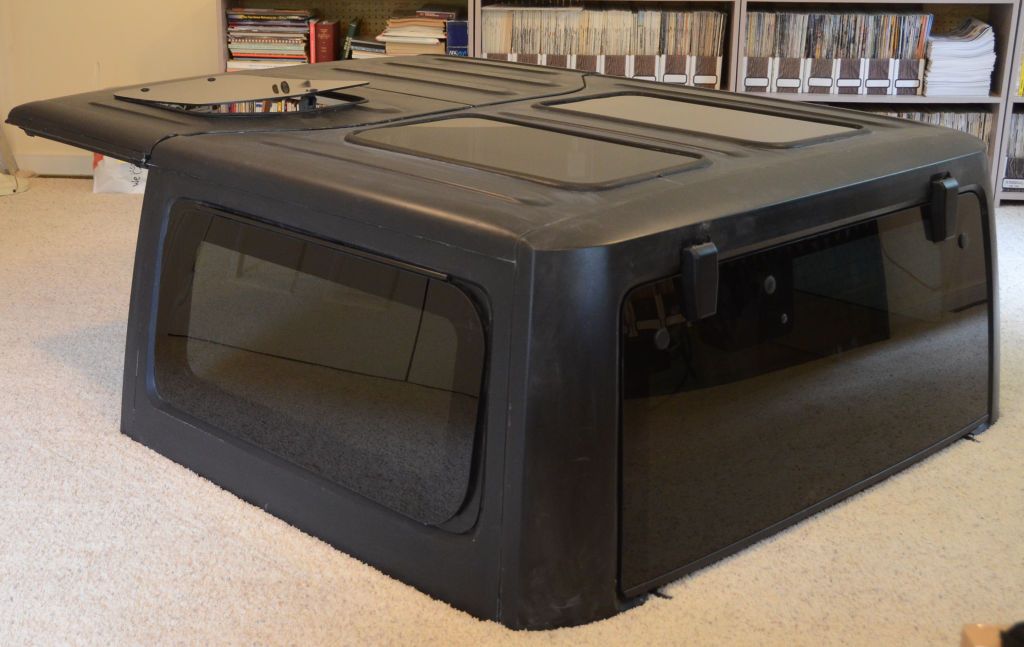
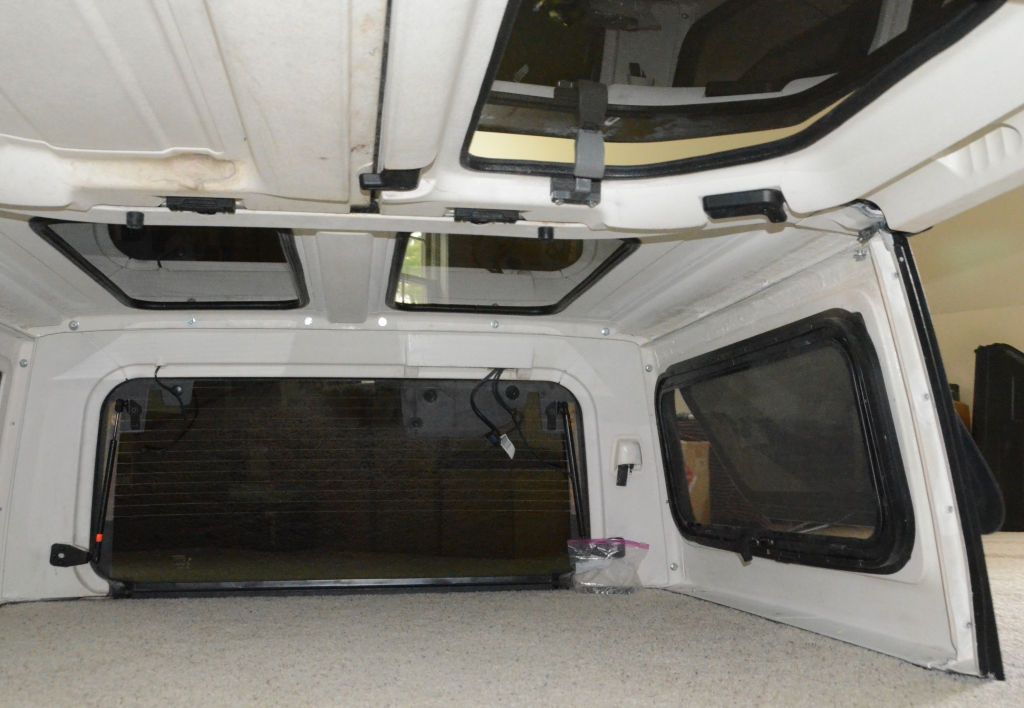
Two weeks ago I picked up a tilt-out RV window when I was in Indiana for a meeting with a window company. It's not the exact size and shape to fit the 2dr hardtop window opening, but it's very close and installed just fine with a custom retrofit kit I made for it.
Closed:
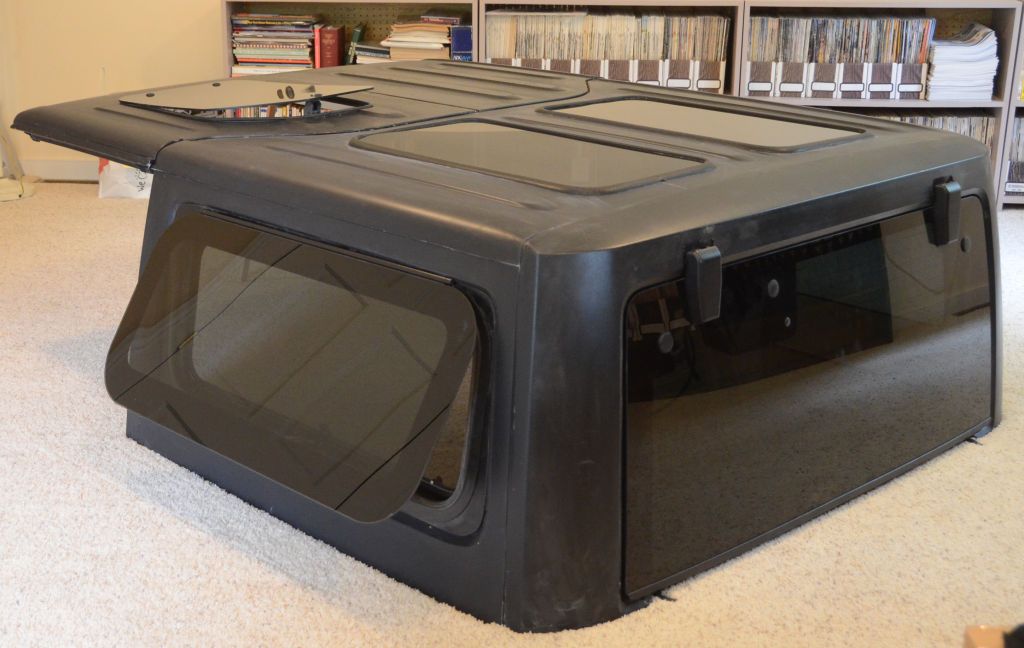
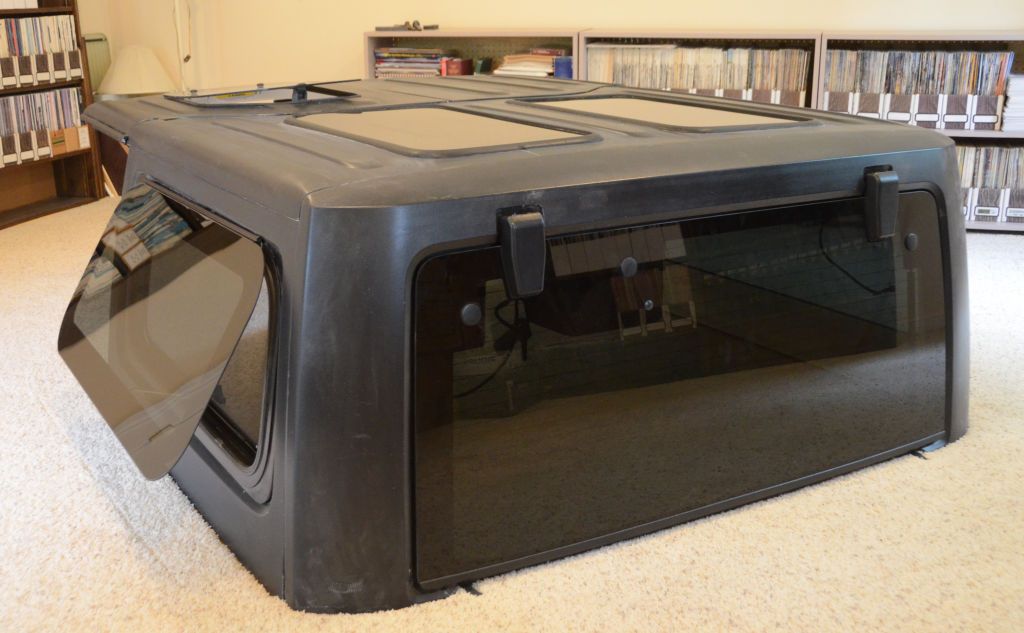
Open:
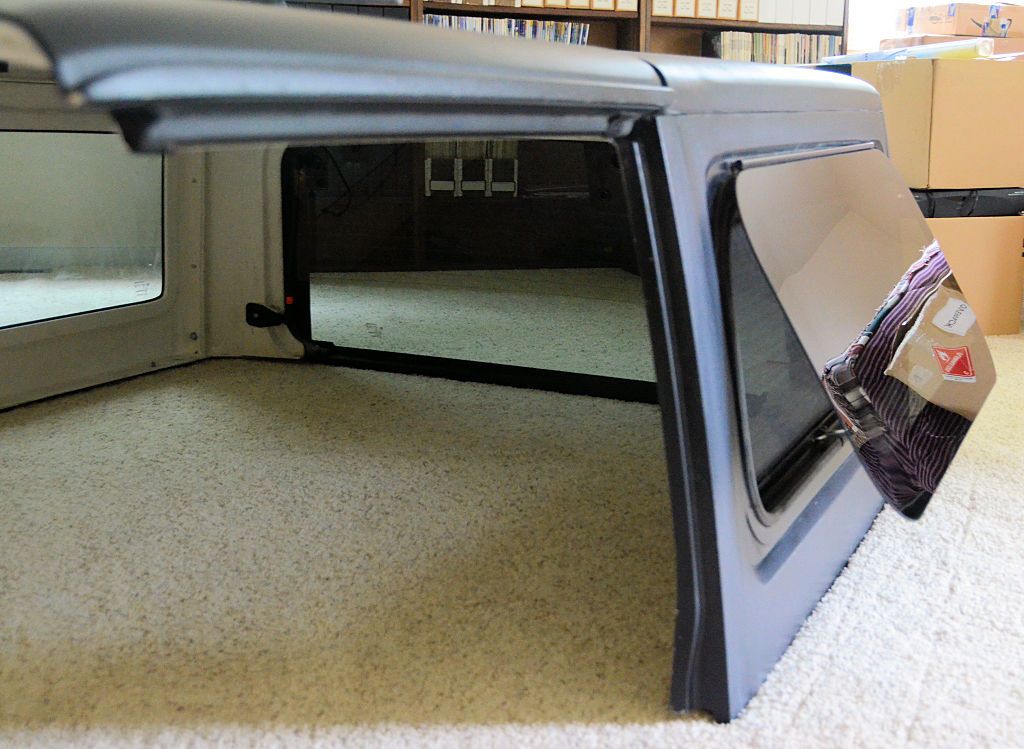
Interior view showing the window open, also showing the pop-up Freedom panel skylight open and showing the main hardtop skylights...
Closed:
Open:
Interior view showing the window open, also showing the pop-up Freedom panel skylight open and showing the main hardtop skylights...
06-16-2017 | 10:00 AM
#1618
Thread Starter
JK Super Freak
Joined: Jul 2012
Posts: 1,556
Likes: 37
From: Elmira, NY
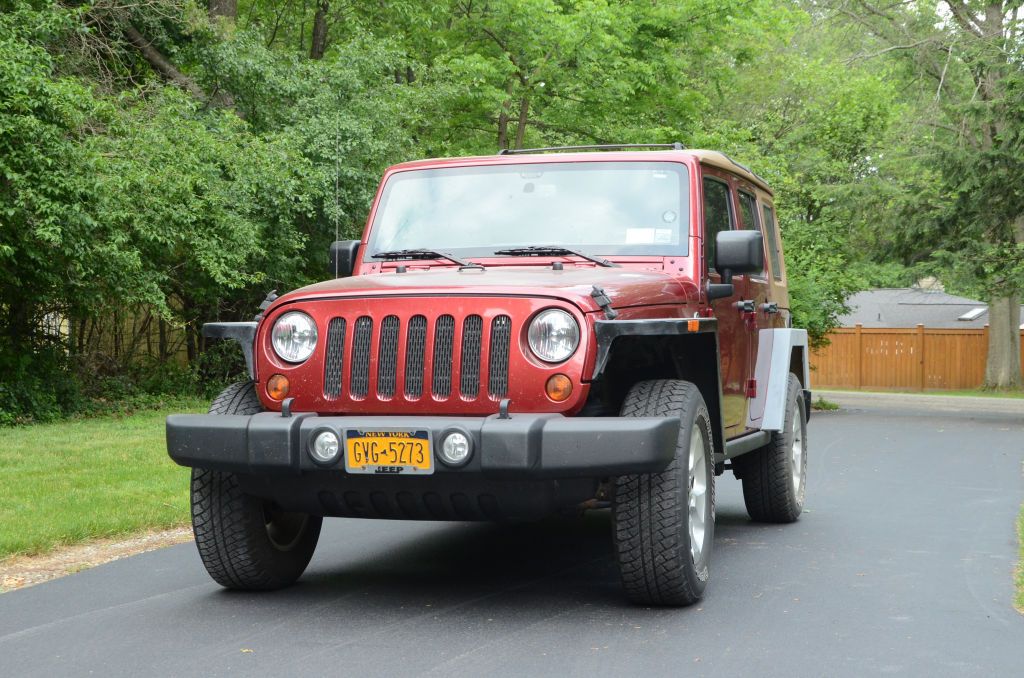
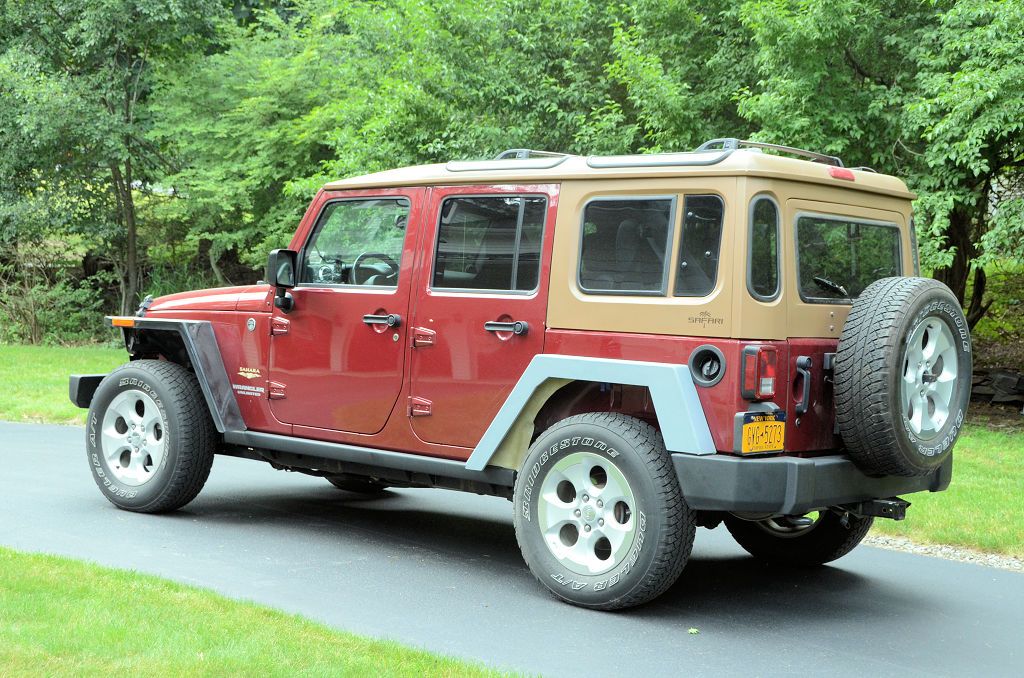
I made a change to the radius of the top corners of the rear fenders - I had made the radius the same as on the front fenders, but it looked to severe to me, so I softened the radius a bit. Even though the rear fenders now have a larger radius than the front fenders I think the look better this way. Also because the mold master has deeper sides than the final fenders will have, I painted the part that will be trimmed off black to better be able to see what the final look will be. I did trim option "G" but any of the other trim options could also be done.
06-16-2017 | 10:45 AM
#1619

JK Freak
Joined: Jan 2011
Posts: 511
Likes: 0
From: long island, ny
I made a change to the radius of the top corners of the rear fenders - I had made the radius the same as on the front fenders, but it looked to severe to me, so I softened the radius a bit. Even though the rear fenders now have a larger radius than the front fenders I think the look better this way. Also because the mold master has deeper sides than the final fenders will have, I painted the part that will be trimmed off black to better be able to see what the final look will be. I did trim option "G" but any of the other trim options could also be done.
06-16-2017 | 11:42 AM
#1620
Thread Starter
JK Super Freak
Joined: Jul 2012
Posts: 1,556
Likes: 37
From: Elmira, NY
I'm going to mold the rears in black fiberglass just as I did with the fronts because I suspect most people might want them black, but since I'm going for a look that's authentic to the original Willys as possible and almost all Willys front fenders were body color, yes I plan to paint them body color.