
Build Thread: Sierra Nevada Edition


 10-02-2013, 09:04 PM
#52
JK Newbie
Thread Starter
Join Date: Mar 2013
Location: Fresno, CA
Posts: 36
Likes: 0
Received 0 Likes
on
0 Posts
10-09-2013, 08:40 PM
#53
JK Newbie
Thread Starter
Join Date: Mar 2013
Location: Fresno, CA
Posts: 36
Likes: 0
Received 0 Likes
on
0 Posts
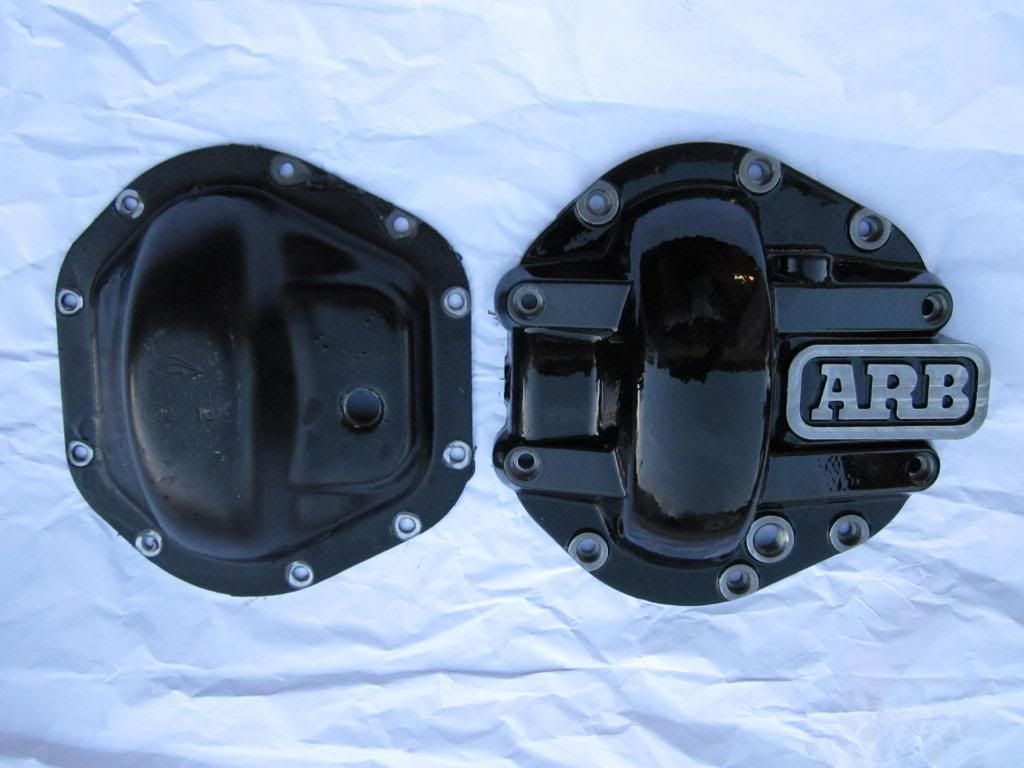
I installed both front and rear ARB differential covers this last weekend. The job seemed to be straight forward so I decided to do it myself, the shop wanted a few hundred to do it. I ran down to the local auto store and picked up 2 cans of brake cleaner, a gallon of 80w-90 gear oil (dino) and a oil pump to help get the oil into the cover without making a huge mess. Total cost for supplies was around $35.
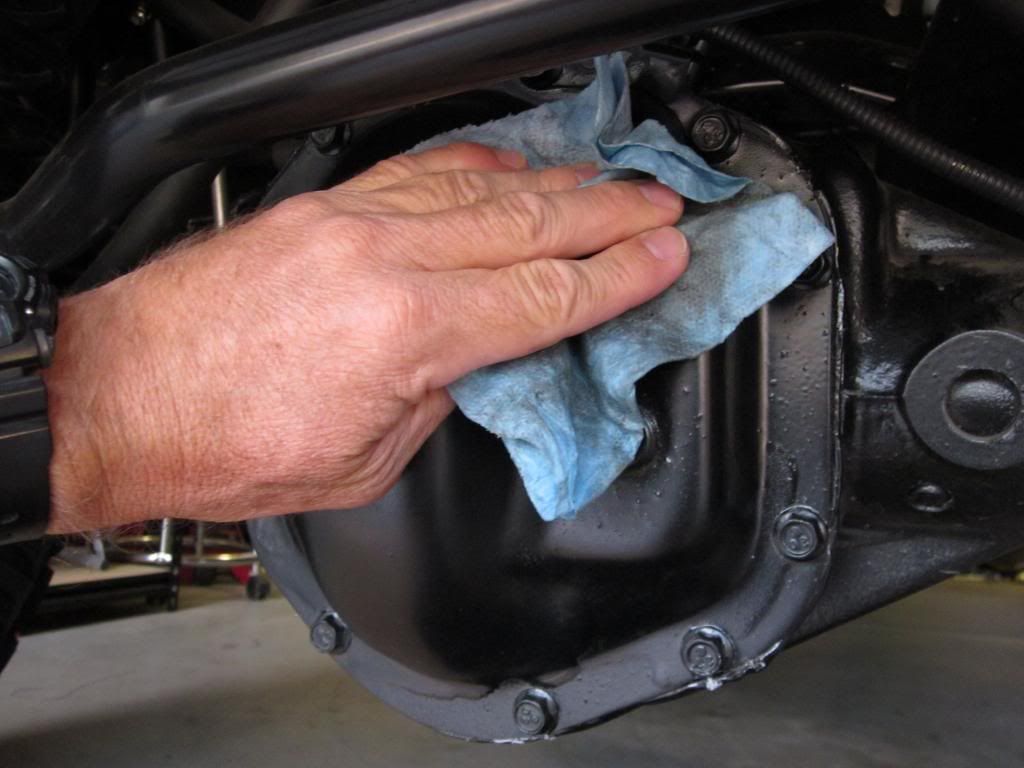
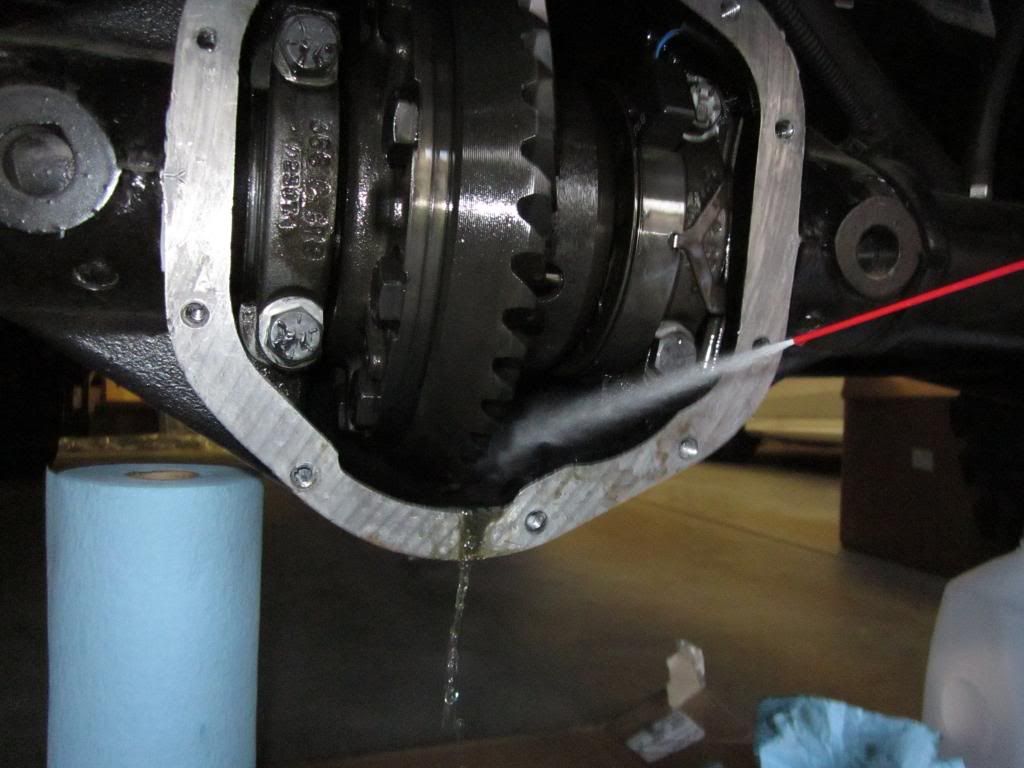
First thing to do is to wipe off the stock cover and the surrounding area. to help keep dirt from falling into the housing.
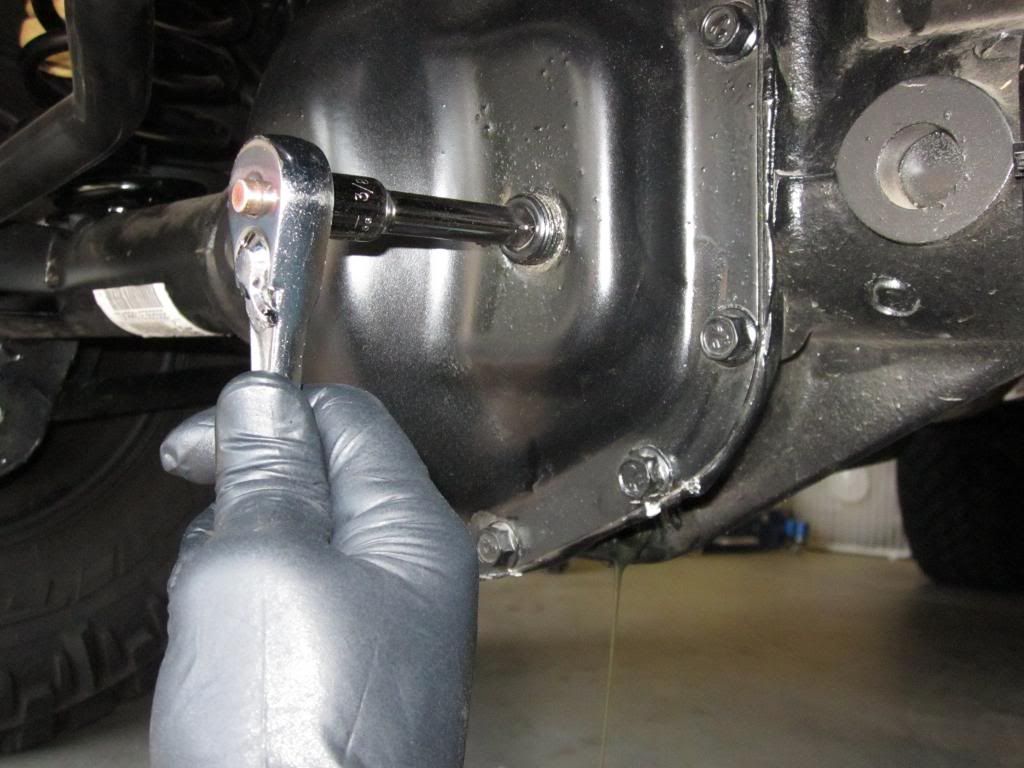
Then remove the drain plug at the bottom of the housing, with a 3/8" ratchet and a 3" extension.
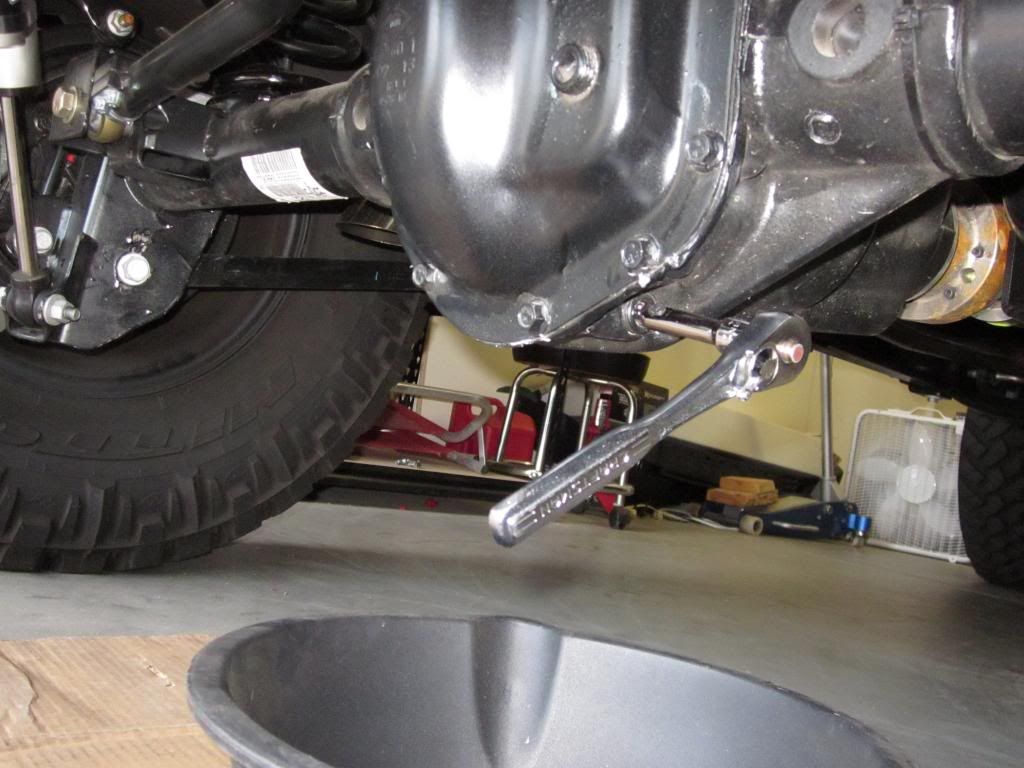
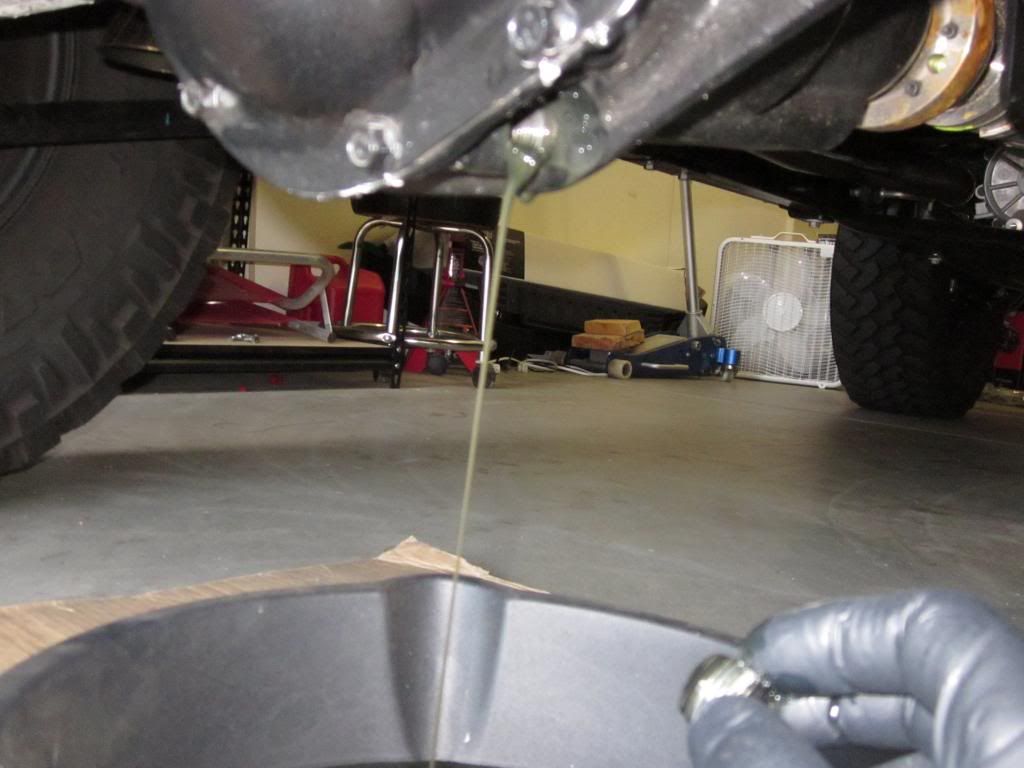
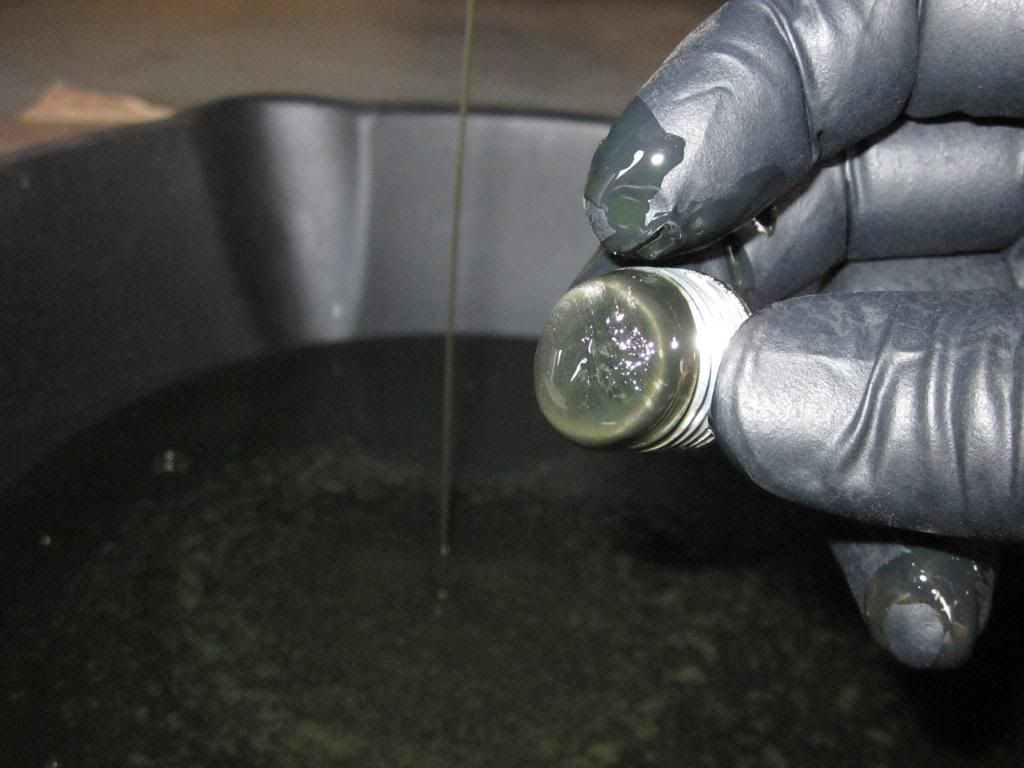
This drain plug is magnetized. - My jeep has only 1600mi on it and the magnet already had a lot of metal shavings on it.
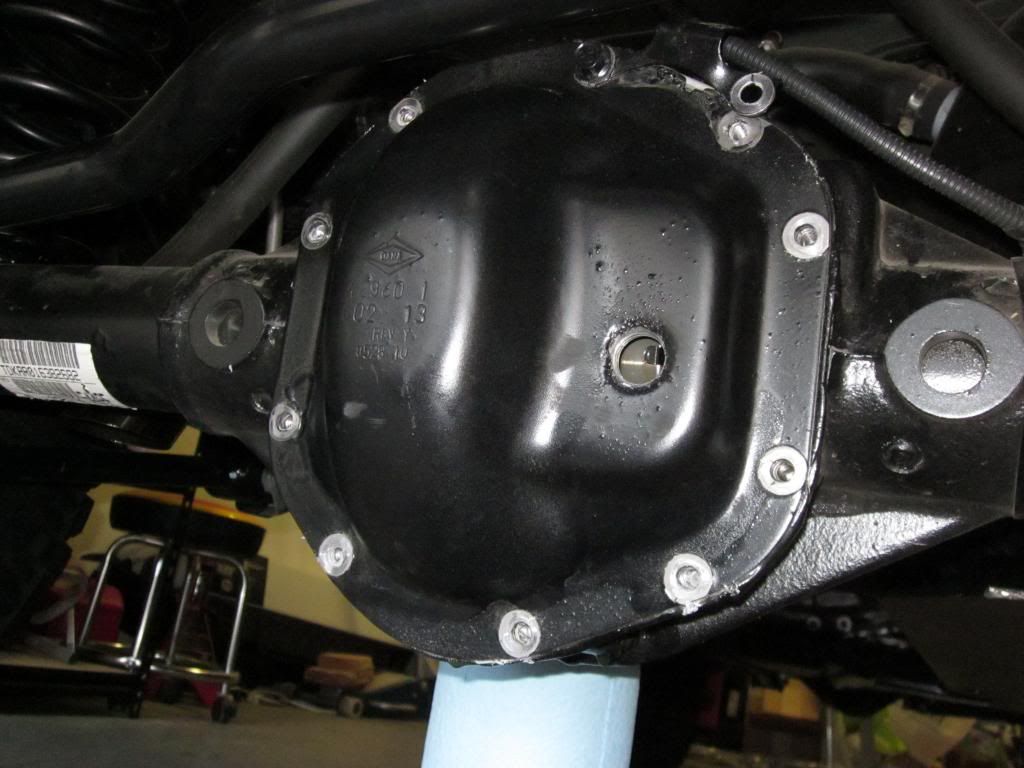
Next, I removed the filler plug
and then removed all but one of the top cover bolts. I left one still in loose to help hold the cover after it becomes free from the housing.
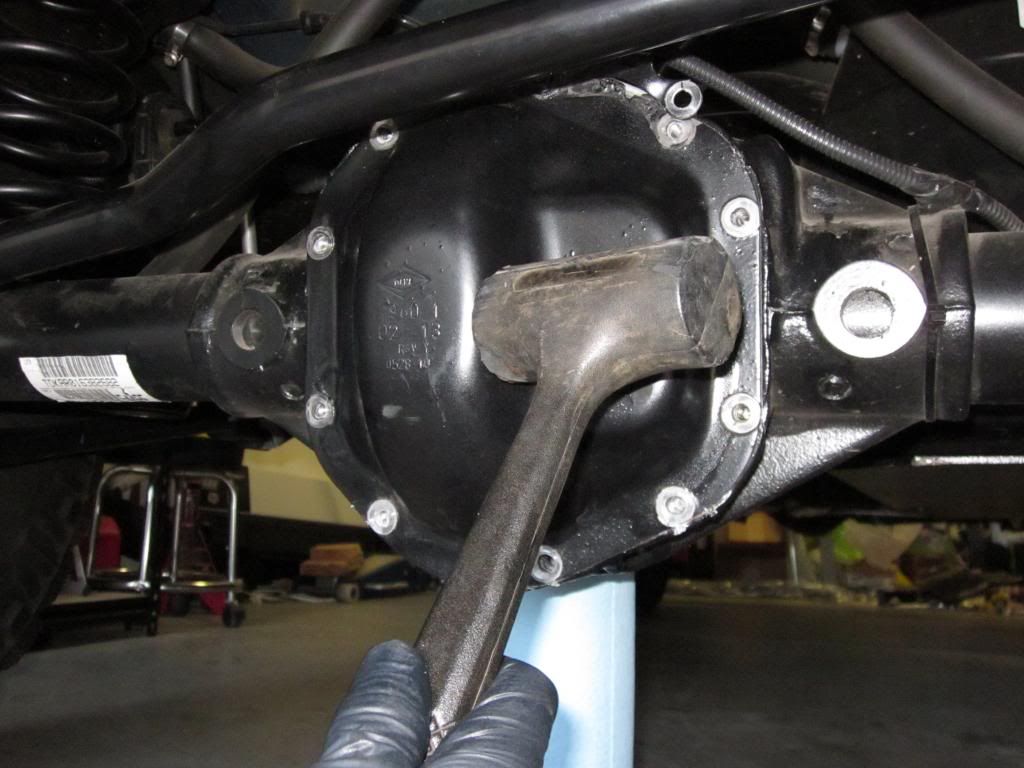
With the help of a dead-blow hammer, I was able to knock the cover free from the RTV (silicone) seal holding the cover on. It took a couple "good" hits on each side of the housing to do the job.
Now, remove the last bolt holding the cover on and grab a scraper to remove all of the factory RTV (silicone) gasket.
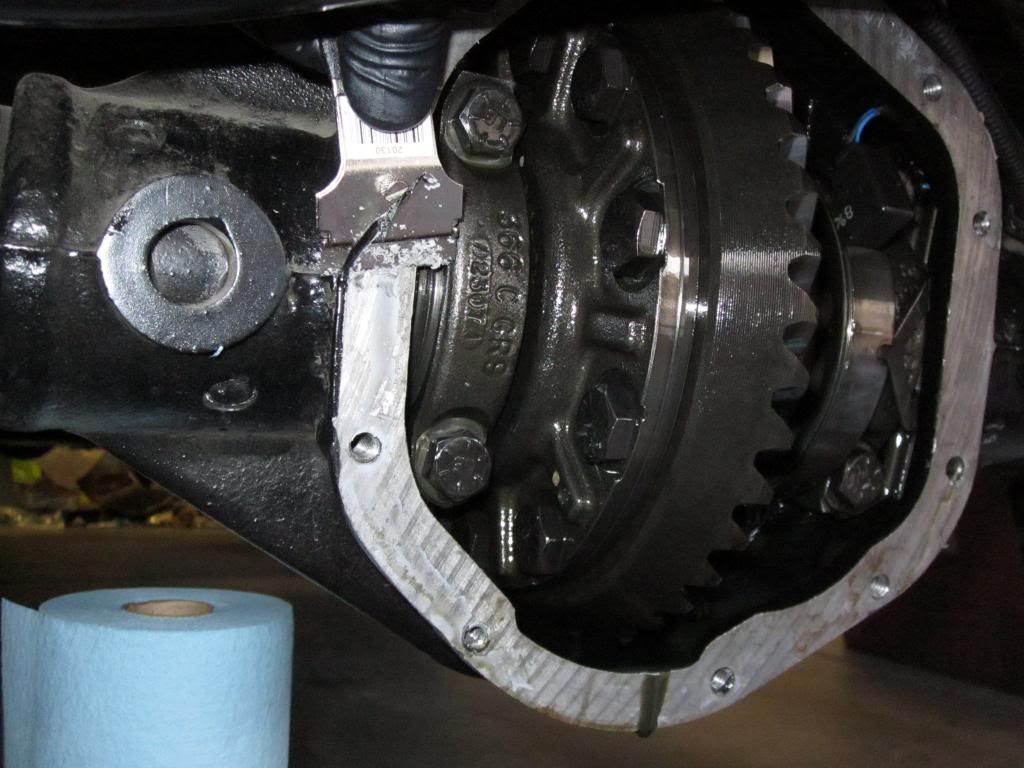
After scraping the cover clean and wiping the gasket surface with a rag and some brake cleaner. Rinse out the housing with brake cleaner to remove any pieces of the old gasket and other contaminates.
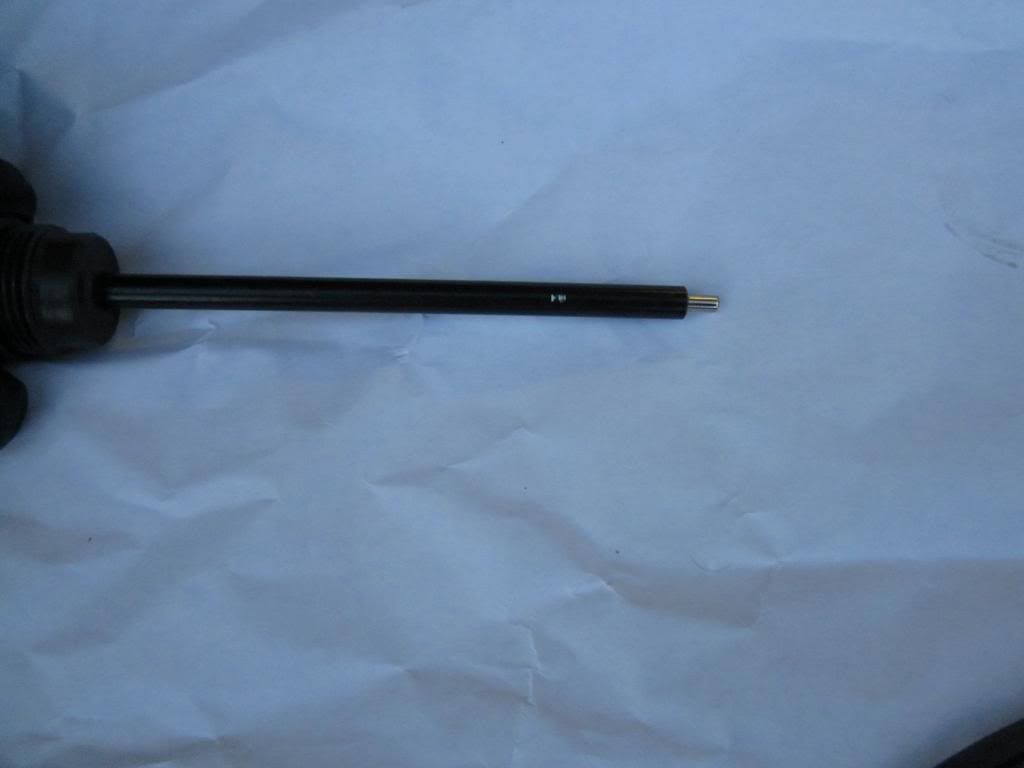
Place the stock cover next to the ARB cover and copy the fill level from the stock cover. I used a straight edge and marked the dip stick with a file.
I used Lube-Locker gaskets because of their ease and no mess install.
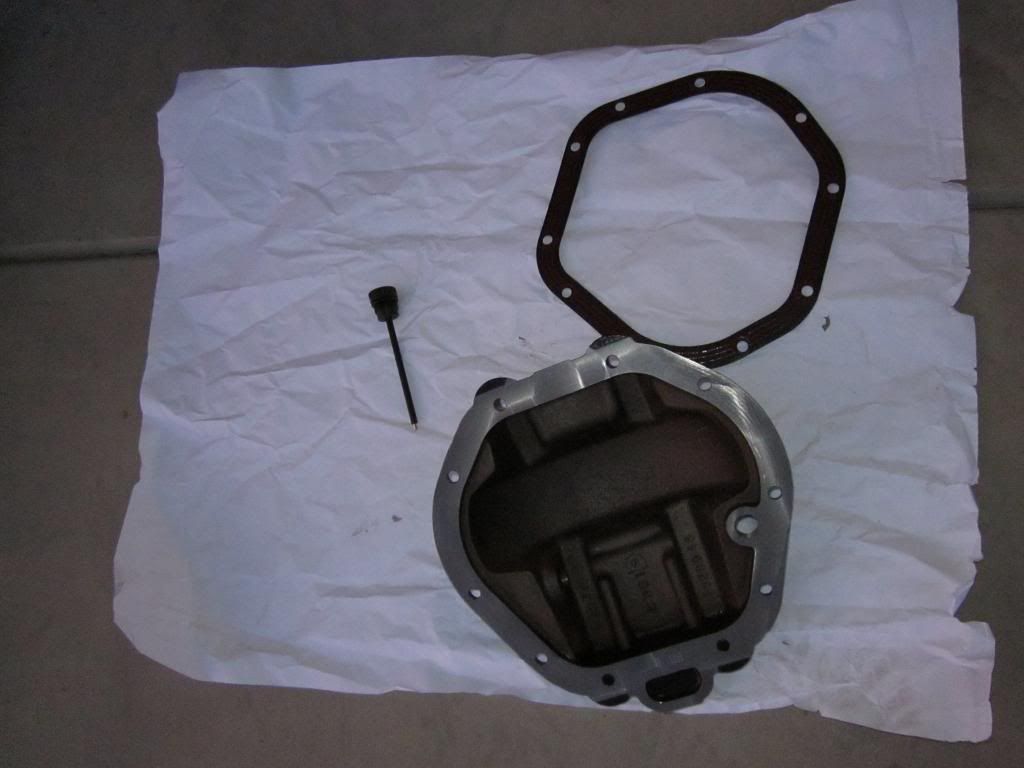
Now, Lube-Locker says to first tighten the diff. cover bolts to 15lbs in a star pattern and then to 35lbs in the same way. But, ARB says to only torque the bolts to 25.4lbs?? I went with a happy medium and tighten all the cover bolts to 28lbs. @:/
Be sure to replace the factory drain plug back into the diff. housing and snug down the ARB drain plug on the diff. cover. Then fill the differential to the level marked on the dip-stick of your new ARB covers.
Rear
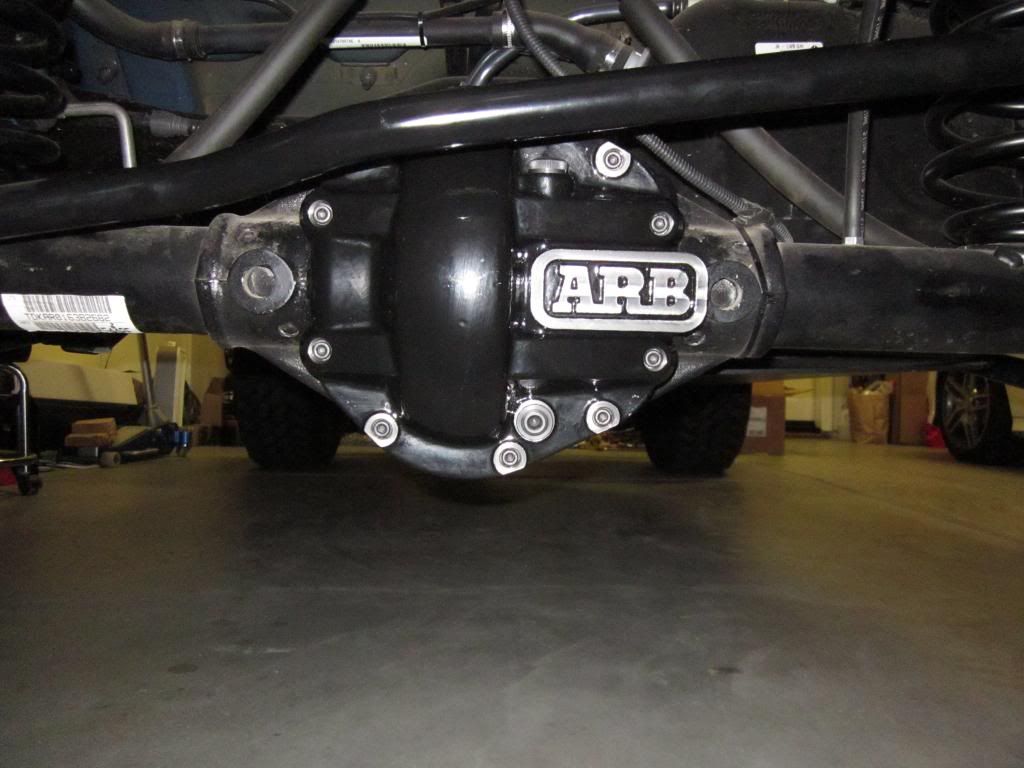
Front
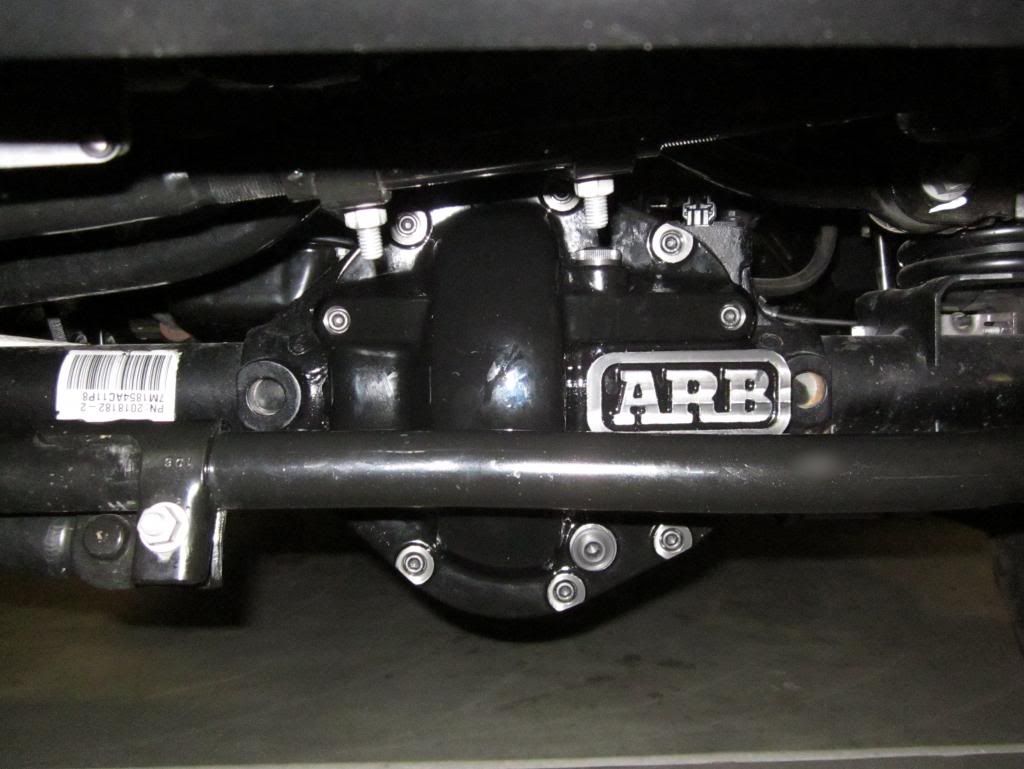
The ARB covers will add more protection to the differentials (they weigh at least twice the weight of the factory dana 44 covers) and give a great look to the underside of the Jeep.
First thing to do is to wipe off the stock cover and the surrounding area. to help keep dirt from falling into the housing.
Then remove the drain plug at the bottom of the housing, with a 3/8" ratchet and a 3" extension.
This drain plug is magnetized. - My jeep has only 1600mi on it and the magnet already had a lot of metal shavings on it.
Next, I removed the filler plug
and then removed all but one of the top cover bolts. I left one still in loose to help hold the cover after it becomes free from the housing.
With the help of a dead-blow hammer, I was able to knock the cover free from the RTV (silicone) seal holding the cover on. It took a couple "good" hits on each side of the housing to do the job.
Now, remove the last bolt holding the cover on and grab a scraper to remove all of the factory RTV (silicone) gasket.
After scraping the cover clean and wiping the gasket surface with a rag and some brake cleaner. Rinse out the housing with brake cleaner to remove any pieces of the old gasket and other contaminates.
Place the stock cover next to the ARB cover and copy the fill level from the stock cover. I used a straight edge and marked the dip stick with a file.
I used Lube-Locker gaskets because of their ease and no mess install.
Now, Lube-Locker says to first tighten the diff. cover bolts to 15lbs in a star pattern and then to 35lbs in the same way. But, ARB says to only torque the bolts to 25.4lbs?? I went with a happy medium and tighten all the cover bolts to 28lbs. @:/
Be sure to replace the factory drain plug back into the diff. housing and snug down the ARB drain plug on the diff. cover. Then fill the differential to the level marked on the dip-stick of your new ARB covers.
Rear
Front
The ARB covers will add more protection to the differentials (they weigh at least twice the weight of the factory dana 44 covers) and give a great look to the underside of the Jeep.
10-13-2013, 08:38 PM
#54
JK Newbie
Thread Starter
Join Date: Mar 2013
Location: Fresno, CA
Posts: 36
Likes: 0
Received 0 Likes
on
0 Posts
Used my Superchips Flashcal
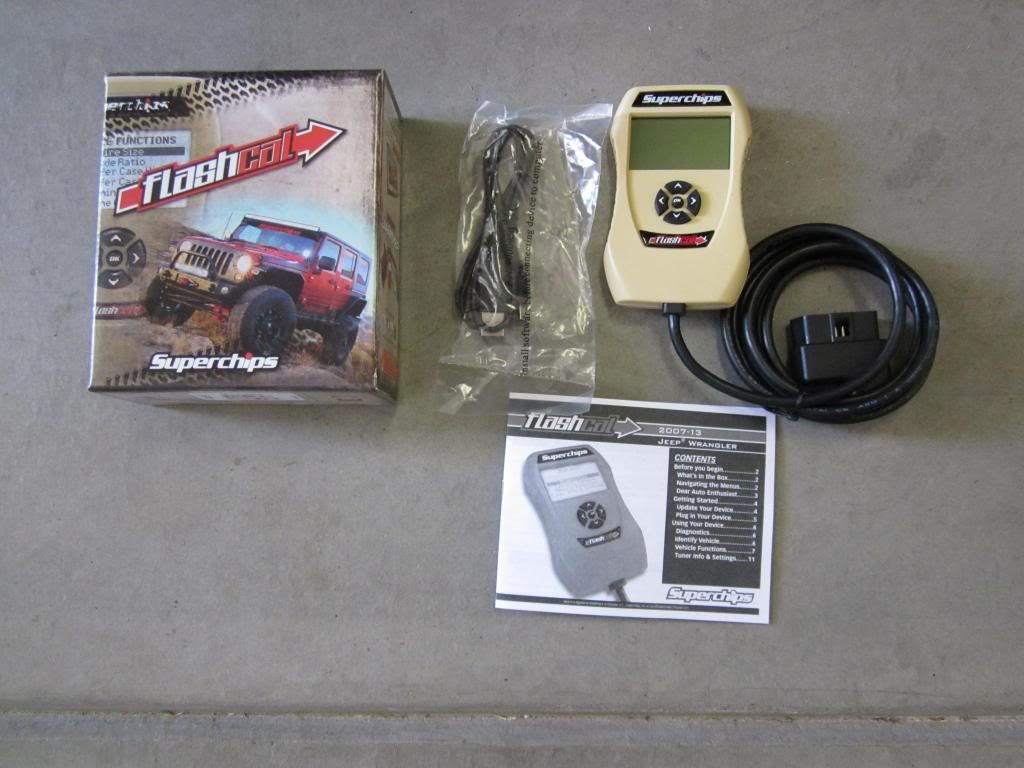
to calibrate the speedometer by changing the tire size setting. Very easy to use and quick to make any changes to options like how long the headlights stay on after the jeep is turned off and sounding of the horn when using the remote to lock the doors.
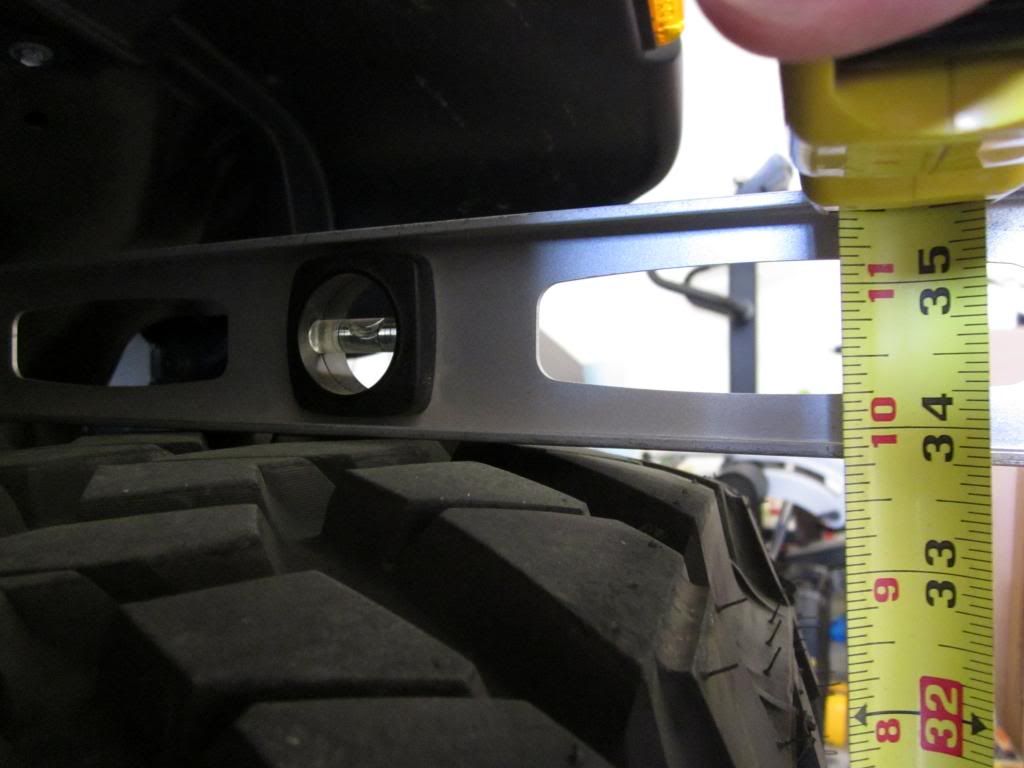
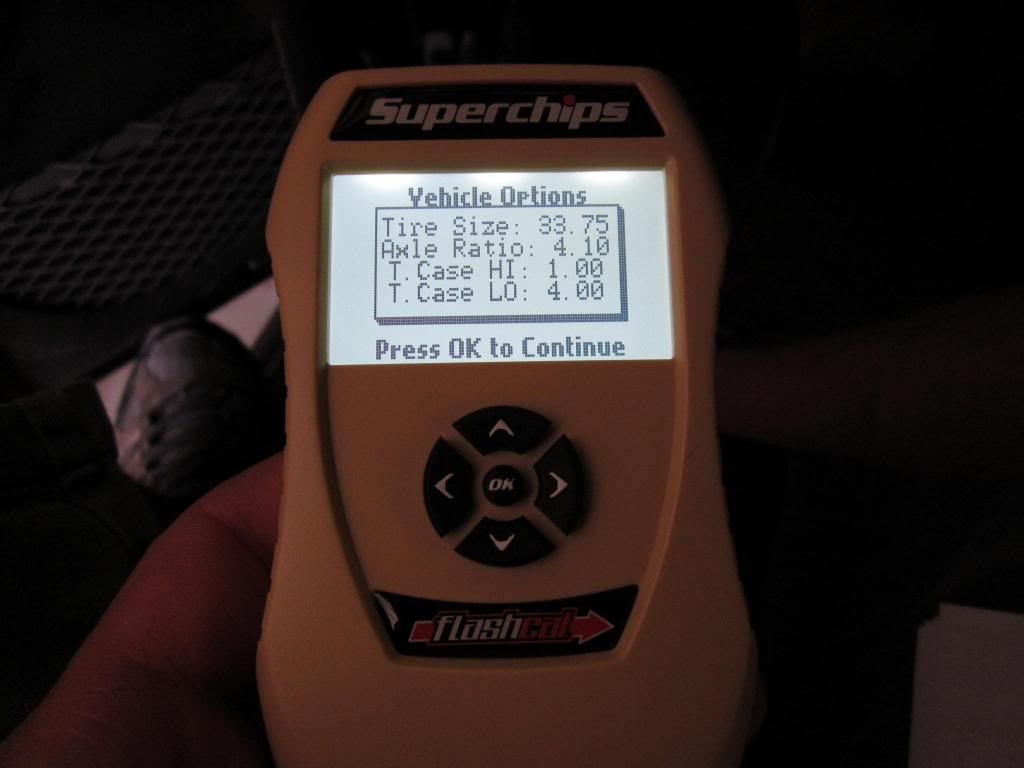
Really the only thing you need to do is to find the actual size of your tires. I used a level to measure across the tire and found out that my 35x12.50 R17 Nitto Trail Grapplers measured in at about 33.75" tall with 31psi.
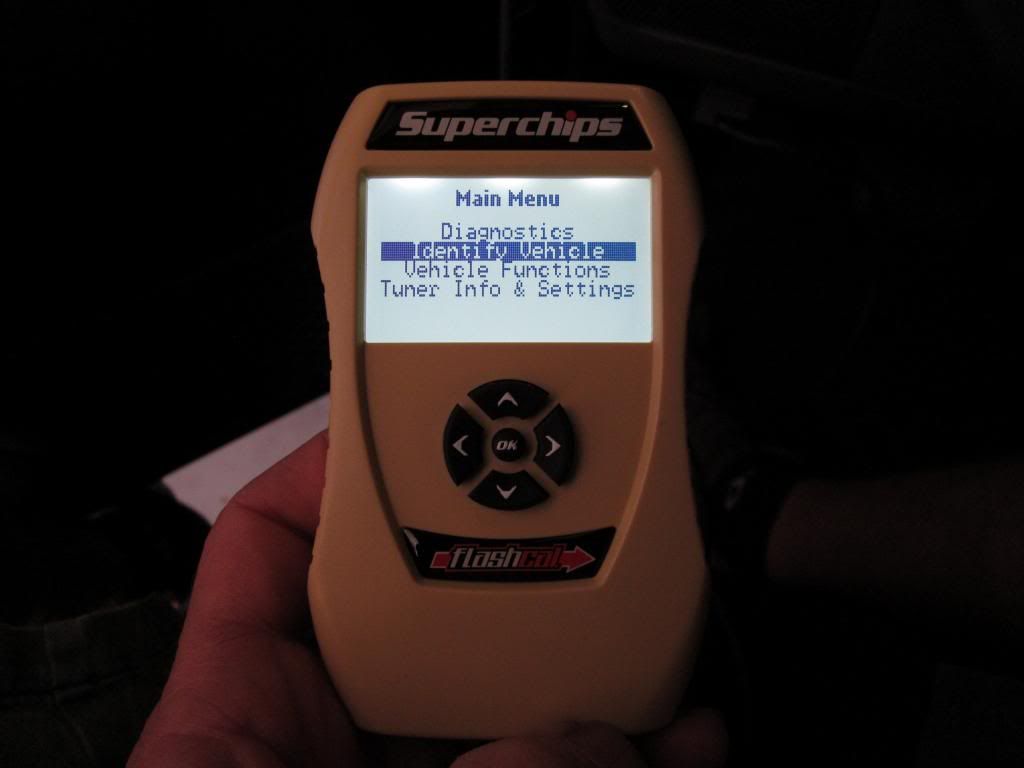
Just plug it in
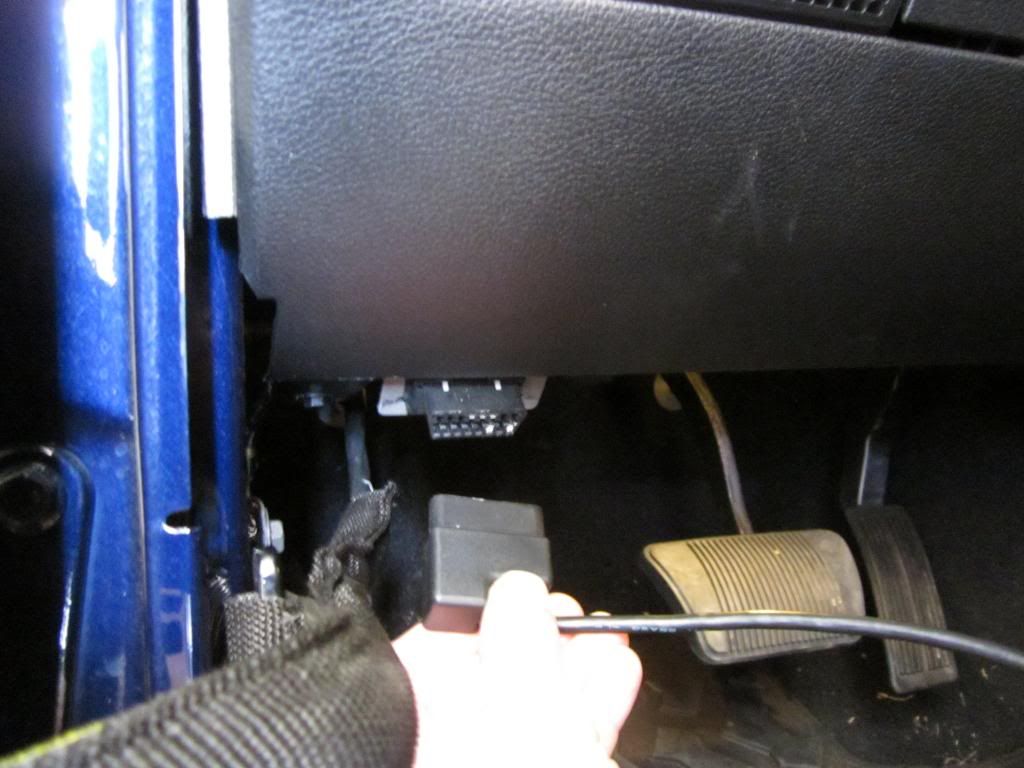
And follow the screen prompts
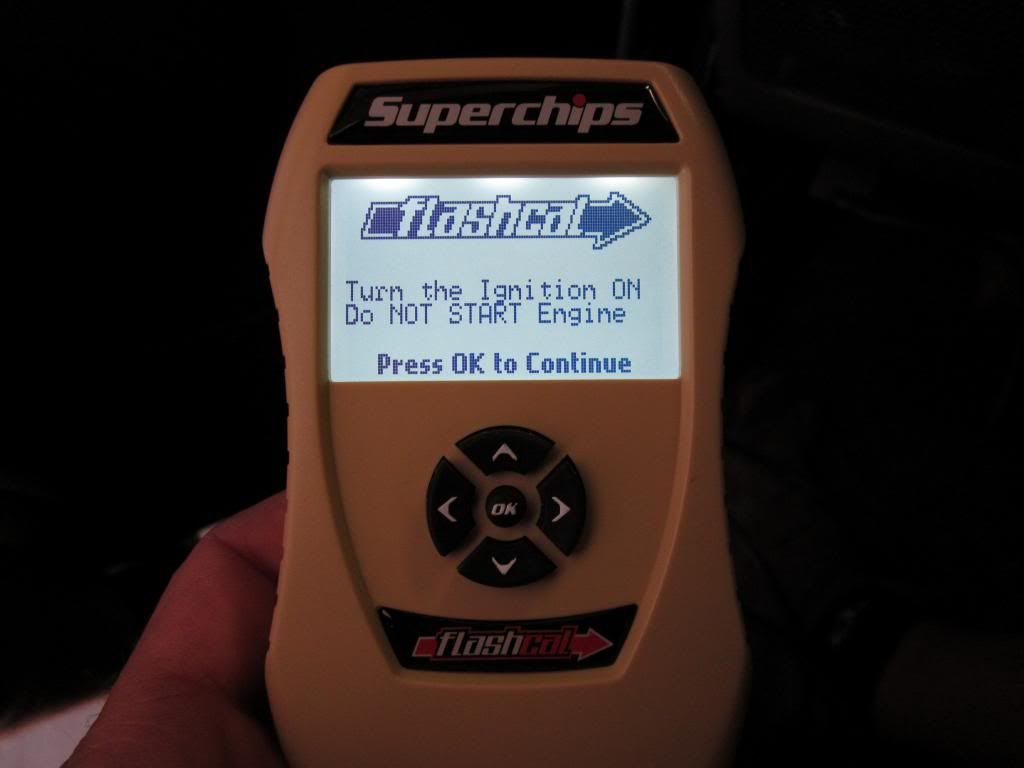
The settings that I have now (I only changed the tire size and tire pressure/TPMS to 12psi)
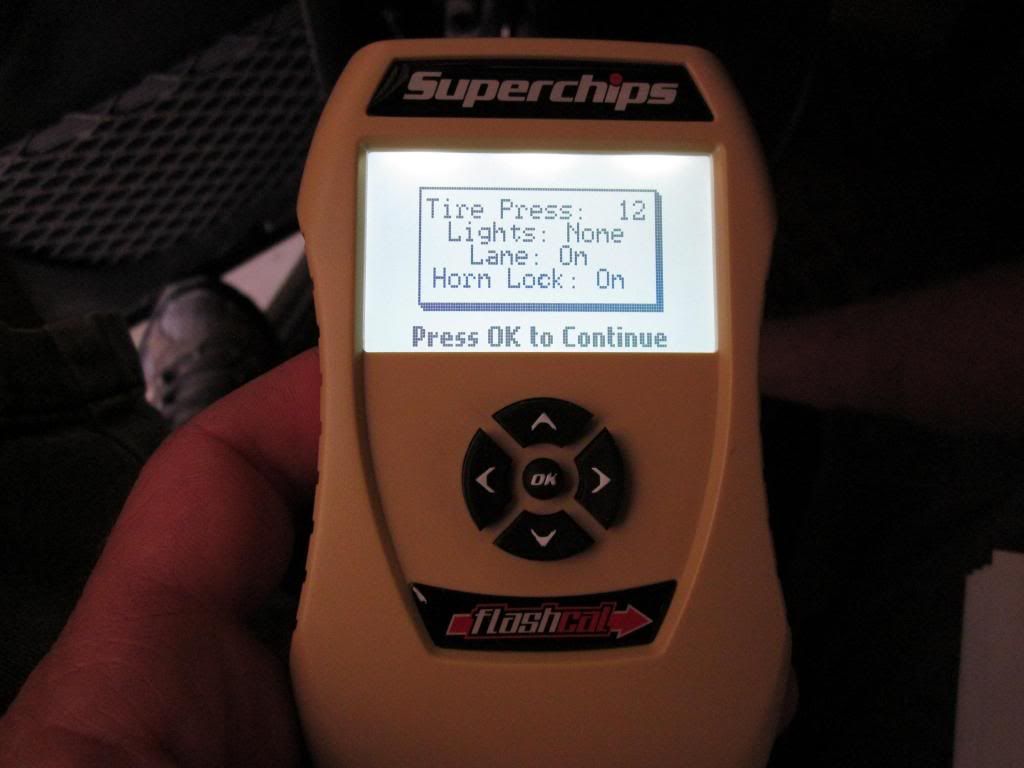
The programing only took about 10-15min to run through everything and download the new settings. It does make a difference with the shift points on the 5-speed auto. I chose the Superchips Flashcal over the others because of its simplicity and it has an information screen which makes it a no brainer to use.
to calibrate the speedometer by changing the tire size setting. Very easy to use and quick to make any changes to options like how long the headlights stay on after the jeep is turned off and sounding of the horn when using the remote to lock the doors.
Really the only thing you need to do is to find the actual size of your tires. I used a level to measure across the tire and found out that my 35x12.50 R17 Nitto Trail Grapplers measured in at about 33.75" tall with 31psi.
Just plug it in
And follow the screen prompts
The settings that I have now (I only changed the tire size and tire pressure/TPMS to 12psi)
The programing only took about 10-15min to run through everything and download the new settings. It does make a difference with the shift points on the 5-speed auto. I chose the Superchips Flashcal over the others because of its simplicity and it has an information screen which makes it a no brainer to use.
10-13-2013, 09:13 PM
#55
JK Newbie
Thread Starter
Join Date: Mar 2013
Location: Fresno, CA
Posts: 36
Likes: 0
Received 0 Likes
on
0 Posts
Installed the Die-Tech Off-Road mirror brackets today. I've had these sitting around for awhile now and wanted to get them on before the cold weather comes my way. These brackets were the best ones that I could find that placed the mirrors the closest to the stock "door on" location and I like the look of the full size mirrors much better too.
I got a set of non-powered mirrors because I didn't want to have to remove the mirrors from the doors and have to worry about dealing with the wires of the stock power mirrors.
The Die-Tech brackets and an extra set of mirrors.
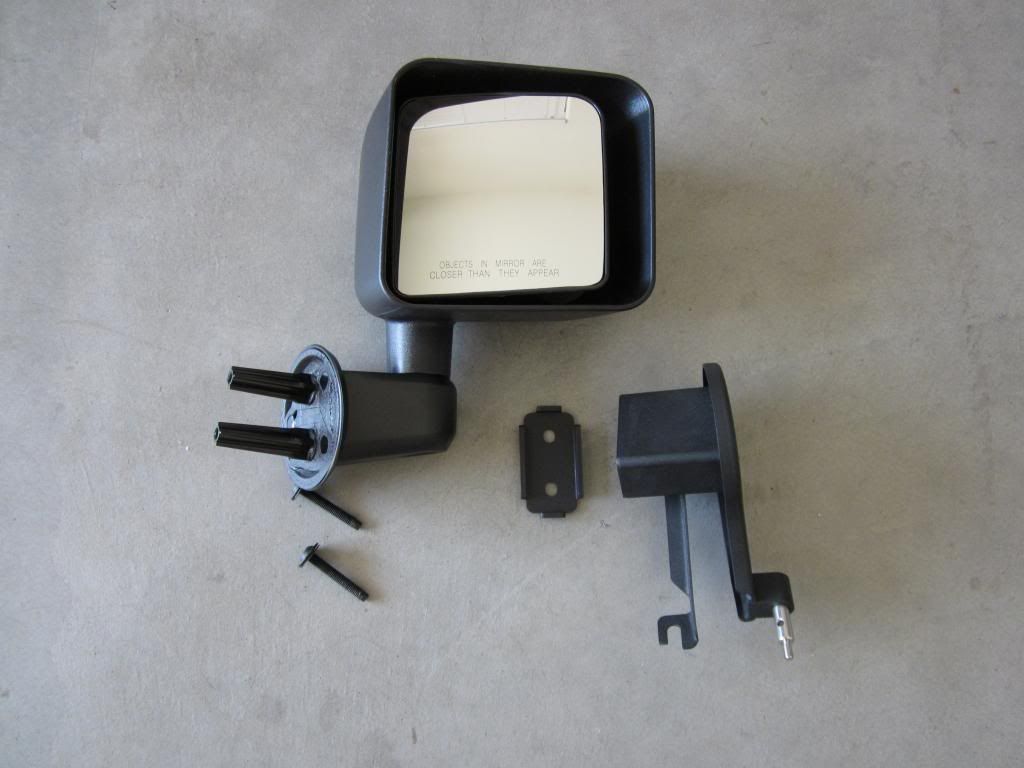
All ready to be mounted.
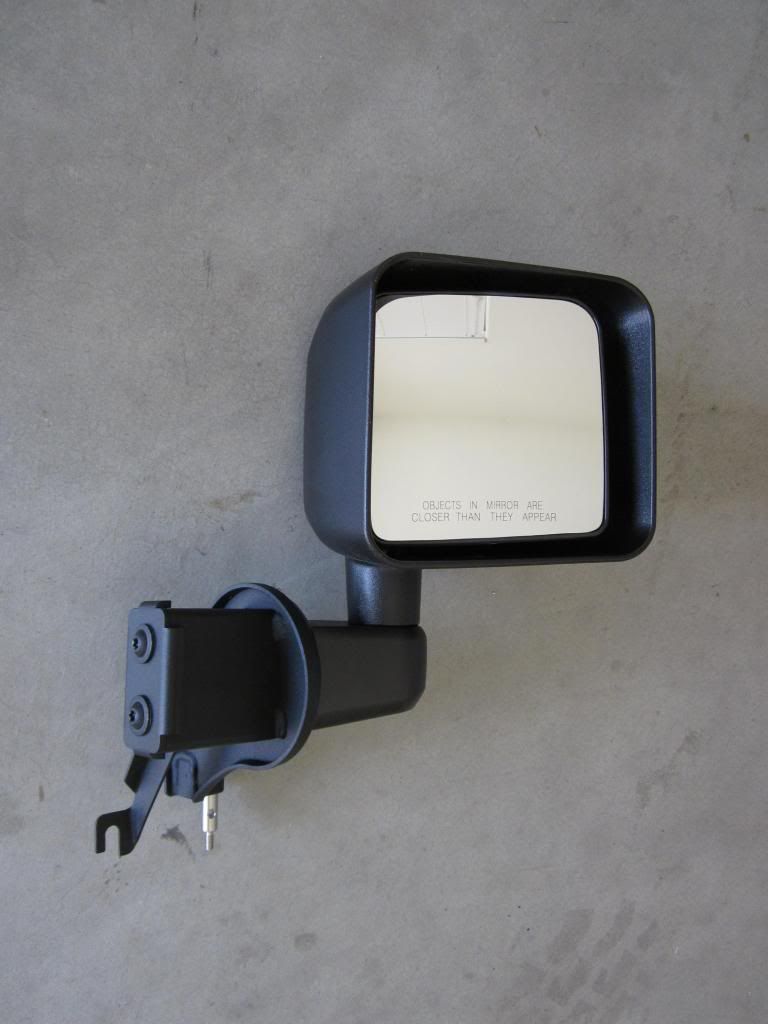
To mount them, you just loosen the middle bolt on the upper door hinge.
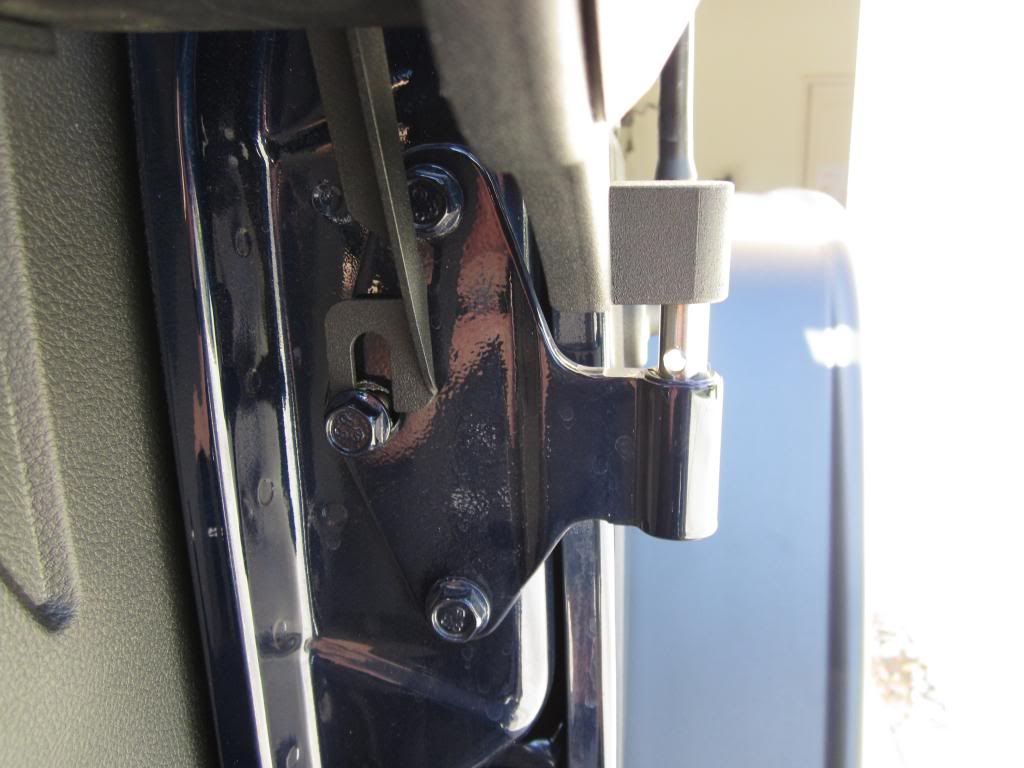
And push the bracket down into place. (I put a little grease on the post that s[B]lides into the hinge). Then tighten the bolt back down.
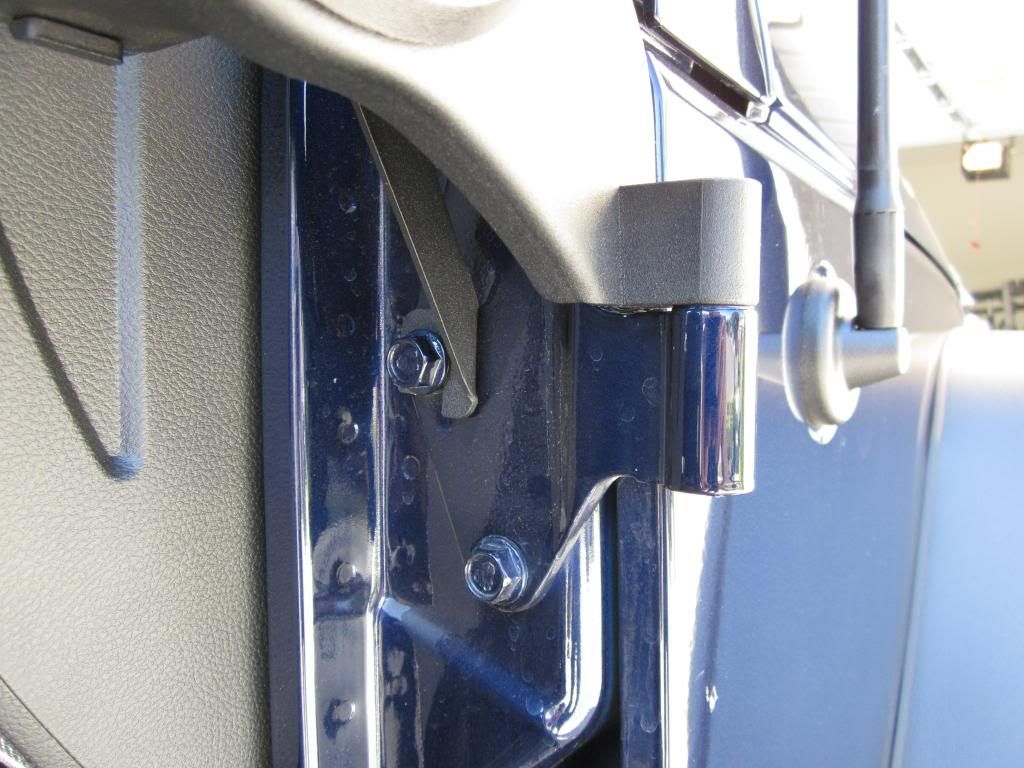
All done.
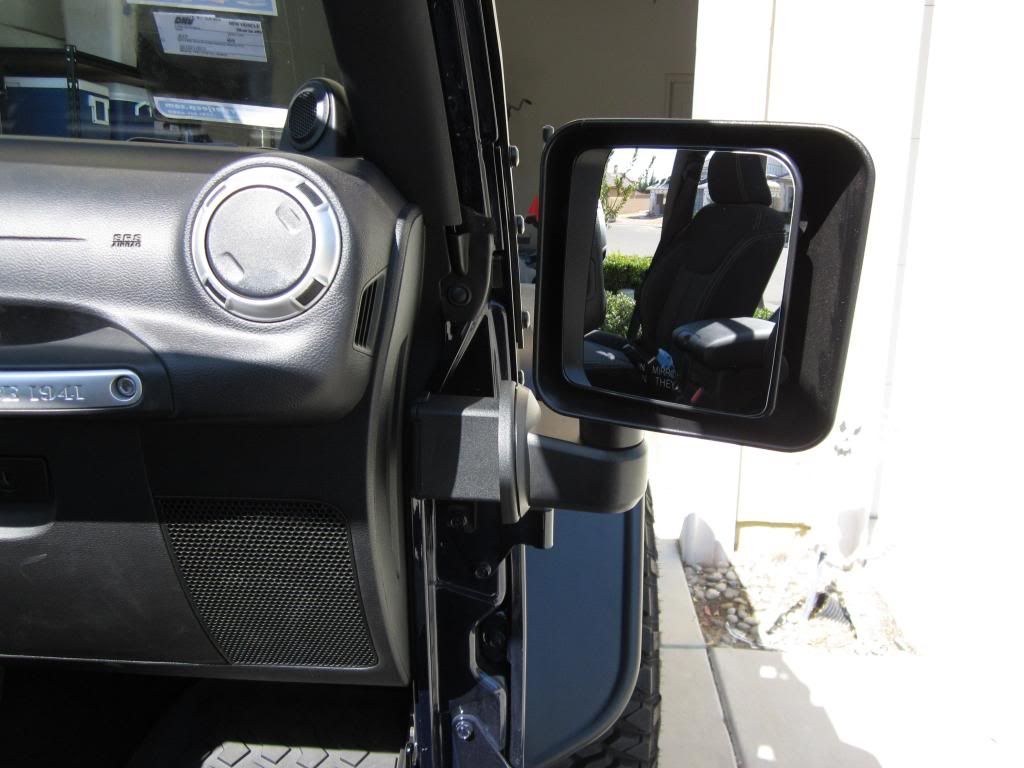
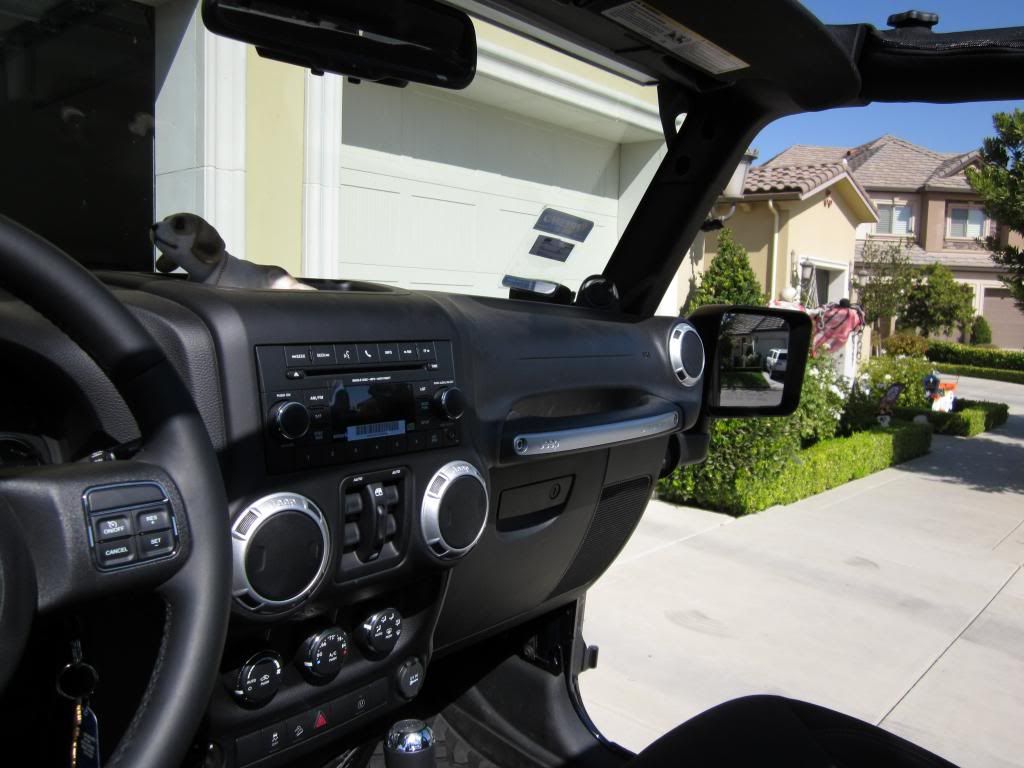
With these brackets I can see the whole mirror from the driving position.
I got a set of non-powered mirrors because I didn't want to have to remove the mirrors from the doors and have to worry about dealing with the wires of the stock power mirrors.
The Die-Tech brackets and an extra set of mirrors.
All ready to be mounted.
To mount them, you just loosen the middle bolt on the upper door hinge.
And push the bracket down into place. (I put a little grease on the post that s[B]lides into the hinge). Then tighten the bolt back down.
All done.
With these brackets I can see the whole mirror from the driving position.
10-20-2013, 01:03 PM
#56
JK Newbie
Thread Starter
Join Date: Mar 2013
Location: Fresno, CA
Posts: 36
Likes: 0
Received 0 Likes
on
0 Posts
I'll be ordering my rear bumper and tire carrier soon, so I decided to remove the ugly stock tire carrier bracket from the back of the jeep. It's just been sitting there sticking out like a sore thumb since I put on my 35's.
Before:

After:
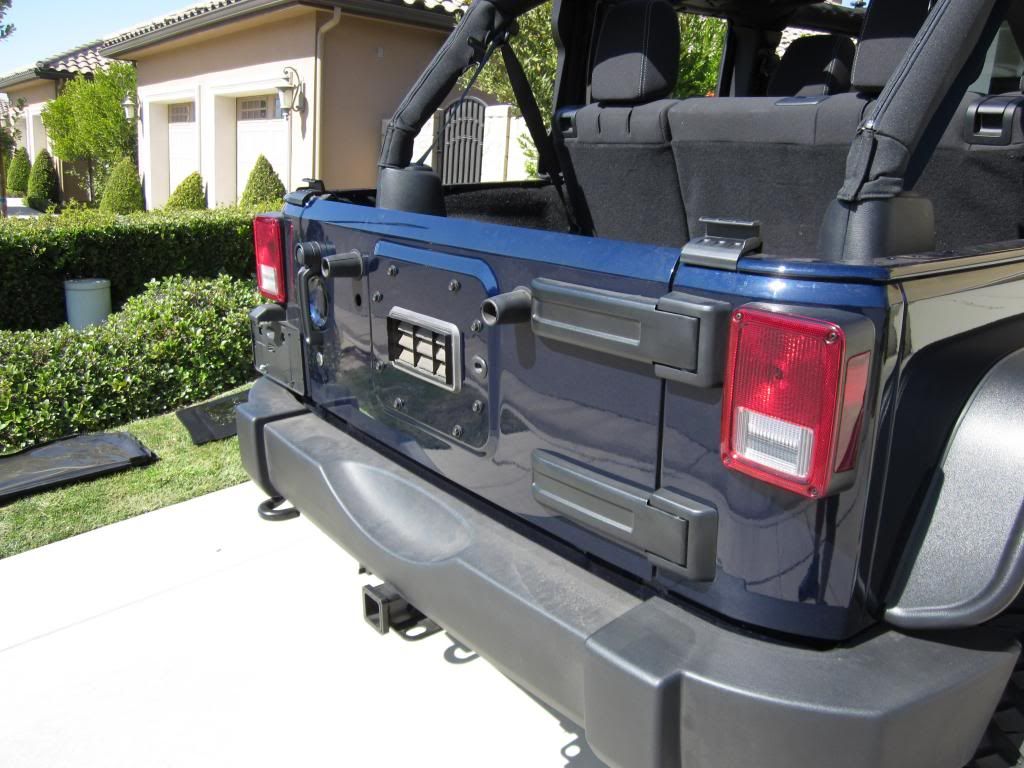
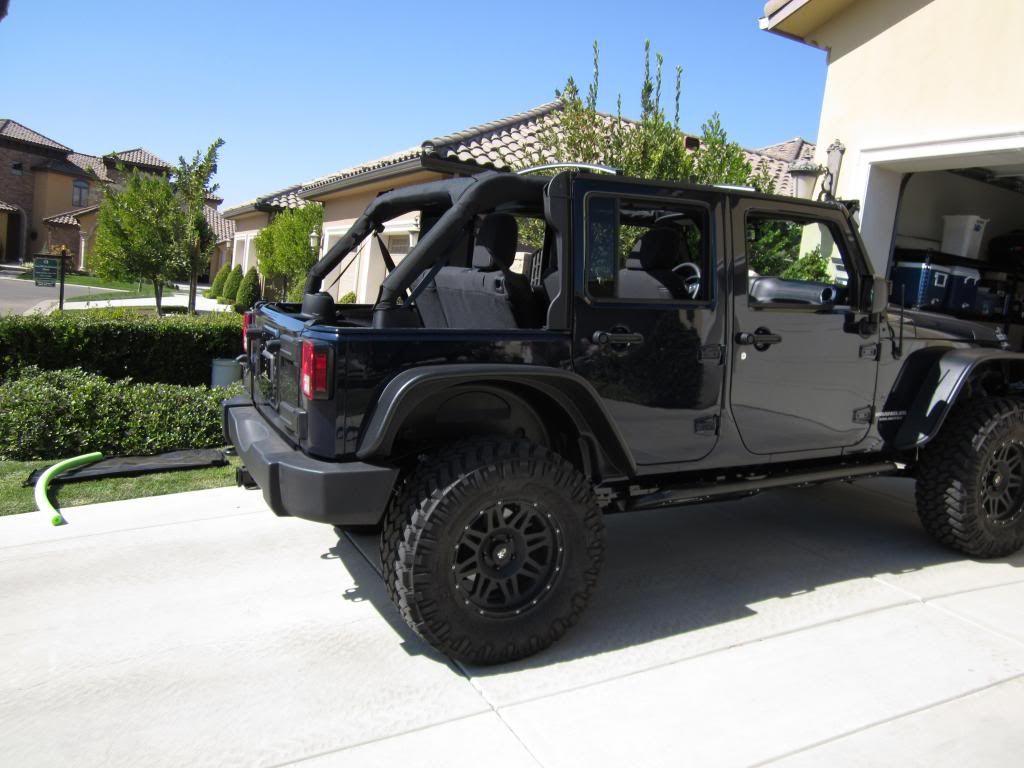
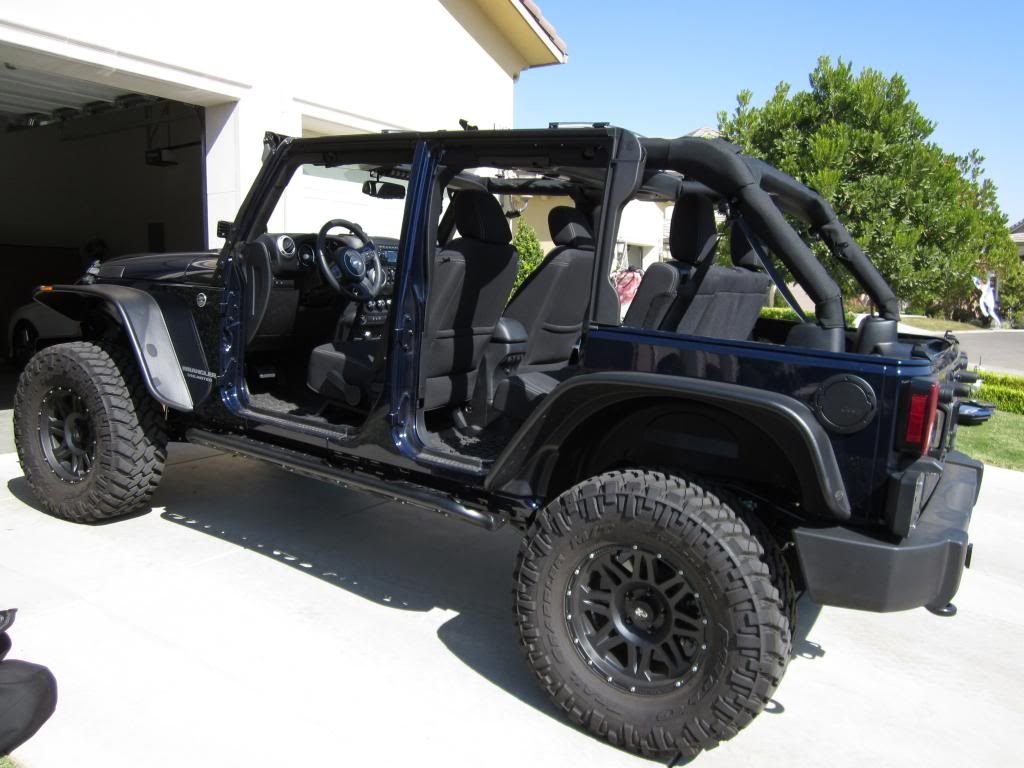
Definitely cleaned up the back end some.
Before:
After:
Definitely cleaned up the back end some.


 10-21-2013, 09:35 PM
#59
JK Newbie
Thread Starter
Join Date: Mar 2013
Location: Fresno, CA
Posts: 36
Likes: 0
Received 0 Likes
on
0 Posts
