2012 JKR :: Get C2U5Hed DD
#11
Did the grill mod the other day. Ran out of black zip ties (grr) ... I'll have to switch the white ones out when I aim the headlights. I also painted the stock muffler and exhaust tip with 2000 degree exhaust paint ... makes a surprising improvement to the look from the rear (that's what he said). Pictures of that sometime soon.
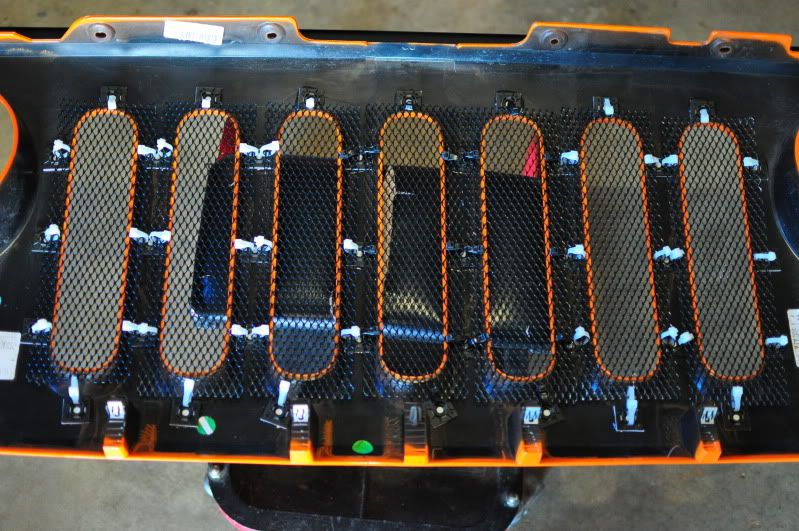
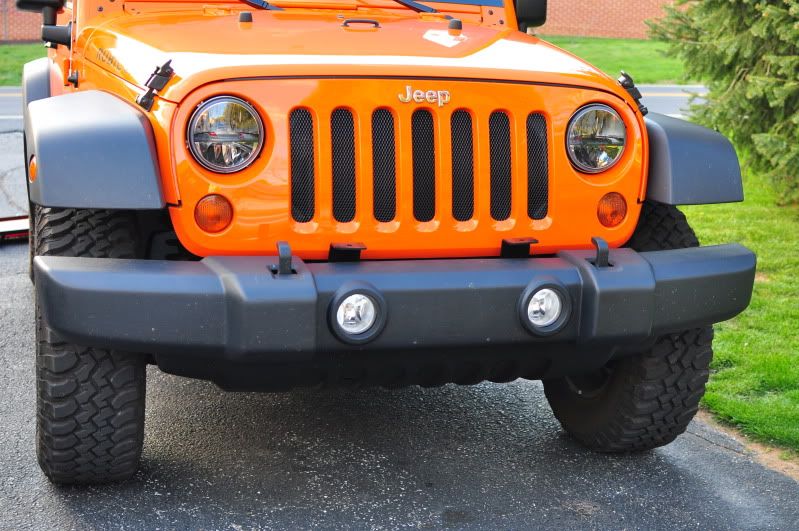
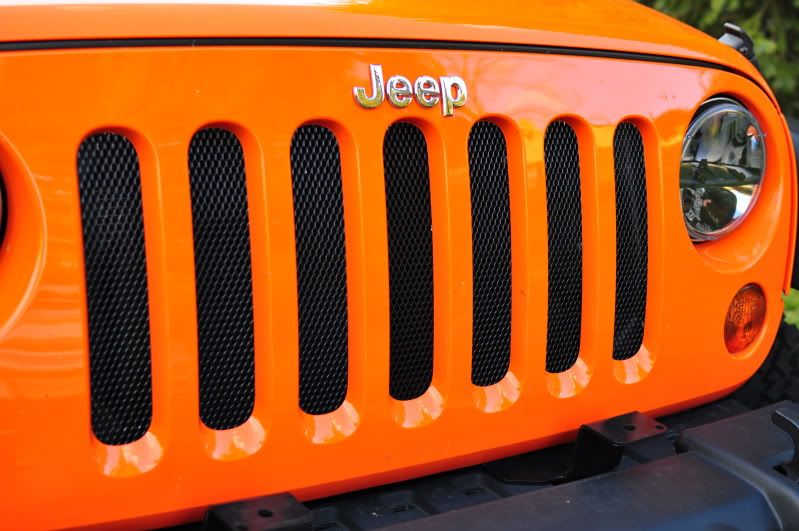
I think it turned out great! Have to touch up the black paint a little from the install ... still wasn't cured all the way. Oh well.
I think it turned out great! Have to touch up the black paint a little from the install ... still wasn't cured all the way. Oh well.
#15
To start, I edited the first page of this build thread with the plan to go to 37" MT/R+K tires by next spring/summer. Check it out and let me know what you think.
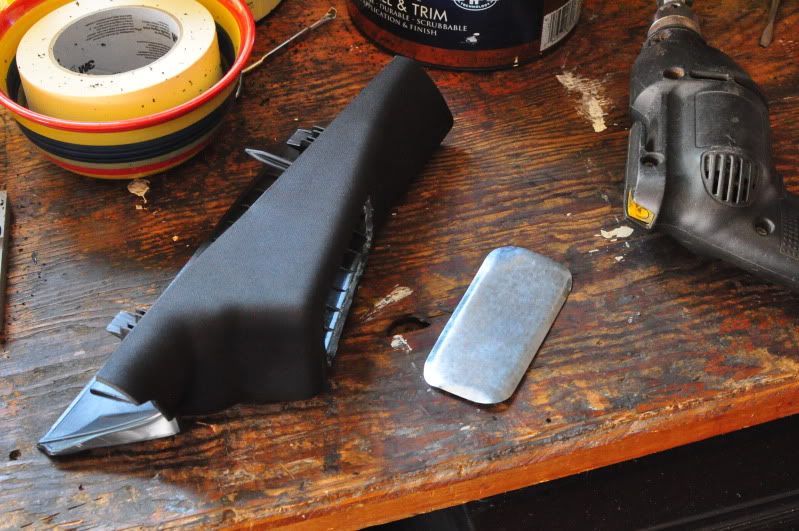
I finally got some goodies put on!! I've been gathering parts for what seems like a half year now for the switch pod. Starting with Rugged Ridge's A-pillar switch pod, without their switches, I cut out the original face. Then I made a thin sheet metal switch baffle, contoured it the best I could, and painted it silver to match the interior trim. Add some JB Weld, botta-bing botta-boom: new switch pod. The reason to do that? ...the backs of the McMaster-Carr toggle switches were too large to fit in Rugged Ridge's original layout. Mine were spaced too far apart to fit within their panels and it looked like crap, so I had to. If I were doing it again, I'd body filler the RR cutouts, sand, and tape off a small section (where body-filled) to paint it textured black.
Parts list:
Here's how mine turned out.
Cutout RR panels
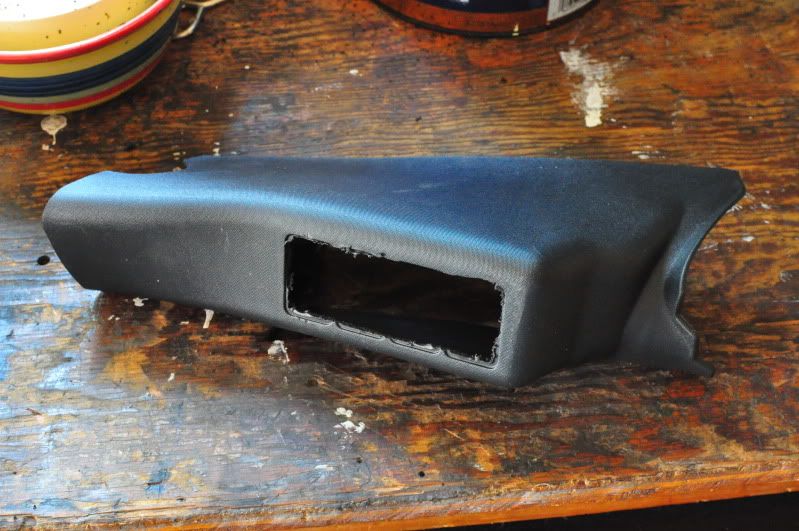
Steel switch baffle
Switched up and installed. The back guts are just wired using flag pole style crimp-on female quick disconnects to the wire diagram posted below. Used shrink wrap to organize. Used the 8-pole Deutsch connector and heat shrink wire labels from work (hehe). Two loose wires are for ground and the return ESP wire because I didn't have a 10-pole connector.
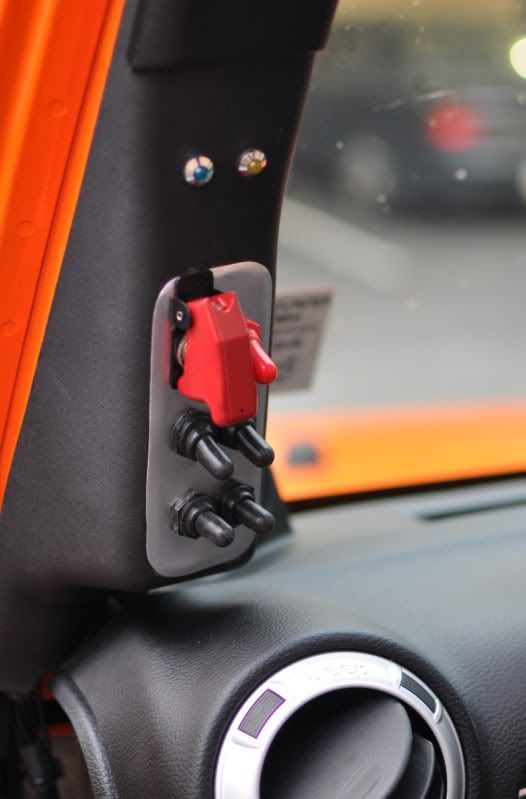

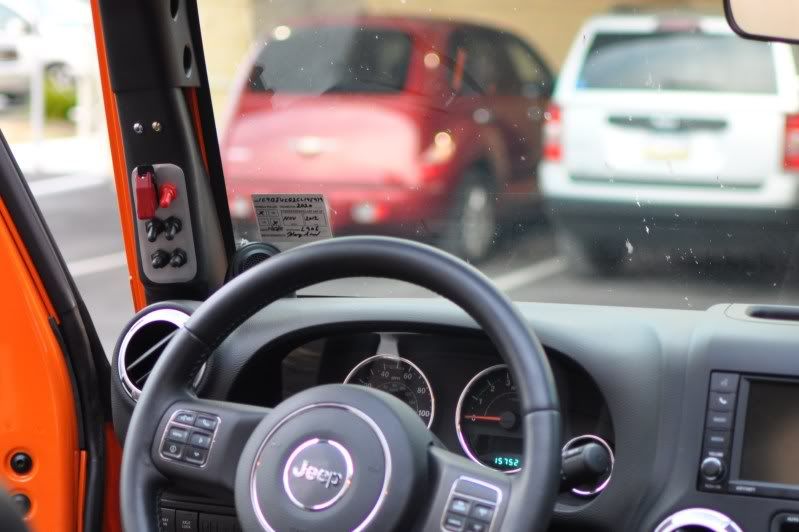
The switches are as follows starting at the top row from left to right:
1. This is a Normally-Open Double Pole Single Throw (NO DPST) toggle with the protector on it. Without this switch closed, the front and rear locker toggle switches are useless. This is a safety in case one of the locker switches are flipped accidentally, or someone messes with them in the parking lot when she's naked. That was an interesting sentence.
2. A NO Single Pole Single Throw (SPST) toggle switch with the red boot. It is tied inline with the Violet/Light Blue ESP signal wire behind the dash. Closing the switch (flipped up) enables ESP signal to pass through. When flipped down, or open, the ESP signal wire is broken and the ABS, TCS, ESP, DVD, A2Z, PCP ... you get it ... is disabled and is annunciated on the dash. So it's basically an ESP on/off switch. When ESP is switched off, the Jeep needs to be turned off and started back up before the ESP can be restored -- simply switching the ESP back on with the vehicle running will not reset it.
3. A NO SPST toggle with black boot. When the ARM (1) switch is on, this switch will independently actuate and disengage the front axle locker. With the ARM switch off, this toggle is useless. Annunciated on the dash.
4. Same as (3), but for the rear axle locker.
5. 3-way ON-OFF-ON, or a Single Pole Double Throw (SPDT) toggle switch with black boot. This switch is for the HID driving lights I'm throwing back on in the near future and is annunciated by the blue LED above the ARM switch. Center is off, up is on when high beams are on, down is ignition hot. So I can basically either control the driving lights by the high beam stalk and not having to worry about switching them off when a car comes. Or, I can turn them on whenever the hell I want.
6. Same as the driving lights switch (5), but for a to-be-purchased set of aux. backup lights or something. The UP position will be triggered by either the high beam or reverse light ... so I just left the wire zip-tied by the other relays in the engine bay until then. It's annunciated by the yellow LED above the ESP switch.
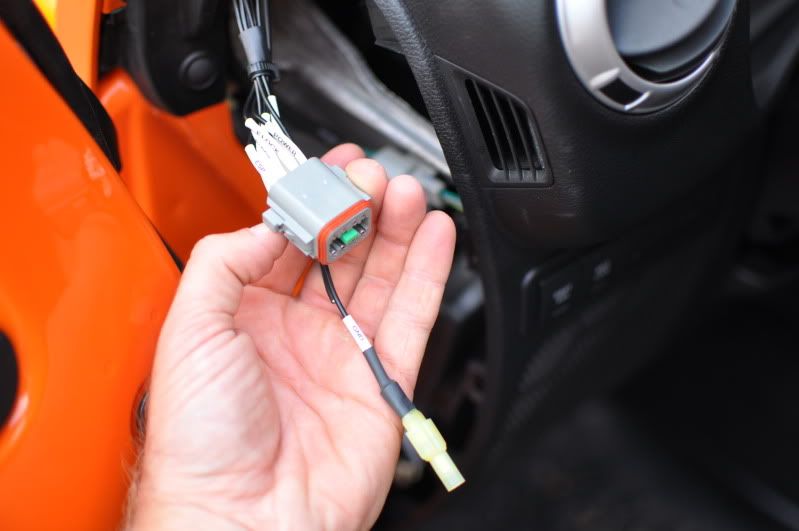
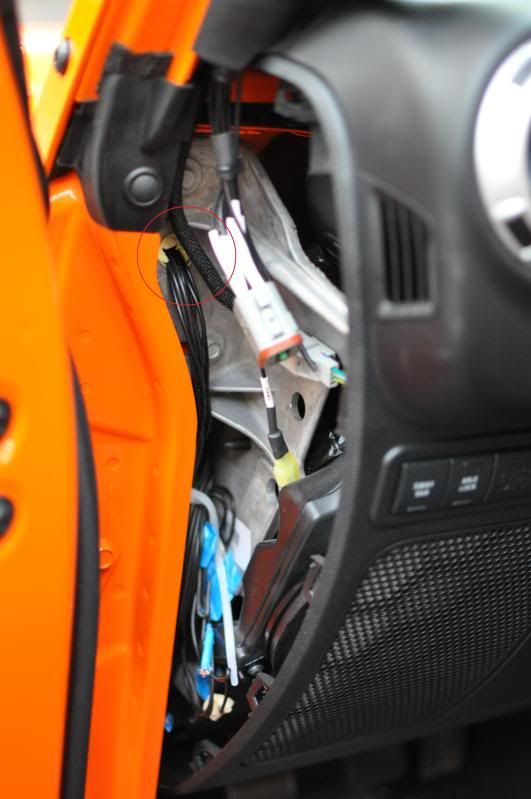
Wiring goes through the firewall at the little foamed up hole behind the interior dash. Engine side is loomed and shrink wrapped. Just used a clothes hanger and poked it on through. See the red circle there ... I still have to crimp the other connector on for it to be complete.
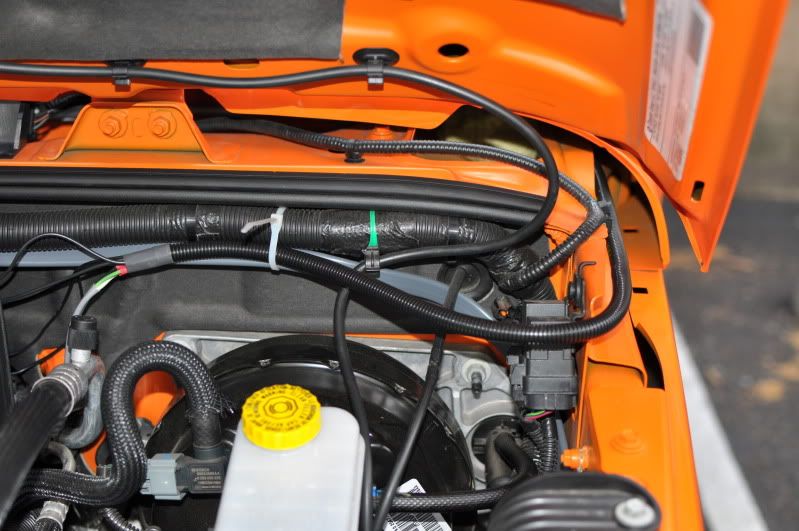
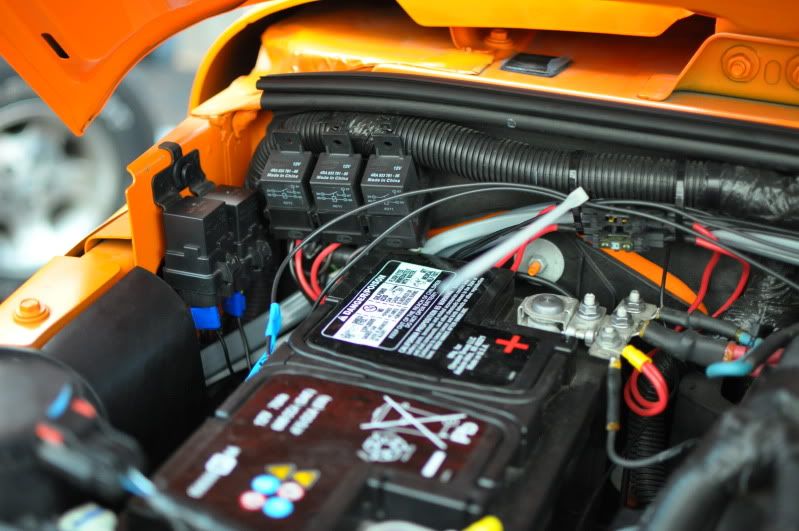
All wired up are the three relays on the headlight harness from Susquehanna MotorSports. To their left are the factory locker relays, and you can see where I tapped into them with waterproof taps. Front relay has the Violet/Green wire; rear relay has the Violet/Blue wire.
I finally got some goodies put on!! I've been gathering parts for what seems like a half year now for the switch pod. Starting with Rugged Ridge's A-pillar switch pod, without their switches, I cut out the original face. Then I made a thin sheet metal switch baffle, contoured it the best I could, and painted it silver to match the interior trim. Add some JB Weld, botta-bing botta-boom: new switch pod. The reason to do that? ...the backs of the McMaster-Carr toggle switches were too large to fit in Rugged Ridge's original layout. Mine were spaced too far apart to fit within their panels and it looked like crap, so I had to. If I were doing it again, I'd body filler the RR cutouts, sand, and tape off a small section (where body-filled) to paint it textured black.
Parts list:
- Toggle Boot, 15/32"-32 Bushing, .94" HT, p/n 70205K4, Qty. 4 Black + 1 Red = $20.60
- Toggle Switch Guard For .69" Max Toggle Height, 1/2" Dia Panel, p/n 143T1, Qty. 1 = $18.10
- LED Panel Mount Indicating Light, 8 mm Panel Cutout, 12V DC, Blue, p/n 2779K11, Qty. 1 = $5.72
- LED Panel Mount Indicating Light, 8 mm Panel Cutout, 12V DC, Yellow, p/n 2779K11, Qty. 1 = $5.72
- Toggle Switch, SPDT, On-Off-On, 6 Amps, Quick-Disconnect, p/n 7343K193, Qty. 2 = $10.88 (for lights)
- Toggle Switch, SPST, Off-On, 6 Amps, Quick-Disconnect, p/n 7343K184, Qty. 3 = $15.57 (for ESP and F/R locker switches)
- Toggle Switch DPST, Off-on, 6 Amps, Quick-disconnect 1, p/n 7343K253, Qty. 1 = $8.00 (for locker arming switch)
Here's how mine turned out.
Cutout RR panels
Steel switch baffle
Switched up and installed. The back guts are just wired using flag pole style crimp-on female quick disconnects to the wire diagram posted below. Used shrink wrap to organize. Used the 8-pole Deutsch connector and heat shrink wire labels from work (hehe). Two loose wires are for ground and the return ESP wire because I didn't have a 10-pole connector.
The switches are as follows starting at the top row from left to right:
1. This is a Normally-Open Double Pole Single Throw (NO DPST) toggle with the protector on it. Without this switch closed, the front and rear locker toggle switches are useless. This is a safety in case one of the locker switches are flipped accidentally, or someone messes with them in the parking lot when she's naked. That was an interesting sentence.
2. A NO Single Pole Single Throw (SPST) toggle switch with the red boot. It is tied inline with the Violet/Light Blue ESP signal wire behind the dash. Closing the switch (flipped up) enables ESP signal to pass through. When flipped down, or open, the ESP signal wire is broken and the ABS, TCS, ESP, DVD, A2Z, PCP ... you get it ... is disabled and is annunciated on the dash. So it's basically an ESP on/off switch. When ESP is switched off, the Jeep needs to be turned off and started back up before the ESP can be restored -- simply switching the ESP back on with the vehicle running will not reset it.
3. A NO SPST toggle with black boot. When the ARM (1) switch is on, this switch will independently actuate and disengage the front axle locker. With the ARM switch off, this toggle is useless. Annunciated on the dash.
4. Same as (3), but for the rear axle locker.
5. 3-way ON-OFF-ON, or a Single Pole Double Throw (SPDT) toggle switch with black boot. This switch is for the HID driving lights I'm throwing back on in the near future and is annunciated by the blue LED above the ARM switch. Center is off, up is on when high beams are on, down is ignition hot. So I can basically either control the driving lights by the high beam stalk and not having to worry about switching them off when a car comes. Or, I can turn them on whenever the hell I want.
6. Same as the driving lights switch (5), but for a to-be-purchased set of aux. backup lights or something. The UP position will be triggered by either the high beam or reverse light ... so I just left the wire zip-tied by the other relays in the engine bay until then. It's annunciated by the yellow LED above the ESP switch.
Wiring goes through the firewall at the little foamed up hole behind the interior dash. Engine side is loomed and shrink wrapped. Just used a clothes hanger and poked it on through. See the red circle there ... I still have to crimp the other connector on for it to be complete.
All wired up are the three relays on the headlight harness from Susquehanna MotorSports. To their left are the factory locker relays, and you can see where I tapped into them with waterproof taps. Front relay has the Violet/Green wire; rear relay has the Violet/Blue wire.
Last edited by C2U5H; 07-13-2012 at 11:11 AM.
#17
Lift's completely installed and sitting ~3.75" higher in the front and ~3" higher in the rear. Blows me away how much of a difference this makes!! My tires look pretty small, but not so small that I can't get away with running them for a few more months before I go to the 37s.
The lift rides GREAT — I would say it's 90% exactly the same as stock, but different in these ways:
So things I ran into during install:
Just flexing things out to make sure the E-brake, ABS, axle breather, and brake lines have enough slack, as well as checking the bumpstops.
I had an annoying squeak and I found out where it was coming from: the Currie rear coil spring retainer on the axle side was rubbing the inside diameter of the coil spring ... whenever it would move, *SQUEAK*! So I off the Currie retainers, b/c I still haven't figured out how to get the top portions installed.
Not even close to fully flexed out, with stock 32" KM2 tires.
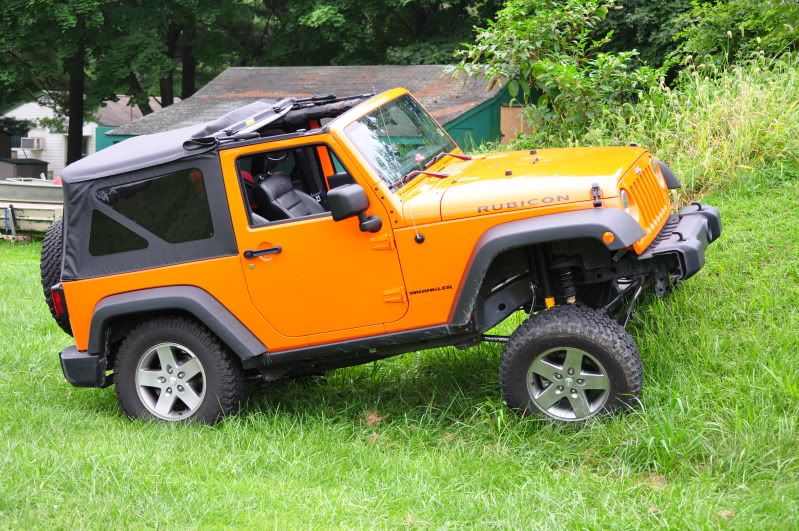
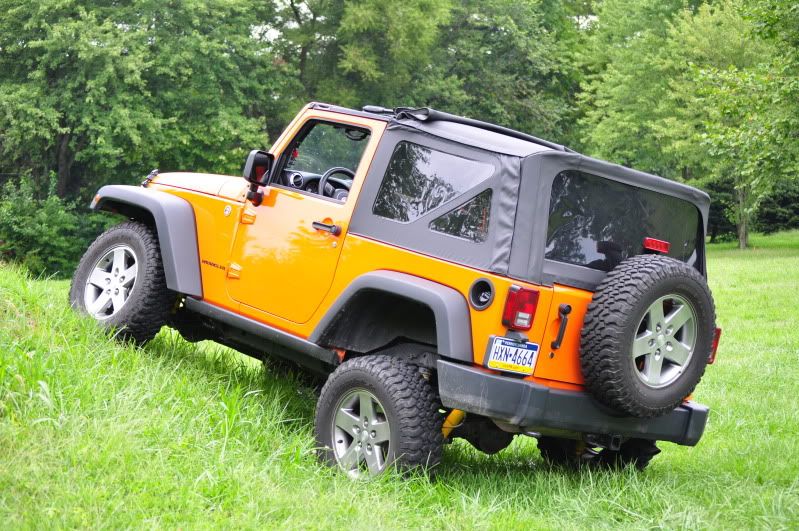
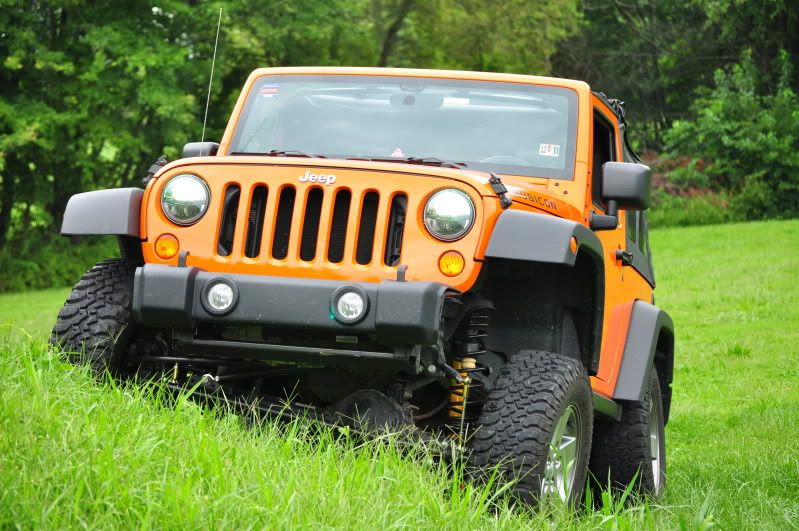
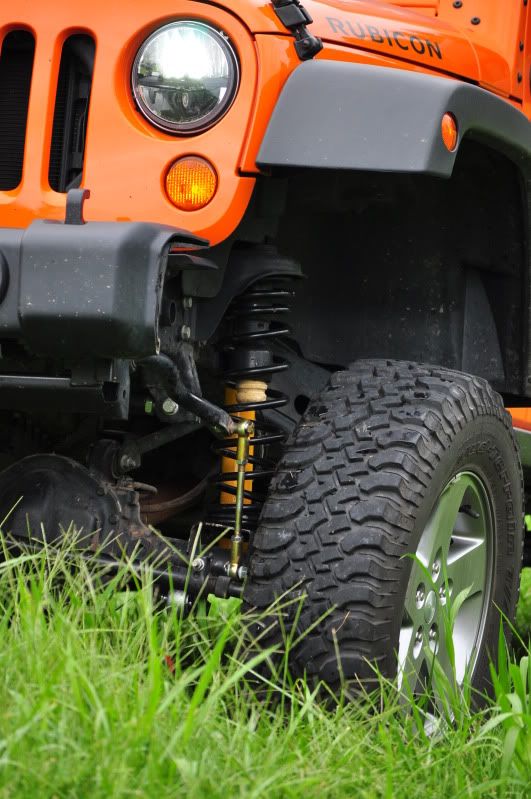
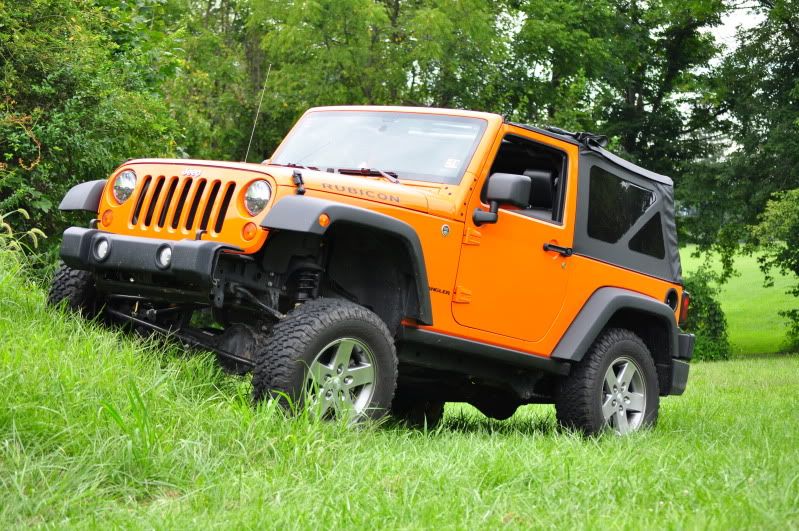
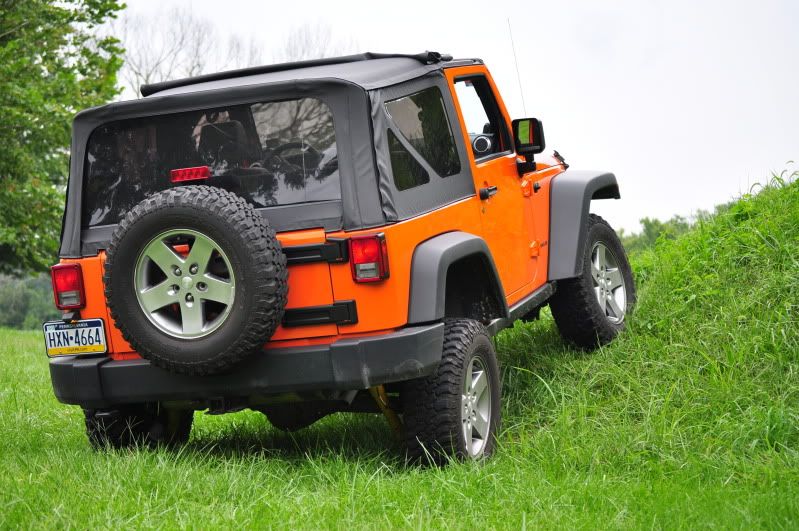
The RK MT kit rides very, very nice! To me, it is very similar to stock -- if any difference, it's on the soft side, but only when soaking up the road/trail ... the body roll has been greatly reduced, though. Bumps, dips, and small children are all soaked up a bit softer than stock, while still being stiff enough to retain the Jeep feel so you're not bouncing all over the place due to a soft suspension. It's the Goldilocks of lift kits: great ride, easy price point ~$1600 w/OME shocks, and more lift than advertised.
So yeah, super happy. The stock tires on the other hand ... meh, haha. Have to move onto Stage 2 to get there!
The lift rides GREAT — I would say it's 90% exactly the same as stock, but different in these ways:
- The compression is softer and more controlled over speedbumps/inconsistencies in the road. In other words, it's just a tad softer soaking up the bumps.
- Body roll in turns is notably reduced so it feels a bit more planted on highway on-ramps and curvey country backroads.
- It is a bit louder in that some of the arms squeek when going slow over bumps. I'm going to re-torque the control arm and track bar bolts to try and get rid of this.
So things I ran into during install:
- To get to the passenger side front shock nut at the top, let alone installing the new shock, the mud guard and support fins along the bottom of the TIPM need to be trimmed. Both are easily accessible with a pair of tin snips and a sharp chisel. Clearing enough room up there to gain wrench access makes everything a lot easier ... stop worrying about cutting your brand new Jeep and just do it. You can't see it, and any onlooker will not notice your change.
- The swaybar is hardened as **** ... I went through two drill bits to ream out the holes to 1/2" for the RK adjustable/quick disconnect end links. Had to take it to a shop to use a die grinder and more powerful drill to get it done. That's the only portion I needed outside help, though.
- Apply Loctite and torque the jamnuts for the CAs and trackbar BEFORE installation: this is mentioned in the instructions, but it's worth mentioning again.
- The SS extended brake lines are great but rub the shocks up front, and the inside of the rear tires out back ... going to pick up some rubber tubing to zip tie and protect.
- Spring compressors for the progressive front springs are must — you will not be able to droop the axle far enough to get them in without!
- I didn't have to go to a dealership to get the steering wheel center reprogrammed: I just centered it using the adjustable sleeve on the draglink and haven't had any ESP or computer controls kicking in.
Just flexing things out to make sure the E-brake, ABS, axle breather, and brake lines have enough slack, as well as checking the bumpstops.
I had an annoying squeak and I found out where it was coming from: the Currie rear coil spring retainer on the axle side was rubbing the inside diameter of the coil spring ... whenever it would move, *SQUEAK*! So I off the Currie retainers, b/c I still haven't figured out how to get the top portions installed.
Not even close to fully flexed out, with stock 32" KM2 tires.
The RK MT kit rides very, very nice! To me, it is very similar to stock -- if any difference, it's on the soft side, but only when soaking up the road/trail ... the body roll has been greatly reduced, though. Bumps, dips, and small children are all soaked up a bit softer than stock, while still being stiff enough to retain the Jeep feel so you're not bouncing all over the place due to a soft suspension. It's the Goldilocks of lift kits: great ride, easy price point ~$1600 w/OME shocks, and more lift than advertised.
So yeah, super happy. The stock tires on the other hand ... meh, haha. Have to move onto Stage 2 to get there!
#18
Thanks! I didn't spend much time on it once I actually got the materials ... I need to redo it because the switch plat fell off, lol.
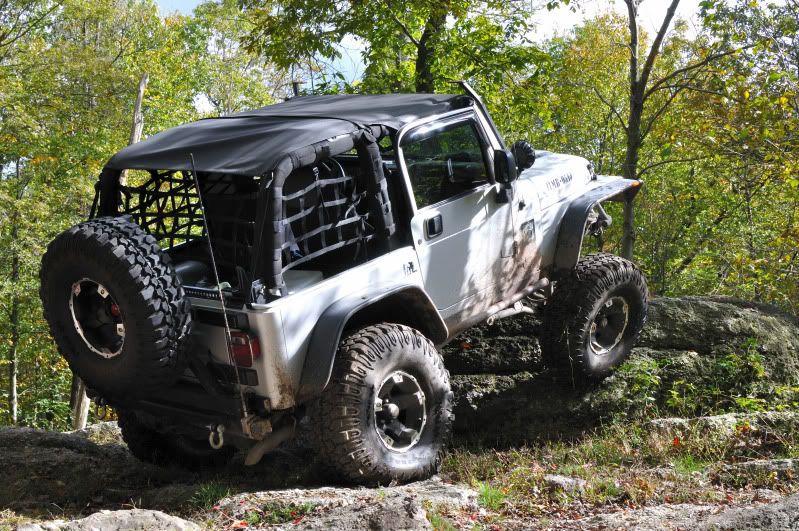
Went up to Rausch Creek with the old man riding shotgun. Saw the new property across the road which was okay. Not worth the extra $10 in my opinion. Yet. Rich and Joan in the '08 Red JK on 34s and snorkel, and Gary and Karen in the TJ Rubi on RC LA and 35s.
Damage for the day:
- steering stabilizer dented and leaking
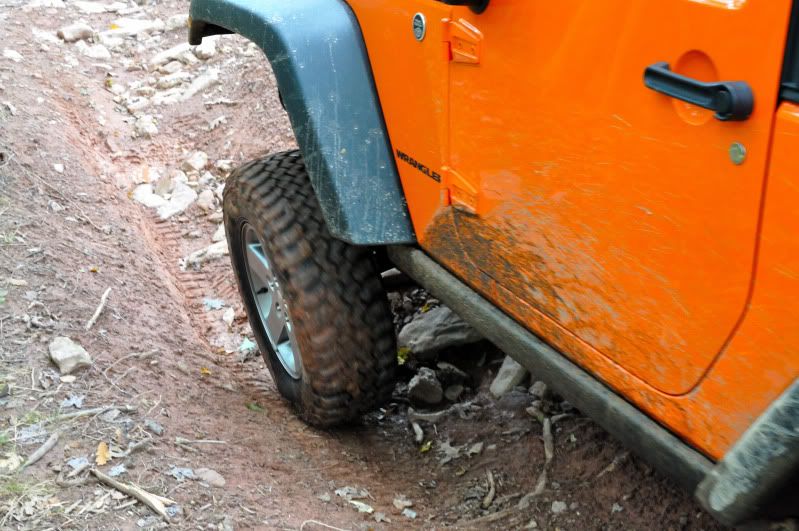
- I think all four wheels now have a respectable amount of natural pinstriping and love gouges
- gnarly gouges on underside of both diffs and all CA/shock mounts, but didn't peel a cover, so no leakage
- passenger side rock rail pushed slightly up into body (pinch seam)
- passenger side of rear bumper peeled out by rock ... fixed with size 13 boot
- another dent to the t-case crossmember
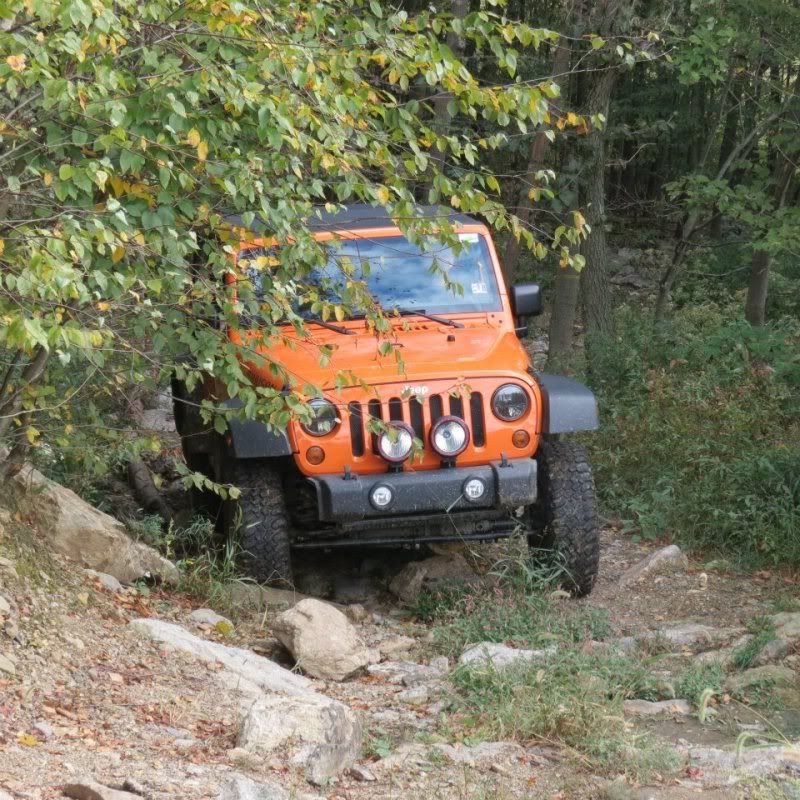
Poser shots at the top of Crawler Ridge. This is after I wedged my front diff off the boulder (you'll see).
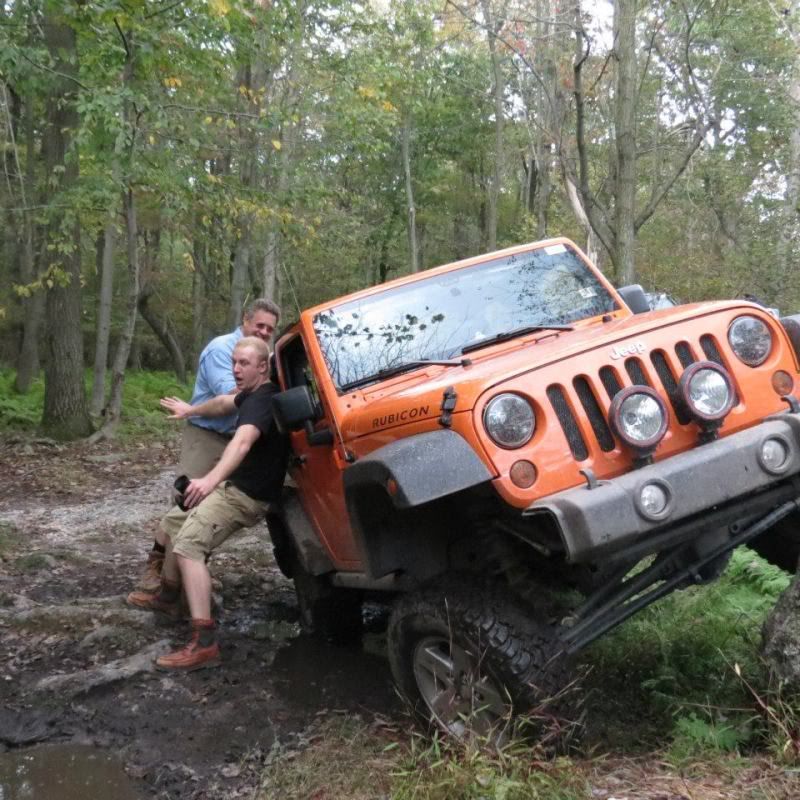
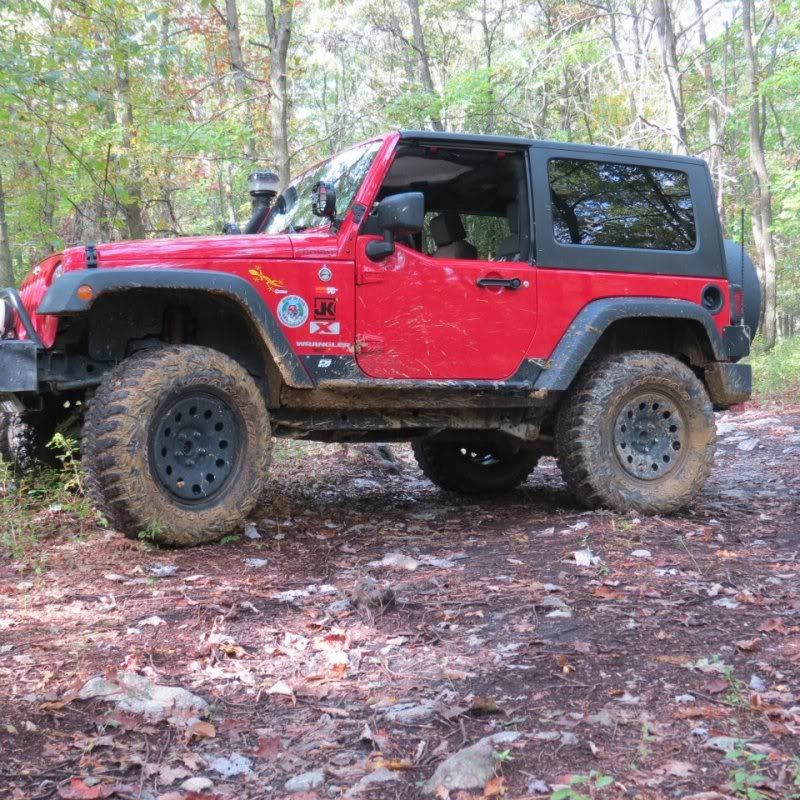
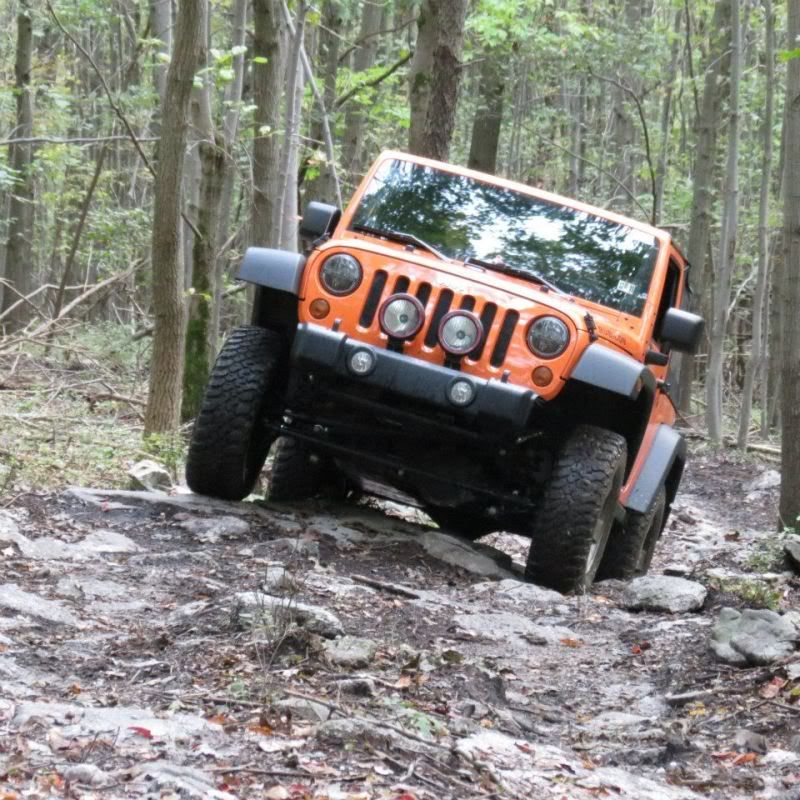
Yup, that's the one ...
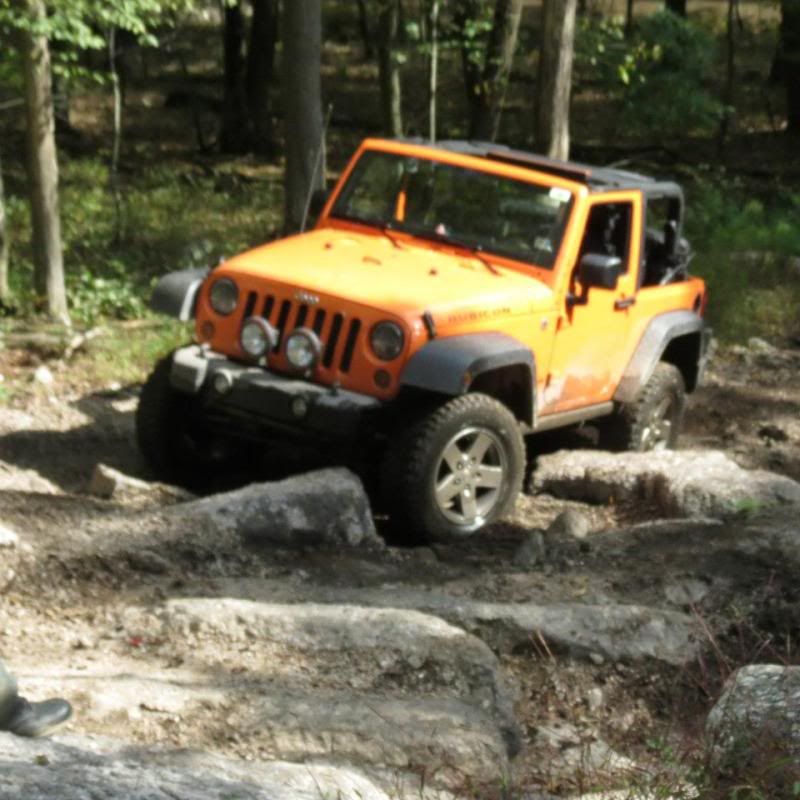
Wedged on there good! I was trapped between the boulder and the tree, with only about a foot of maneuvering room. Had to stack rocks under the driver side front tire, everything locked of course, to climb up.
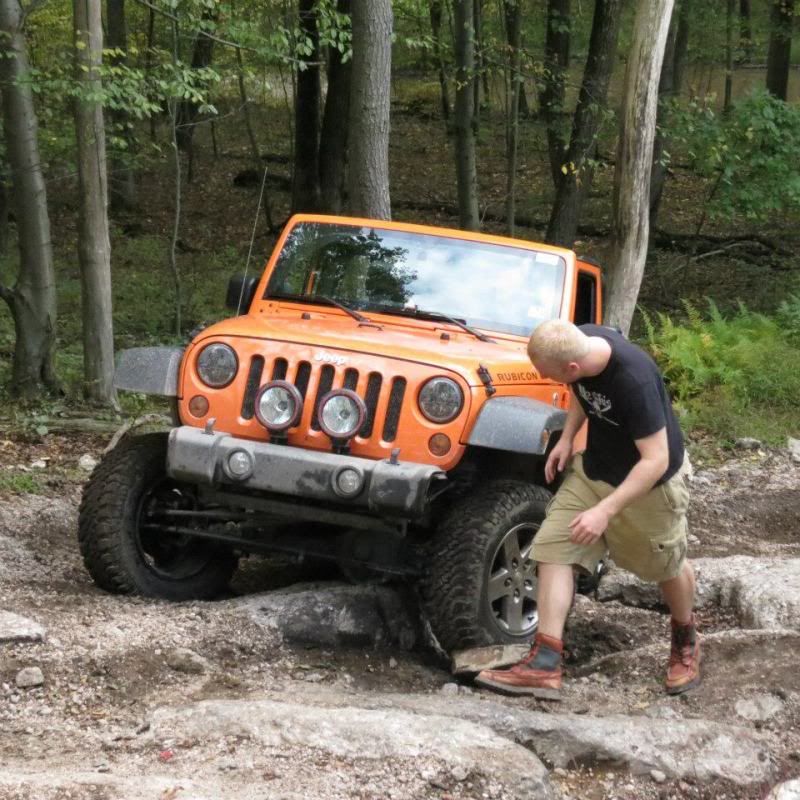
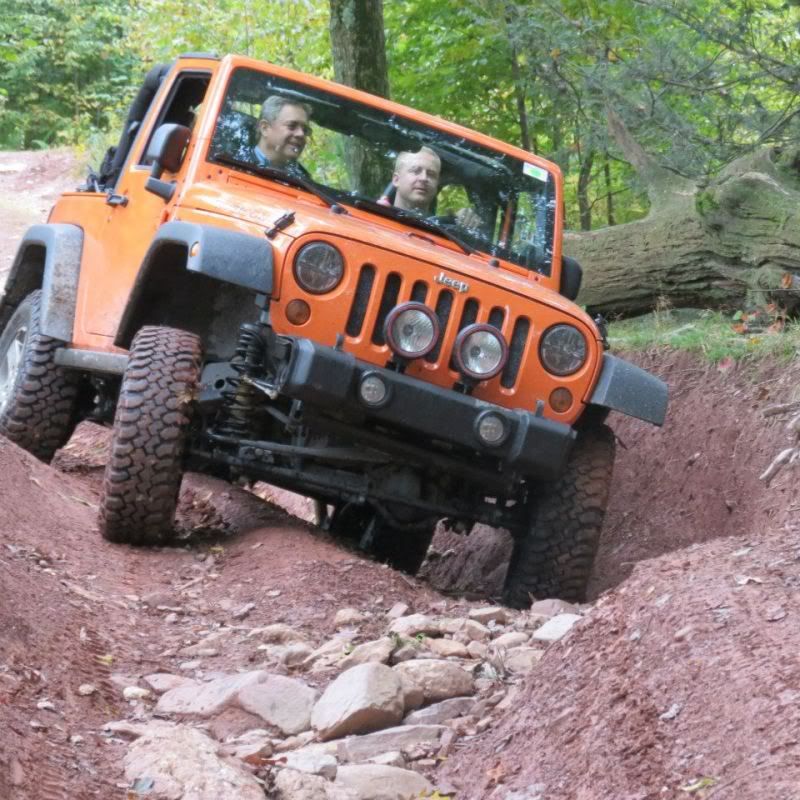
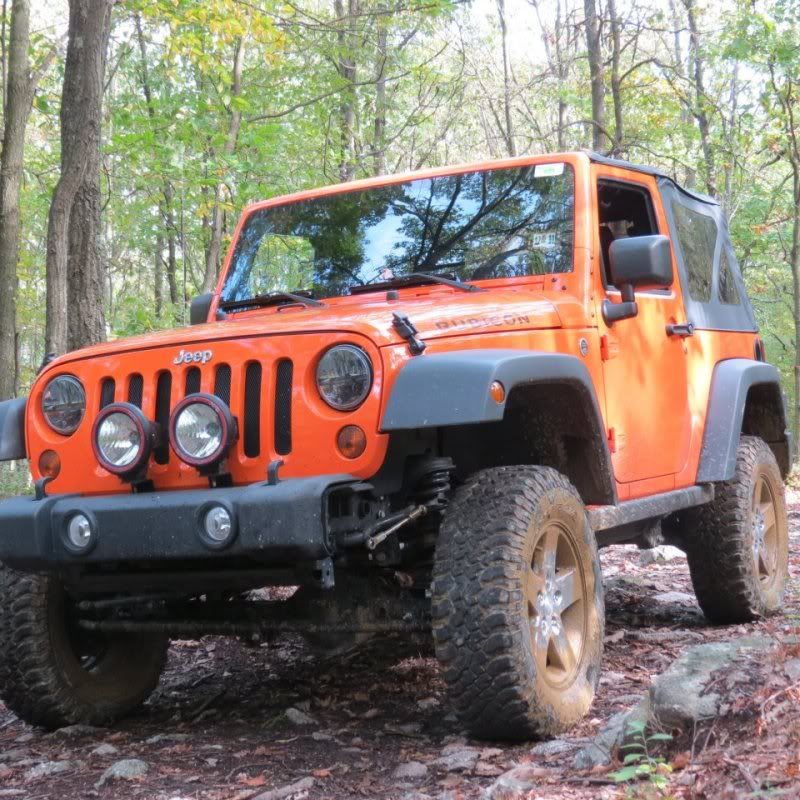
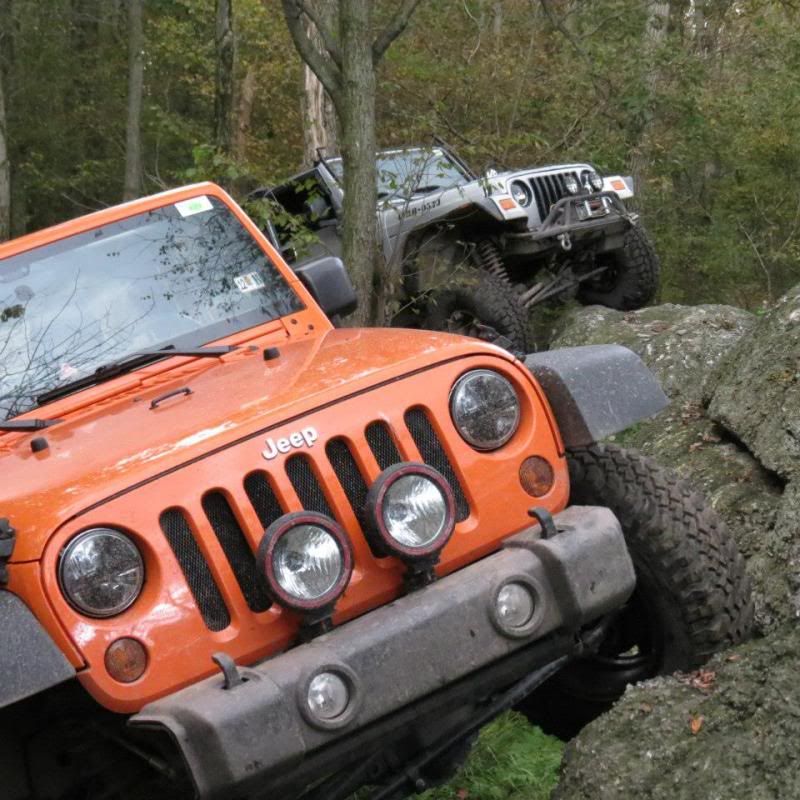
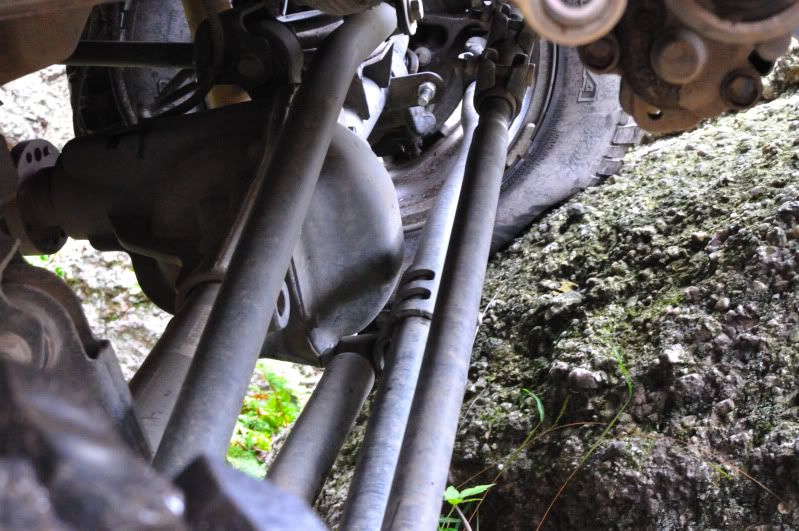
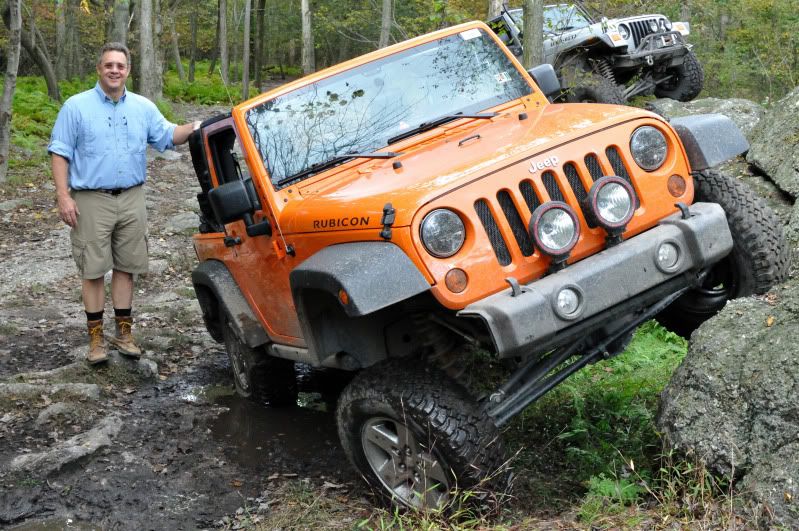
Driver side rear tire is about 10" off the ground here ... we don't need no stinkin' RTI ramp!!
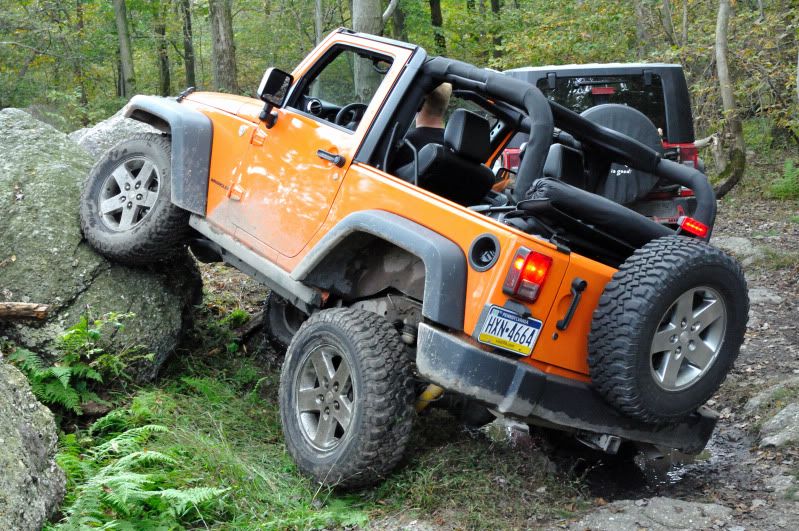
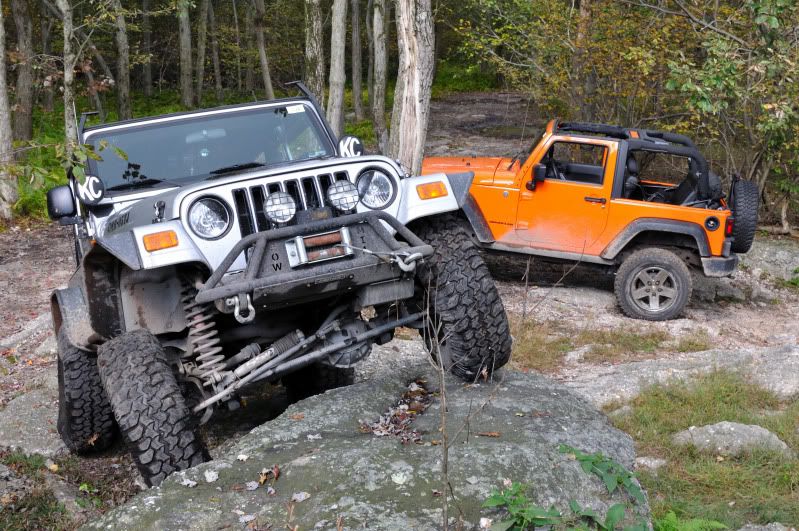
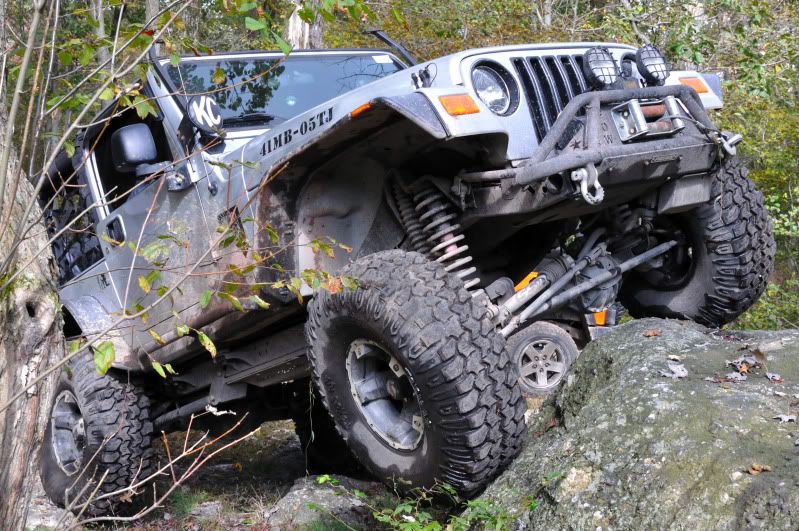
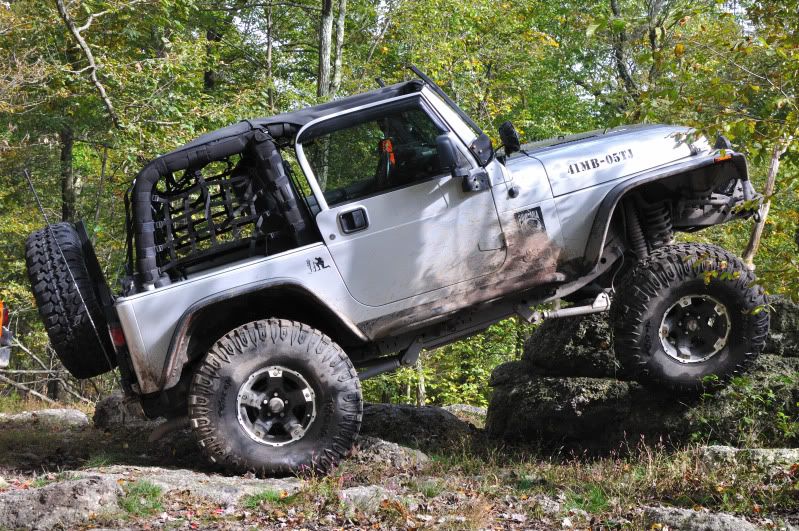
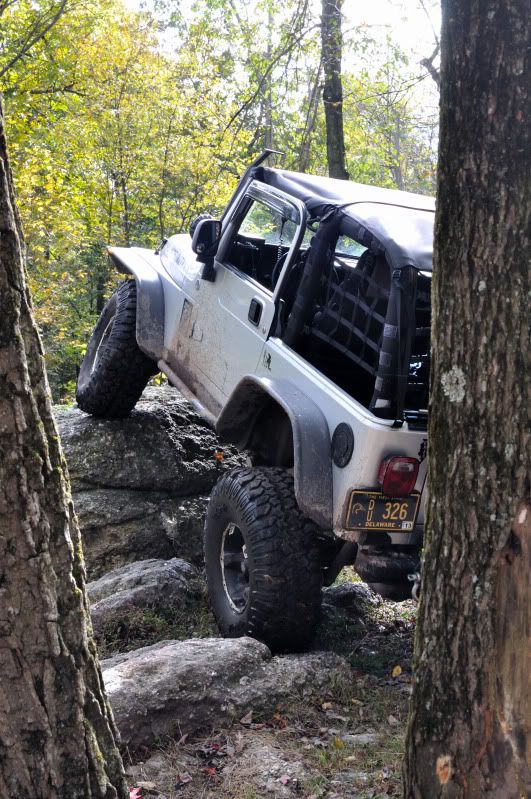
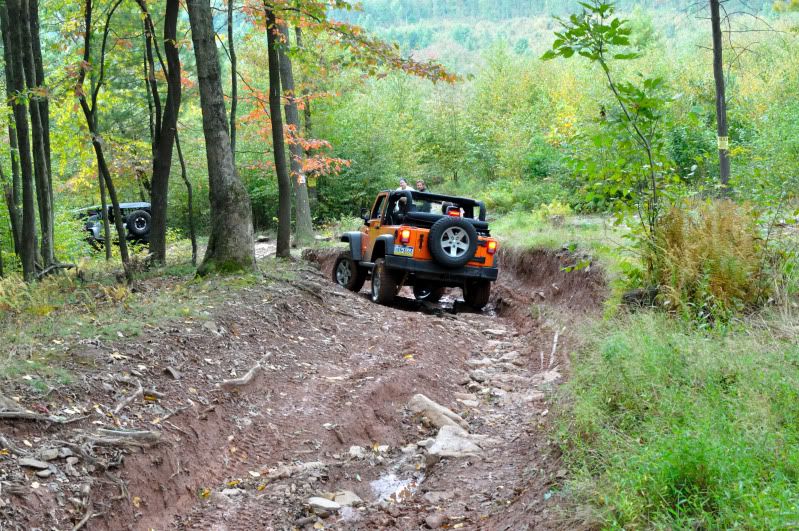
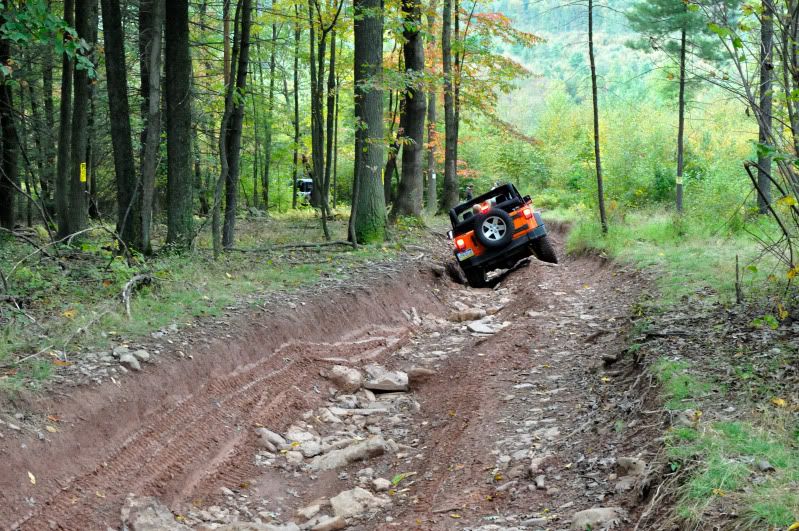
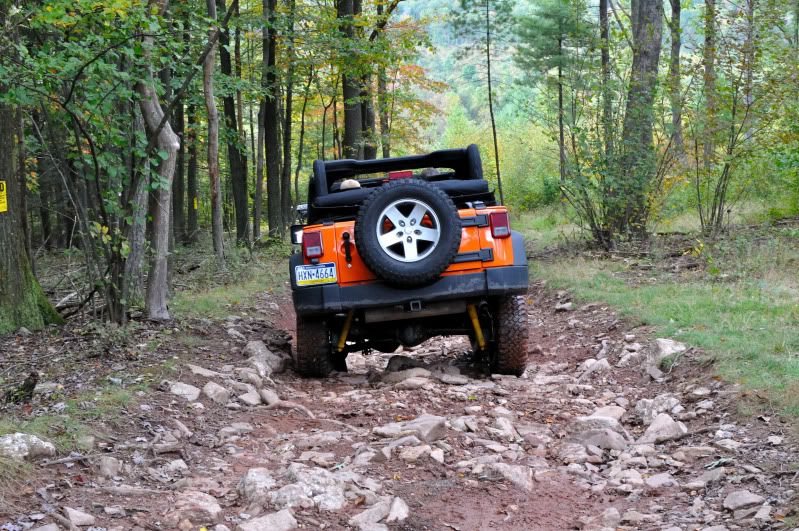
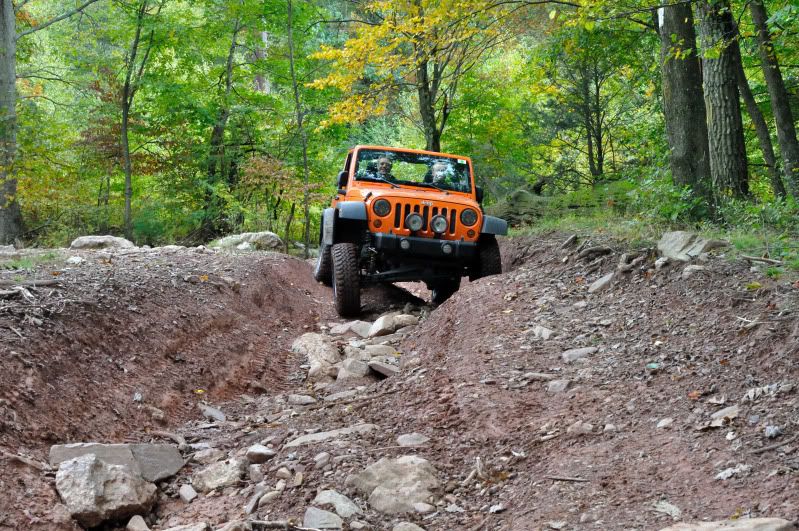
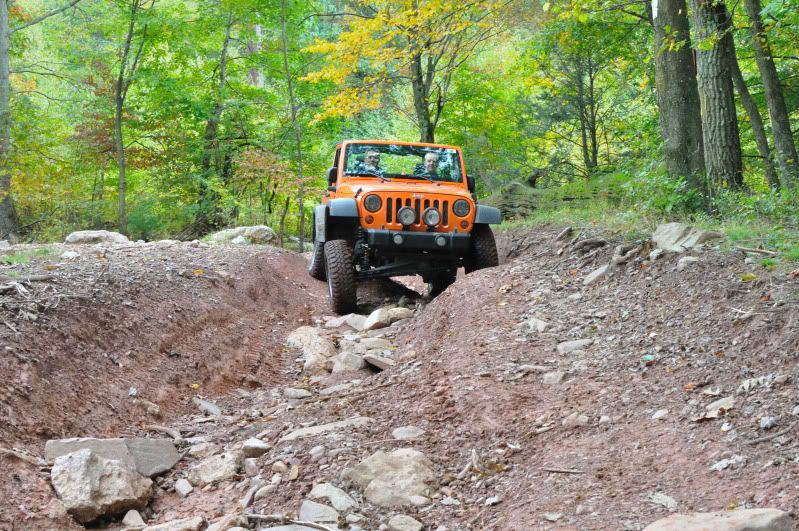
Went up to Rausch Creek with the old man riding shotgun. Saw the new property across the road which was okay. Not worth the extra $10 in my opinion. Yet. Rich and Joan in the '08 Red JK on 34s and snorkel, and Gary and Karen in the TJ Rubi on RC LA and 35s.
Damage for the day:
- steering stabilizer dented and leaking
- I think all four wheels now have a respectable amount of natural pinstriping and love gouges
- gnarly gouges on underside of both diffs and all CA/shock mounts, but didn't peel a cover, so no leakage
- passenger side rock rail pushed slightly up into body (pinch seam)
- passenger side of rear bumper peeled out by rock ... fixed with size 13 boot
- another dent to the t-case crossmember
Poser shots at the top of Crawler Ridge. This is after I wedged my front diff off the boulder (you'll see).
Yup, that's the one ...
Wedged on there good! I was trapped between the boulder and the tree, with only about a foot of maneuvering room. Had to stack rocks under the driver side front tire, everything locked of course, to climb up.
Driver side rear tire is about 10" off the ground here ... we don't need no stinkin' RTI ramp!!
#19
Been a while since I had an update but really nothing's been happenin'. Too broke!
It only took seven months to fix the busted OEM steering stabilizer—dented, bent, and completely devoid of fluid. I got a brand new Superlift SS relocation kit from a friend for $20, which is a full-size shock cylinder on new brackets that raise the entire assembly above the tie rod: now the stock tie rod, differential cover, and LCA mounts are the lowest points on the front end, and need to be beefed up. That's to come with Artec's beefy bracket kit.
He also threw in Rebel Offroad's Grade 8 hardware upgrade kit for free... I'm not one who thinks that's really necessary—except the 9/16" axle-side track bar mounting bolt. I Grade 8ed that today. Maybe I'll throw the rest in for the CAs and such, maybe not.
I painted the white Superlift shock and axle side bracket completely black and ripped the bright yellow boot off. They just trap mud and dirt IMO anyway.
The couple months of DW oblonged the axle-side trackbar mounting holes, so even with the new steering stabilizer setup, I still had loose steering and DW on occasion. The holes had between 1/16–1/8" play in them. So I TIGed some grade 8 flat washers to the outside of each mounting hole, as well as tacking another one one the steering stabilizer bracket mounting hole so it's even when the bracket's put on. Brand new 9/16" grade 8 bolt and everything is like stock again. I could have chopped off the old steering stablizer mounting ears, but I'll just hammer them down flat because I got lazy. Everything's going to be replaced by Artec's kit eventually, anyway.
I also had a strange issue that was taken care of under warranty: when I'd reverse out of my driveway, steering full lock, I'd get a whole bunch of codes and the engine would go into limp mode with no power. Turns out the throttle positioning sensor (TPS) wire was touching the steering shaft and was grounding out.


