When you click on links to various merchants on this site and make a purchase, this can result in this site earning a commission. Affiliate programs and affiliations include, but are not limited to, the eBay Partner Network.
Kenwood TM-D710A Install (Transceiver & Head Unit)
JK CB & HAM RadiosBulletin board forum regarding all topics concerning CB and HAM radios, the installation of them in your Jeep JK Wrangler. This would include antenna mounts, wiring, tuning and usage.
Kenwood TM-D710A Install (Transceiver & Head Unit) In My 2016 JK
'Thought I would share my write-up of the install of a TM-D710 HAM radio into a 2016 2 door JK.
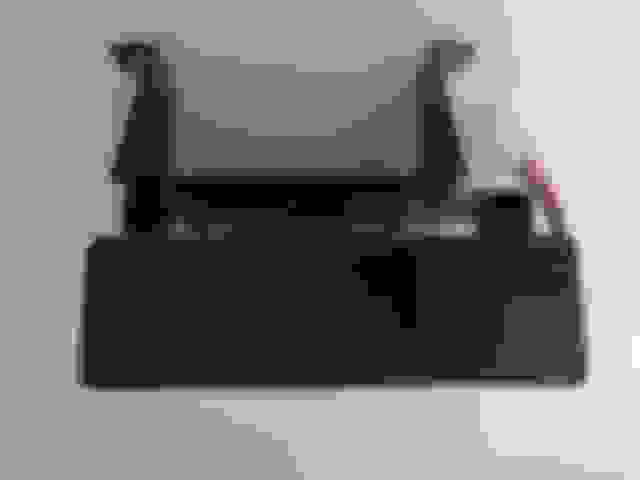
The Transceiver
As I have never owned a jeep that didn't leak (think wet carpet) or get flooded (think ill-conceived 'shallow' stream crossing) - I always make it a point to keep electrical components off the floor.
I mounted this Kenwood transceiver under the steering column (take off the ABS molding and kick plate behind it).
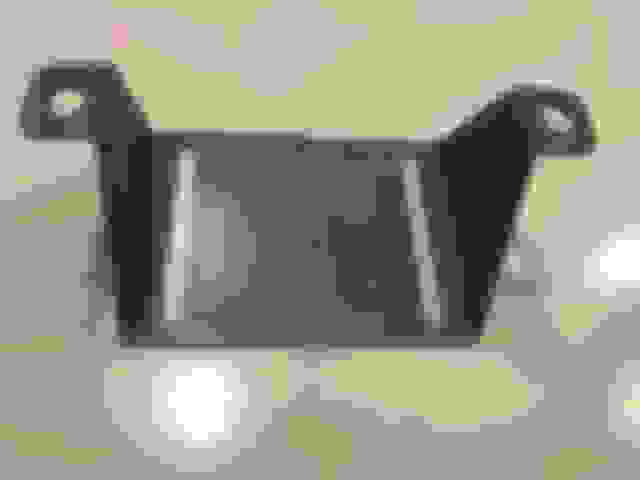
Under the dash, there is a bracket securing the driving wheel shaft and I noticed the factory used a particularly long bolt on either side to secure it. I made a bracket to straddle this shaft and make use of these bolts (I took into account the bracket could accommodate the movement of the tilt steering) - this way I didn't have to drill.
I slotted the bracket I made so that in conjunction with Kenwood factory bracket, I would be able to move the transceiver forward / backward and left / right in order to fit the transceiver around things. In the photo of the transceiver mounted on the bracket, you'll notice the unit is off center - this is to avoid the clutch pedal assembly when installed ...
.
As mentioned, I used the existing factory bolts to secure the whole assembly under the dash.
The Head Unit
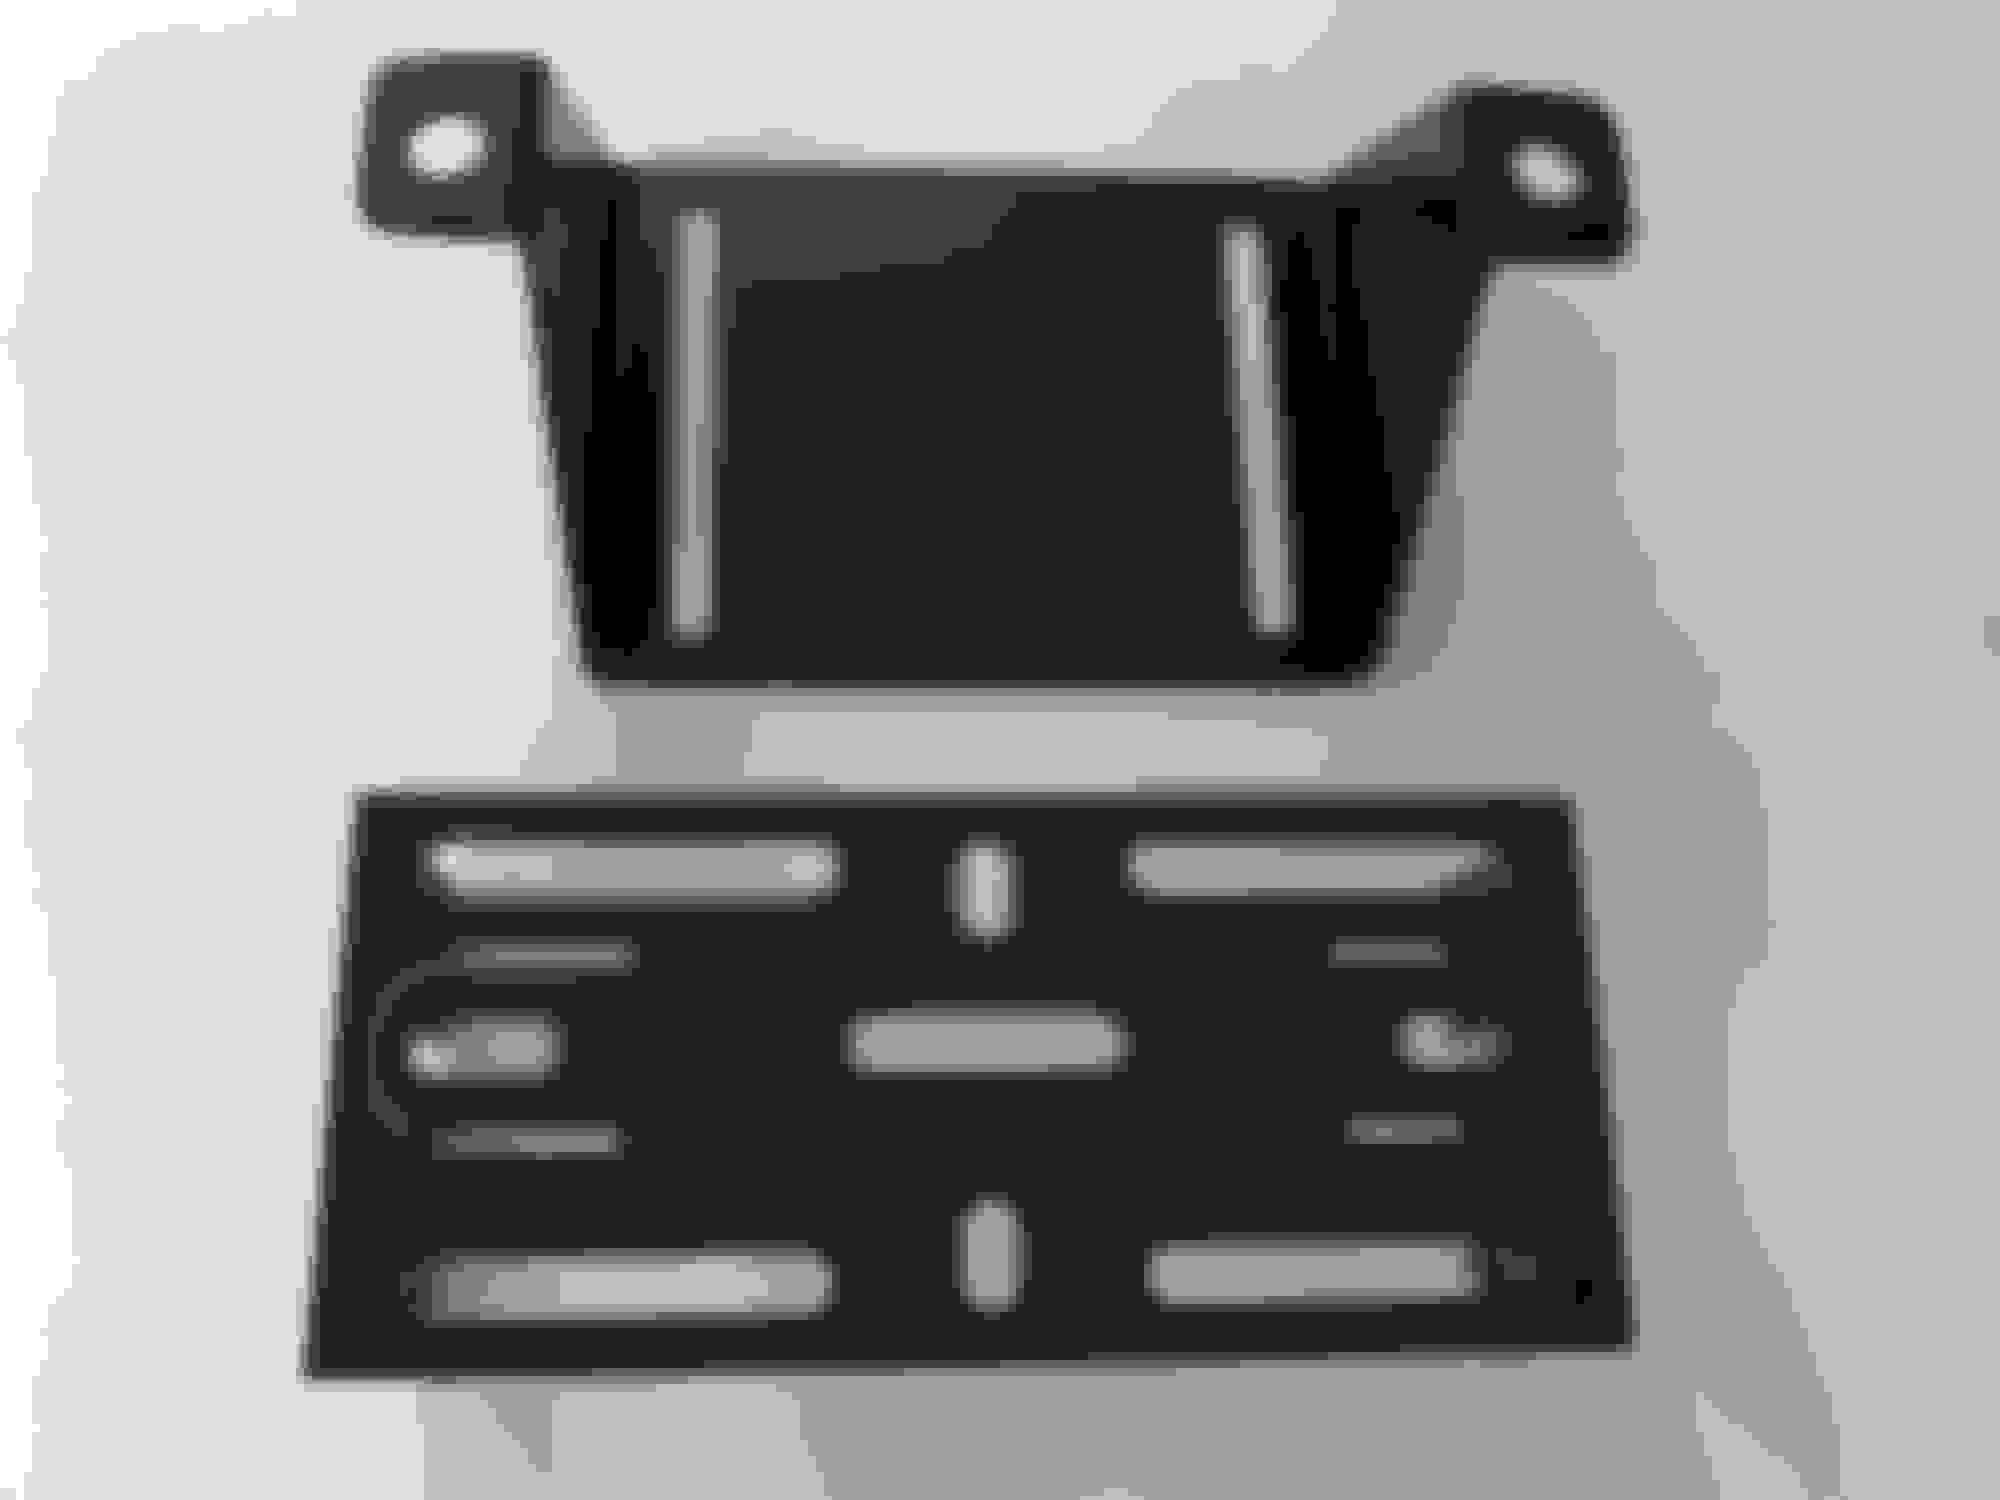
To be honest, I have no idea where I am going to permanently mount the head unit - but by building an adapter so as I can use a RAM Mount (the 'B' 1" ball) the options are endless.- RAM A CAN / RAM Clamp onto my cage / etc. I kinda like the idea of being able to remove the head unit when I don't like the neighborhood I'm in - clearly this is gonna take a bit of thought and lot of beer !
There are a couple of guys on the 'net that have made similar adapters - they made use of 3D printers. I elected to make mine out of steel for a thinner & stronger version.
Note: I could of used the Kenwood factory M4 screws, but elected to use Thumb Screws for ease of assembly / disassembly.
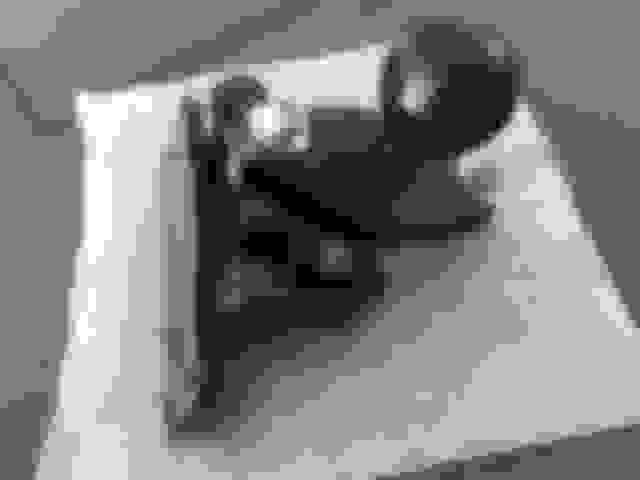
Here is the the whole Head assembly laid out ....
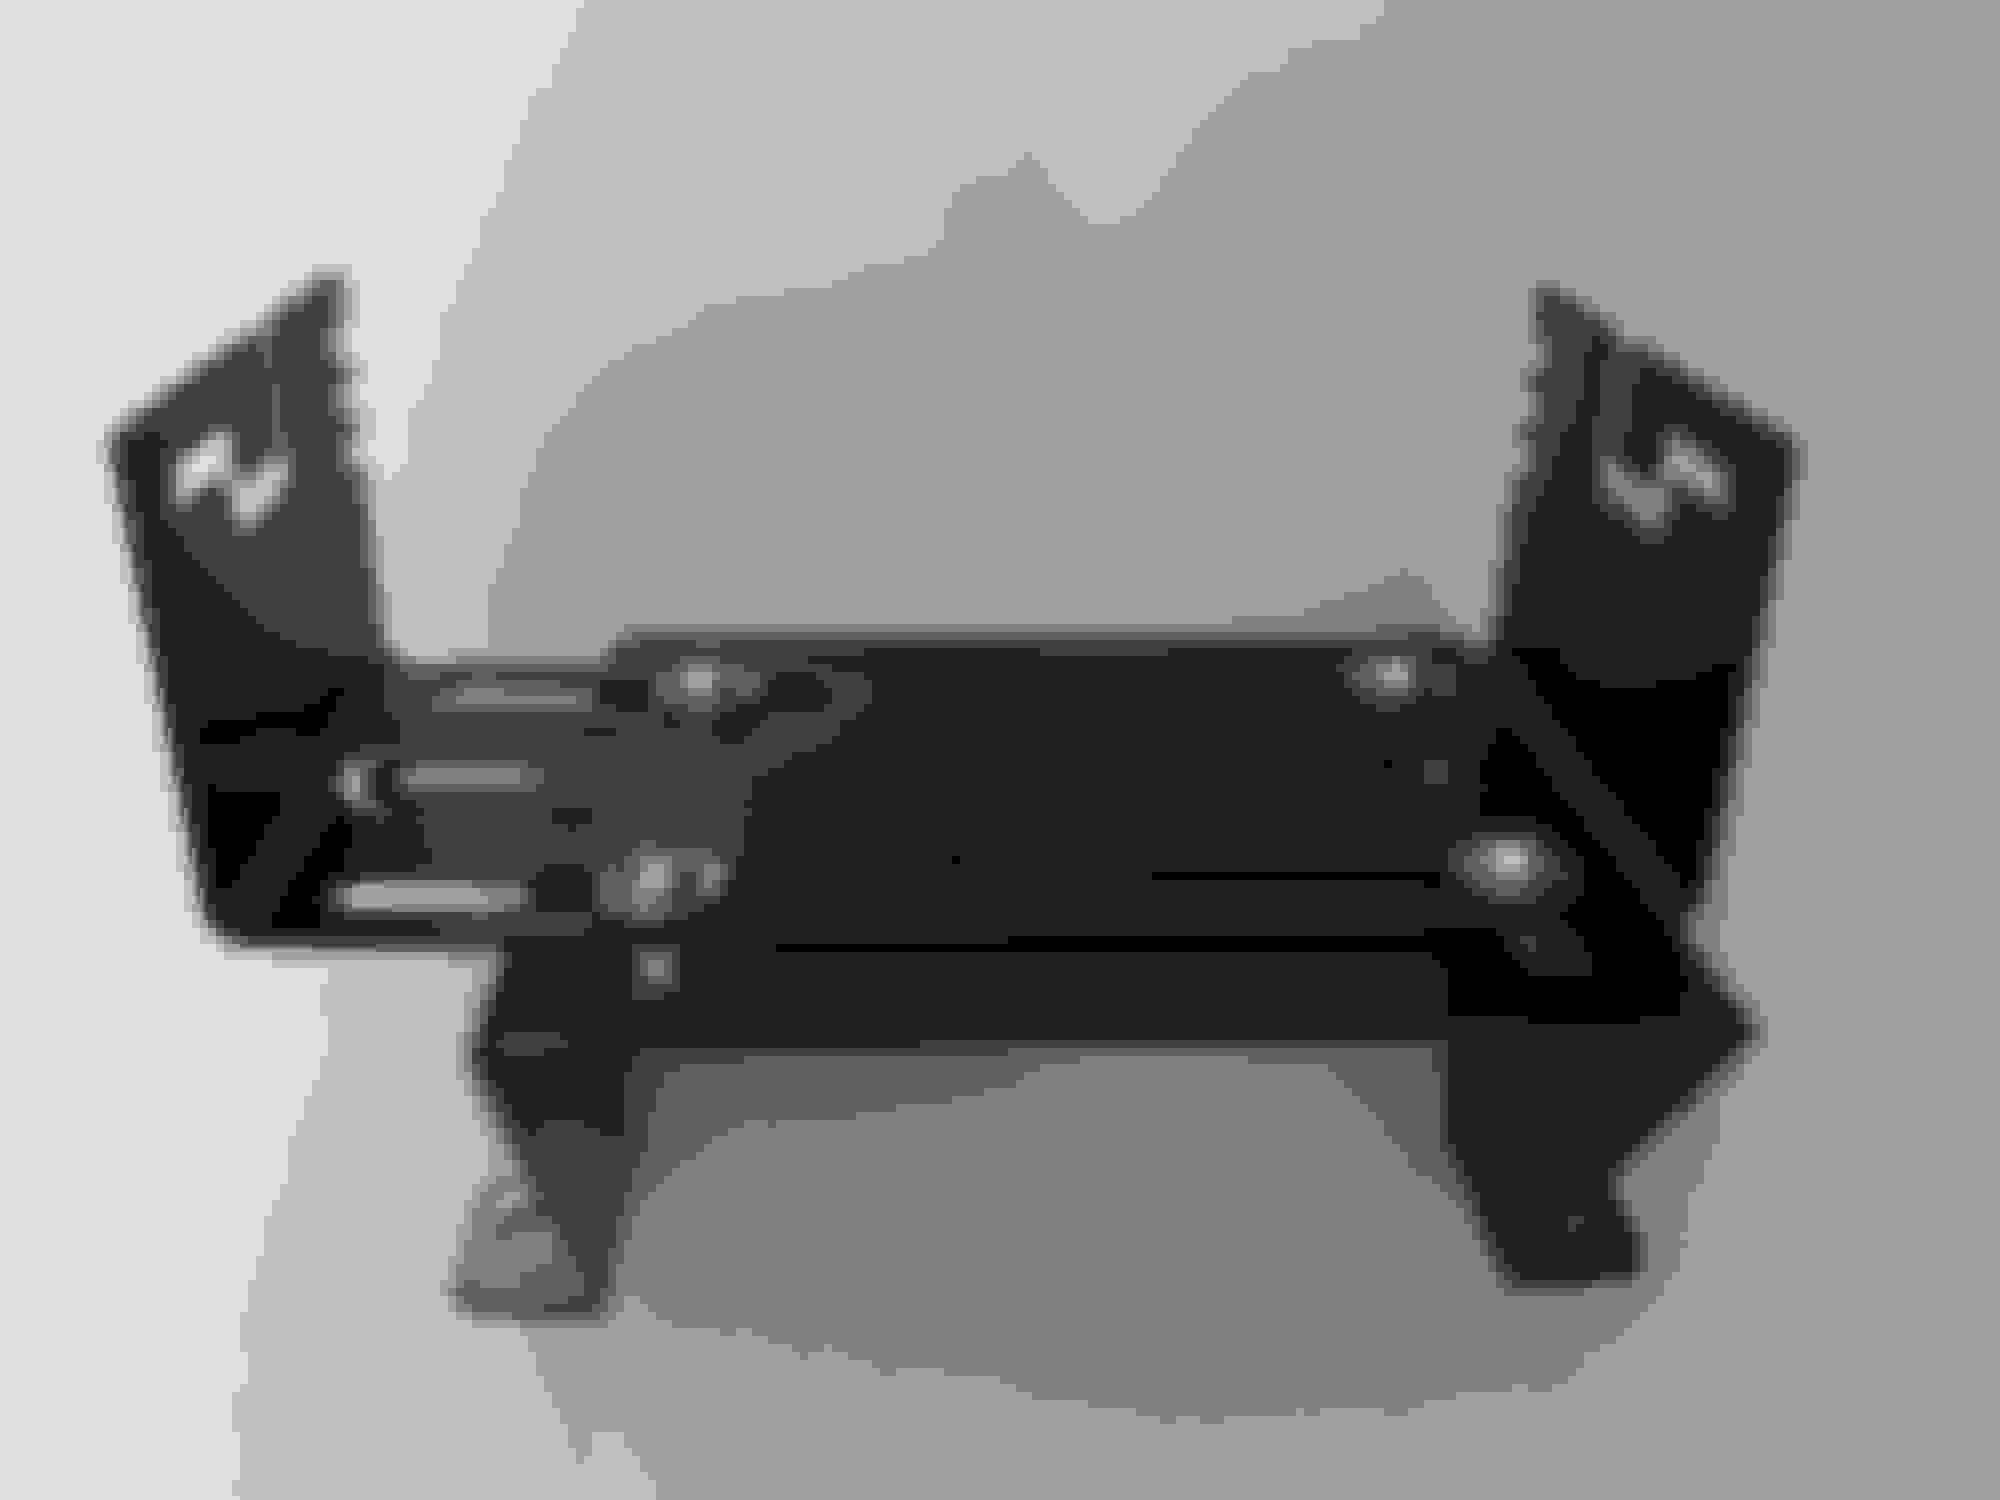
And assembled ....
And finally attached to the Head unit ....
I mounted the antenna on the driver's side about an inch in front of the cowl, and ran the antenna coax through that hole in the firewall that is on either side of the dash.
Note: I used different routs through the firewall for the power cables and coax.
I used pop rivets to secure the antenna bracket to the fender - making sure I ground down the faces of each (the fender and the bracket) to bare metal for a good ground - then using factory touch-up spray on the fender to make it pretty and to prevent rust.
I was thinking of using Rivnuts instead of the rivets, but the rivets produced a more flush finish on the fender - the bracket sat up on the Rivnut's heads.
There was lots of room for the coax between the hood and the fender when the hood was closed, and I made use of a factory square hole to rout the coax off the fender and to the hole in the firewall.
Hah, hah - Pro Tip: a metal hanger straightened out is a god-send when routing coax or wires through the firewall !
I ran my power wires (POS & NEG) to my sPOD through the hole in the firewall that the rear washer fluid hose runs through.
I have 3 radios in my truck (HAM / Commercial / CB) and they are all routed to the the same switch on my sPOD. This is to take advantage of the sPOD's LVCO (Low Voltage Cut Off) should I leave something on when I park my JK.
Neville
Last edited by Creepy Neville; 09-11-2019 at 06:04 AM.
Interesting install. I like it. I have the same transceiver, but I mounted the radio under the passenger seat (using the under-seat mounting bracket I found on eBay). I put the head-unit on the dash.
Actually, since my last post I kinda abandoned the idea of using the RAM Mount for the Head Unit - I just couldn’t find a good place to mount it (that was both accessible and didn’t give the impression that a Radio Shack exploded in my truck). The cage has the tendency to make your environment pretty small & limited as far as adding stuff in and around the dash ....
I ended up making yet another bracket for the Head Unit and made use of the existing screws of the sun visor.
I’ll take a couple photos and post that install in a day or two.
Ok, so as I mentioned, I finally figured out were I wanted to mount the head unit of my TM-D710A ....
I elected to sacrifice the sun visor on the driver's side so I could make use of the two bolts that hold the visor onto the windshield frame. The stock factory bolts are self-tapping, my cage uses a tapped 1/4" hole - the bracket would work with either screw.
So I removed the sun visor and the corner ABS molding - then I made an offset bracket so the head unit sat evenly in the space provided by the molding I removed. The head unit filled the gap nicely and the missing molding isn't really noticed.
NOTE: I didn't have to remove the molding (the bracket fit regardless) - I just thought job looked 'cleaner without it ....'
The wiring you see is the rear view mirror & SPod cables - I secured them to the windshield frame using 1/4" 3M double sided tape. This tape holds things in place like a weld - but allows movement when the jeep flexes. The other nice thing about this tape is that if ya want to remove it - about 20 seconds with a heat tool and it peels right off !
The area in the photos may look a little different than a stock JK ('cause of the Genright Cage) - but the screw holes are all from the factory.
I ran the data cable up the roll cage to the head unit ...
Last edited by Creepy Neville; 10-30-2019 at 03:01 AM.
Dang!! Looks good, but it also looks like a heck of a lot of work. I'd assume you enjoy fabrication, as these custom brackets seem to substantiate that observation. I like the cage too.
Hah, hah - actually fabricating brackets & stuff is not really my forte (just like wiring - arhhhh ...) - I just go real sloooow and learn as I go along.
@Creepy Neville did you manage to install it? Are you happy with it?
Sorry for being off topic.
I'm in the process of upgrading my stock stereo and looking for a good one.
From my research Kenwood is a good option. But can't make up my mind. All the reviews I've read so far are hype garbage. Actually I've tracked down a site that tells it how it is. I was eyeing the DDX9704S radio unit thanks to the review.
Can you tell me how bad the is the screen glare? What about the price is there enough value to justify it?
Hummm - not quite sure what you are asking as this is an amateur radio (HAM) not a stereo / entertainment unit.
Certainly there is room under the steering column to mount a reasonable sized amp using a similar bracket to what I fabbed out - but you would want to measure it up to be sure.
If I have completely misinterpreted your post then in regards to Kenwood radios -
Yes, this install is complete with the TM-D710GA Transceiver mounted inside the dash / under the steering column as shown in my first post. I mounted the Head Unit / Faceplate in the upper left hand corner of my windshield frame by removing the driver's side sun visor and making use of the visor's mounting bolts. As mentioned, I like to have my mic in an overhead location, so I purchased the Kenwood PG-5F cable extension kit and routed the mic cable along my cage to an overhead magnetic mount.
I have not noticed any significant glare off the screen (Note: in the photo the protective plastic is still on the screen - maybe this is what you were concerned about?) and the placement affords great access & view of the screen and controls. This position is also good for the internal GPS (which is located in the head unit) to do it's thing.
Hah, hah - I'm sure the local 'boys in blue' will argue something about vision obstruction - but I'm pretty happy with the install as it stands.
Ok, so as I mentioned, I finally figured out were I wanted to mount the head unit of my TM-D710A ....
I elected to sacrifice the sun visor on the driver's side so I could make use of the two bolts that hold the visor onto the windshield frame. The stock factory bolts are self-tapping, my cage uses a tapped 1/4" hole - the bracket would work with either screw.
So I removed the sun visor and the corner ABS molding - then I made an offset bracket so the head unit sat evenly in the space provided by the molding I removed. The head unit filled the gap nicely and the missing molding isn't really noticed.
NOTE: I didn't have to remove the molding (the bracket fit regardless) - I just thought job looked 'cleaner without it ....'
The wiring you see is the rear view mirror & SPod cables - I secured them to the windshield frame using 1/4" 3M double sided tape. This tape holds things in place like a weld - but allows movement when the jeep flexes. The other nice thing about this tape is that if ya want to remove it - about 20 seconds with a heat tool and it peels right off !
The area in the photos may look a little different than a stock JK ('cause of the Genright Cage) - but the screw holes are all from the factory.
I ran the data cable up the roll cage to the head unit ...
I run the same radio. I love the APRS function and run that on the A side all the time. Here is my install.

 09-08-2019, 12:12 PM