JK-Forum’s Scale Project Axial Jeep Wrangler Unlimited SCX10 (Part 2)
 While many RC models require you to go out and purchase new parts to upgrade your vehicle, Axial actually thinks ahead and includes many parts you can use to change your SCX10. Today, I’ll go through many of those free-ish upgrades, and detail what I did to get them.
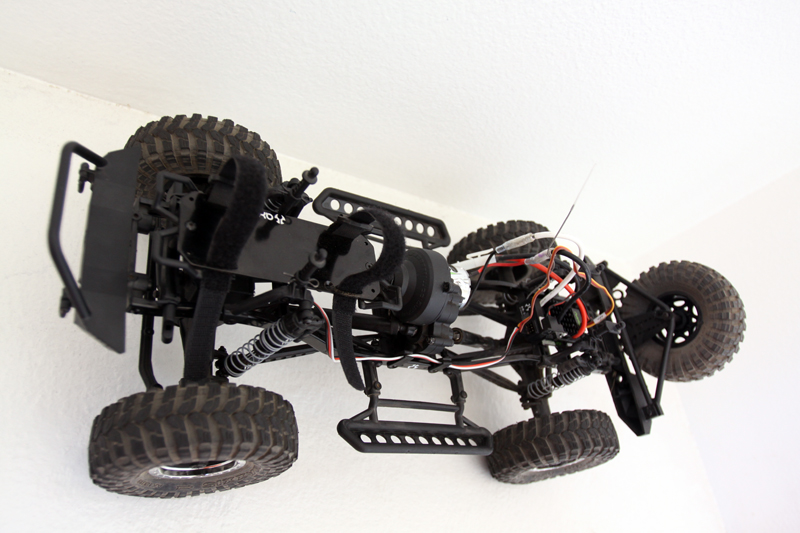
Taking the body off of the truck after making my modifications, you’ll notice right away that the battery tray has been moved.
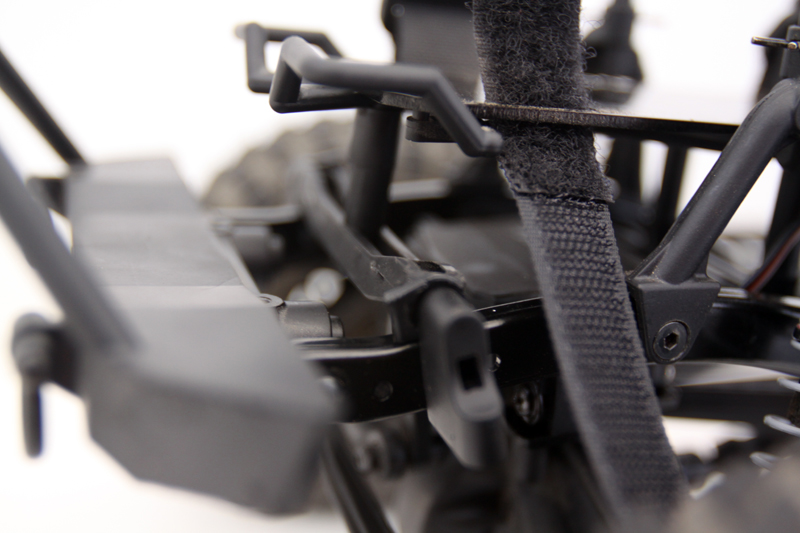
To do this, I modified the front cross-member to raise it up over the chassis and used a pair of servo holders to secure it in place. I’ll explain why I had to raise this in a moment.

I also had to cut the front of the original battery tray in order to fit the body over it. Now, the reason I moved the battery tray was to get more weight over the front of the JK. David Karey and I noticed that the JK was having a hard time getting over obstacles as there was no weight over the front axle. This is the reason for the relocation.
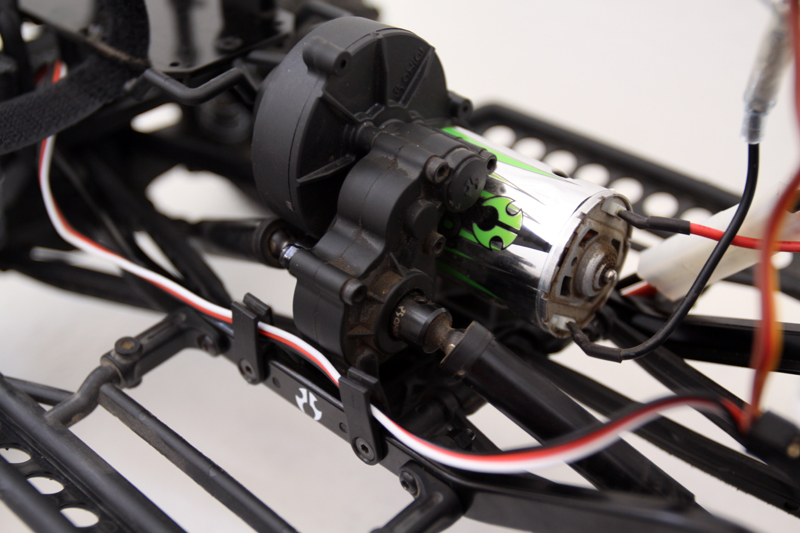
Something I had noticed while driving the JK on pavement was that it had a tendency to torque twist. After looking at the driveshafts, I decided to do an interesting modification I learned of to alleviate it. I took the center skid plate and rotated it 180-degrees.
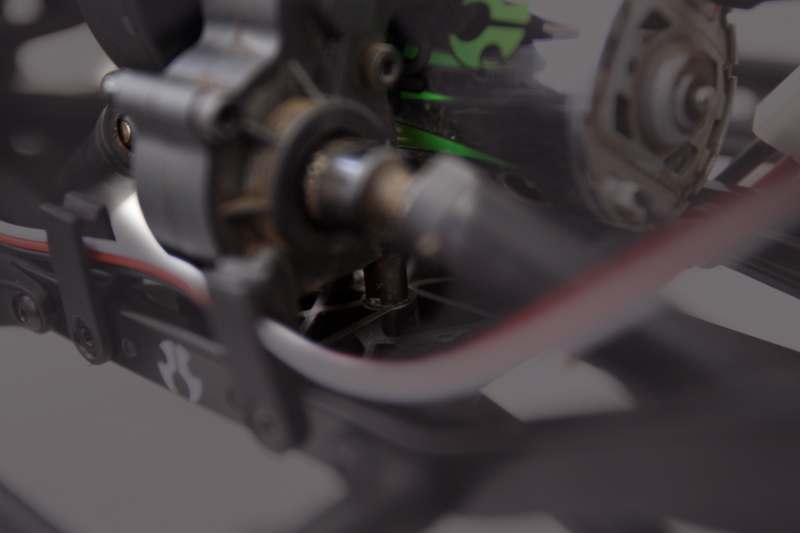
Doing this, the motor would hit the nut for the rear upper links, so to fix that, I used the supplied washers and supplied longer screws to raise the motor and transmission. The driveshaft angle is still acceptable, and while I was there, I decided to do a little work to the front.
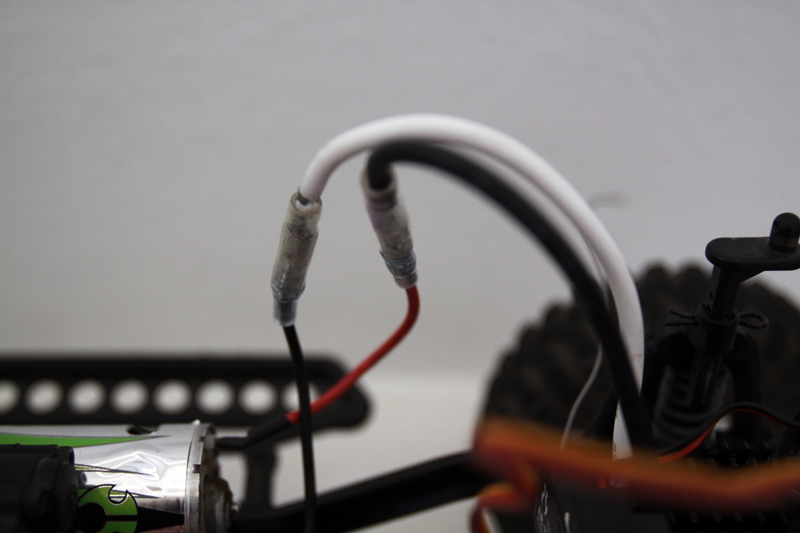
This does require wiring the motor backwards, but the Axial brushed motor will rotate in reverse with no issues. Check with your motor manufacturer before doing so, though, as some motors are not capable of rotating in reverse.

I converted the upper link from the triangulated three-link to a four-link. This was done by replacing the front connection with the four-link adaptor, again supplied in the RTR extras bag. The only thing I needed was a couple of bolts and a nut. I have a grab box for all of that.
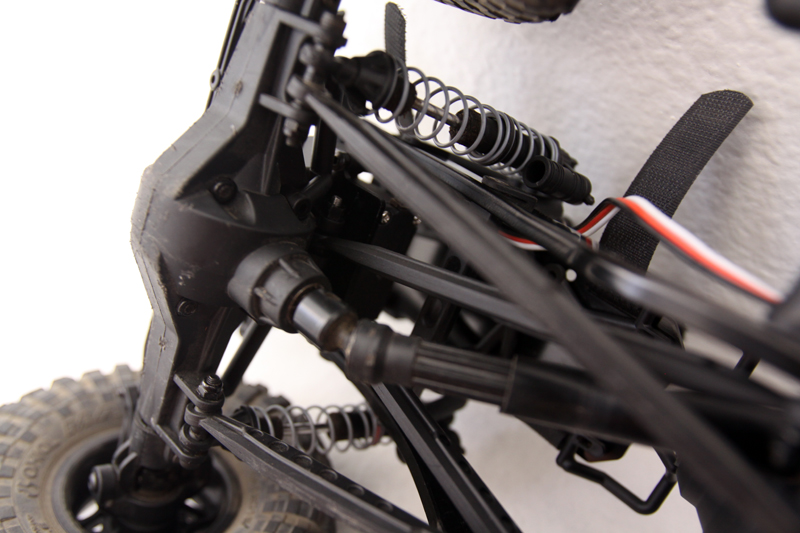
In switching to a four-link, the front axle pivoted to where the steering servo horn would hit the front crossmember. That’s why I had to elevate it.
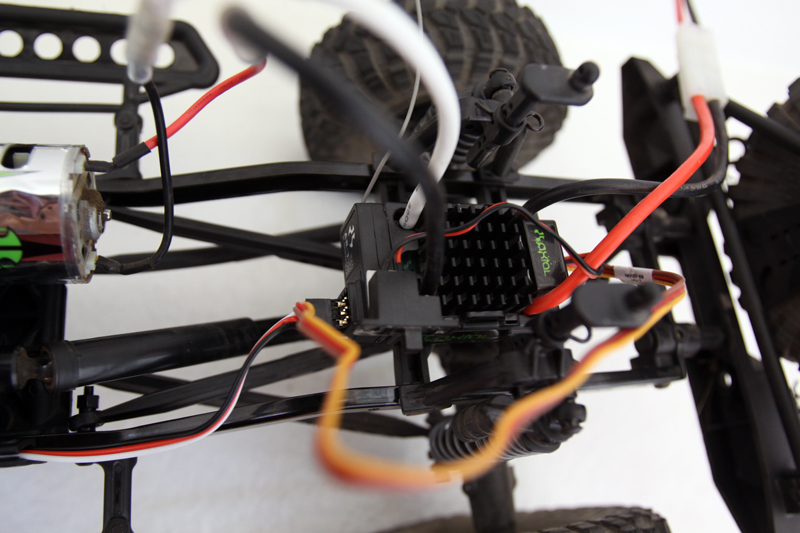
Also, in changing the position of the battery and going four-link, I removed the receiver box and placed all of the electronics to the rear of the truck.

The body didn’t rest like it used to because the Velcro did touch the bottom of the hood.
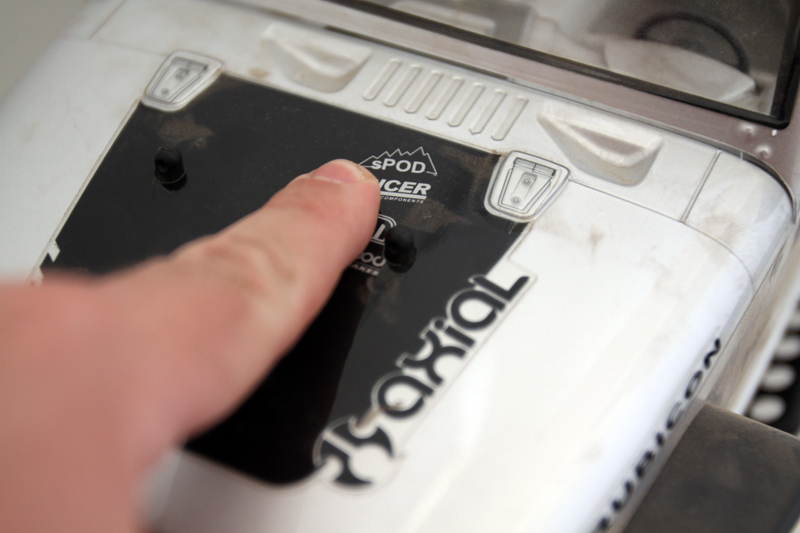
However, pushing it down did reveal that it won’t be much of a hindrance.
