NEW Rigid Industries SR-M Flush Mount Back Up Light Kit
#1
*A disclaimer before going any further. I am not a professional mechanic. These steps worked for me and are only meant as a guide.
I am extremely impressed with this kit and decided to do a quick write up from my experience last night.
Rigid Industries SR-M Back Up Kit | Offroad Elements
If you're interested in following the way I did this, I will gladly send along some Posi-Tap connectors with your order.
Tools:
Philips head screw driver
Dremel Tool
Allen Keys
Drill & 7/32” Drill Bit
Wire Cutters / Strippers
Wire Connectors
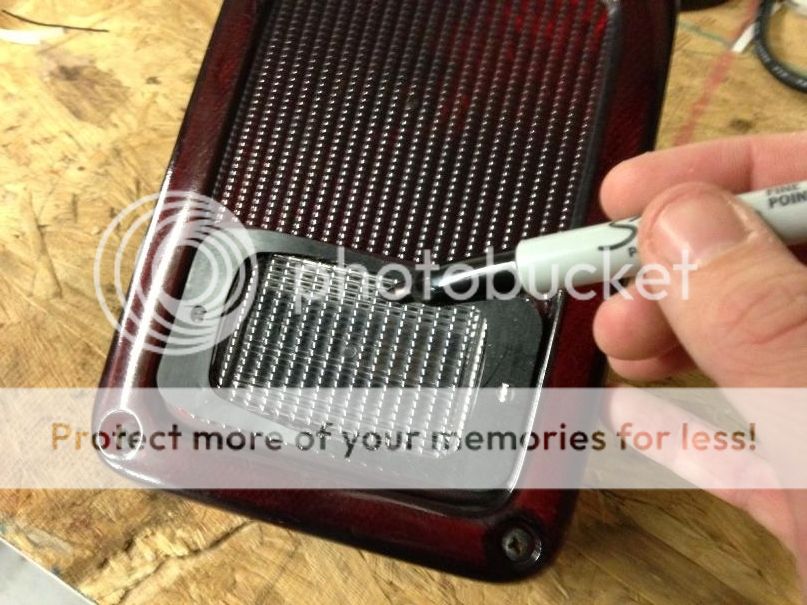
Remove factory tail light with a Philips head screw driver. Place SR-M gasket over the clear lens as a guide for cutting.

Fit the light and mark holes. Use 7/32” drill bit to make pilot holes. The ¼” bolts provided will tap into these quite easily.

I only wanted to tap these into the existing factory wiring, so I cut the harness it came with.

I used Posi-Tap connectors to on the end of the newly cut harness.

Connect new harness connects to old factory reverse light harness - positive to positive, negative to negative. Wrap up/waterproof old plug, and bundle everything together with electrical tape to avoid rattles.

Test to make sure it lights up. Re-install and that’s it!


The output is incredible, I look forward to backing up now.
I am extremely impressed with this kit and decided to do a quick write up from my experience last night.
Rigid Industries SR-M Back Up Kit | Offroad Elements
If you're interested in following the way I did this, I will gladly send along some Posi-Tap connectors with your order.
Tools:
Philips head screw driver
Dremel Tool
Allen Keys
Drill & 7/32” Drill Bit
Wire Cutters / Strippers
Wire Connectors
Remove factory tail light with a Philips head screw driver. Place SR-M gasket over the clear lens as a guide for cutting.

Fit the light and mark holes. Use 7/32” drill bit to make pilot holes. The ¼” bolts provided will tap into these quite easily.

I only wanted to tap these into the existing factory wiring, so I cut the harness it came with.

I used Posi-Tap connectors to on the end of the newly cut harness.

Connect new harness connects to old factory reverse light harness - positive to positive, negative to negative. Wrap up/waterproof old plug, and bundle everything together with electrical tape to avoid rattles.

Test to make sure it lights up. Re-install and that’s it!


The output is incredible, I look forward to backing up now.

Last edited by Offroad_Elements; 07-15-2014 at 11:05 AM.
#6
#7


